POWERFUL SIMPLE CARDS you’ll love

Sometimes simple cards can be quite powerful! While using color can be incredible, have you ever given the most basic color palette a try – Black & White?
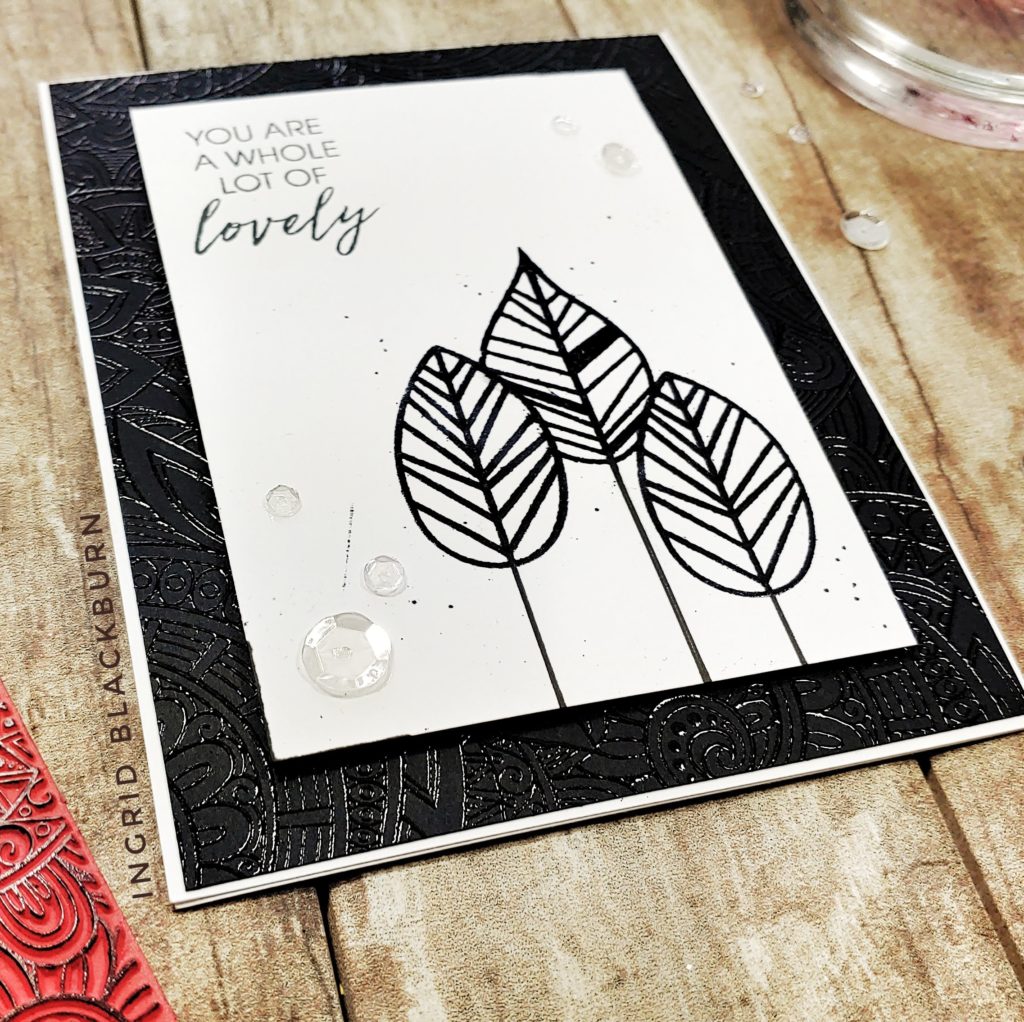
Ingrid Blackburn Simple Cards

Today, I thought it would be fun play a little with some black and white card combinations. As you’ll quickly see, these three layout concepts can be made quickly, without a lot of supplies and make quite a powerful statement.
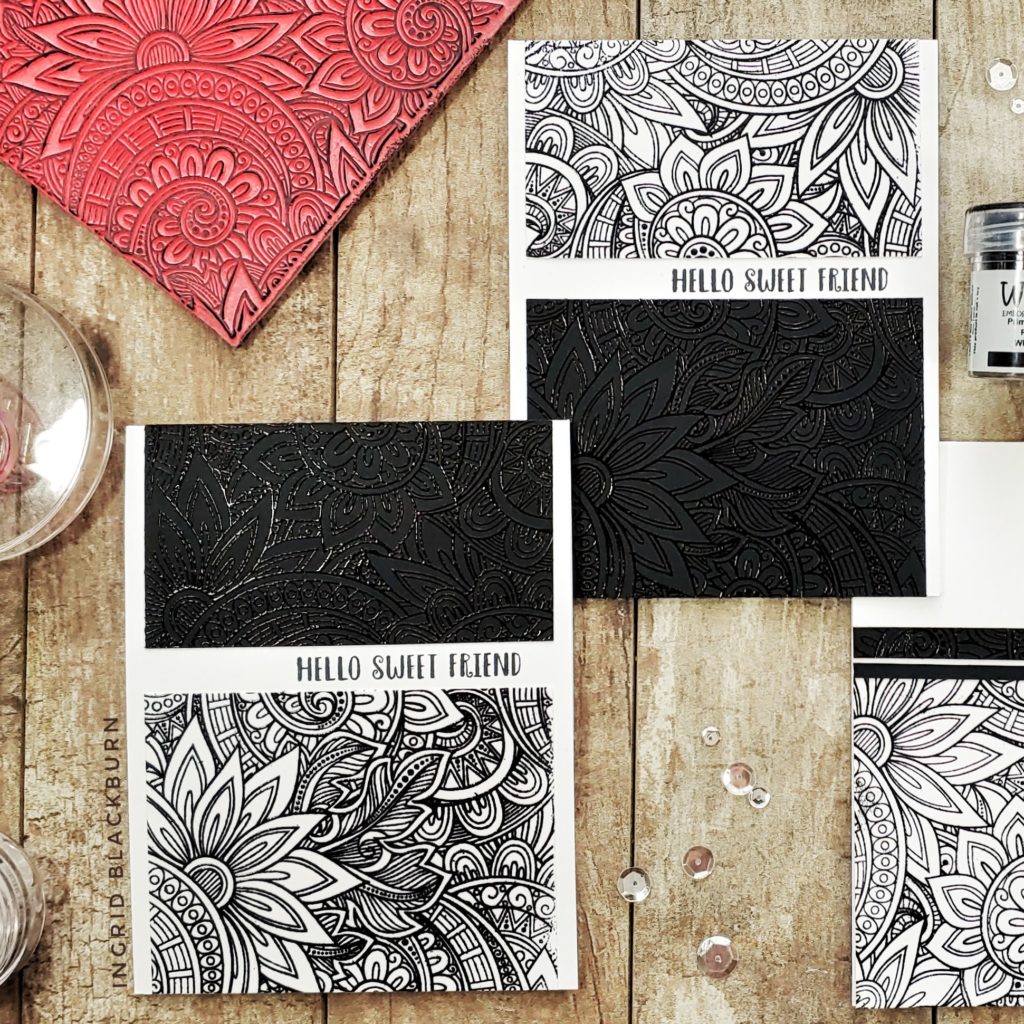
Ingrid Blackburn Simple Cards

Some simple and classic heat embossing gives you powerful black and white simple cards. Playing with the mix of tone on tone and contrast really packs a punch, don’t you think? Have you ever tried this? Let me know in the comments!
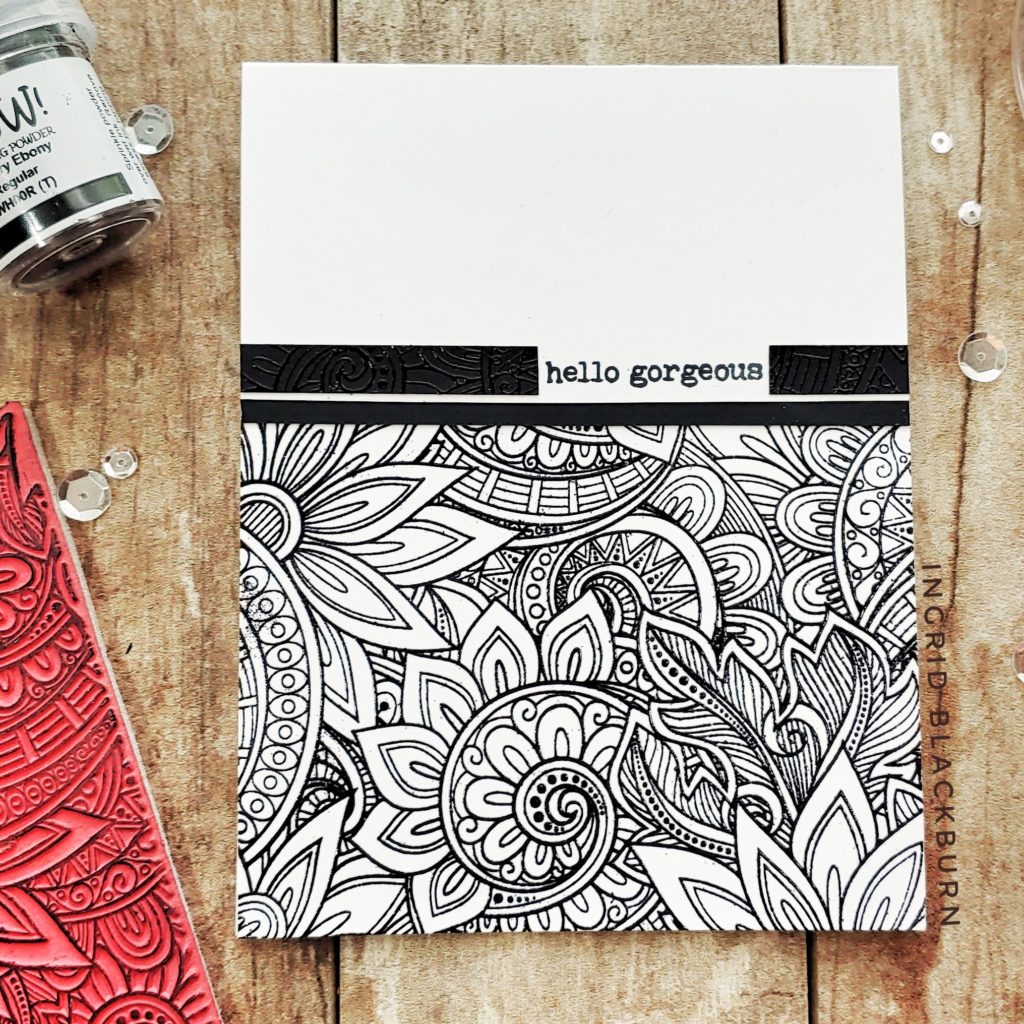
If you want even more inspiration with simple and powerful cards, even some not so simple technique cards …. be sure to check out my youtube channel here too.
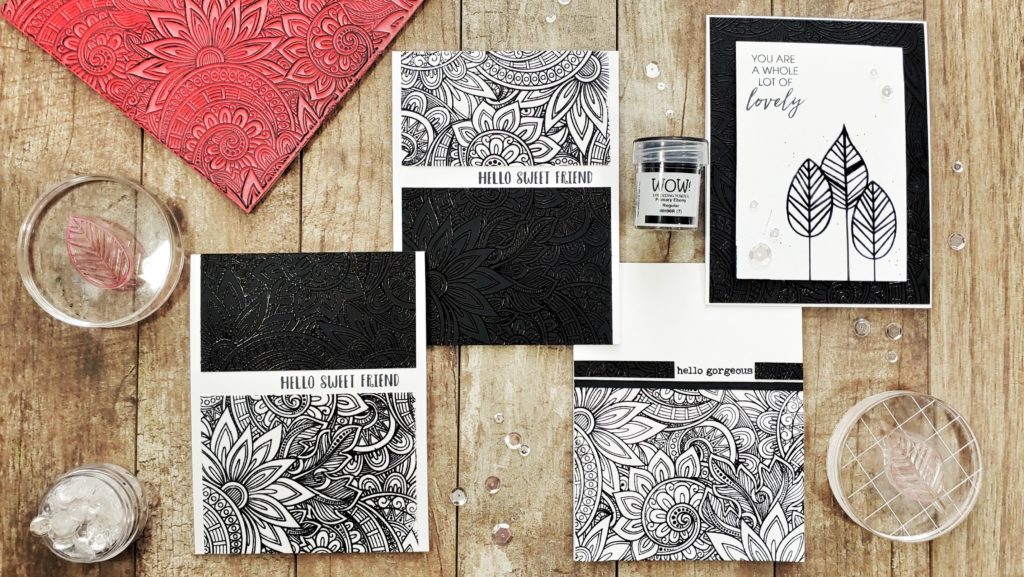
Ingrid Blackburn Simple Cards

The inspiration that was at the heart of today’s creations came from wanting to unite together behind our crafty sisters and brothers of color – in life, but also in the art industry. I wanted to stand together with you in support for the never-ending fight for equality all over the world.
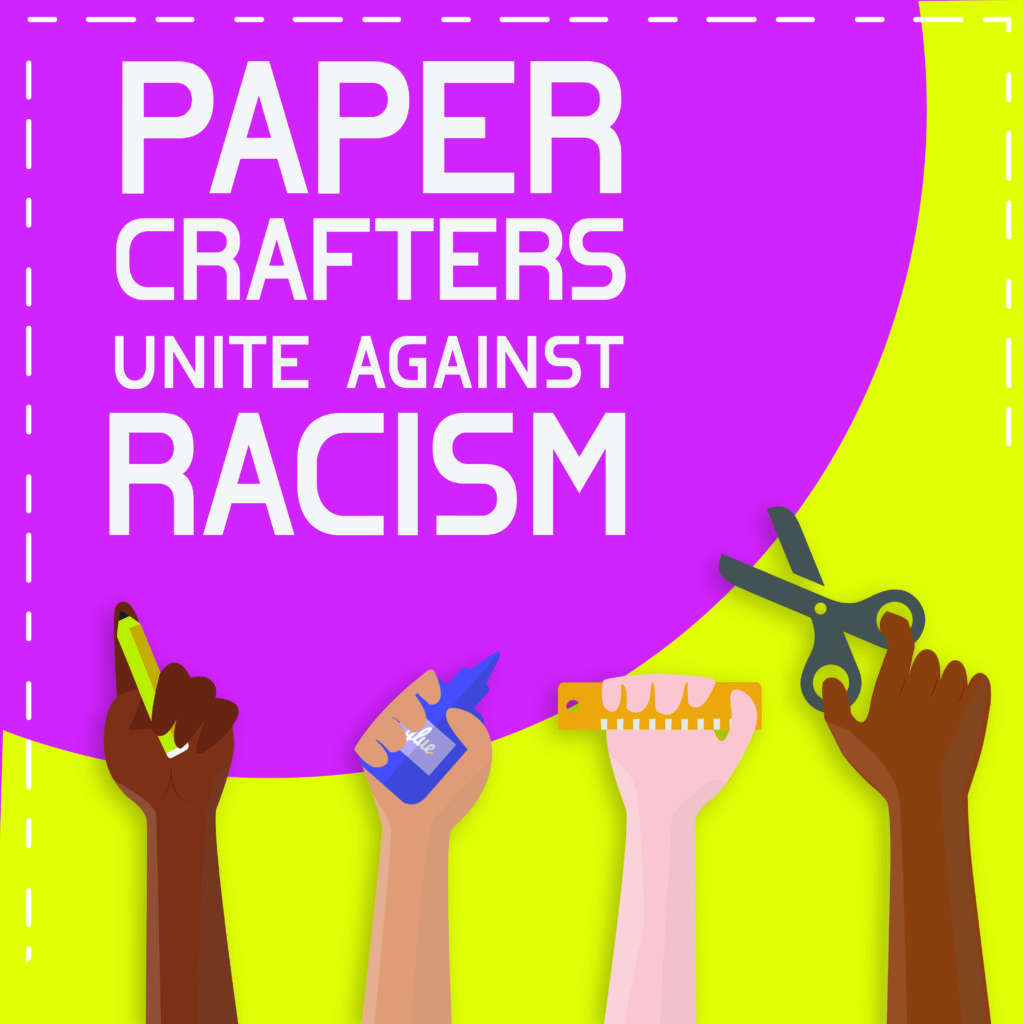
Today, some crafty friends and I are hopping from blog to blog, on instagram and youtube united. The hop is beginning with our crafty friends of color, and followed by everyone else. Hope you enjoy the beautiful inspiration we all bring to you, and find yourself some beautiful crafty voices. Thank you for your support!

To continue hopping for more inspiration, CLICK HERE for Charlotte’s blog.

The hop begins on Justine Hovey’s website HERE.

Thanks for spending a few moments with me today! See you next time…

Clean and Simple Chalk Talk Birthday

Chalk Talk 001 Main R

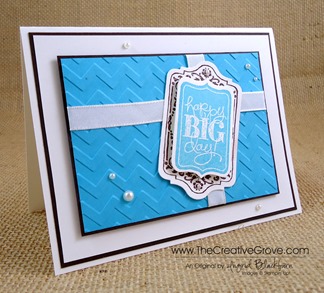
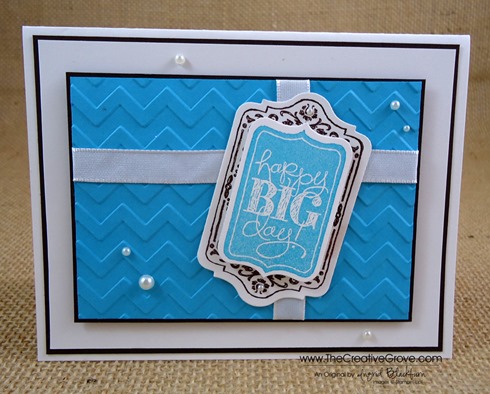
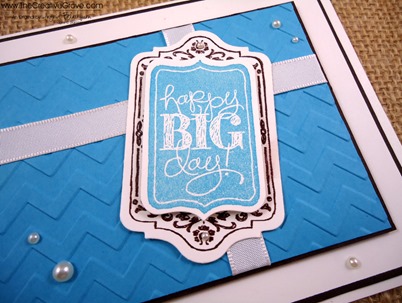
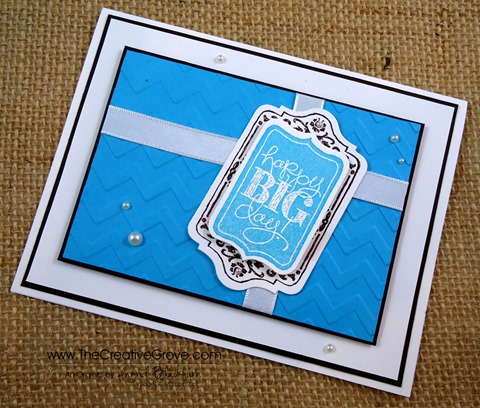
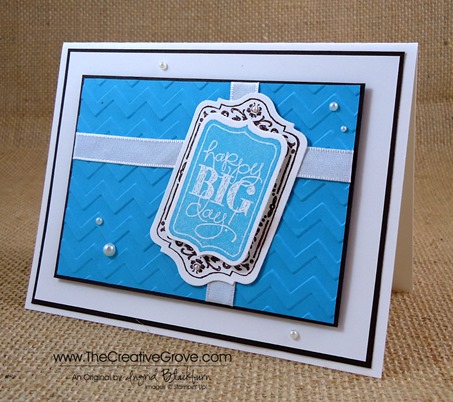
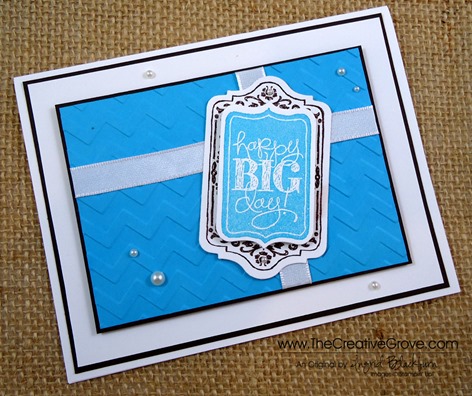
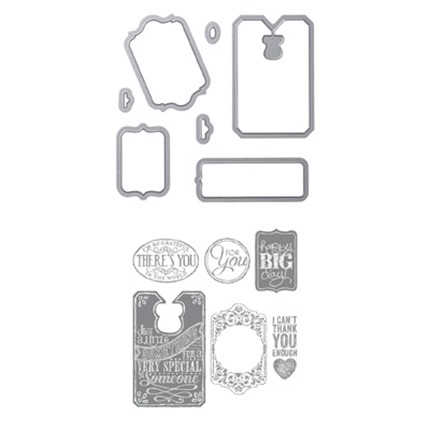
This week is always a big Birthday week for everyone I know, this month actually.  So why not keep with the celebration theme?  Chalk Talk has not only this awesome stamp set, but a great tag framelit set that anyone can use.  Today I made a very simple, but elegant card that actually fits any celebration, not just birthdays.  I have to admit, it was a little simple to me, until I put the Pearl Basic Jewels on.  Then it all came together and worked.  I wish I actually had taken a before and after photo, it made that much of a difference!

Chalk Talk 001 Front

Creative Tips –

  • I actually made this little tag for all of Michael’s birthday presents on Saturday.  They completely worked – and best thing – I didn’t even have to write on it!  Once I whipped these little guys up, this card popped in my head.Chalk Talk 001 CU
  • Obviously it’s a present, but the Chevron Embossing Folder really adds a nice touch to what would be the wrapping paper.
  • If you didn’t have ribbon, you could easily substitute strips of card stock.  I would still wrap them around the edge of the gift for that gift wrapped look.Chalk Talk 001 Height
  • To emphasize the gift, I popped it up with dimensionals, along with the greeting portion of the tag. 
  • The Happy Big Day tag is actually two tags from this set.  Chalk Talk 001 Side
  • Proportions made the difference on this card.  I have the full 1/8” border at the base, so I needed any other Mattes to be 1/16”. 

I love this card – and I think I’m going to make a bunch, they serve so many occasions – birthday, wedding, promotion, any firsts, etc…  What other occasions do you think it would fit?  Let me know if the comment section and I’ll send one to one random winner!  Who wouldn’t want one of these in the mail – I know I love mail…other than bills, right?

Chalk Talk 001 Main L

    Online Brayer Class now Available

    You’ve patiently waited…it’s finally here!  Creative Scenery classes using a brayer have by far been my biggest hit with stampers in class.  Now you too can learn from the comfort of your very own craft room.  The Brayer has stumped many crafters over the years, well actually more.  Over three varied step by step video projects, you will master how to create gradual transitions than stun the card recipient.  You will feel like an artist.  Best of all, you will look at your stamps in a whole new way, and try things you never would have thought to do before.  Take part of the series, take the whole series, or get the class for free – you choose. Find out more here

    Signature-Snowflake-001_thumb1

To Shop 24/7 in the Creative Store – Click here!

Chalk Talk 001 Angle

To view the details or see close ups of any products used in the above project, just click on the green link to view it in my store 24/7.

Stamp Sets – Chalk Talk (130634c, 130631w),  Chalk Talk Bundle (132730c, 132731w) Ink – Tempting Turquoise, Early Espresso Paper –Whisper White, Tempting Turquoise, Early Espresso Cool Tools – Chalk Talk Framelits, Chevron Embossing Folder, Big Shot, Magnetic Platform Finishing Touch –Stampin’ Dimensionals,Pearl Basic Jewels, Whisper White 3/8” Taffeta Ribbon

Chalk Talk Bundle

Happy Day Mojo

Happy Day 001 Main 1

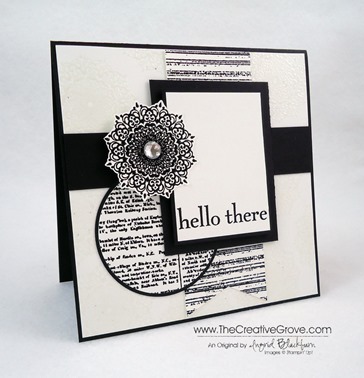
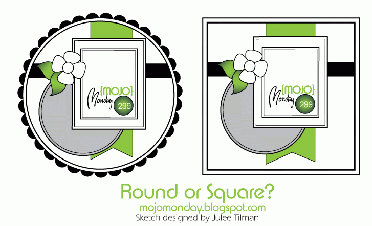
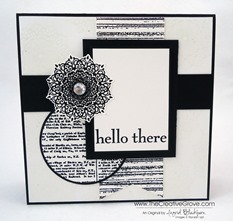
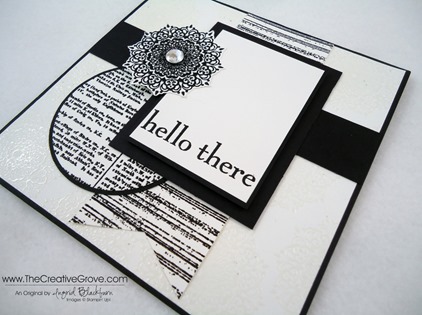
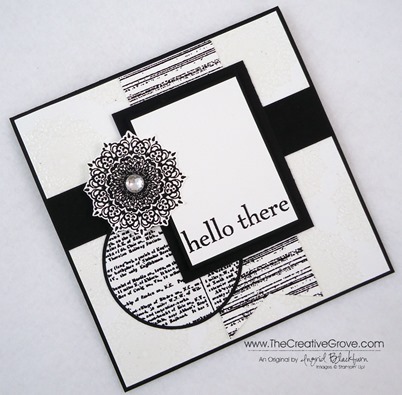
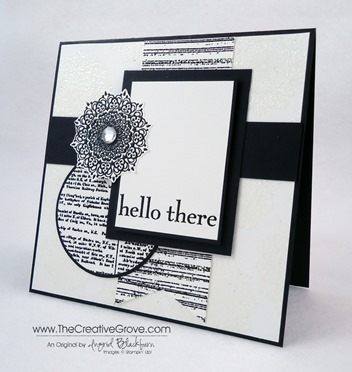
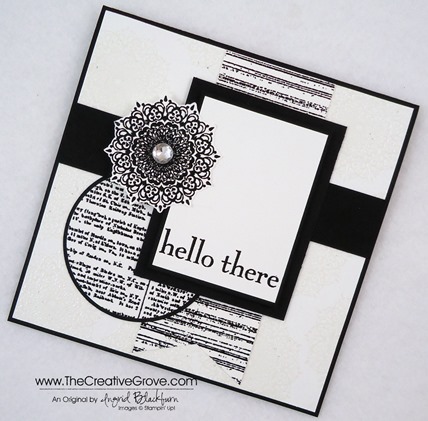
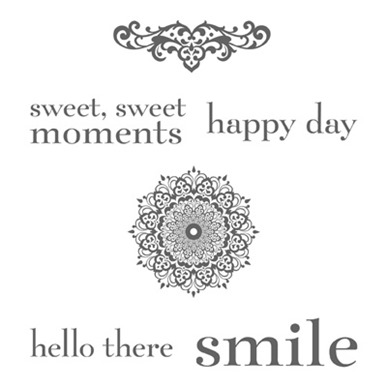
Hello there new Happy Day stamp set.  Doesn’t that just sound like a fun sentence?  I started off using the Modern Medley paper because I wanted to try a black and white card, and lo and behold – it’s black and vanilla!  So I whipped out some of my favorite new stamps and created my own fun papers today!  I hope you enjoy all the creative tips that resulted in this Mojo Monday card!  Here’s the original sketch and my result.

Mojo299SketchHappy Day 001 Front

Creative Tips –

  • I wanted a striking look so I embossed each element of this card.Happy Day 001 Medallions
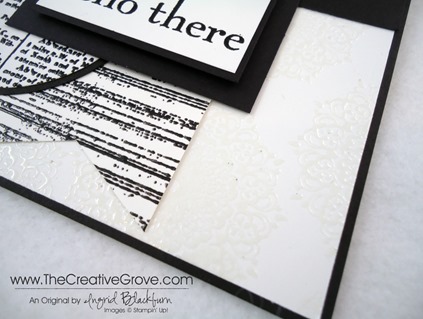
  • For a subtle background for my white card front I embossed the medallion in clear embossing powder to create a designer paper look.  Happy Day 001 Circle CU
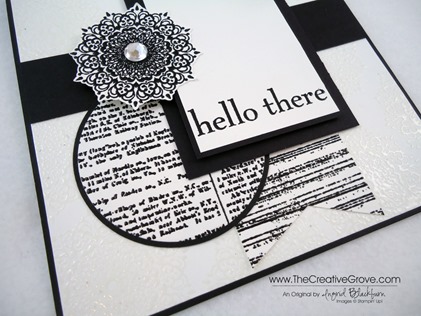
  • The new Dictionary Background stamp is perfect to use for that little piece of designer paper.   I’ve used it several times already and can see that it will definitely become a staple.  I punched a Basic Black matte with my 2 1/2” Circle Punch and the dictionary circle was cut out using the fourth circle in the new Circle Framelits Collection. 
  • To bring a little emphasis to the rectangle I matted the white rectangle (2” x 2 3/4”) on a piece of Basic Black (2 1/8” x 2 7/8”)that had a 1/16” matte.  I popped that black rectangle onto a larger one (2 1/2” x 3 1/4”) with a 3/16” matte.  The smaller Basic Black rectangle was popped up using Stampin’ Dimensionals.Happy Day 001 Elements
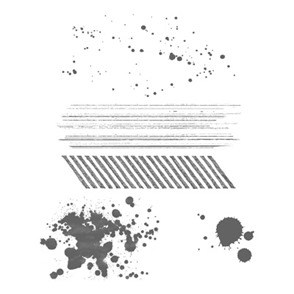
  • For the banner I used the Gorgeous Grunge stamp set.  It’s a cool look and you can easily over stamp it for tighter lines if you want to.  Because the banner is so wide, I couldn’t use a square punch for the end, so I cut up and far as I wanted and brought each corner to the point.  View my video on how to make banner flagsHappy Day 001 Height
  • Once I embossed the Medallion in black embossing powder I cut it out leaving a slight Whisper White border.  I popped it up on double dimensionals stacked on top of each other for the side not adhered to the white rectangle.  I needed to do this so that it didn’t sag to the left.Happy Day 001 Side
  • For a finishing touch, I added an extra large Rhinestone to my medallion.  Since I have so much embossing on the card I didn’t want to over do it by adding more rhinestones.  I started too, and then took them away as it was just enough too far.  My rule is when you want to add one more, stop.  That’s enough. Smile

Happy Day 001 Main 2

I hope you like the elegance of the card.  I think this one will definitely brighten someone’s day!


Signature Snowflake 001

To Shop 24/7 in the Creative Store – Click here!

Happy Day 001 Angle

Stamp Sets – Happy Day (130297c, 130294w), Dictionary (130351c, 130348w), Gorgeous Grunge (130517c, 130514w) Ink – Versamark (102283)  Paper – Whisper White (100730), Basic Black (121045) Cool Tools – Paper Snips (103579), 2 1/2” Circle Punch (120906), Circles Collection Framelits (130911) Finishing Touch – Stampin’ Dimensionals (104430), Large Rhinestone Basic Jewels (129324), Clear Embossing Powder (109130), Black Embossing Powder (109133)

Gorgeous GrungeDictionary Background StampHappy Day Stamp Set

Beautifully Baroque Bundle

Beautifully Baroque 001 Main

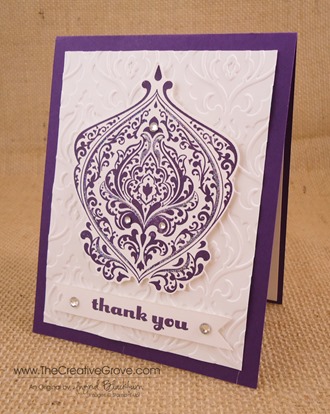
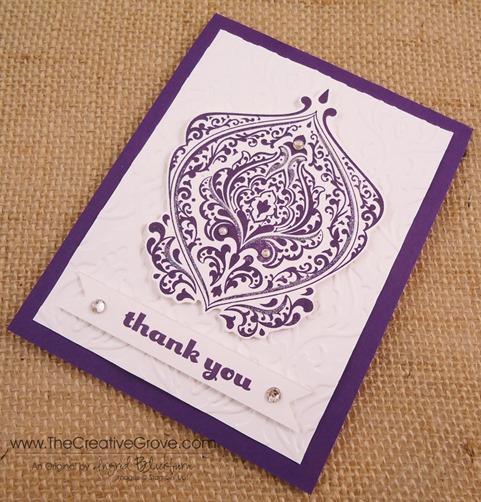
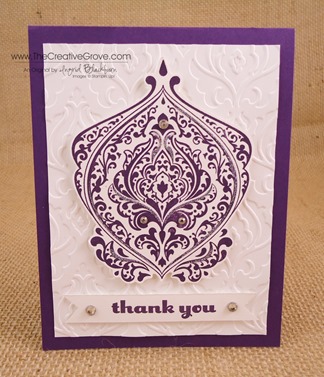
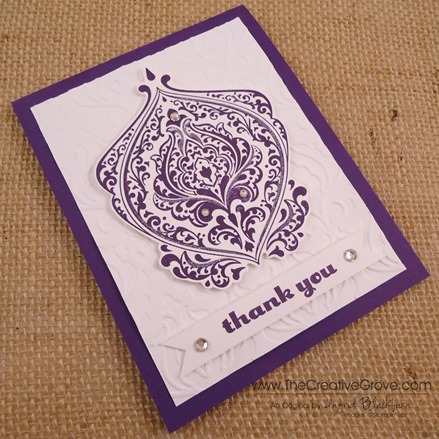
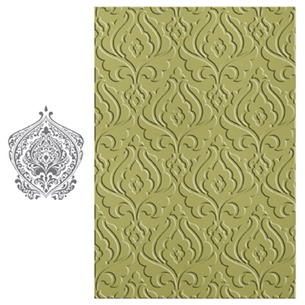
Let me introduce you to one of my must have’s out of the new catalog this year – the Beautifully Baroque bundle.  Two products are bundled for a 15% discount – this stamp, Beautifully Baroque and the Baroque Motif Textured Impressions Embossing Folder.  And this card is the perfect combination of the two.  I hope you love it!

Creative Tips –

  • Baroque reminds me of palaces in Europe and regal things.  So I naturally gravitate toward the color of royalty – purple.  I chose the Elegant Eggplant color to bring that royal quality to my project today.Beautifully Baroque 001 Side
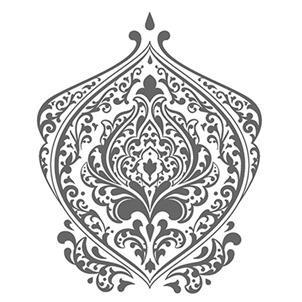
  • This stamp only comes in the wood mount option.  I stamped my image using the Stampin’ Mat so that I would get a good solid image.  The stamp itself if rather large, and I didn’t want to miss the middle.  The Mat helps give me a nice firm cushioned base so that I can stamp larger images and get even pressure everywhere, not just the edges, it’s a miracle worker!
  • To accentuate it, I cut out my image and put Stampin’ Dimensionals on it.
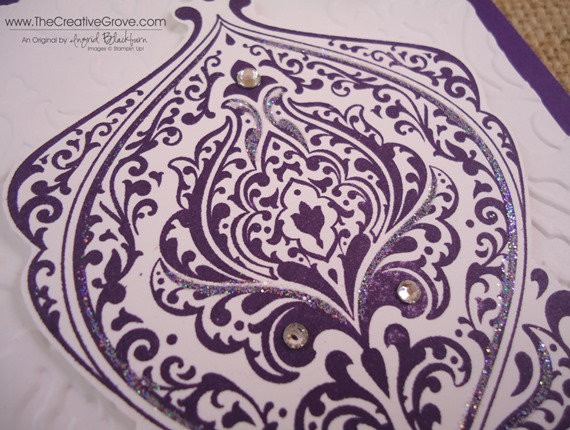
  • To add some glitz to my image, I used a 2 way glue pen and let it dry for a few seconds before adding some Dazzling Diamonds to it.  I didn’t want to over do it, so I just added a little on the longer lines.  Beautifully Baroque 001 CU
  • For the background, I ran a 3 3/4” x 5” piece of Whisper White through my Big Shot using the Baroque Motif TIEF folder and matted it onto my Elegant Eggplant base.
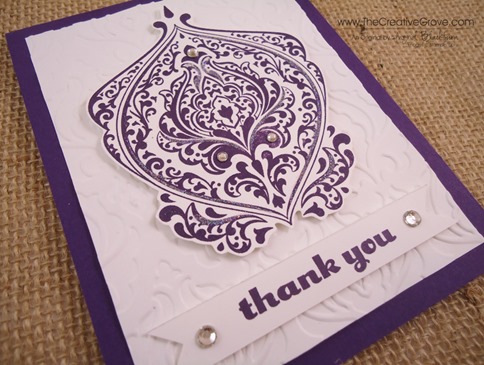
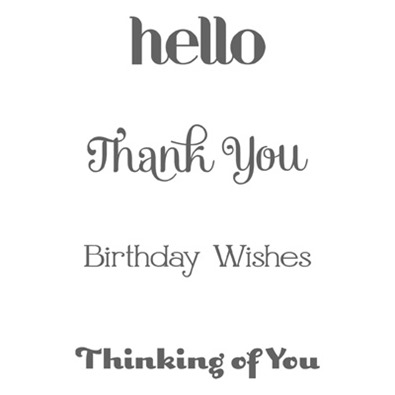
  • I made a banner using my 1” Square Punch.  The greeting is from the new set – Four You which has four great greetings for every occasion! Click Here for a video on how to make perfect banners.Beautifully Baroque 001 CU 1
  • To give the card a little drama, I popped up my banner with Stampin’ Dimensionals and then figured out the spacing for my main image and my banner.  Don’t just adhere it first – use both to get the proper spacing.
  • Once adhered, I added some Rhinestone Basic Jewels.  The ironic thing is if I look at them, I see the Eiffel Tower! Beautifully Baroque 001 Front
    This is a fun project that’s pretty quick and quite simple.  The glitz of the Dazzling Diamonds and Rhinestones really sets this project apart from a just stamped one!

Are you getting my Exclusive Video Series?

Be sure to sign up for my Creative Tips Newsletter and get the latest Creative Grove news in addition to my free Creative Techniques Video Series!  Don’t miss out on our creative community – the only way to get this exclusive content is to sign up in the box on the upper right or click here.

Signature-Snowflake-001_thumb1_thumb

To Shop 24/7 in the Creative Store – Click here!

Beautifully Baroque 001 Angle

Stamp Sets – Beautifully Baroque (130895),  Beautifully Baroque Bundle (132732) , Four You (130538c, 130535w) Ink – Elegant Eggplant (126969) Paper – Whisper White (100730), Elegant Eggplant (105126) Finishing Touch – Two Way Glue (100425) Dazzling Details (102023), Stampin’ Dimensionals (104430), Pearl Basic Jewels (119247)

Untitled-12Beautifully Baroque Bundle

Four You

Elegant Anniversary

Yesterday I celebrated my anniversary.  So, naturally I was on an anniversary card kick!  It all started with my Mojo Monday card HERE.  Then I decided to give my Smashed Flower Card an elegant new styling and here is the result. 

I was challenged by an anniversary challenge by the Creative Crew on Splitcoast Stampers.  I’m on the Design Team this quarter and the sketch was so close to my smashed flower card from last summer that an overhaul for an entirely new card was in order.  See my other card and video tutorial on smashed flowers HERE.

Creative Tips:

  • I wanted to use Cherry Cobbler since it seemed to be the color of the day for me yesterday and represents the color of love so well!
  • I used the Travel Journal builder wheels with Cherry Cobbler ink for the background.  These are by far my favorite wheels ever! 
  • For an elegant touch, I used our Brushed Silver Cardstock.
  • Each Whisper White cardstock piece is sponged with Basic Black ink.  Over the embossed piece I made sure to do it gently so I only hit the raised parts.

The Smashed Flower is super easy to make and SO elegant.  It’s hard to believe that it was just two punched flowers.  Watch my FREE video tutorial on how to make it HERE

Signature Snowflake 001

To Shop 24/7 in the Creative Store Click here!

Stamp Sets – Travel Journal Builder Wheel (3) (126937), Teeny Tiny Wishes (115370c, 127802w) Ink –Basic Black (126980), Cherry Cobbler Ink Refill (119788) Paper – Whisper White (100730), Cherry Cobbler (119685), Basic Black (121045), Brushed Silver (100712) Cool Tools – Fancy Fan TIEF (127751), Big Shot (113439), 1” Square Punch (124094), Scallop Trim Border Punch (118402), Stampin’ Sponges (101610) The Perfect Finish – Stampin’ Dimensionals (104430), Basic Black 3/8” Taffeta Ribbon (109070)