Mojo inspired Floral Thanks

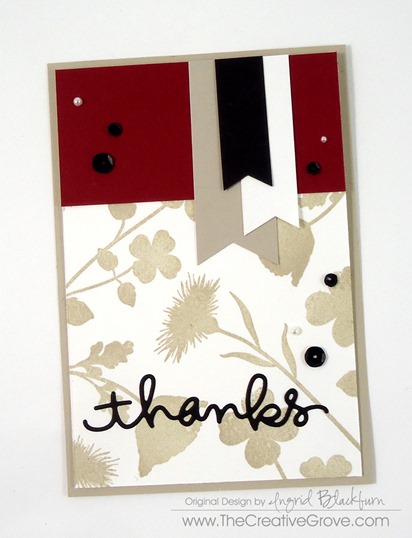
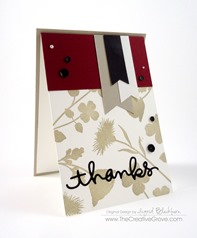
Neutral Floral Thanks 001

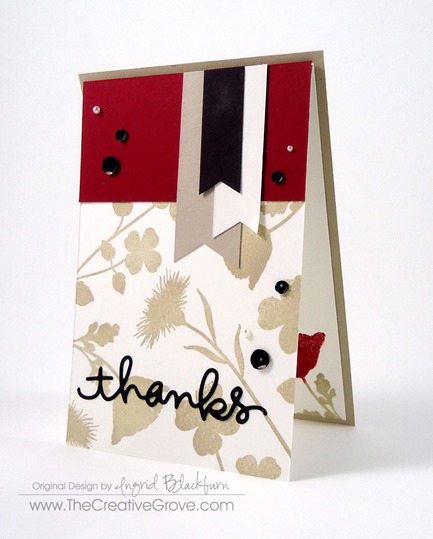
I have to admit, I’ve been needing a little Mojo lately, so what better to start off the week than a Mojo Monday inspired card?  We all go through creative slumps.  While I’ve been creating and filming for our Online Community this past month, I haven’t been able to dig deep to find extra projects for the blog, which I’ll be honest – has been frustrating.  Does that ever happen to you?

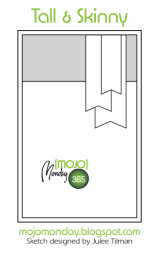
I look every week at a ton of challenges, hoping for a spark, but alas, the well was dry.  But not this week – yesterday I think I finally broke out of my slump!  I created two cards, one for today’s post – Mojo Monday and another for the Merry Monday Christmas Challenge Blog.  That one you’ll see a bit later.  So here this weeks sketch and my interpretation:

                                      Mojo365SketchNeutral Floral Thanks 006

Creative Tips –

  • For this Clean and Simple card – I created a monochromatic stamped design using the My Favorite Things stamp set Grand Peaceful Wildflowers.
  • You’ll want to stamp several images to give a little variety – I used three in Sahara Sand. 
  • The neutral Sahara Sand color by Stampin’ Up! really stands alone while offering enough of a background sense to allow the greeting to really pop without getting lost.Neutral Floral Thanks 003
  • For a little pop – just like a painted accent wall, use a deep, powerful color to go along with your neutrals – here you see Cherry Cobbler, but a rich purple or deep earthy orange would also look great.
  • The script die cut Thanks is from Simon Says Stamp.
  • Staggering your banner lengths help to give a strong emphasis to that part to let them stand out without getting lost.
  • As seen in the video in the VIP Community (Project and Class online video Resource Library) you really see how the sequins and pearls are a needed accent.
  • Finally, something quirky about the card is that the card front, not the card base opens. Neutral Floral Thanks 002
For measurements and a great video tutorial, see the VIP Community Project Library for tips and insights among many more projects and techniques.

Let me know in the comments if you too get stumped with blocked Mojo.  What do you do?  None of my regular go to remedies were working for me!  Have a great week.

Signature

Join us for new video tutorials on techniques and projects every week, plus monthly online classes! Click image below to see more.
VIP Community

Simply Sketched Watercolor

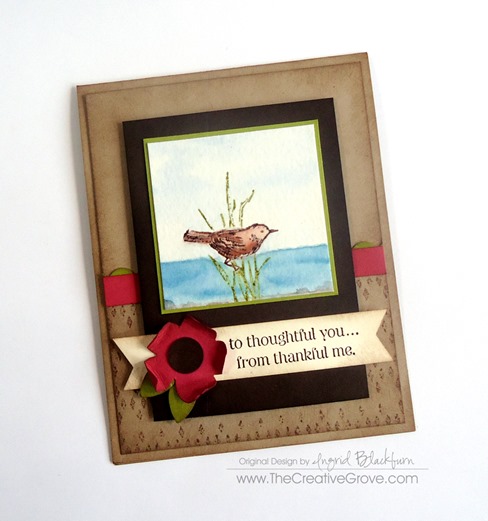
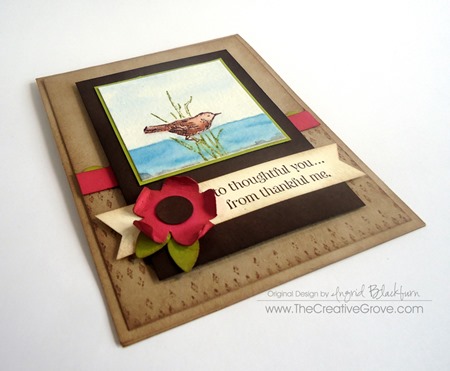
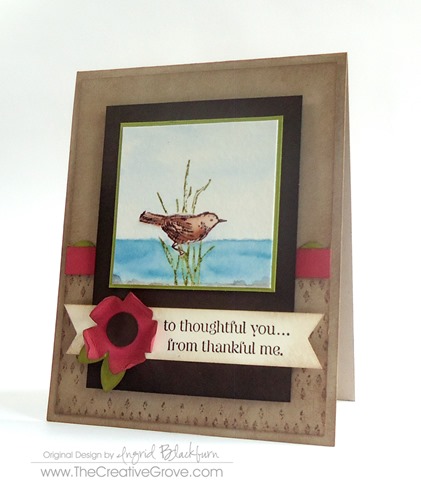
Watercolor Bird Mojo Mon 001

Today is my 52nd Mojo Monday challenge!  Wow – that’s enough to fill up a WHOLE year!  Now, it is over the course of not quite two, but still…quite a few.  To say I love this challenge is an understatement.

For today’s challenge, I pulled out my watercolor pencils, aqua painter and was a little creative with my background.  There are so many techniques in this one card, that I had to just film a video for our VIP Community.  Below are the steps in a nutshell.  Enjoy!

Today’s Mojo sketch and my interpretation:

                               Mojo358SketchWatercolor Bird Mojo Mon 008

Creative Steps –

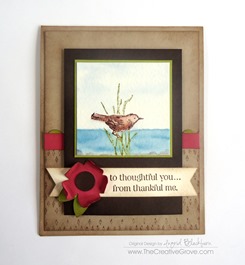
  • I watercolored this image from Simply Sketched.  I pulled color from some Faber Castell Watercolor Pencils with my Aqua Painter in a unique way, rather than color directly on my paper.  We have a watercolor class on this and many other techniques here if you’re interested in watercolor.

Watercolor Bird Mojo Mon 004

  • I wanted to keep the watercolor as the star, so I lightly sponged every background piece. 
  • To keep the card light, fun and neutral, I chose Crumb Cake, Early Espresso, Very Vanilla, Old Olive and Primrose Petals by Stampin’ Up!.
  • The flower was cut using the spring garden framelits, then sponged and bent up at the edges. 

Watercolor Bird Mojo Mon 006Watercolor Bird Mojo Mon 007

  • The greeting was placed on a banner, made with a hexagon punch (see this video for tips on how) and is from the set Lots of Thanks
  • I wanted a subtle background, so I stamped argyle using the Argle Embossing Folder and some Crumb Cake ink.
  • Watercolor Bird Mojo Mon 003

I love how it turned out.  There’s just the right amount of pop with color to compliment the watercolored piece.

Here’s to another 52 Mojo Mondays! Smile

Signature

Want exclusive tutorials and videos – get the Creative Tips E-letter

Want access to 4-5 stamping video tutorials each week?  Learn techniques, projects and get access to our classes!  Check out our VIP Community here.
Clean and Simple Birthday Card for LeAnne

Clean and Simple Flower Birthday Card (2)

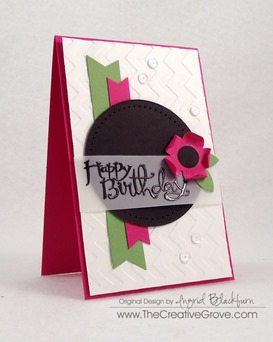
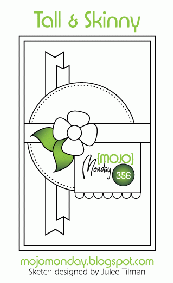
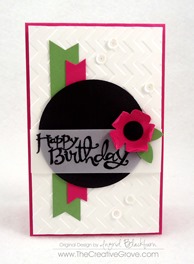
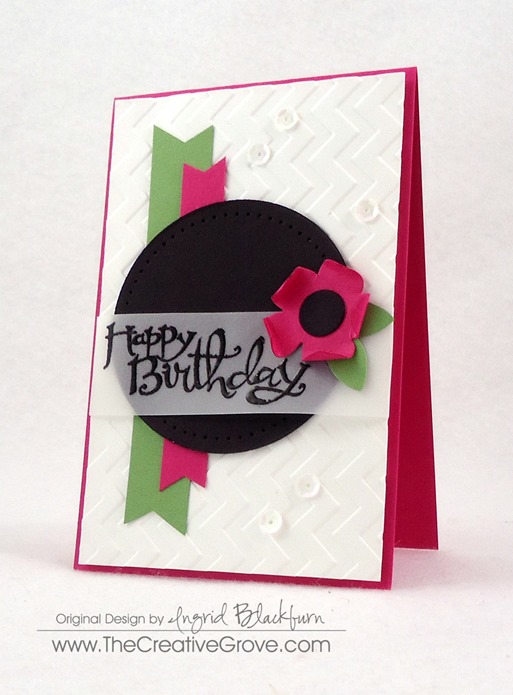
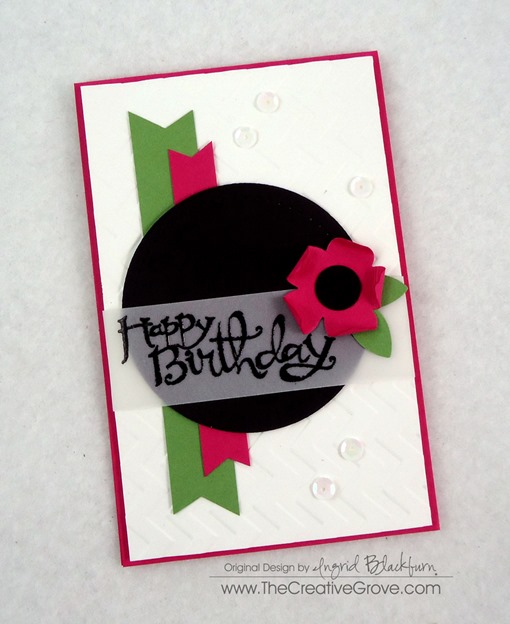
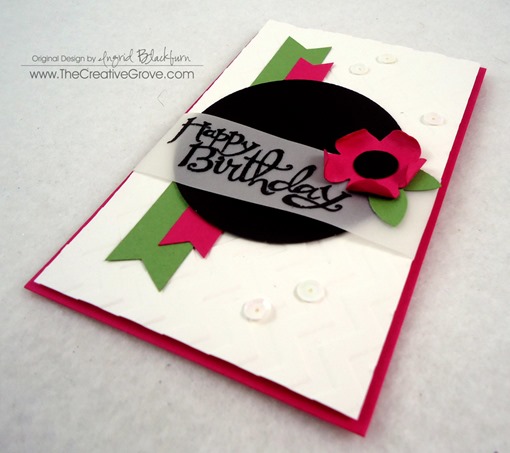
I decided to combine my Monday challenges today and when I saw the Merry Monday challenge today was a Birthday Hop – I was SO excited!  Of course, I went to Mojo Monday first thing at 5 AM East Coast Time…and fell in love with the sketch right away – I mean how could you not – the possibilities were endless!  I was already thinking up all sorts of Christmas ideas…then quickly switched gears and made a fun bright CAS birthday card instead!

Surprise Hop Graphic for LeAnnemojo356Clean and Simple Flower Birthday Card (4)

I love LeAnne Pugliese’s cards every time I see them on the Merry Monday Christmas Challenge Blog, so I decided she needed a Birthday card that was fun, sassy, and colorful with no less than my latest little addiction – sequins (thanks Deanne – I have you to blame for these).

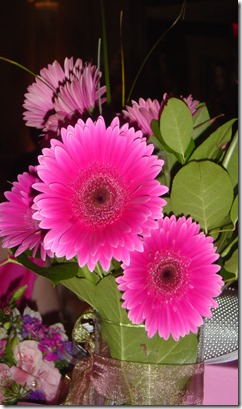
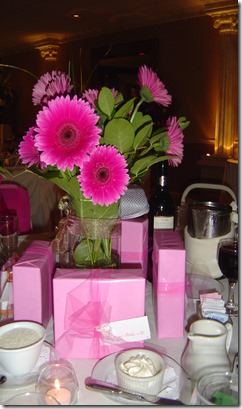
I knew I wanted to use the Sassy Salutations birthday greeting and my mind immediately went to the bright pink Gerber Daisy.  My sister-in-law Claudia had these at her wedding and I couldn’t stop taking photos of them, they were so editorial!

Claudias Wedding 015Claudias Wedding 016

Now I know the middles are mostly yellow, but I left it black so that I didn’t bring another color in.  It’s a fun little card, don’t you think?  My favorite parts – the flower, belly band and of course, I’m a convert – the sequins!  So LeAnne – this card is for you!  I hope you have a FABULOUS birthday!

Clean and Simple Flower Birthday Card (3)Clean and Simple Flower Birthday Card (1)Clean and Simple Flower Birthday Card (5)Clean and Simple Flower Birthday Card (8)

Hope you liked that!  If you’re a TCG VIP Member – you’ll see a video of this project in the Project and Resource Video library. Smile

Have a great start to the week!

Signature

Sparkly Ornaments

DSC02021

It seems to be a sequin theme this week!  Today’s project combines two great weekly challenges – Mojo Monday and Merry Monday.  Fittingly – both give your week a creative jump start.  I have to admit, if I wasn’t prompted to use them (thanks to Deanne over at Merry Monday), I wouldn’t have used Sequins.  In actually, I had to go out to the store to get some!

I got lucky, there was a 50% off bin, and I quickly grabbed these super rich in color Magenta sequins along with some cool chocolate brown ones + plus three other colors at regular price – a whole 1,15 euros – seriously, that’s pretty cheap – where have these been all my life?

You may have seen my other Merry Monday card too – that one uses clear sequins to perfection – as snowfall!  I have a link to that project right here.  This week I’m a guest designer at the Merry Monday Christmas Challenge Blog.  Both Merry Monday and Mojo Monday challenges are fun, I encourage you to enter both!
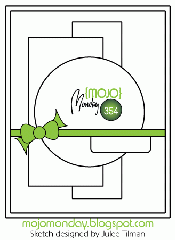
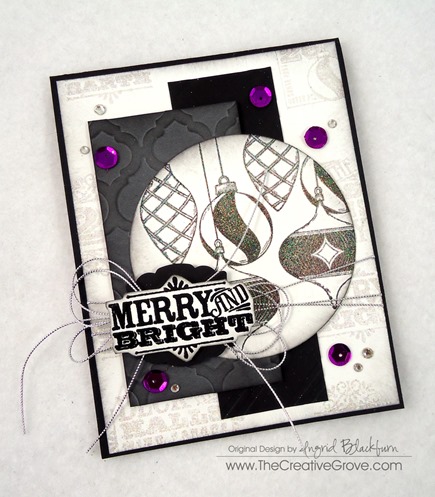
Here’s the sketch for Mojo Monday this week and my interpretation:

mojo354DSC02020

Do you ever not know whether or not to put embellishments on your projects?  I have a little trick for what I do in that case below.

Creative Tips –

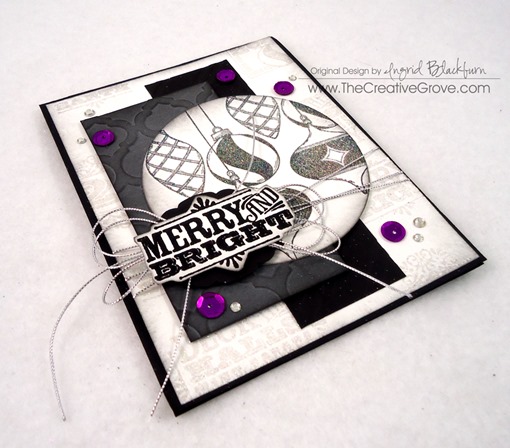
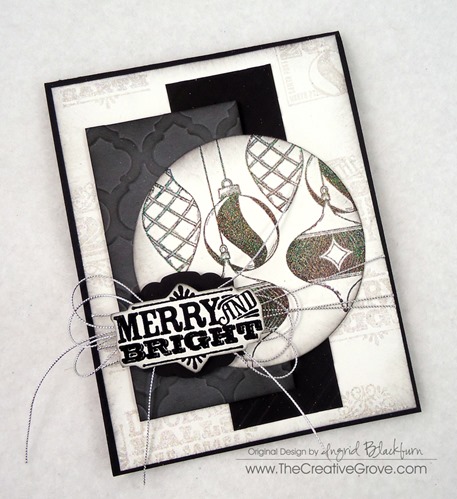
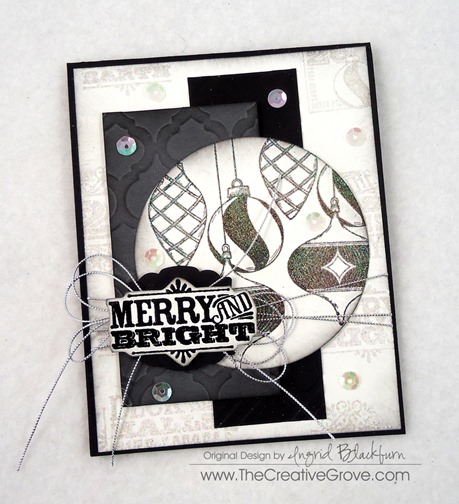
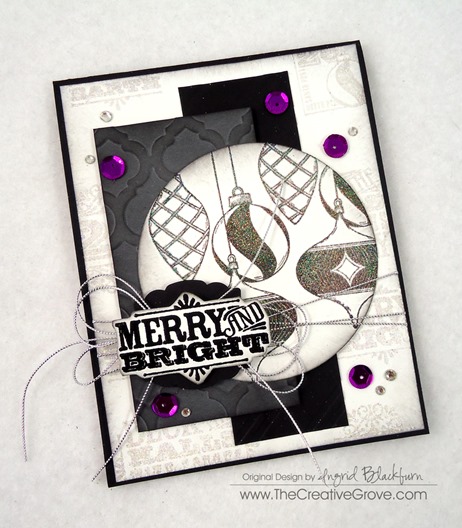
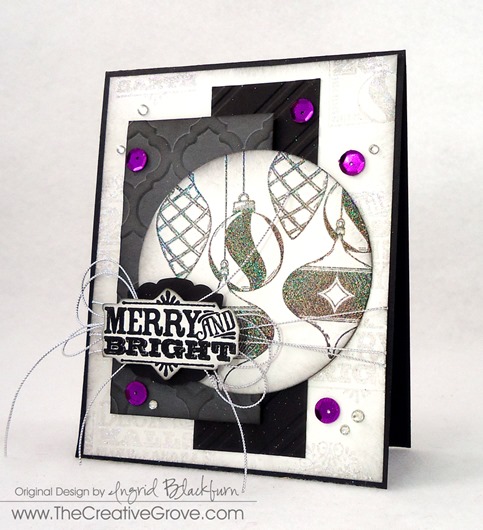
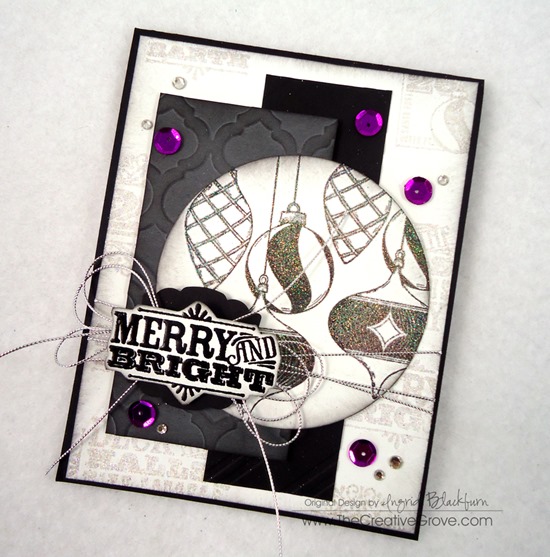
  • To really let the sequins be the star, choose neutrals as your card elements.  Here you see Basic Black, Whisper White and Basic Gray.
  • Both the darker pieces were run through the big shot with embossing folders, the black with the stylish stripes and the gray with the Mosaic Maddness.
  • To add a little depth to the Gray, sponge it lightly with the same color, then on the edges in black.

DSC02015

  • Cut a circle with framelits or a large punch.  Stamp your ornaments in a pigment based black in and emboss using the heat and stick powder then dazzling diamonds glitter.  To keep that glitter from really staying put – the heat and stick powder works wonders!  And the black ink under the glitter really shows off the various colors of the glitter – very cool!
  • Edge your circle lightly using a sponge and first Gray then black inks.
  • For the subtle background, use Christmas greeting stamps and emboss in Versamark ink, then heat and stick powder then Dazzling Diamonds glitter.  Edge with Gray or Black ink.

DSC02019

  • Adhere the black card stock strip (2 x 4 7/8”) to your background using Tombo Multi purpose glue.
  • Pop up the Gray piece on foam tape.  Glue the half of your ornaments circle to the gray, then add foam tape to the exposed side.  Adhere to your project.

DSC02011DSC02016

  • Wrap silver cord around your project three times.  Create a triple loop with four strings and place in between your stamped, embossed in black and cut out greeting.  Pop it up using foam tape and place over an Artisan Label punch out piece of Basic Black.
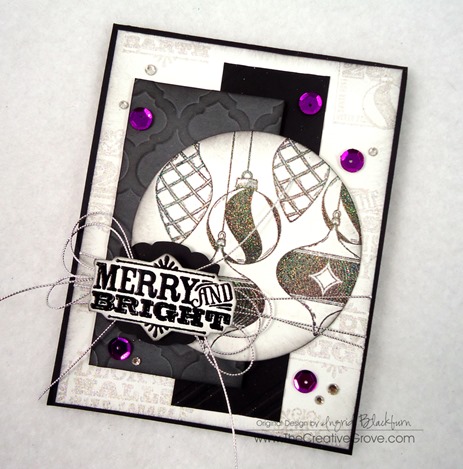
  • I wasn’t sure whether to leave it along at this point or use the Magenta Sequins as I planned.  Here are three choices I had.  My trick – take photos and then look at them in my camera or on the computer.  It’s much easier to figure out what to do here.  You can see that you can add sequins, photograph and switch out without having to adhere them.  My choices were none, clear or magenta.

DSC02007DSC02012DSC02015

  • I still couldn’t decide – so I went to my failsafe choice – ask my hubby Michael he quickly said purple and I knew my instincts were right!  Why do we always doubt those?!
  • My final touch was to add a few Rhinestones to the sequins, I know it’s a lot of bling, but why not?

DSC02022

Hope you love the end result.  If you liked this tutorial and want to learn more exclusive tips, videos and see other projects not on the blog – sign up in the box below and I’ll stay in touch with an e-letter from time to time.  You’ll immediately get the first of three project videos to keep you inspired!

Have a great day – now get stamping!

Signature

[optin_box style=”14″ alignment=”center” action=”http://www.aweber.com/scripts/addlead.pl” disable_name=”Y” method=”post” email_field=”email” email_default=”Enter your email address” email_order=”1″ integration_type=”custom” double_optin=”Y” name_default=”Enter your first name”][optin_box_hidden][/optin_box_hidden][optin_box_code]

[/optin_box_code][optin_box_field name=”headline”]If you enjoyed this tutorial…[/optin_box_field][optin_box_field name=”paragraph”]PHA+PHNwYW4gc3R5bGU9ImNvbG9yOiAjNjQ2MzVlOyI+TGV04oCZcyBzdGF5IGluIHRvdWNoISBNeSBvY2Nhc2lvbmFswqA8L3NwYW4+PHNwYW4gc3R5bGU9ImNvbG9yOiAjNjY2Njk5OyI+PHN0cm9uZz48ZW0+ZXhjbHVzaXZlPC9lbT48L3N0cm9uZz7CoDwvc3Bhbj48c3BhbiBzdHlsZT0iY29sb3I6ICM2NDYzNWU7Ij5DcmVhdGl2ZSBUaXBzIGUtbGV0dGVyIHdpbGwgdGVhY2ggeW91IHRvIG1ha2UgcHJvamVjdHMgdGhhdCB5b3UgbG92ZeKApjwvc3Bhbj48L3A+Cg==[/optin_box_field][optin_box_field name=”privacy”][/optin_box_field][optin_box_field name=”top_color”]undefined[/optin_box_field][optin_box_button type=”0″ button_below=”Y”]Send me exclusive tips![/optin_box_button] [/optin_box]

DSC02019

Mojo Monday Garden Flowers

Mojo Monday Flowers

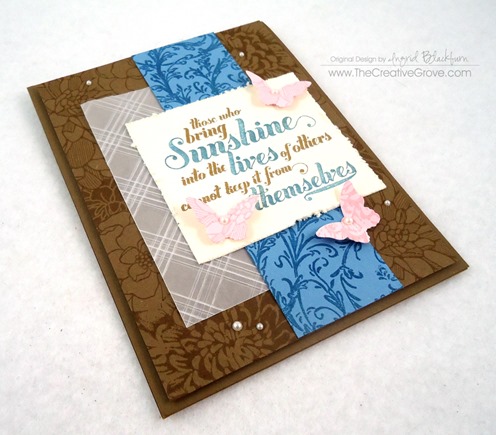
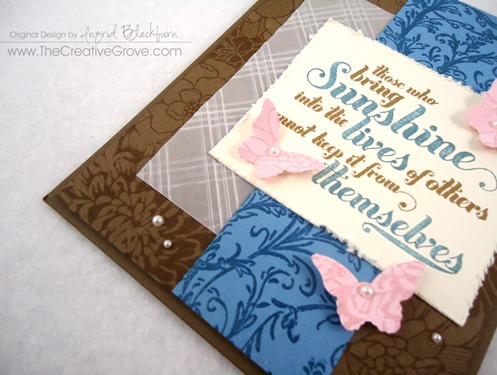
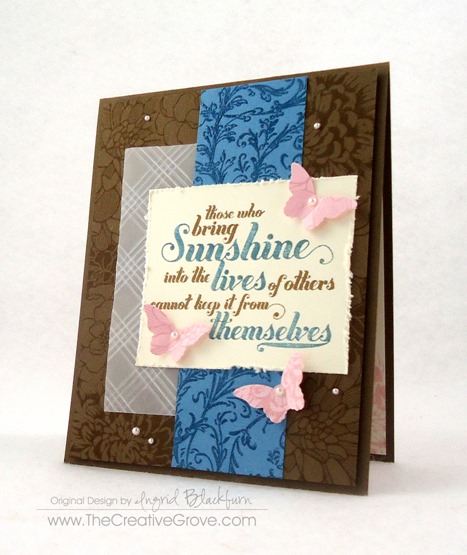
It’s the middle of summer and all the flowers here are in bloom.  I thought I’d bring you a floral card with non-traditional colors today for Mojo Monday. Smile

Today’s sketch had me immediately reach for all my floral stamps.  Did you happen to see my card last week with the amazing floral garden?  If not, check it out here.  But first see all the creative tips listed below.

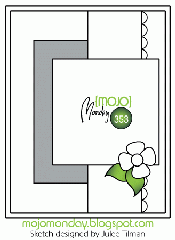
Here is today’s Mojo Monday sketch from the Challenge Blog and my interpretation:

mojo353DSC01940

As you can see, I strayed a tiny bit and excluded the scallop border.  I planned on including it, but didn’t want to take away any further from the pretty flower background I created.

Creative Tips –

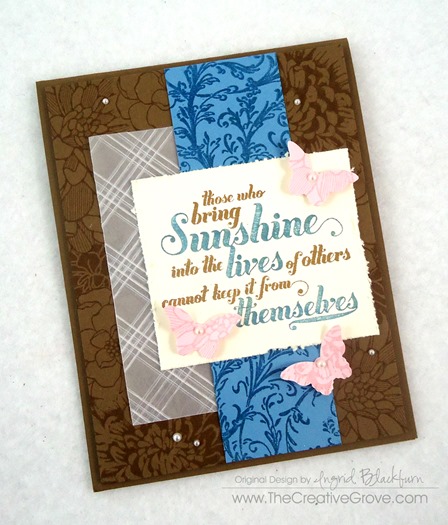
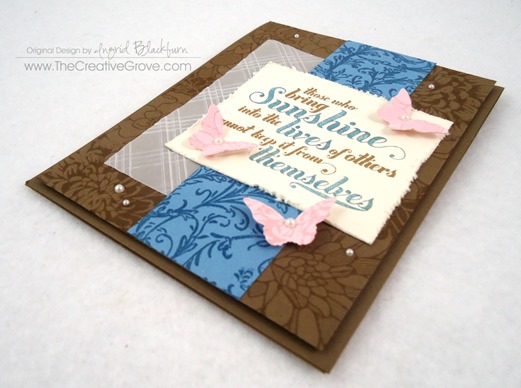
  • Mask various flower stamps that you have to create your own background.  Alternate open images with tighter ones for a filled out look.
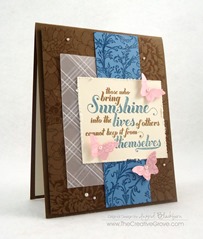
  • Don’t feel you need to stick to traditional flower colors.  Here you see Baked Brown Sugar.

DSC01941

  • I kept playing with which colors to put in the background, and finally decided on adding a little texture to Vellum as a subtle piece.  To create this cross-hatch pattern, alternate a striped embossing folder to make the x’s.
  • Do you have stamps that are tucked way in the back and forgotten about?  My filigree background stamp seems to be one of those.  I wanted something with a romantic feel, so I embossed the pattern on a piece of Marina Mist card stock in versamark and clear embossing powder.  It compliments the flowers, yet stands on its own.

DSC01948

  • The greetings from this set are cool.  I love the boldness of chosen words and chose to highlight them.  I didn’t have a baked brown sugar marker, so I inked up the entire image with an ink pad and removed the ink from where I needed with a blender pen.  I then colored those words in with a marker that I did have.

DSC01943DSC01949DSC01947

  • I’m sure you’ve noticed that I rarely use just plain butterflies.  Here you see several stamped with floral images and then punched out.  It gives a little character to the wings and looks pretty cool!
  • For a finishing touch, distress your edge of the greeting, add some pearls and pop up your card front.

Mojo Monday Flowers

This clean and simple project completely works for me.  It’s loaded with various techniques, and works – even with non-traditional garden floral colors!

Signature


[optin_box style=”13″ alignment=”center” action=”http://www.aweber.com/scripts/addlead.pl” disable_name=”Y” method=”post” email_field=”email” email_default=”Enter your email address” integration_type=”custom” double_optin=”Y” name_default=”Enter your first name”][optin_box_hidden][/optin_box_hidden][optin_box_code]


IF YOU ENJOYED THIS POST
Let’s stay in touch! My occasional Creative Tips will teach you to make projects that you love…

[/optin_box_code][optin_box_field name=”headline”]If you enjoyed this tutorial…[/optin_box_field][optin_box_field name=”paragraph”]PHA+PHNwYW4gc3R5bGU9ImNvbG9yOiAjNjQ2MzVlOyI+TGV04oCZcyBzdGF5IGluIHRvdWNoISBNeSBvY2Nhc2lvbmFswqA8L3NwYW4+PHNwYW4gc3R5bGU9ImNvbG9yOiAjNjY2Njk5OyI+PHN0cm9uZz48ZW0+ZXhjbHVzaXZlPC9lbT48L3N0cm9uZz7CoDwvc3Bhbj48c3BhbiBzdHlsZT0iY29sb3I6ICM2NDYzNWU7Ij5DcmVhdGl2ZSBUaXBzIGUtbGV0dGVyIHdpbGwgdGVhY2ggeW91IHRvIG1ha2UgcHJvamVjdHMgdGhhdCB5b3UgbG92ZeKApjwvc3Bhbj48L3A+Cg==[/optin_box_field][optin_box_field name=”privacy”][/optin_box_field][optin_box_field name=”top_color”]undefined[/optin_box_field][optin_box_button type=”0″ button_below=”Y”]Send me exclusive tips![/optin_box_button] [/optin_box]

Star Spangled Mojo Birthday

Clean and Simple Birthday Cards (2)

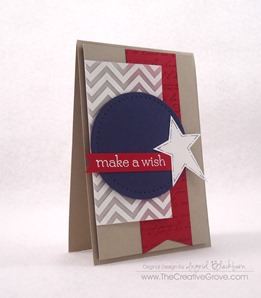
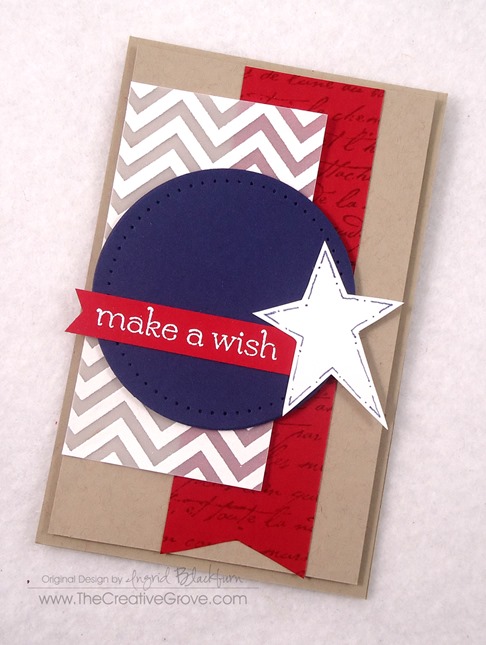
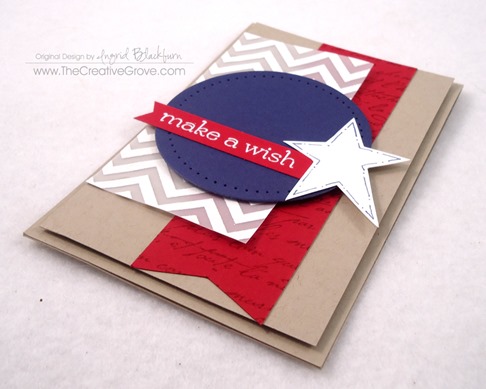
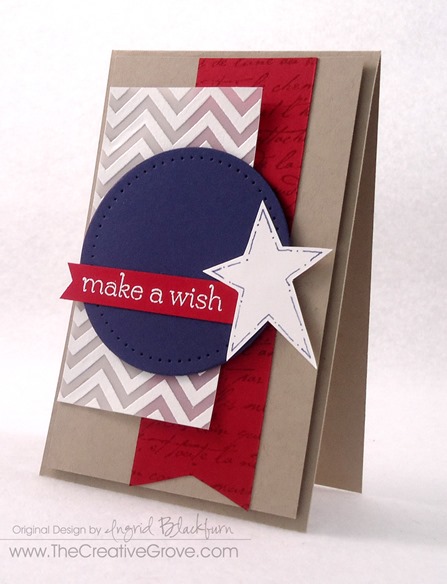
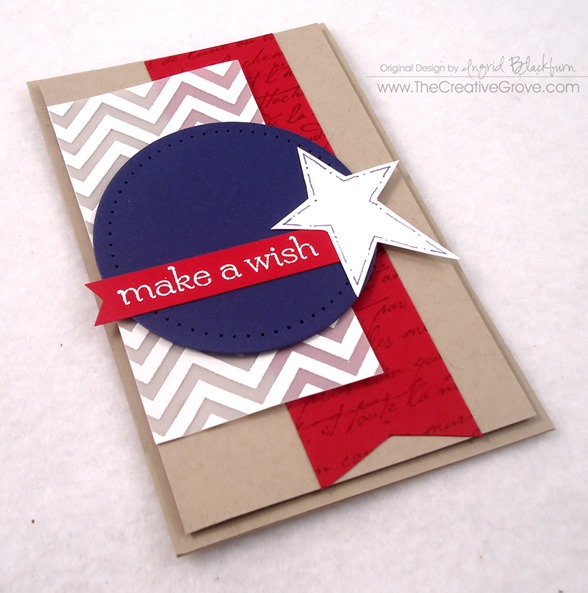
It’s Monday, and you know what that means – creative day!  Yes, here’s my Mojo Monday card for the week.  I just LOVE these sketches, they always put out a great sketch and this week is no different.  Since it’s Independence day in the States this week, I thought I’d stick with the red,white and blue and offer up a star spangled flag look to my card.  I love the way it turned out – hope you do too!

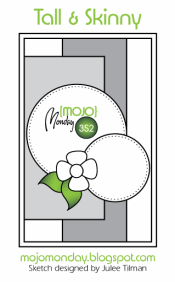
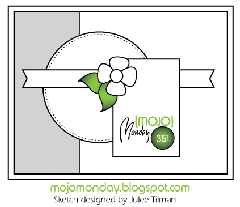
Here’s this week’s sketch, if you haven’t tried this challenge out, I encourage you to do so to get your creative juices flowing:

Mojo352SketchClean and Simple Birthday Cards (1)

I love this card so much I decided to also enter it into the Simon Says Stamp Anything Goes Challenge as well. Check it out here 

Creative Tips –

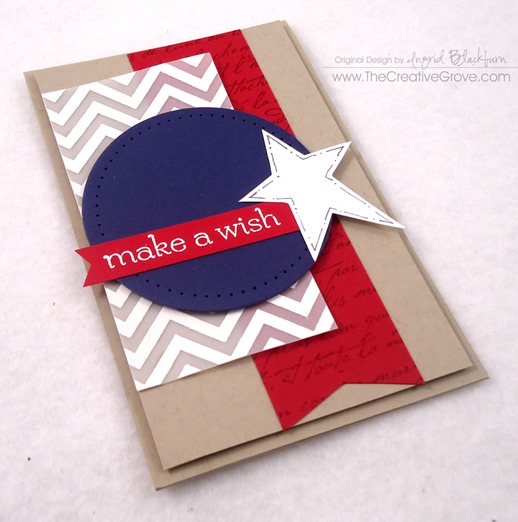
  • Instead of the long strip, I turned it into a banner to go along with the flag theme I was incorporating.  To give a nod to the constitution, I thought some script background would look great. Clean and Simple Birthday Cards (5)
  • If you are struggling with color sometimes it’s best to go the Vellum route.  Here you see the Chevron pattern embossed in white on Vellum Cardstock.  This worked great, and the first one I tried in white was just too much.  A more subtle approach was needed.
  • When thinking of the flag, you think stitching, right?  So some simple paper piercing can serve as the best accent.  I don’t know why I just can’t ever get my circles to stay in the right spot, but even a bit off centered, it works! Clean and Simple Birthday Cards (6)
  • If you want a more folksy looking star, and like me, you don’t have a punch or framelit to cut one, try sketching one and cutting it out.  I googled folk star images and just free-handed one off the screen.  Easy Peasy – much better then my true free hand cut ones…lol!
  • For a little drama, pop up your circle and card front.

Clean and Simple Birthday Cards (8)Clean and Simple Birthday Cards (7)

  • The greeting banner is perfect, could be for July 4th or a birthday.  Simple and to the point.  Just the right accent.

Clean and Simple Birthday Cards (3)

I hope you enjoyed this little tutorial and project.  Be sure to stop by later today, I have another project going live and more tomorrow.  Or better yet, join our Creative Tips list and get exclusive projects and a great video series delivered right to your inbox!  Thanks for joining me today – have a great start to your week!

Signature-Blog

Clean and Simple Birthday Cards (6)

Click here to join the Creative Tips List, and get your free exclusive projects, don’t miss out!

A Mojo Celebration

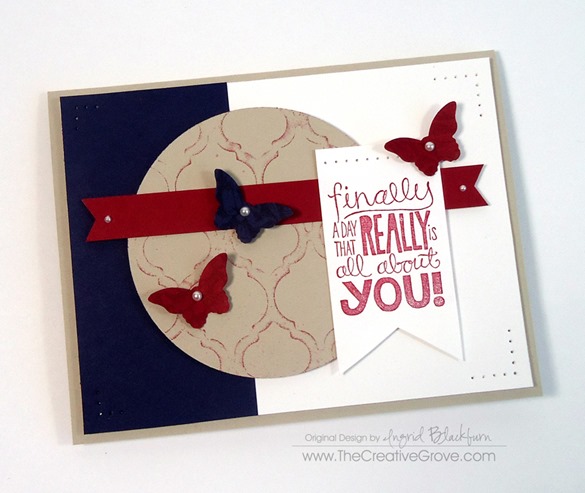
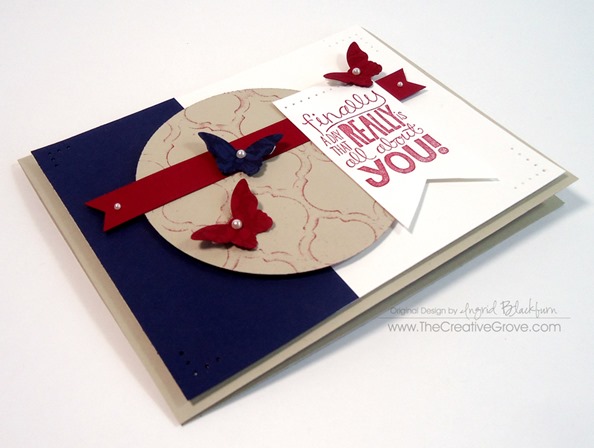
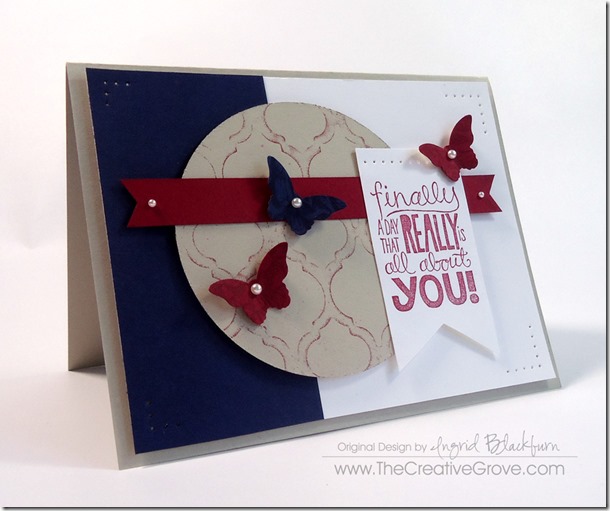
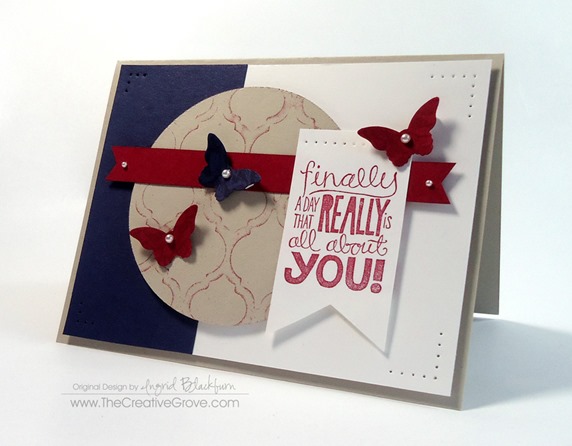
Are you getting ready for the 4th of July in the States?  I’m not sure why the 4th of July popped into my head this morning, but I thought, why not go with that color combination!  Today’s sketch is a pretty straight forward one. Here is the Mojo Monday sketch and my interpretation:

Mojo351SketchMojo Monday (6)

The key to this project of me was to find a greeting that worked on a large enough banner. 

  • The butterflies have a pattern from a flower stamp on them for a little more interest. 
  • Mojo Monday (5)

  • The pattern stamped on the circle comes from an embossing folder.
  • The final pieces that pull this card together are the paper piercings in the corners & on the tag plus the final two pearls on the banner believe it or not. 
  • Mojo Monday (1)Mojo Monday (7)

Originally I just had pearls on the butterflies, but the card needed something.  I had ruled out pearls there when I tried the same size as the butterflies, but it really needed something.  Once you place the tiniest pearls you have on it, you’ll see that it all clicks.

Mojo Monday (2)

Be sure to check out the Mojo Monday challenge – it’s a great way to kick off the week in a creative way!

Signature-Blog

Interested in more great ideas than just on the blog – sign up for the Creative Tips List and I’ll send you a creative video series with several projects and techniques to try out!

Mojo Monday (4)

Watercolor Wash Mojo Monday

DSC01411

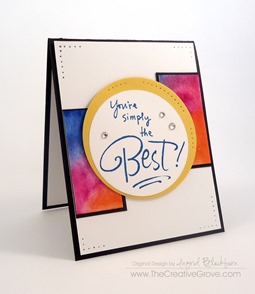
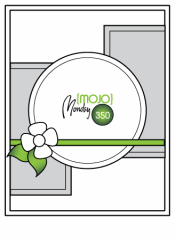
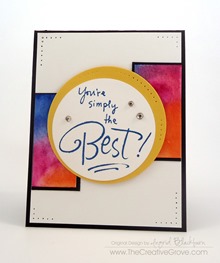
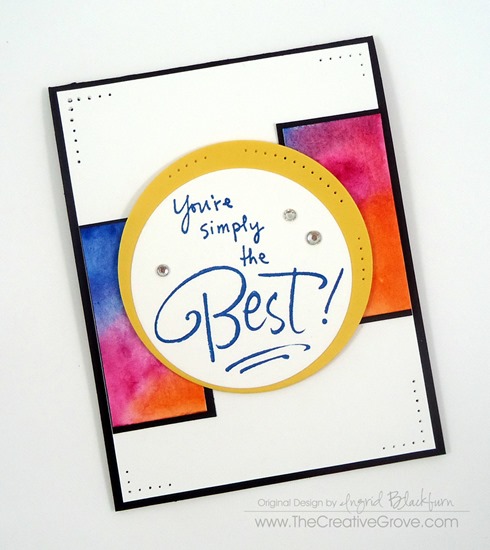
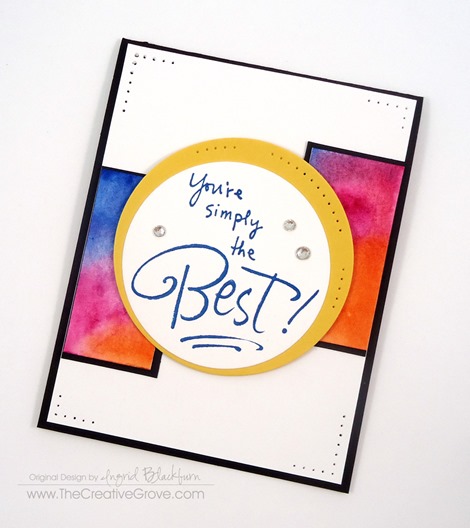
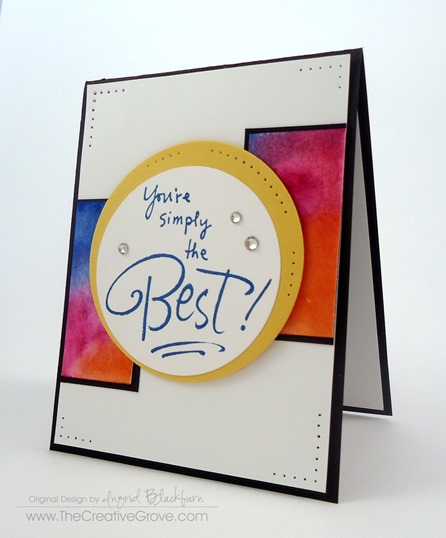
Do you sometimes just need a little pop of color in your life?  A watercolor wash is the perfect way to do just that!  Today is Monday and I have another Mojo Monday Challenge card for you.  I kept it simple and let the color be the star here without adding too much.  Here’s the original sketch and my interpretation:

                   Mojo350SketchDSC01413

If you just love the simple blend of color and want to learn various techniques to use watercolor in your cards, try our Watercolor Techniques that Wow class.

Watercolor Narrow 125

Creative Tips –

  • Choose colors that work with each other.  If you’re unsure of what to choose, get yourself a little color wheel like the one here.  The colors you see here are a Tetrad group – two sets of complimentary colors.  I knew the Magenta would blend into violet, so I chose that as a better blend then straight violet.
  • DSC01434

  • The colors used are Schminke Hordam Aquarell Yellow Lemon, Translucent Orange, Paris Blue and for the yellow – Stampin’ Up! Daffodil Yellow Cardstock.
  • The colors are the star, so the remainder of the card is kept really neutral – Basic Black and Whisper White. 
  • Stamp your greeting in a bold color like Pacific Point here.
  • I don’t own a smaller set of circle framelits for that perfect border…yes, I know – what?!!  On my list (which is quite long, for some reason it keeps getting bumped…lol).

DSC01436DSC01435


  • For an accent – try something simple like paper piercing.  Keep it balanced.
  • Pop up various elements like your greeting and card front to give your project dimension.

DSC01412

    If you liked this card – check out some of our classes or our monthly technique community!  Thanks for visiting today – now get stamping!

    Signature

    Creative Techniques Banner 72