Recycled Pieces into Beauty

DSC01469

Not every project works out.  Do you have that same experience too?  There are often lots of left over pieces.  I used to save it all, and I’m happy to say that I have outgrown that!  But, every now and then, I have a few pieces that I just can’t throw away just yet.

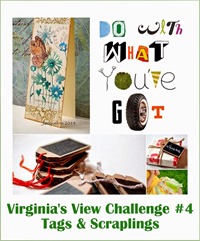
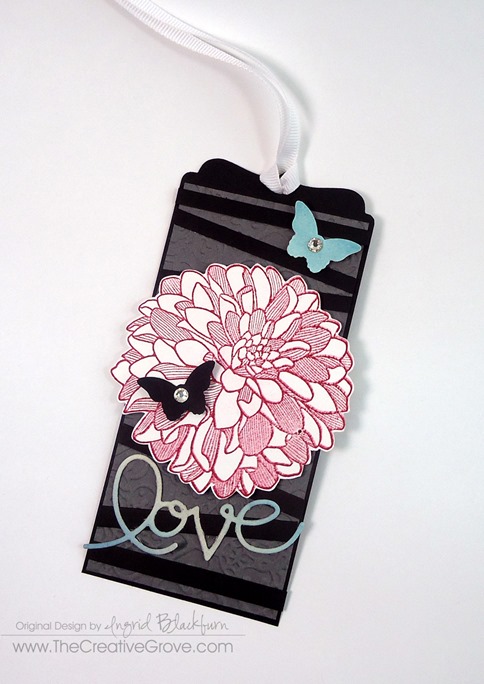
I’ve participated a few times in a new challenge put together by Virginia Lu.  It’s Virginia’s View and this month the challenge was about Tags and Scraplings.  The catch – you have to use a recycled item on your project.  Today’s project is completely made out of pieces that I chose not to use, or were literally in my waste basket (the black strips…lol).

Virginias View June 2014

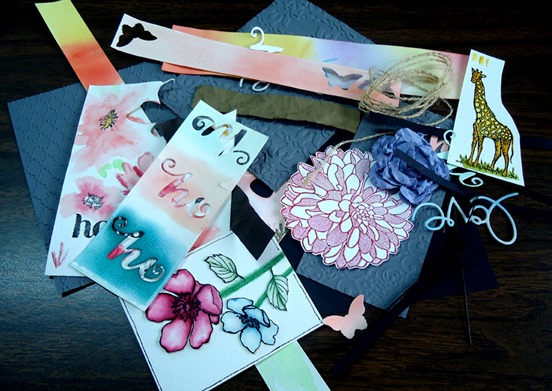
I’ll be honest – Virginia put together an interesting challenge this month.  Actually, each month they are interesting!  This is one of those challenge blogs that on the 1st – one of the first things I do is go and check out what she’s throwing our way.  I read it and went, huh?  Okay, not my thing and I moved on.  But I decided to go back, and try something that made me uncomfortable.  I read through and thought, why not?  So over to my “left over and junk scraps/not used pieces” I went and here is what I found:

DSC01459

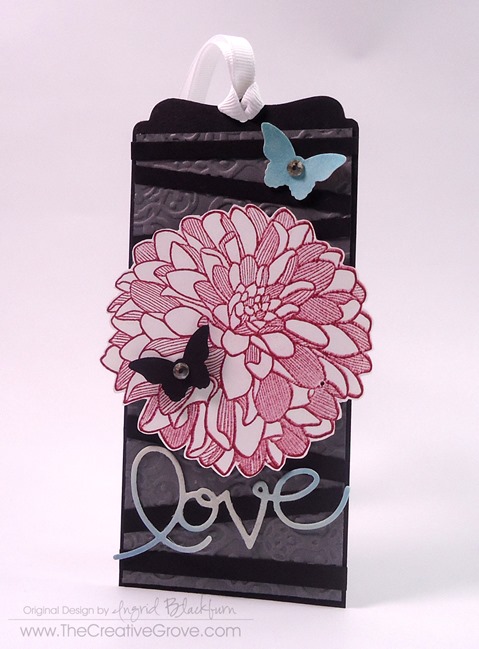
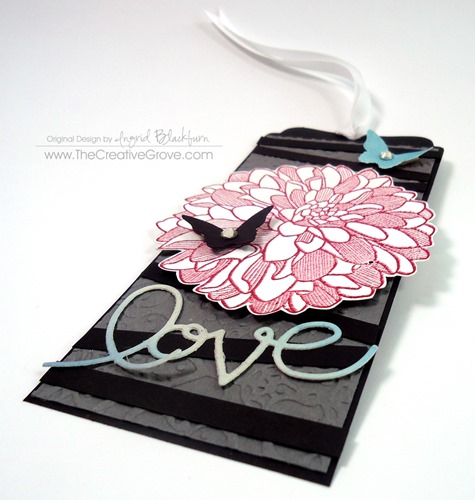
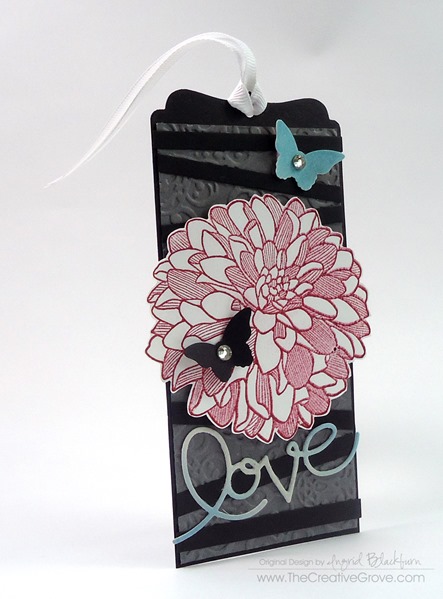
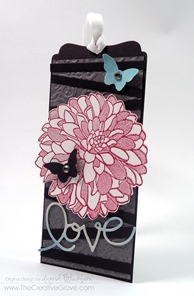
The only non-junk pieces on this tag are the rhinestones, ribbon and black butterfly!  Even the dimensionals are from the outside border that I don’t always use…lol!  The two pieces that I pulled out of the trash for this project were the flower (and the black strips – those were hanging out at the bottom of my little scrap garbage bag on my desk.  I keep scraps up to about 1” x 3”.  Other than the 1/2” x 11” pieces, all else gets tossed.  So here are the details for todays tag.

Creative Tips –

  • Sometimes going with imperfection can be a good thing.  The main focal point on today’s tag is the Dahlia flower in Cherry Cobbler.  It was originally thrown out because the right and bottom side was stamped a little blurred.  But it’s not that bad – I’m just a perfectionist…that’s why it didn’t make the cut the first time!

DSC01468

  • The Love word is cut out of watercolor paper that’s been watercolored with island indigo and smoky slate.  As has the light blue butterfly – can you believe that was done with island indigo?
  • The Basic Grey background was that size, and was run through the big shot with the Lacy Brocade embossing folder by Stampin’ Up!  The texture is the perfect touch for the background.

DSC01473

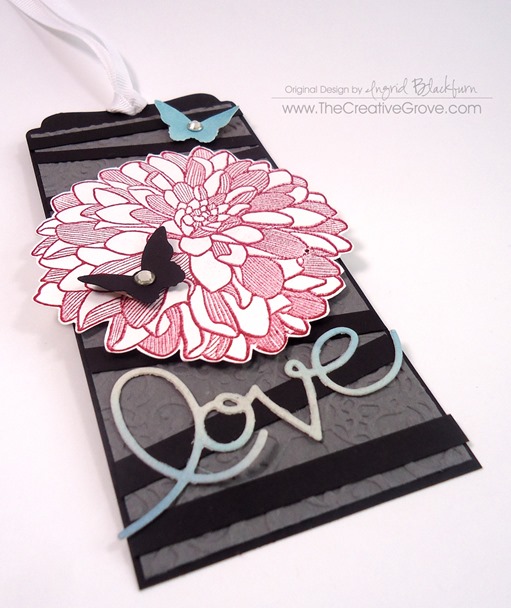
  • Since the tag is rather large, breaking the color up was the obvious choice for me.  Since I didn’t have any left over string, I pulled out little strips that were at the bottom of my garbage scrap bag.  Criss-cross them to make the appearance of wrapped ribbon,
  • Cut a background that’s a little wider (1/16th on the left, right and bottom).  Run it through the big shot with the largest top edge of the Deco Labels Framelits to form the top of your tag.  Punch a hole with a 1/8” hole punch.

DSC01477

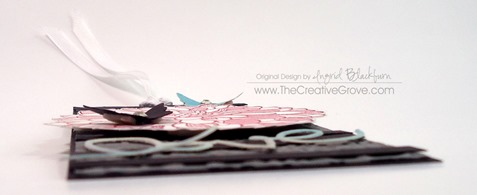
  • Pop your flower and butterflies up with dimensionals.  The butterfly wings are popped up on the edges to simulate flight.

DSC01475DSC01474DSC01476

  • Glue the love down using multi purpose glue.
  • Add Rhinestones to the butterflies and a white ribbon to complete the color pop.

I have to admit, this tag turned out much better than I possibly expected.  And who would have thought something so cute could be made from scrapped pieces?  Well thanks Virginia, I learned to definitely save a few more pieces and go into that stash a little more often!

DSC01470

Hope you enjoyed this.  So what scrapped pieces do you have?  Leave me a comment and let me know!

Creatively Yours –

Signature

PS – stop by tomorrow for my new 1+ 2 = 3 series – one stamp + two colors = three looks!
 

How to use a Card Sketch

Too Kind Stamp Set Mojo 338 Main L (2)

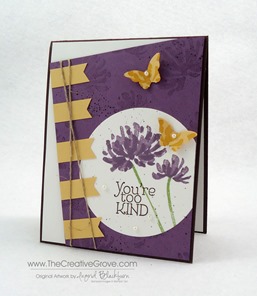
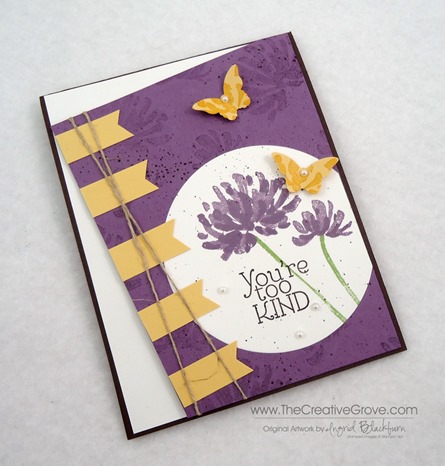
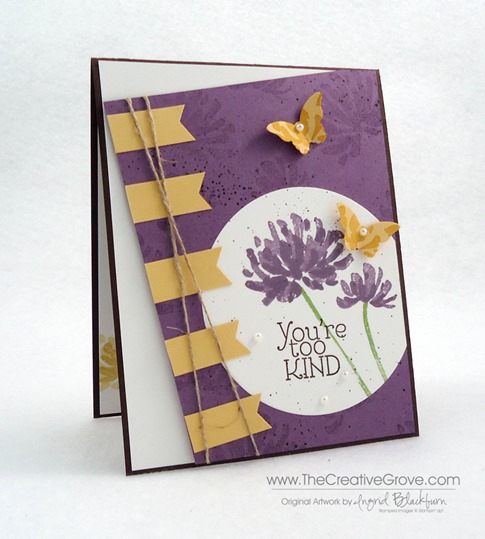
It’s Monday, and I thought you’d like to see a Mojo Monday card today.  This was an easy one.  The sketch provided was rather straightforward and I thought today I’d explain how I create cards using sketches.  Thanks for following along this tutorial, if you like what you see, be sure to sign up to learn more through The Creative Grove Newsletter list right here!

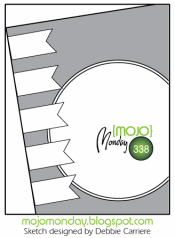
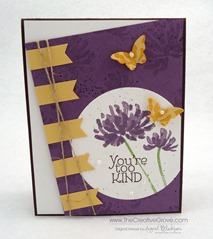
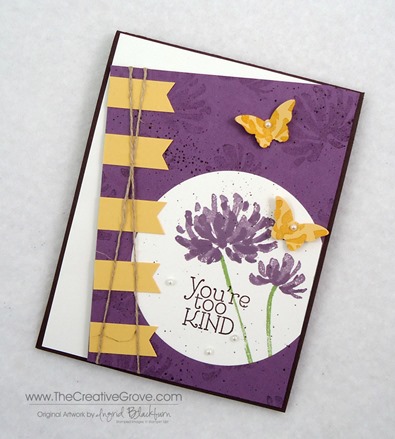
You can get card and scrapbook page sketches just about anywhere these days, Pinterest, Magazines, Challenge Blogs and Books.  I like to participate in the Mojo Monday Challenge as it gets the creative juices flowing first thing in the week.  Here’s the sketch for today and my final project.

               mojo338Too Kind Stamp Set Mojo 338 (7)

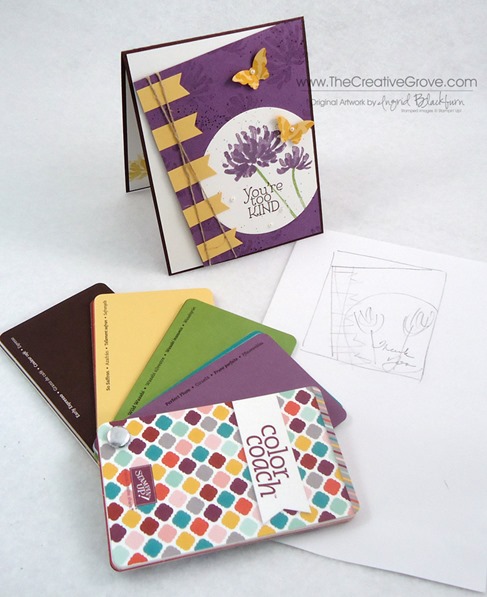
To get a clear picture of what to do, I always follow these two rules –

  1. Sketch out my idea
  2. Pick my colors

Too Kind Stamp Set Mojo 338 (2)

Once I’ve done this, the rest easily falls into place.  I don’t get too crazy with details on my own sketch, but if I think of a particular stamp set or paper that I have, I may write that down too.  I find this exercise invaluable in the time saving department.  It helps me to lock in on an idea.  You already have a starting point with a sketch, now plan a little more on paper rather than cut, cut and cut more paper trying to figure out what you’re going to do! (Believe me…I’ve done that too!)

Too Kind Stamp Set Mojo 338 (9)

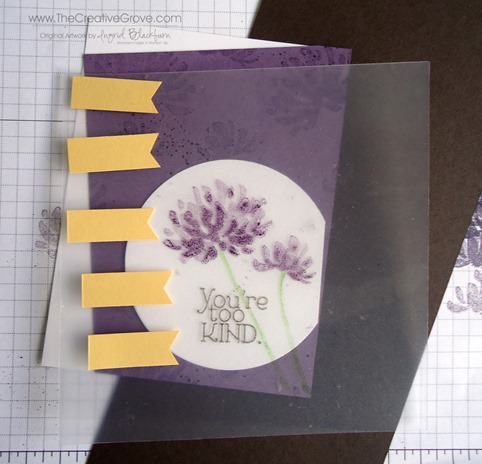
For todays card, you can use any stamp set you have, I used Too Kind by Stampin’ Up!.  I wasn’t 100% sure on the placement, so once I cut out my circle with my circle framelits, I lopped on a tiny piece from the side and stamped my flowers first on a piece of scrap paper, then transparency like a Stamp-a-Majig and then layered it on the circle.  It was much easier to make sure of my placement since this is a two-step stamping set.

Too Kind Stamp Set Mojo338 Trial

To properly get the angle right, add a little adhesive, but not too much that you can’t peel it back up.  I added a rectangle over my white, then trimmed my three sides.  This way, once I laid down my banners, I was able to place my twine in the criss-cross. before putting it down permanently.

Since there are so many little tips and techniques, I thought I’d give you a video to see  exactly how I made this card.  It’s one of the exclusive videos going out to The Creative Grove list this week, to sign up and get this step by step video tutorial plus other videos and tips… Sign up here And if you’re already on the list – watch your inbox this week!

Too Kind Stamp Set Mojo 338 HeightToo Kind Stamp Set Mojo 338 (1)Too Kind Stamp Set Mojo 338 CloseUp

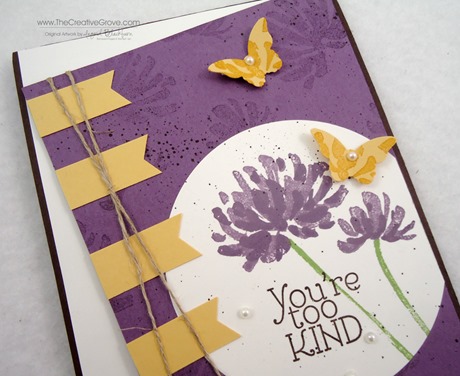
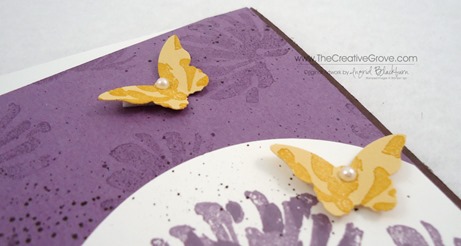
To create the little banners, use So Saffron cardstock for a color pop.  You can add even a little more with the butterflies.  To make sure the butterflies aren’t too plain, use the secondary image from the dandelions in Crushed Curry over the So Saffron.  It’s easier to do so, before you punch.  Add some Pearls and you’re all set!

Too Kind Stamp Set Mojo 338 Main R

If you’d like to learn more, check out our online classes here.  Thanks for stopping by today and if you liked this card, be sure to leave me a comment below!

Signature Snowflake 001

Too Kind Stamp Set Mojo 338 (10)

Beautifully Baroque Bundle

Beautifully Baroque 001 Main

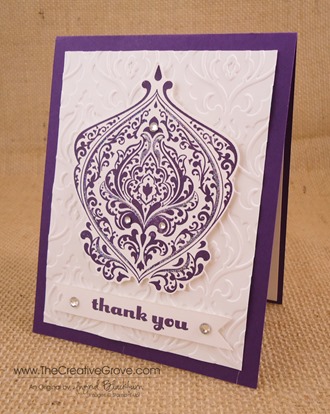
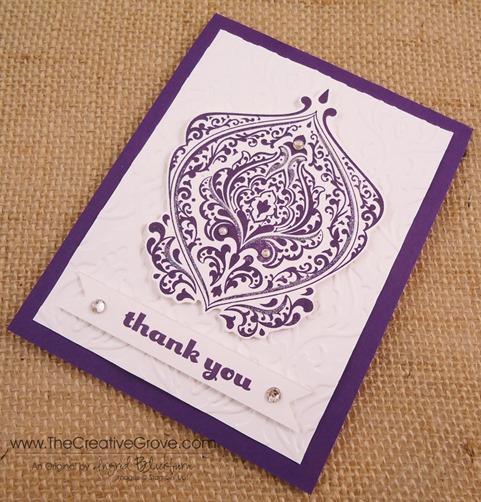
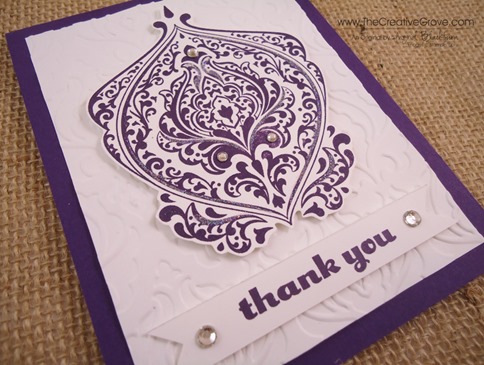
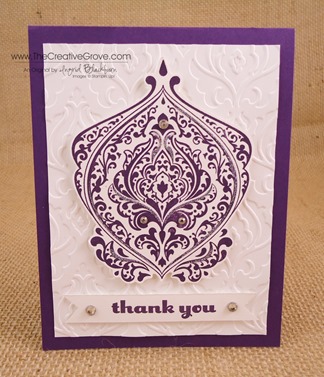
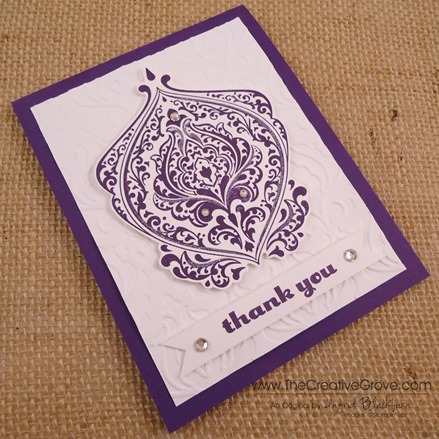
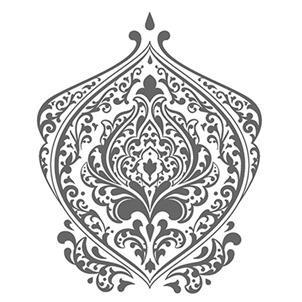
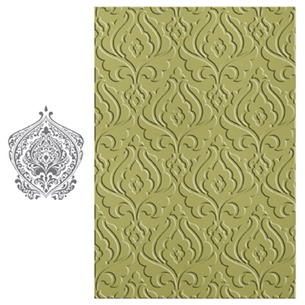
Let me introduce you to one of my must have’s out of the new catalog this year – the Beautifully Baroque bundle.  Two products are bundled for a 15% discount – this stamp, Beautifully Baroque and the Baroque Motif Textured Impressions Embossing Folder.  And this card is the perfect combination of the two.  I hope you love it!

Creative Tips –

  • Baroque reminds me of palaces in Europe and regal things.  So I naturally gravitate toward the color of royalty – purple.  I chose the Elegant Eggplant color to bring that royal quality to my project today.Beautifully Baroque 001 Side
  • This stamp only comes in the wood mount option.  I stamped my image using the Stampin’ Mat so that I would get a good solid image.  The stamp itself if rather large, and I didn’t want to miss the middle.  The Mat helps give me a nice firm cushioned base so that I can stamp larger images and get even pressure everywhere, not just the edges, it’s a miracle worker!
  • To accentuate it, I cut out my image and put Stampin’ Dimensionals on it.
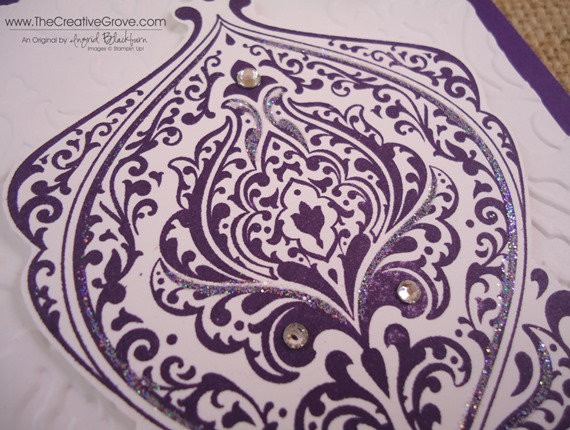
  • To add some glitz to my image, I used a 2 way glue pen and let it dry for a few seconds before adding some Dazzling Diamonds to it.  I didn’t want to over do it, so I just added a little on the longer lines.  Beautifully Baroque 001 CU
  • For the background, I ran a 3 3/4” x 5” piece of Whisper White through my Big Shot using the Baroque Motif TIEF folder and matted it onto my Elegant Eggplant base.
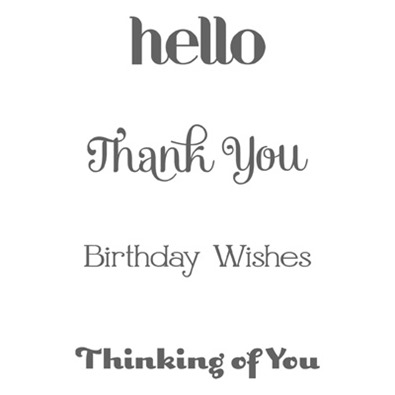
  • I made a banner using my 1” Square Punch.  The greeting is from the new set – Four You which has four great greetings for every occasion! Click Here for a video on how to make perfect banners.Beautifully Baroque 001 CU 1
  • To give the card a little drama, I popped up my banner with Stampin’ Dimensionals and then figured out the spacing for my main image and my banner.  Don’t just adhere it first – use both to get the proper spacing.
  • Once adhered, I added some Rhinestone Basic Jewels.  The ironic thing is if I look at them, I see the Eiffel Tower! Beautifully Baroque 001 Front
    This is a fun project that’s pretty quick and quite simple.  The glitz of the Dazzling Diamonds and Rhinestones really sets this project apart from a just stamped one!

Are you getting my Exclusive Video Series?

Be sure to sign up for my Creative Tips Newsletter and get the latest Creative Grove news in addition to my free Creative Techniques Video Series!  Don’t miss out on our creative community – the only way to get this exclusive content is to sign up in the box on the upper right or click here.

Signature-Snowflake-001_thumb1_thumb

To Shop 24/7 in the Creative Store – Click here!

Beautifully Baroque 001 Angle

Stamp Sets – Beautifully Baroque (130895),  Beautifully Baroque Bundle (132732) , Four You (130538c, 130535w) Ink – Elegant Eggplant (126969) Paper – Whisper White (100730), Elegant Eggplant (105126) Finishing Touch – Two Way Glue (100425) Dazzling Details (102023), Stampin’ Dimensionals (104430), Pearl Basic Jewels (119247)

Untitled-12Beautifully Baroque Bundle

Four You

15% off Wicked Stamp Sale – One Day Only 10/29

stamps

Hot off the press – Stampin’ Up! is having its first ever One Day Sale!!  I’ve never seen this in 10 years, how cool is that!  On Monday October 29th – Stampin’ Up! will have almost every stamp on sale for 15% off!  You don’t want to miss out on this one day sale.

Here are the details:

Starting at 12:00 AM (MT) and ending at 11:50 PM (MT), almost every stamp we sell will be 15 percent off.

Stamps that are 15% off:

    • Practically every stamp set and single stamp available in the Holiday Catalog and Annual Catalog.  Click here to see Catalogs online
    • Personalized name stamps
    • Incentive stamp sets from the supply list
    • Cookie press stamps
    • Single-image stamps

Stamps excluded from this one day sale:

    • Hostess sets
    • Bundled stamp sets
    • Digital stamp brush sets

There is no minimum purchase, and no limit to the number of stamps you can order.

For card ideas – be sure to check through my blog using the search feature.  If I’ve stamped with it – you’ll find plenty of samples!

SSF_Seasonal_Sayings

Single Stamps – Do you love that Greeting set, but wish you could buy just the one or two stamps?  Well, now you can from these select stamp sets: Perfectly Penned, Word Play, Seasonal Sayings and two more Collections that include some never before seen images!  Buy some of our best Greetings Stamps individually!   Hurry, this special is good for a limited time only through Jan 2, 2013! For more details, click here.  

SignatureSnowflake001_thumb1

To Shop 24/7 in the Creative Store Click here!