Have you every thought to use Recycled Materials on your cards before? This month over at Happy Little Stampers, the challenge is just that – Recycle. This one threw me. Yes, I could come up with lots of 3D projects, and that was where my head kept going…but I wanted to challenge myself to a card. So what do you use? Well, you can use anything that your recycling!
I’m currently living in Germany – and recycling is a MAJOR thing here. SO big, that it’s the #2 country in the world for diverting 62% of its trash from landfills – second only to Austria which diverts 63% of all trash. And it’s no joke over here – our recycling calendar is insane – almost all garbage is separated. (And in case you were wondering where the US stacks up…34% – toward the end of the middle pack)
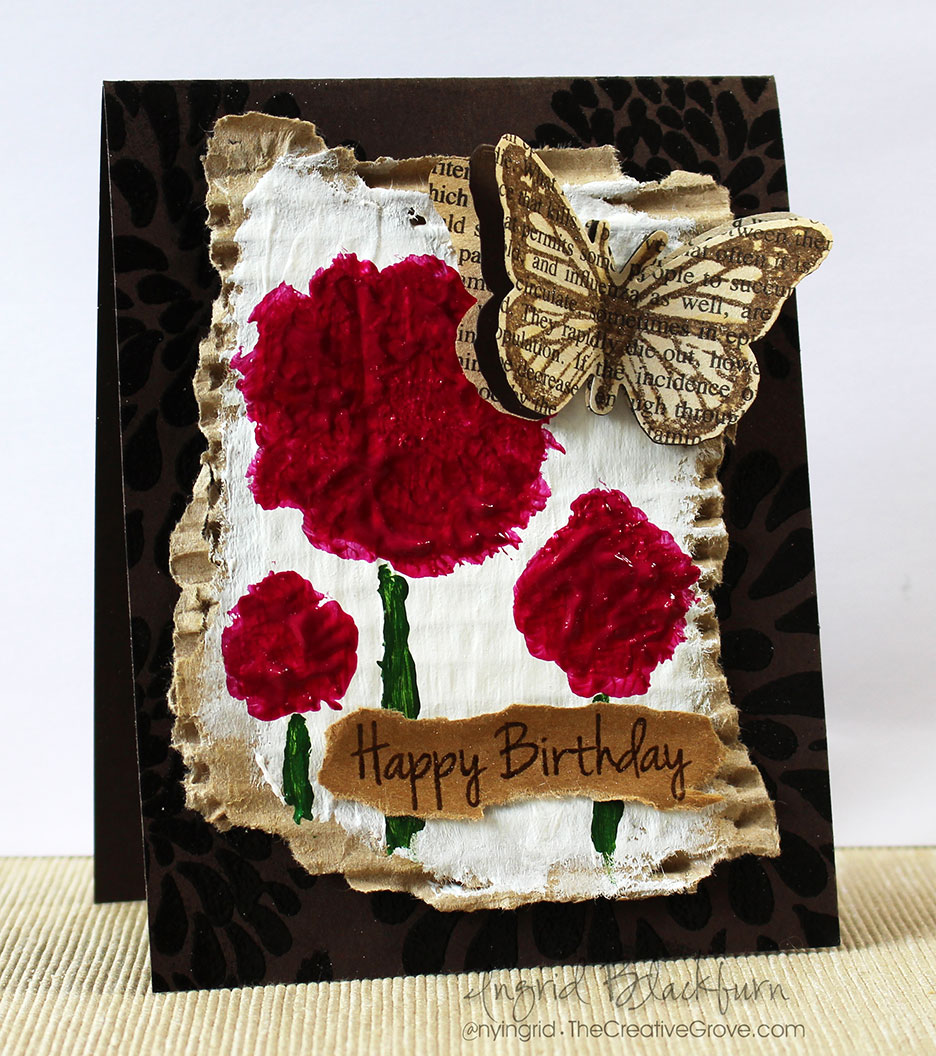
So, I thought it was appropriate that I add my fair share on this project. With the exception of my card base, and one tiny die cut, all my materials (paper) used on this project are…yup, you guessed it – recycled!
Be sure to stop by this month’s guest designer – Stephanie Lanzalotto’s blog as well as the other design team members blogs.
Recycled Birthday Butterfly Tutorial
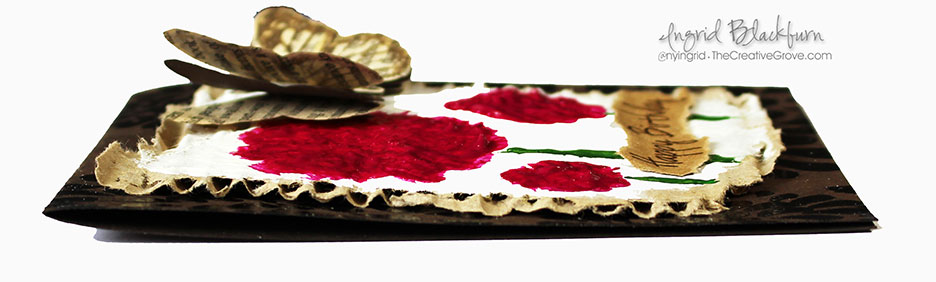
My card front is made of something we ALL have plenty of – a torn up box from Amazon. The base of my painting is the corrugated inside of the box. I tore it so you can see a little more of the texture and character. In order to have the paint really grab onto my cardboard without sinking into it, I first covered it with some clear gesso.
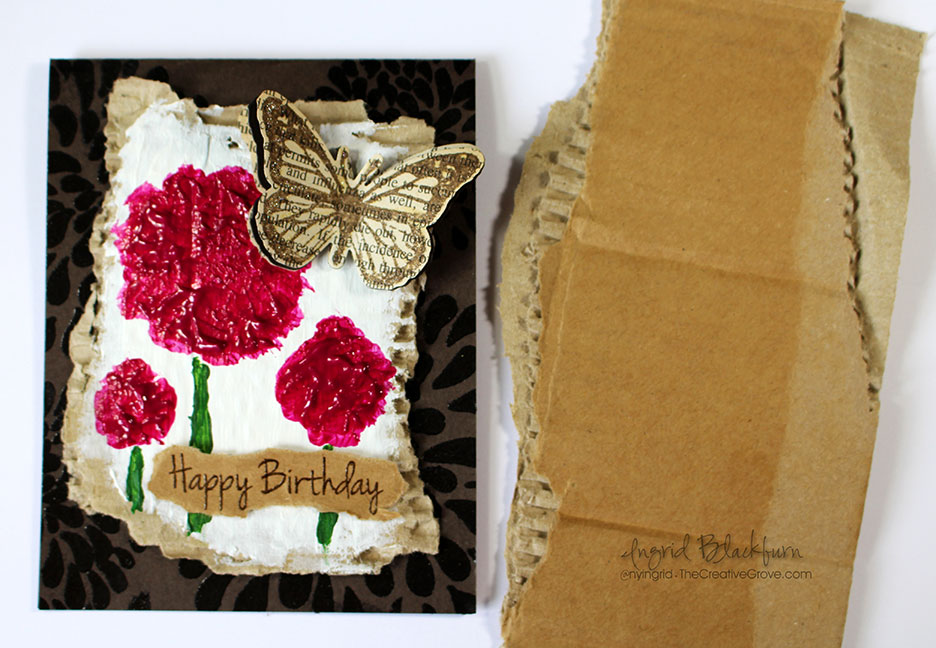
To make the piece lighter, remove one of the slick sides that cover the corrugated part – I used that for the greeting…yup – that’s not card stock – it’s recycled cardboard!
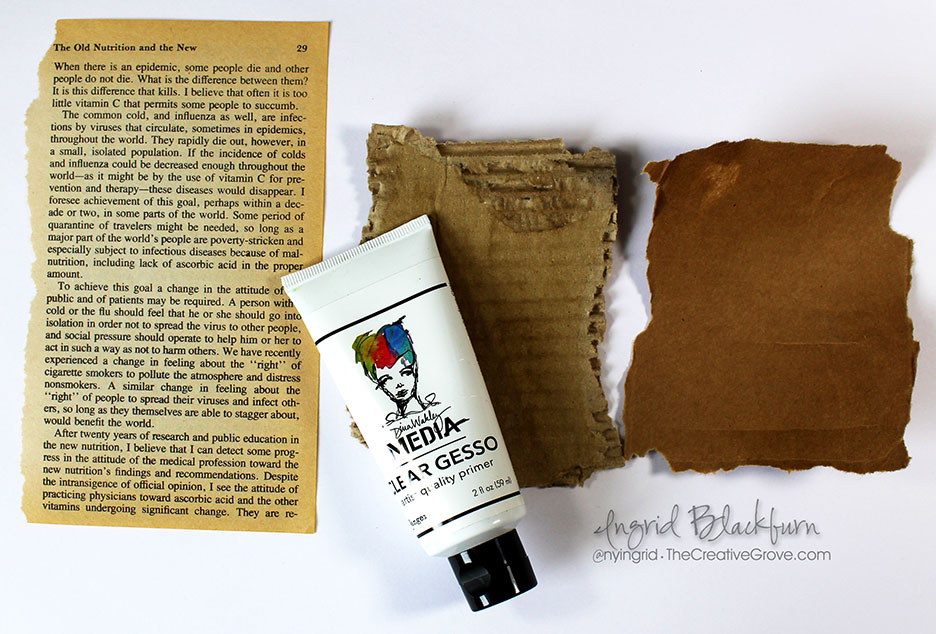
For the butterflies, I used a page from an old book. I definitely wanted to have some discoloration on the pages. If you don’t want to break apart a book, try newspaper!
- Tear a piece of the box the size you want and remove one of the slick sides for later.
- Paint some clear gesso onto your recycled cardboard piece.
- Cover your cardboard in a few coats of white acrylic paint – this will become the background for your painting.
- While your white is drying (I sped mine up a bit with a heat tool), stamp your butterfly from the HLS Butterfly Birthday set in Ground Espresso onto a page from an old book.
- Layer your stamped butterfly over a piece of espresso card stock and another piece from the book – die cut at once.
- Curl up the card stock and stamped layers a bit. Attach to each other using mini glue dots at the butterfly body.
- Separate the top and middle layer with a foam dot cut in half. This will help to pop up those top wings.
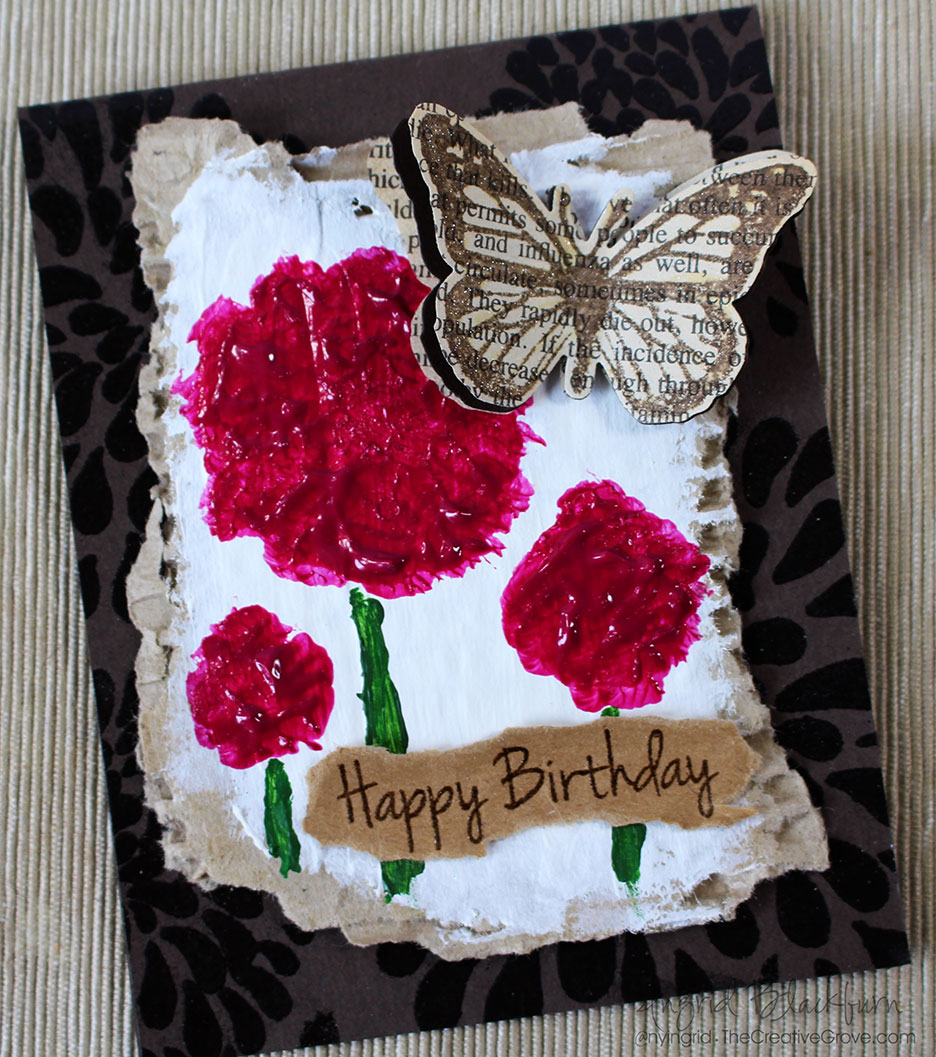
- Once your white is dry, add some pink flowers by thickly applying some acrylic paint with a rounded brush. To get the texture, just keep dabbing in a push down motion and move to another area. I left it rather thick so that it would give the appearance of petals.
- Add stems with a little sap green mixed with Burnt Umber for an olive green look. I needed to use a smaller brush to keep the stems from being too thick.
- Allow your flowers to dry – I used a heat tool a little, and then allowed the flowers to dry over several hours. Once dry, they had a shiny appearance.
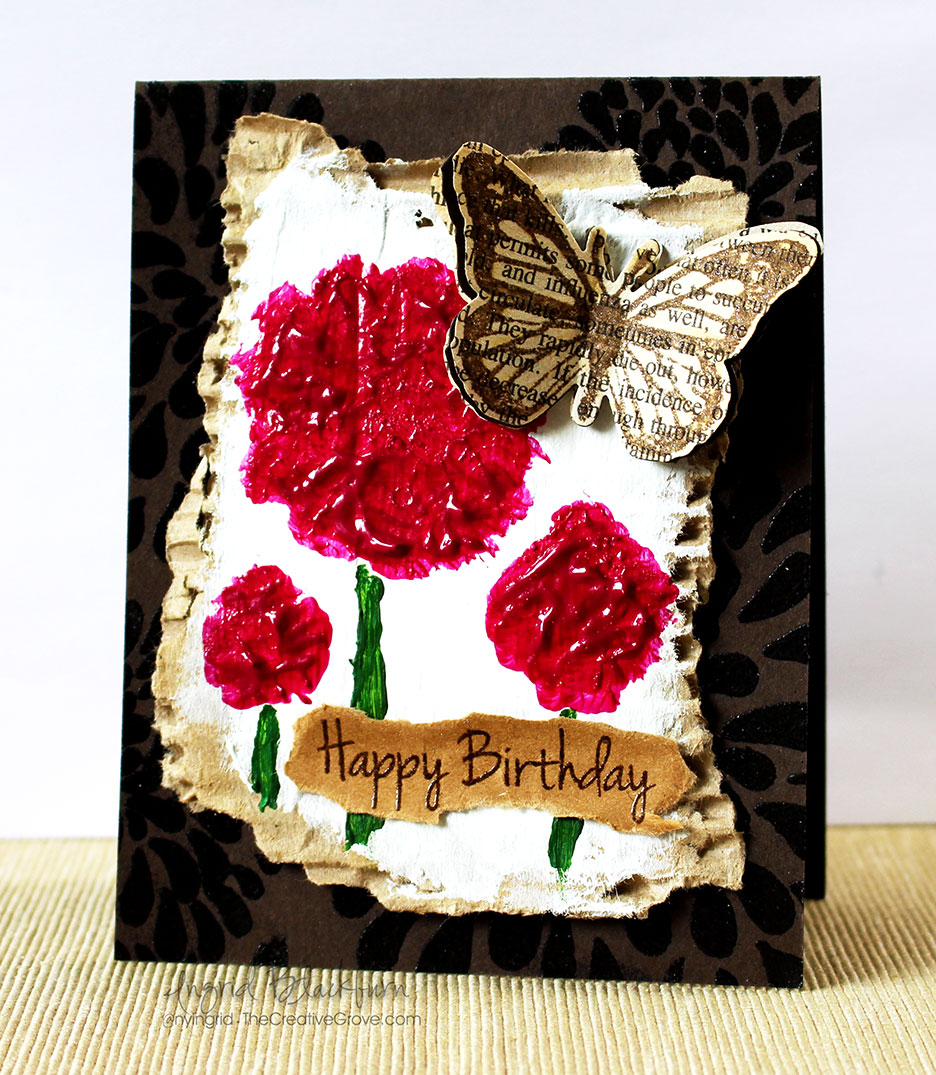
- Stamp your greeting (HLS Doodled Flowers) using Ground Espresso Distress Ink onto the back piece of card board that you separated from the center & front. I used the slick side as the reverse had the imprint from the corrugated part.
- Immediately dip your greeting into clear embossing powder and heat set. To see how I use distress inks with embossing powders and other embossing techniques – click here for a great video tutorial.
- Tear closely around your greeting and adhere to your project using Multi Medium Matte or glue (be sure your stems are dry!)

- Smoosh a versamark pad through the Patina stencil by Penny Black so that creates a border on your card base. I didn’t want to add too many layers, as the recycled cardboard was heavy enough.
- Add clear embossing powder and heat set.
- Adhere your cardboard card front to the card base using glue on the ridges.
- Go over your stamped butterfly image with a Spectrum Noir glitter pen & Attach to your painted base using foam dots.
So what do you think? I bet you think twice about throwing out that Amazon box next time…lol! The best part about this Mixed Media card is that the recycled cardboard has such great texture! And to think I usually use it just to add lines with acrylic paints! Thanks for joining me today, I hope I inspired you in some way to use some recycled materials on your cards. I can’t WAIT to see what you come up with.
Join us over at Happy Little Stampers Mixed Media Challenge – now it’s your turn.
Go get those fingers inky –

[optin_box style=”12″ alignment=”center” email_field=”email” email_default=”Enter your email address” integration_type=”aweber” double_optin=”Y” list=”4161292″ name_field=”name” name_default=”Enter your first name” name_required=”Y” opm_packages=””][optin_box_field name=”headline”]Learn more with our exclusive FREE video series:[/optin_box_field][optin_box_field name=”paragraph”]PHA+UGx1cyB5b3XigJlsbCBiZSBhZGRlZCB0byBteSBGUkVFIENyZWF0aXZlIFRpcHMgRS1sZXR0ZXIgd2hlcmUgSSBzaGFyZSBleGNsdXNpdmUgcHJvamVjdHMsIHZpZGVvcyAmYW1wOyB0aGUgMTIgRGF5cyBvZiBDaHJpc3RtYXMgUHJvamVjdCBTZXJpZXM8L3A+Cg==[/optin_box_field][optin_box_field name=”privacy”][/optin_box_field][optin_box_field name=”top_color”]undefined[/optin_box_field][optin_box_button type=”0″ button_below=”Y”]Get Instant Access![/optin_box_button] [/optin_box]


