Clean and Simple Chalk Talk Birthday

Chalk Talk 001 Main R

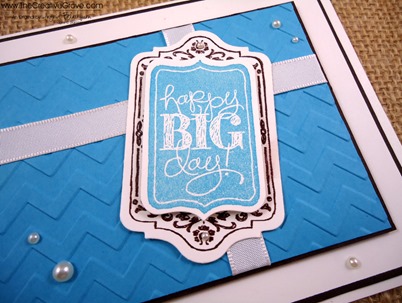
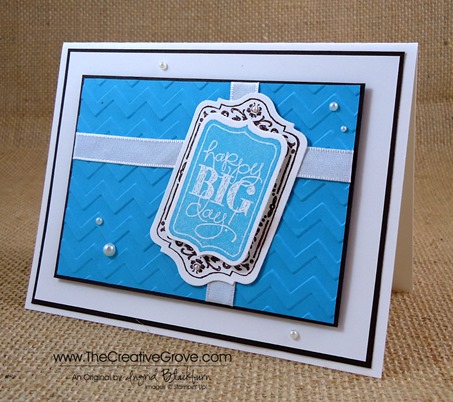
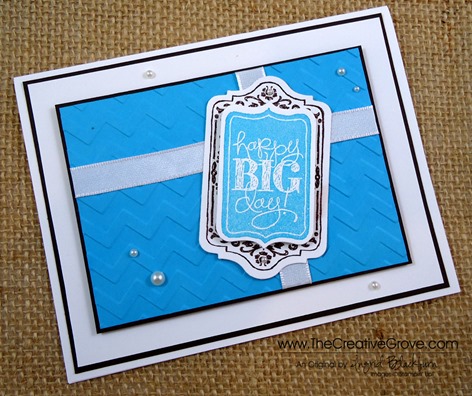
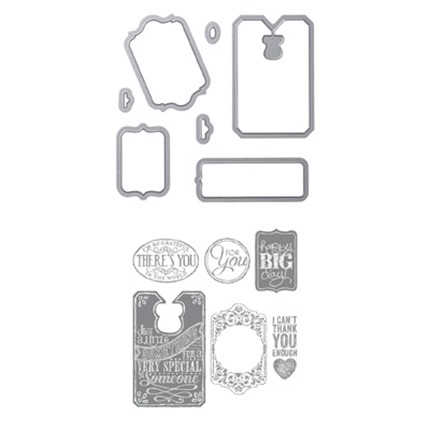
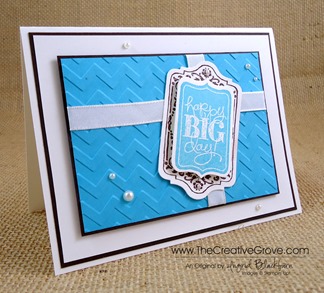
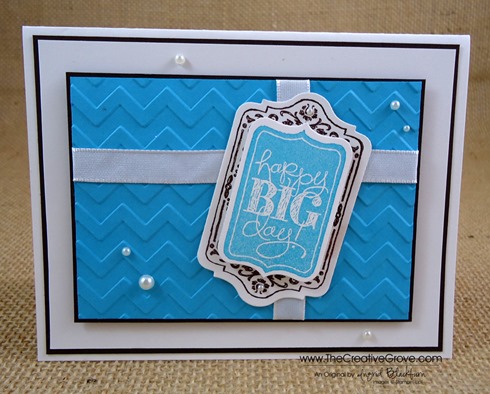
This week is always a big Birthday week for everyone I know, this month actually.  So why not keep with the celebration theme?  Chalk Talk has not only this awesome stamp set, but a great tag framelit set that anyone can use.  Today I made a very simple, but elegant card that actually fits any celebration, not just birthdays.  I have to admit, it was a little simple to me, until I put the Pearl Basic Jewels on.  Then it all came together and worked.  I wish I actually had taken a before and after photo, it made that much of a difference!

Chalk Talk 001 Front

Creative Tips –

  • I actually made this little tag for all of Michael’s birthday presents on Saturday.  They completely worked – and best thing – I didn’t even have to write on it!  Once I whipped these little guys up, this card popped in my head.Chalk Talk 001 CU
  • Obviously it’s a present, but the Chevron Embossing Folder really adds a nice touch to what would be the wrapping paper.
  • If you didn’t have ribbon, you could easily substitute strips of card stock.  I would still wrap them around the edge of the gift for that gift wrapped look.Chalk Talk 001 Height
  • To emphasize the gift, I popped it up with dimensionals, along with the greeting portion of the tag. 
  • The Happy Big Day tag is actually two tags from this set.  Chalk Talk 001 Side
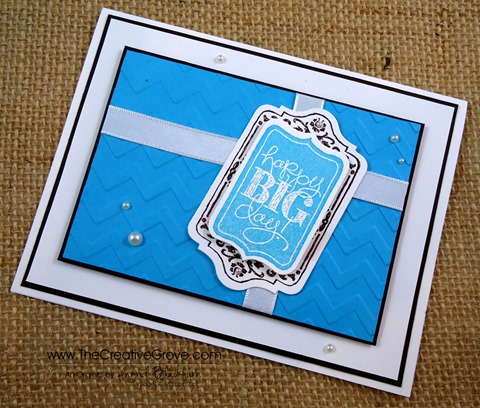
  • Proportions made the difference on this card.  I have the full 1/8” border at the base, so I needed any other Mattes to be 1/16”. 

I love this card – and I think I’m going to make a bunch, they serve so many occasions – birthday, wedding, promotion, any firsts, etc…  What other occasions do you think it would fit?  Let me know if the comment section and I’ll send one to one random winner!  Who wouldn’t want one of these in the mail – I know I love mail…other than bills, right?

Chalk Talk 001 Main L

    Online Brayer Class now Available

    You’ve patiently waited…it’s finally here!  Creative Scenery classes using a brayer have by far been my biggest hit with stampers in class.  Now you too can learn from the comfort of your very own craft room.  The Brayer has stumped many crafters over the years, well actually more.  Over three varied step by step video projects, you will master how to create gradual transitions than stun the card recipient.  You will feel like an artist.  Best of all, you will look at your stamps in a whole new way, and try things you never would have thought to do before.  Take part of the series, take the whole series, or get the class for free – you choose. Find out more here

    Signature-Snowflake-001_thumb1

To Shop 24/7 in the Creative Store – Click here!

Chalk Talk 001 Angle

To view the details or see close ups of any products used in the above project, just click on the green link to view it in my store 24/7.

Stamp Sets – Chalk Talk (130634c, 130631w),  Chalk Talk Bundle (132730c, 132731w) Ink – Tempting Turquoise, Early Espresso Paper –Whisper White, Tempting Turquoise, Early Espresso Cool Tools – Chalk Talk Framelits, Chevron Embossing Folder, Big Shot, Magnetic Platform Finishing Touch –Stampin’ Dimensionals,Pearl Basic Jewels, Whisper White 3/8” Taffeta Ribbon
Chalk Talk Bundle

Beautifully Baroque Wedding Card

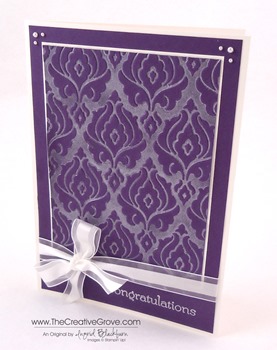
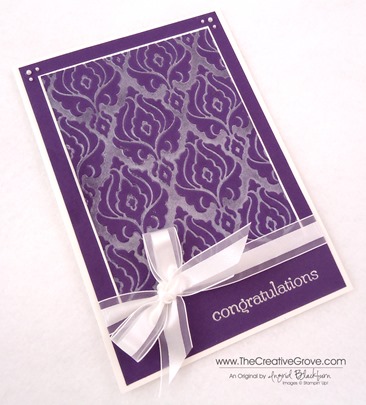
Beautifully Baroque Wedding Card 002 Main L

I needed an elegant wedding card this week for a family member.  The new Beautifully Baroque Embossing Folder was just perfect for such an occasion.  Paired with our rich Elegant Eggplant – the bride’s color, and our gorgeous Shimmery White card stock, this card definitely hits the mark. 

Creative Tips –

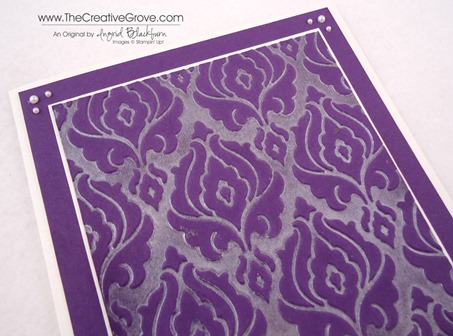
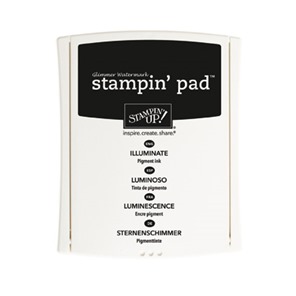
  • I created a beautiful shimmery Baroque paper using the Bisque Pottery Technique and the Illuminate Glimmer Watermark Ink Pad.Beautifully Baroque Wedding Card 002 CU
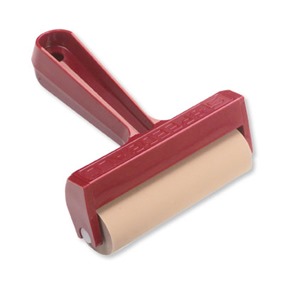
  • Use the brayer to color the top portion of your Embossing Folder with the Illuminate Pad, place your Elegant Eggplant cardstock on the lower piece of the folder, close and emboss.  The result is a gorgeous shimmery result that looks like velvet. 
  • To pair the rich embossed piece, I used our Shimmery White card stock.  It’s a wedding after all!
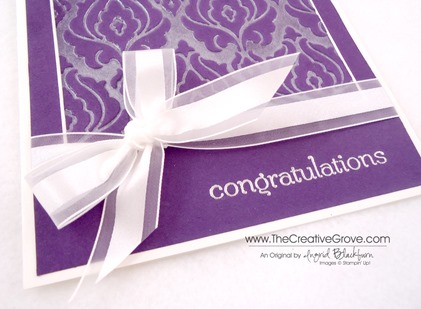
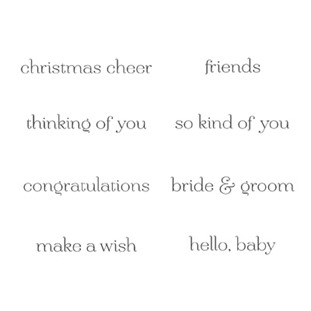
  • The greeting is embossed in Silver and I added a few Pearl Basic Jewels at the top for some added elegant finishing touches.Beautifully Baroque Wedding Card 002 Bow
  • I normally don’t do bows – they’re big and bulky, but with this being a wedding card, my go to knot isn’t going to cut it – don’t think I didn’t try…lol!  It would be cute, no – tying the knot?  Michael would have questioned it, so I went with the bow.  To get it exactly where I wanted it, I attached a piece of Ribbon first, anchored my cardstock onto the card and then used a separate piece to tie the knot.  You can also completely tie it separately and attach it with a Glue Dot.  That didn’t work for me this time, so I tied it.Beautifully Baroque Wedding Card 002 Side

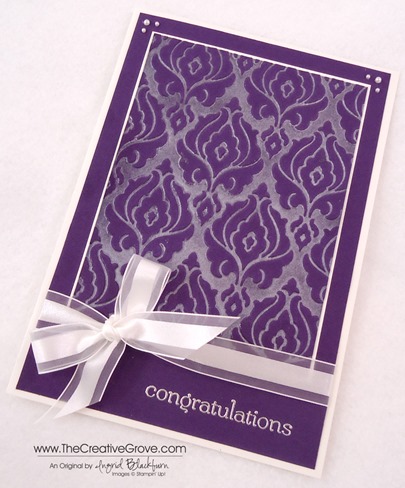
The end result is a gorgeous rich textured card.  This card is 5”x7”, and since we’re sending a check along as we can’t attend this one, I wanted to send a special card.  I’m actually quite sad we can’t go to this one. Sad smile

Free DSP_edited-1

We’re celebrating this summer!!  This month – buy any three Designer Series Papers and get one free!  Take advantage of  this awesome special!

Signature Snowflake 001

To Shop 24/7 in the Creative Store – Click here!

Beautifully Baroque Wedding Card 002 Angle

To view the details or see close ups of any products used in the above project, just click on the green link to view it in my store 24/7.  

Stamp Sets – Sweet Essentials (126457c, 132085w) Ink – Illuminate Glimmer Watermark, Versamark Paper – Whisper White, Elegant Eggplant, Shimmery White Cool Tools – Beautifully Baroque TIEF, Brayer Finishing Touch – Pearl Basic Jewels, 5/8” Organza Ribbon 

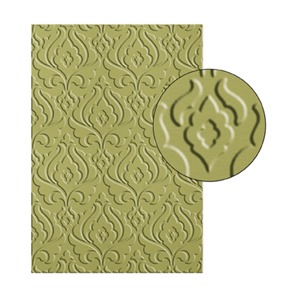
Untitled-12Beautifully Baroque Embossing Folder TIEFBrayerIlluminate Ink Pad

Secret Garden DIY Wedding Invitations

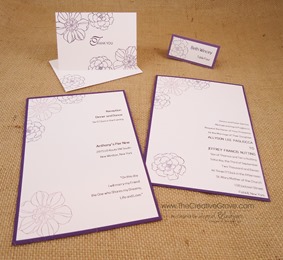
Secret Garden 004 DIY Wedding Set

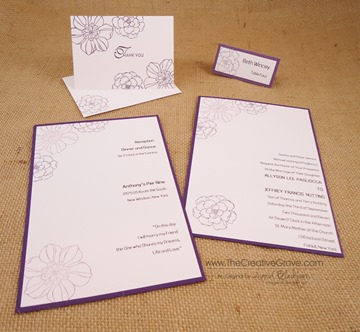
It’s finally a good few days into June, so I’ve been thinking of weddings.  I thought I would showcase a simple but elegant Wedding set that fits every brides budget.  This is great little set that covers the invitation, thank you card and place card.  There is no question, the wedding invitations and paper items that go along with it will run any bride a pretty bundle.  With Stamps, ink and any word processing program you too can make amazing item for your wedding without paying an arm and a leg.

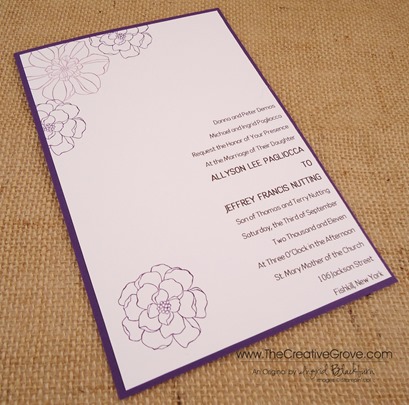
Secret Garden 004 Wedding Invite

Creative Tips –

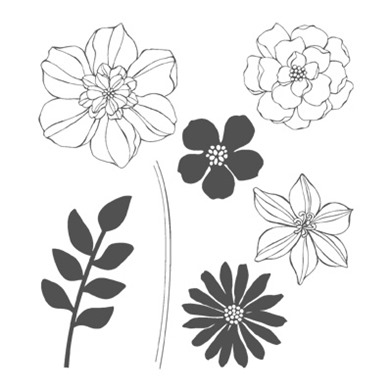
  • Stampin’ Up! colors are great for just this purpose.  The inks are vibrant and rich.  Here I chose Elegant Eggplant and Perfect Plum.
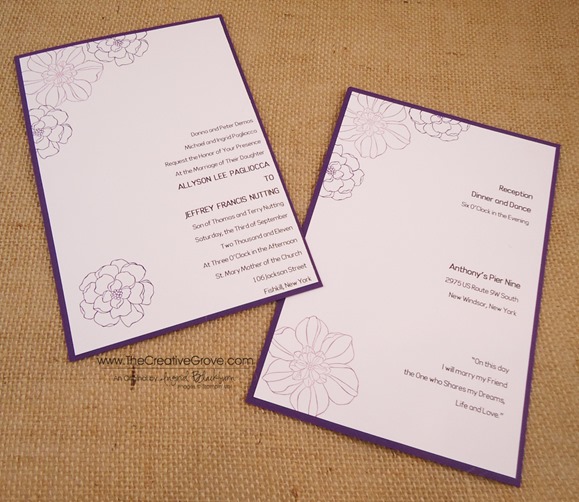
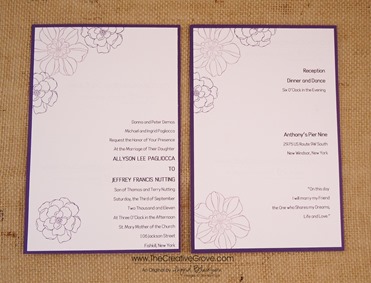
  • My wedding invitation is 8 1/2 x 5 1/2” and fits into an A9 envelope.Secret Garden 004 Invite Front-Back
  • I used my word software to print onto a piece of 8 1/2 x 11 piece of cardstock.  I first created two columns.  One side had my Invitation and the other column had my reception information.  This invitation/reception card is front and back to save on the budget.
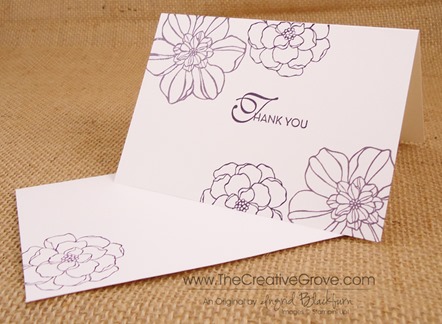
  • My Thank You card uses our Notecard and Envelopes package.  They are pre-scored for your ease and makes a quick and simple Thank You card.  The Thank You stamp is from our Lacy & Lovely stamp set, but The Thank You in our new Four You Stamp set would be perfect also.Secret Garden 004 Thank You Card
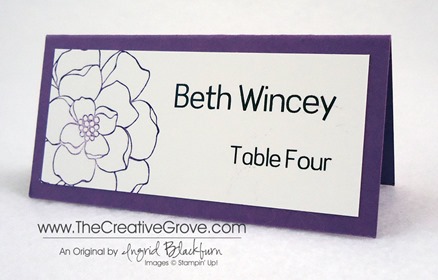
  • The Place Holder card is also quite simple.  I can get 16 per page printed at 1 1/4” x 3”.  The full size is 3” x 3 1/4” folded so that it’s 1 1/2” x 3 1/4”.Secret Garden 004 Place Holder
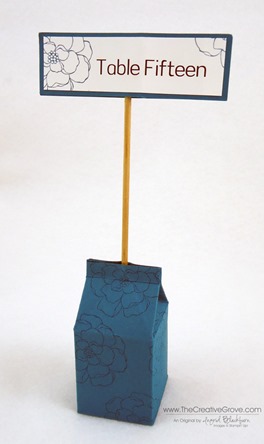
  • For a little variety I made the Table Number out of our Island Indigo Paper, but it is stamped with the same stamp set.  I ran 1/2 a sheet through on our Mini Milk Carton Die through the Big Shot for the base.  I filled it with rice and used a small dowel for the stick.  I printed the table number twice and matted it twice.  I adhered them together with Sticky Strip.  It’s a cute little item that does not take up much place.Secret Garden 004 Table Number

Overall, there are so many ideas out there for weddings.  This set will run you $151 before shipping and tax, and you’ll have an additional $25 to spend from the hostess benefits.  The best part about it – it makes 100 invitations, RSVP Cards/Envelopes, Thank You cards and place cards.  Now that’s not bad for something that’s elegant and full sized.  Here’s what you will need:Secret Garden 004 DIY Wedding Set

Invitation Kit – 100 Invitations w/reception card, RSVP cards/Envelopes, Thank You cards/Envelopes + Coordinating Place Cards

    • $8.50ea (4) Ultra Smooth Whisper White Cardstock (40 sheets each) (100730)
    • $6.95ea (3) 8 ½” x 11” Colored Cardstock (24 sheets each) (105126)
    • $5.95 (5) Note Cards & Envelopes (20 each) (131527)
    • $6.50 (3) White Envelopes (40 each) (107301)
    • $6.95 Snail Adhesive (104332)
    • $4.50 (2) Snail Refill (104331)
    • $25.95 Secret Garden Stamp Set Wood (129144c, 131940)
    • $5.95 (2) Coordinating Classic Ink Pads (126963, 126969)

* Additional items – Kit price is based on a wood stamp set, if you order the clear, you will need the Starter Kit bundle Acrylic Blocks.  You will also need A9 envelopes and a paper trimmer.

    Signature Snowflake 001

To Shop 24/7 in the Creative Store – Click here!

Secret Garden