Sweet Summer Moments

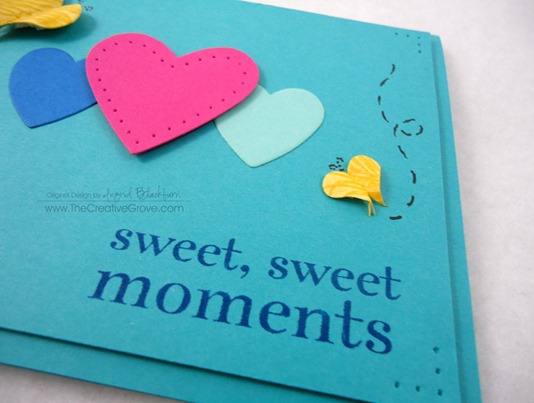
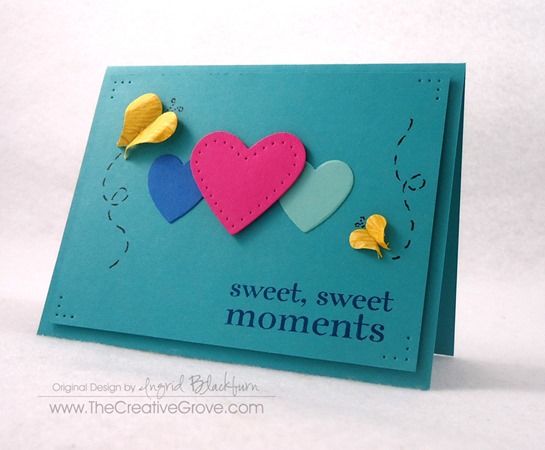
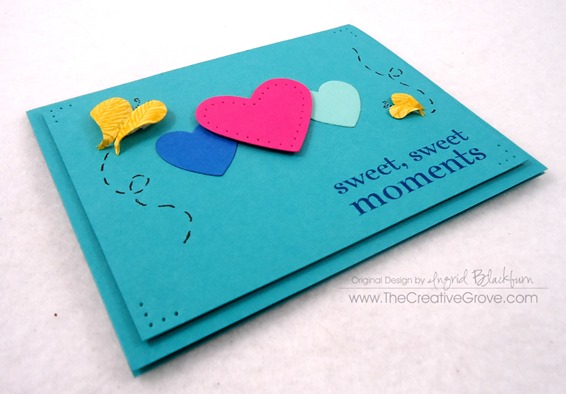
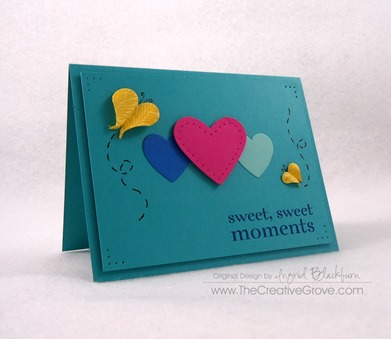
It’s summer time – whoohoo!  And what reminds you of summer better than bold, fun and bright colors.  Admit it, you LOVE summer – so naturally, this last weeks CAS-ual Fridays Challenge was to create a clean and simple (CAS) card that uses hearts and summer colors.  I mean what a great combination!

So to make a real statement – I took it to another level and made a few butterflies out of some hearts too.  What do you think?  Let me know in the comments below.

DSC01587

CAS-ualFridays133

Creative Tips –

  • I’m sure you’ve figured out that my favorite color is blue.  I mean I use it all the time and have more blues than anything in my stock.  So I used Bermuda Bay from Stampin’ Up! as a base along with Coastal Cabana, Melon Mambo, Pacific Point (another blue…shocker!), and Daffodil Delight.   Aren’t those names just yummy! DSC01593
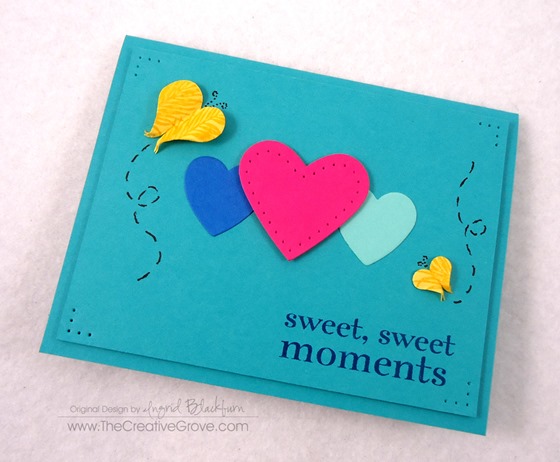
  • Cut some hearts out in two sizes with some framelit dies, another for your large butterfly, and you’ll need a smaller one too – I used a heart punch.
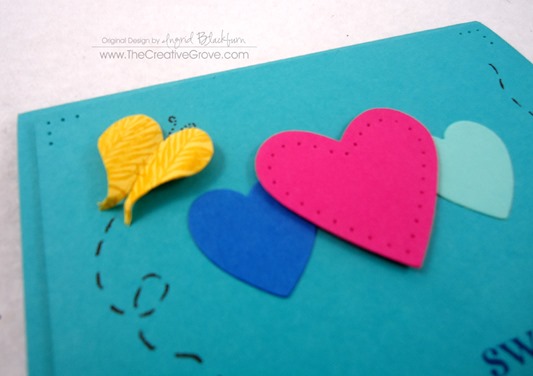
  • Some paper piercing adds some finishing detail, some foam tape or dimensionals for dramatic effect and stamp a fun design on the daffodil for your butterflies.  Here you see the left and right palm frawn from Stampscapes. DSC01595
  • To help define your butterflies, snip a little away from the sides to the end, make a small slit in the top and bottom and curl the edges.  Add some antennas and flight zoom (not sure what else to call it…lol) with a Pigma Micron or marker and you’re all set. DSC01597DSC01599DSC01598
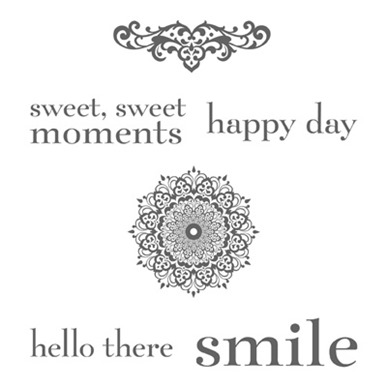
  • The sentiment is perfect – it’s from the Happy Day set by Stampin’ Up! – how appropriate.

DSC01589

It’s a fun little card, perfect for the first couple days of spring.  I like the bright colors and clean and simple nature.  Now it’s your turn.  Have fun!

Signature-Blog

Looking for a fun place to learn techniques, see project videos and join in a paper crafting community?  Check out the VIP Community here at The Creative Grove!
TCG-VIP-Community

Happy Day Mojo

Happy Day 001 Main 1

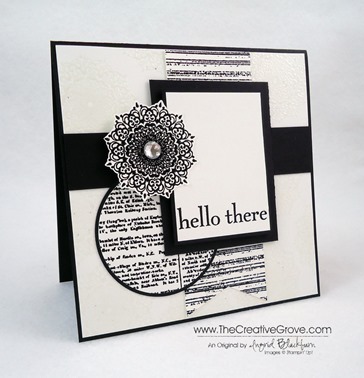
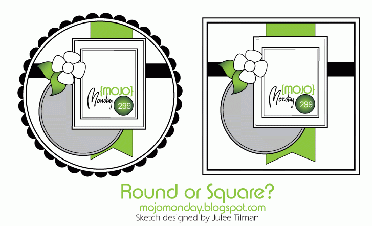
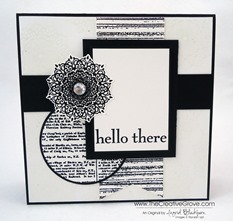
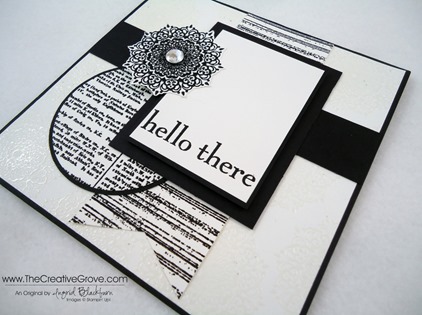
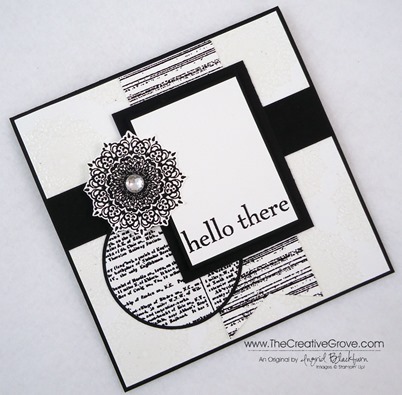
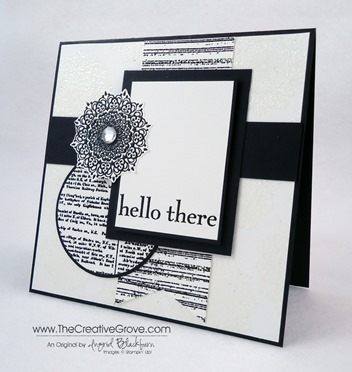
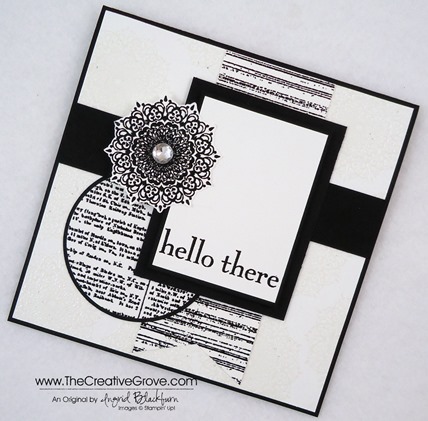
Hello there new Happy Day stamp set.  Doesn’t that just sound like a fun sentence?  I started off using the Modern Medley paper because I wanted to try a black and white card, and lo and behold – it’s black and vanilla!  So I whipped out some of my favorite new stamps and created my own fun papers today!  I hope you enjoy all the creative tips that resulted in this Mojo Monday card!  Here’s the original sketch and my result.

Mojo299SketchHappy Day 001 Front

Creative Tips –

  • I wanted a striking look so I embossed each element of this card.Happy Day 001 Medallions
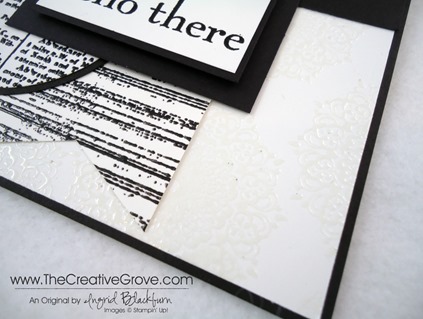
  • For a subtle background for my white card front I embossed the medallion in clear embossing powder to create a designer paper look.  Happy Day 001 Circle CU
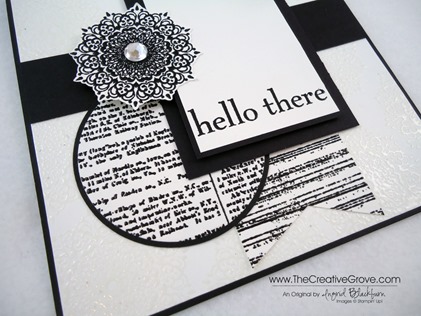
  • The new Dictionary Background stamp is perfect to use for that little piece of designer paper.   I’ve used it several times already and can see that it will definitely become a staple.  I punched a Basic Black matte with my 2 1/2” Circle Punch and the dictionary circle was cut out using the fourth circle in the new Circle Framelits Collection. 
  • To bring a little emphasis to the rectangle I matted the white rectangle (2” x 2 3/4”) on a piece of Basic Black (2 1/8” x 2 7/8”)that had a 1/16” matte.  I popped that black rectangle onto a larger one (2 1/2” x 3 1/4”) with a 3/16” matte.  The smaller Basic Black rectangle was popped up using Stampin’ Dimensionals.Happy Day 001 Elements
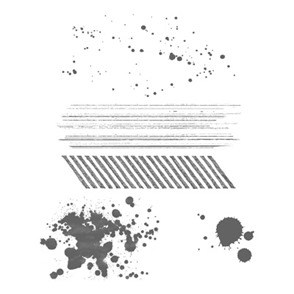
  • For the banner I used the Gorgeous Grunge stamp set.  It’s a cool look and you can easily over stamp it for tighter lines if you want to.  Because the banner is so wide, I couldn’t use a square punch for the end, so I cut up and far as I wanted and brought each corner to the point.  View my video on how to make banner flagsHappy Day 001 Height
  • Once I embossed the Medallion in black embossing powder I cut it out leaving a slight Whisper White border.  I popped it up on double dimensionals stacked on top of each other for the side not adhered to the white rectangle.  I needed to do this so that it didn’t sag to the left.Happy Day 001 Side
  • For a finishing touch, I added an extra large Rhinestone to my medallion.  Since I have so much embossing on the card I didn’t want to over do it by adding more rhinestones.  I started too, and then took them away as it was just enough too far.  My rule is when you want to add one more, stop.  That’s enough. Smile

Happy Day 001 Main 2

I hope you like the elegance of the card.  I think this one will definitely brighten someone’s day!


Signature Snowflake 001

To Shop 24/7 in the Creative Store – Click here!

Happy Day 001 Angle

Stamp Sets – Happy Day (130297c, 130294w), Dictionary (130351c, 130348w), Gorgeous Grunge (130517c, 130514w) Ink – Versamark (102283)  Paper – Whisper White (100730), Basic Black (121045) Cool Tools – Paper Snips (103579), 2 1/2” Circle Punch (120906), Circles Collection Framelits (130911) Finishing Touch – Stampin’ Dimensionals (104430), Large Rhinestone Basic Jewels (129324), Clear Embossing Powder (109130), Black Embossing Powder (109133)

Gorgeous GrungeDictionary Background StampHappy Day Stamp Set