Merry Christmas from the Black Forest

052

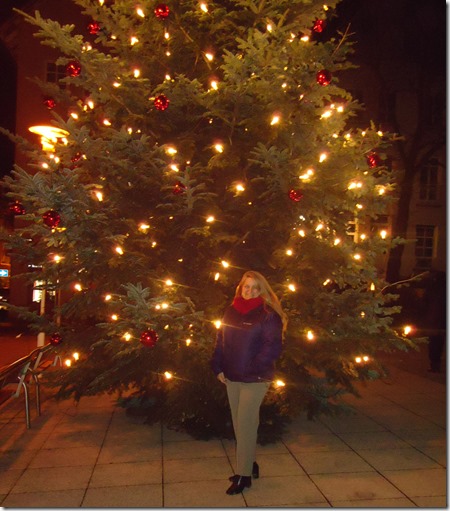
The rain is making little pitter patter noises on our skylights and the early morning daylight has just begun to rise here in Germany.  The lights on the tree are twinkling as I listen to my Diana Krall, Harry Connick Jr. and Jazz Christmas CD’s this early morning.  The house is quiet as everyone is sleeping.  The fire in the fire place is crackling and the presents are perfectly placed under the tree, that’s all Michael – not me, he has a gift for it!  I’m fighting off some sort a bug and refuse to let it dampen the excitement of this day!  You can hear nothing outside – no cars, no hustle and bustle and it’s nice.  Just the Black Forest, the rain and us!

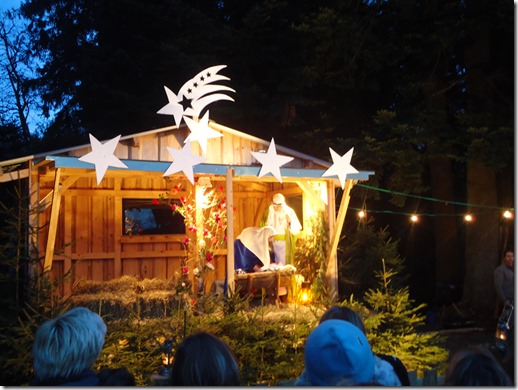
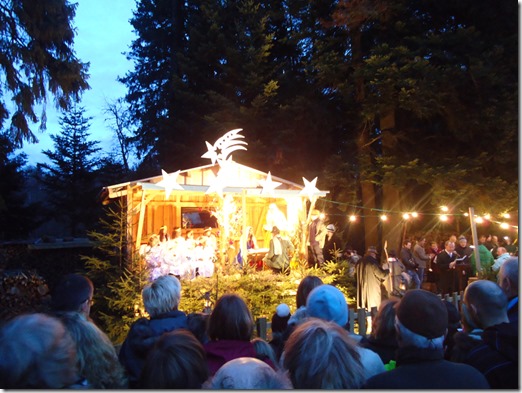
Last night we went to a Christmas service in the actual Black Forest.  There was a live manger scene with an orchestra and about 800 people came from far and wide to stand out in the cold and listen to the Christmas story (even on big buses!).  A bonfire twenty feet high crackled in the background and you could hear a pin drop as the pastor enthralled the masses with this joyful story as children dressed as angels with massive wings and shepherds also looked on.  It was quite something. 

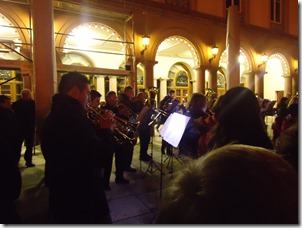
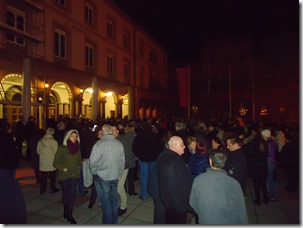
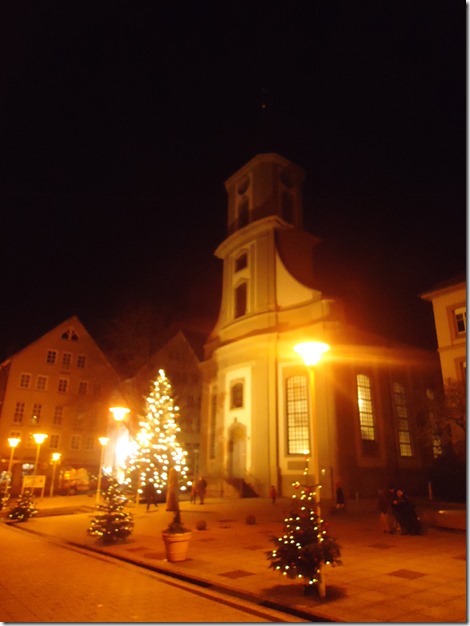
After, we ventured the 20 minutes back through the Black Forest back to the Bad Wildbad valley to the town center.  We gathered at the town square just outside the Church and sang German Christmas carols with 1000 other town folk while a 60 piece orchestra filled this quaint small village with beautiful music.  It was the perfect way to start our Christmas Eve.

Christmas Eve 2013 007 editedChristmas Eve 2013 015 editedChristmas Eve 2013 033 editedChristmas Eve 2013 039 editedChristmas Eve 2013 023 edited

I would like to wish you a very Merry Christmas.  Thank you for taking the time to visit here and leaving comments this past year.  I hope you have enjoyed all the creative inspiration this past year.  I’m excited for all the great creative inspiration that will be shared in 2014!

055057058

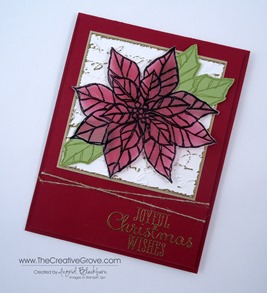
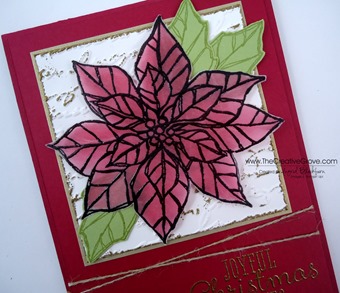
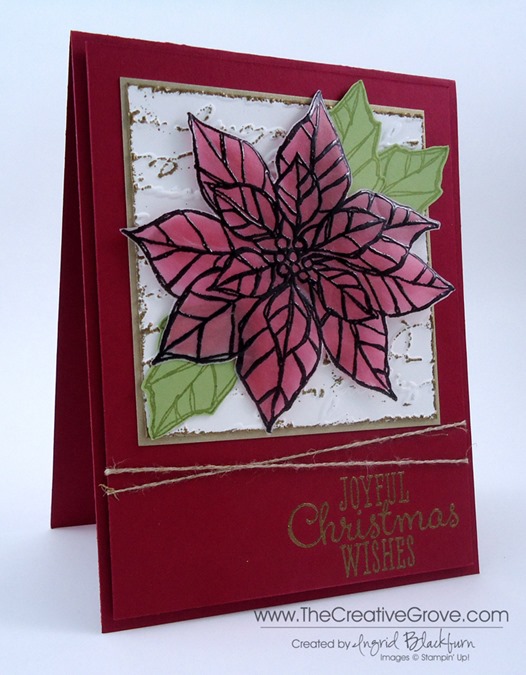
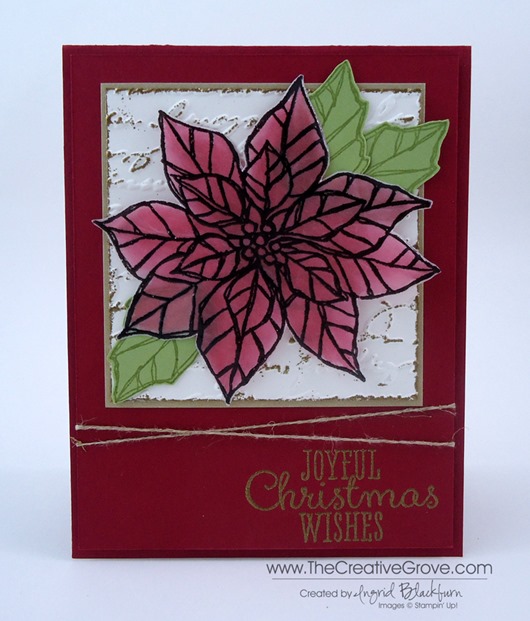
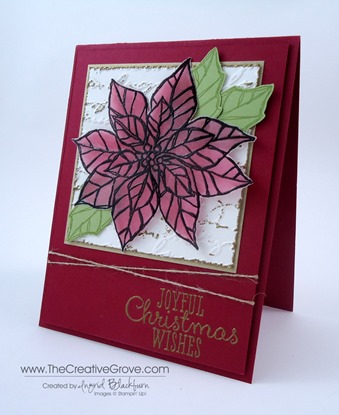
I made this special card just for you today.  The poinsettia flower is embossed and water colored from behind.  It is delicate, just like a stained glass church window.  The small details like just a tiny bit of gold embossing on the raised embossed words in the background really make this card special.  This card is my all time favorite of the 2013 season, and I hope you love it too.Christmas Eve 2013 027 edited_edited-1From my home to yours – I hope you have a safe and happy holiday this year! 
Signature Snowflake 001

051053

A European Adventure

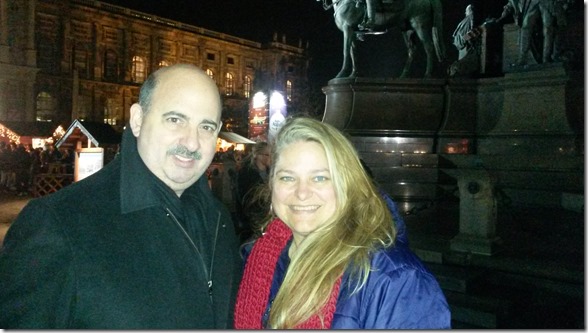
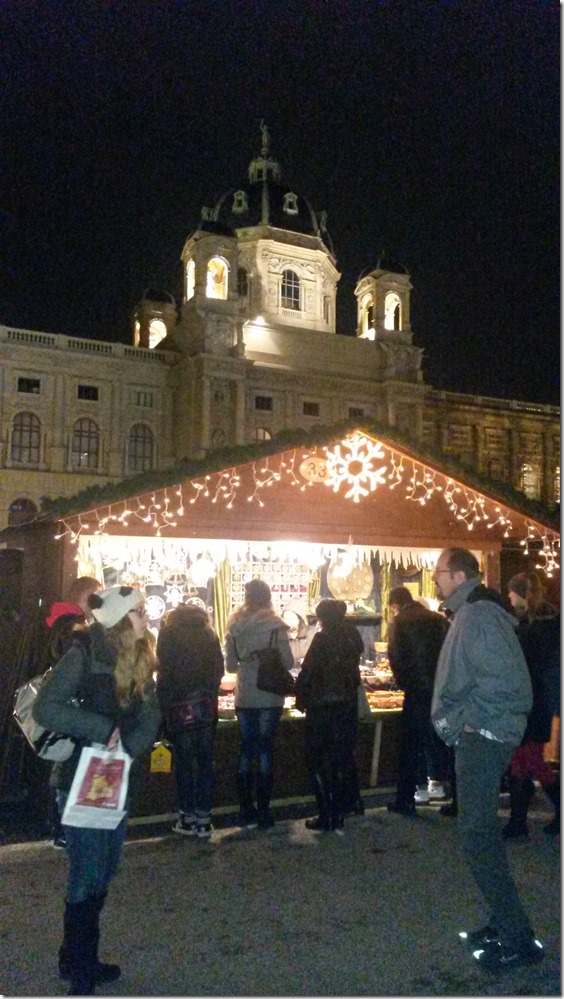
Vienna 11.23.13 291 Michael and I at the Vienna Christmas Market in front of the Museum of Natural History

Our lives have been cram packed the past 7 weeks – we moved, put our lives in storage, drove 1200 miles from Florida to NY for a wedding, spent some time with family, then hopped on a plane for a European adventure!  First we tried (not so successfully) to get settled.  After all, we had three days before traveling through three countries again.  That should be enough, right? 

We sold our home and were going to relocate locally when we decided to go for a little business venture that we’ve been talking about the past two years.  You see, my 80 year old dad lives in the Black Forest in Germany.  The three of us have been tossing around the idea of starting a wine tour company in the Pfaltz region of Germany.  It’s just on the French border a little north of where we are now – Bad Wildbad (outside of Stuttgart).  So we decided to go for it to add a new division to our existing Travel Agency – Elite Travel Planners.  We plan on being here (and coming back to the states regularly during this time) for about two years. So, we had a lot to do and learn more over the past two months!

Let me tell you, there’s a ton to do when you are getting settled into a new country for a little bit.  Much more than just finding a doctor and dentist.  Smile  But things here don’t necessarily get set up as quickly as back home!  Needless to say, we’re still waiting for someone to come and install our phone and modem (it’s been four weeks now)! 

We live in Bad Wildbad, a tiny little town of 4,500 people in the Southwest corner of Germany – the Black Forest (you know where cuckoo clocks come from)  In Bad Wildbad (remember 4,500 people) we have 7 café’s and 5 bakeries (yup that’s right!) – and that’s just our little town – the next town over (2 kilometers away) has more.  The fun part for us, fun because we love it – but then realize the inconvenience of it (remember that we love it), is that everything – and I mean EVERYTHING closes at 12:30 till 2:00.  That’s lunch.  Of course one day we decided to go to lunch with my Dad – we had to go to four places because the first three were closed since they were on vacation!  Yes, things are different here.

But here’s the thing – we actually love it!  It reminds Michael and I about when we were young.  When stores were actually closed at night and on holidays, and Sundays!  Speaking of Sundays.  If you need something, you better get it by noon on Saturday, everything is shut down. 

Now major cities aren’t this bad – did I say we lived in a small town?!  But the Sunday thing is pretty much country wide.  It’s how it should be.  And not much is open late at night – maybe major stores, even our Supermarket is open until 9, not that there’s a soul in there after 8. 

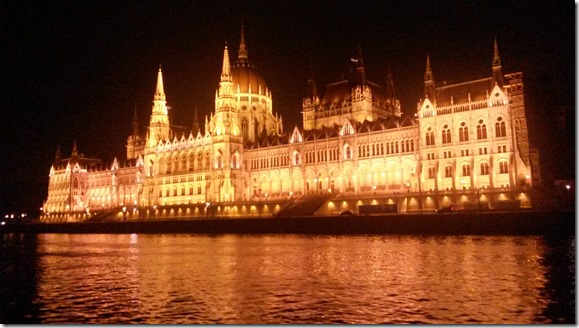
So, after three days of running around getting cell phones, registering to live here, and every errand under the sun, we went on a week long river cruise down the Danube a few days after we got here.  We sailed through Austria into Budapest.  That was amazing!  I’ll write more on that tomorrow.  I took 2000 photos, and several for some inspiration for cards!  Speaking of, tune in later for a great card I made based off the sunset last night.

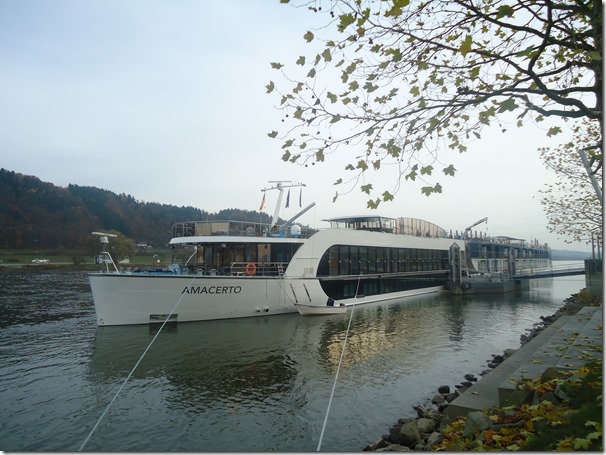
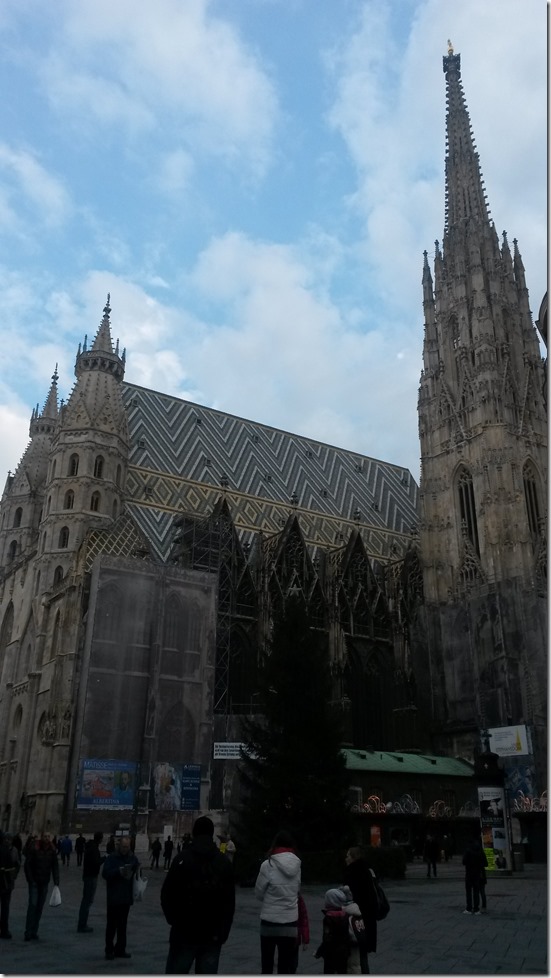
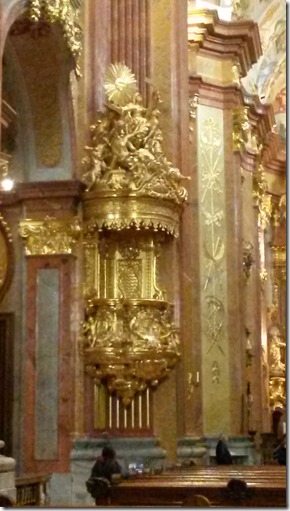
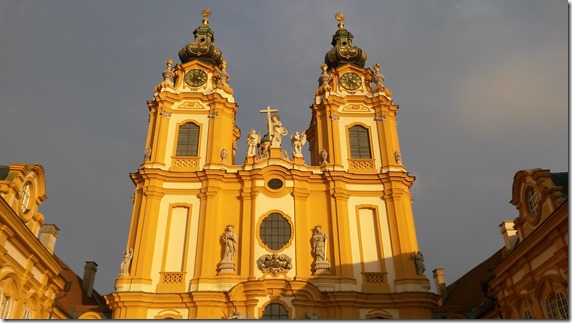
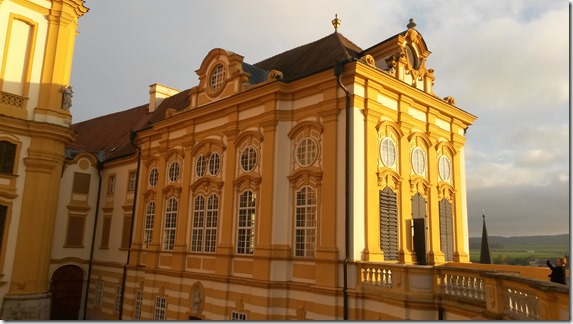
That’s all for today – here are a few photos for you from our River Cruise down the Danube – they’re from Vilshofen, Vienna, Melk, and Budapest.  I hope you all have been great!  Thank you so much for your patience as we re-arrange our lives drastically for a few years.  As you can see, I’m still in business – thank goodness for the internet and phones!  I’ve planned out my next few online classes and can’t wait for all my stamping stuff to arrive (hopefully this week) – I’m down to the basics – it’s like I just started!  Have a great day!

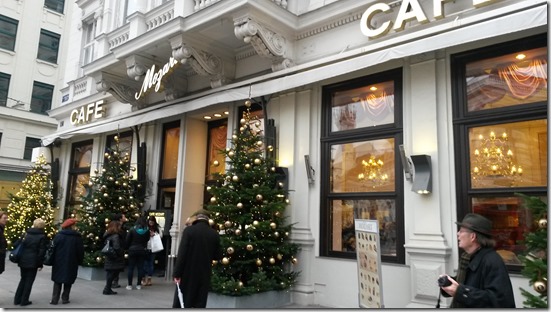
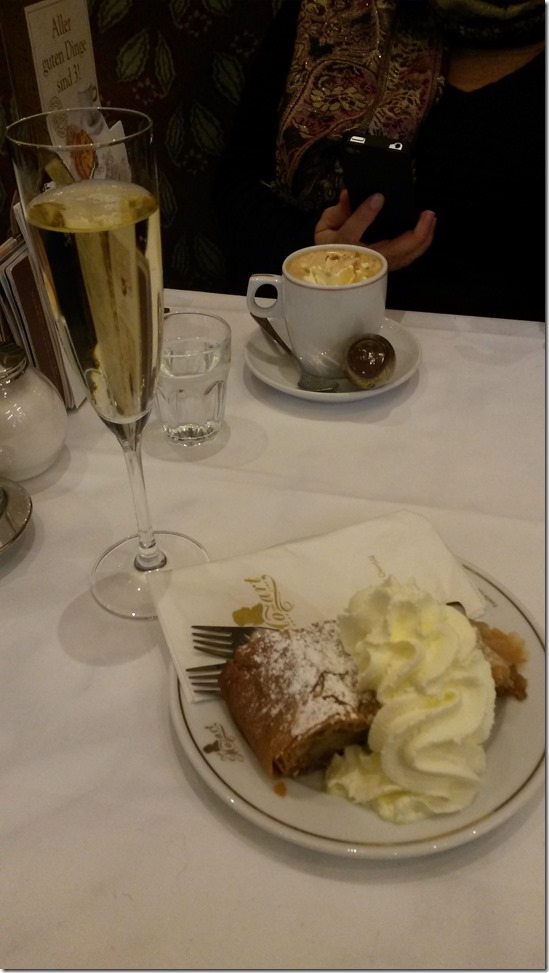
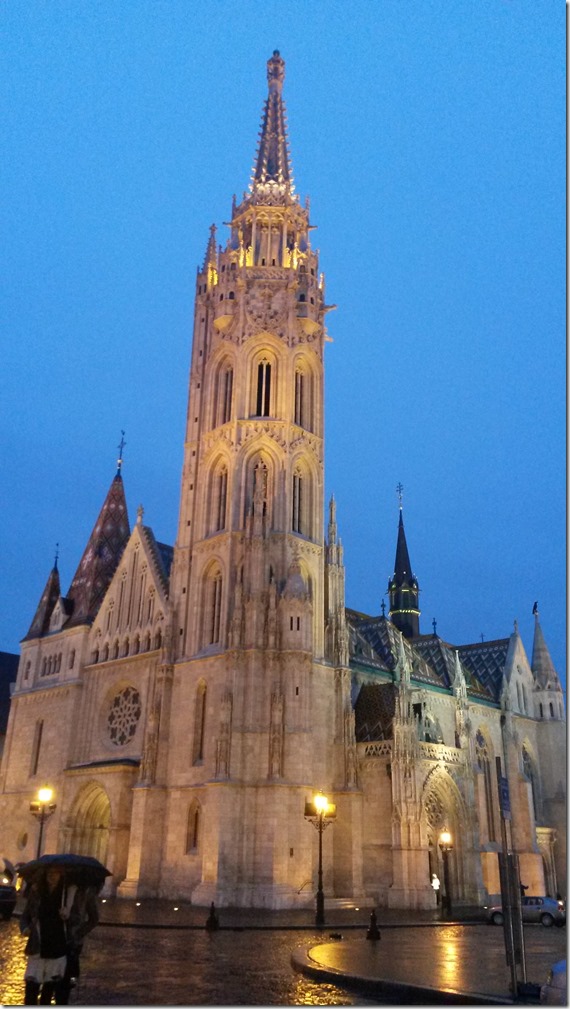
AmaCerto 004Vienna 11.23.13 017Vienna 11.23.13 222Vienna 11.23.13 233Vienna 11.23.13 297Budapest 11.24.13 088Budapest 11.24.13 178

Melk and the Abbey 194Melk and the Abbey 150Melk and the Abbey 127Melk and the Abbey 129

Signature Snowflake 001

World Tour Update

Chiang Rai

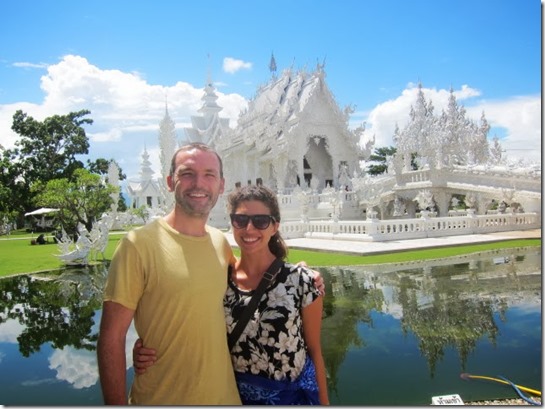
Tom and Rachel in front of a white temple in Chiang Rai

I had several people ask me how Rachel and Tom’s tour around the world was going, so I put a quick little update together for you.  It’s hard to believe that they are about to go into their last month!!  We’re excited to see them in the beginning of November and hear all about it first hand.  Well here are just a few of the latest photos.  Currently they are in Vietnam and will shortly go to Nepal. 

If you’re just hearing about this now – Rachel is my oldest (okay, technically Michael’s oldest otherwise I was quite young…lol)  She’s one of my two ‘bonus’ daughters and is traveling the world with her fiancé Tom.  They saved up for a few years, quit their corporate jobs in DC and decided to travel the world while they could – no mortgage, etc…  We’ve all be having the time of our lives following them on their adventures through their blog – Packs and Boots, online photo albums and email.  They left right after the Superbowl last February.

Ko Phi Phi Leh SnorkelingSnorkeling the waters of Ko Phi Phi Leh in Thailand – where they filmed The Beach with Leonardo DiCaprio

They started in Chilie – spent months in Argentina and surrounding countries, headed to Turkey, toured most of the Eastern Block European countries (Croatia, Bulgaria, Montenegro, Hungary, Czech Republic, Poland, Austia, – took a small stop in Italy (they’ve been there before), then off to Marsailles and various places in France ending up in Paris (two weeks in France with Tom’s parents who met them there)…and then jetted off to Thailand.  They’ve been there for about three months now – Thailand, Laos, Cambodia, Vietnam and ending in Nepal.  Whew…I’m tired just writing that!

Here are some quick photos of the recent Laos, Chaing Rai and my favorite – a local Thai Cooking Class!

Phi Phi ThailandThe island of Phi Phi in Thailand

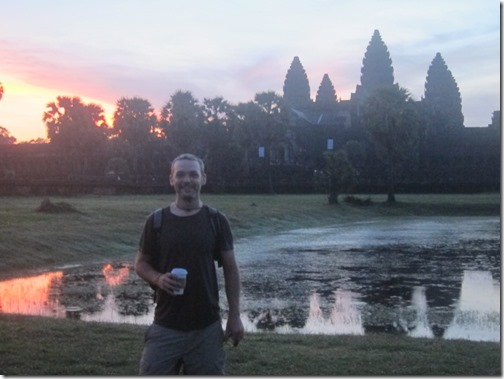
Angkor Wat and StarbucksTom in front of the temple at Angkor Wat with a Starbucks – okay…that’s a first! Smile 

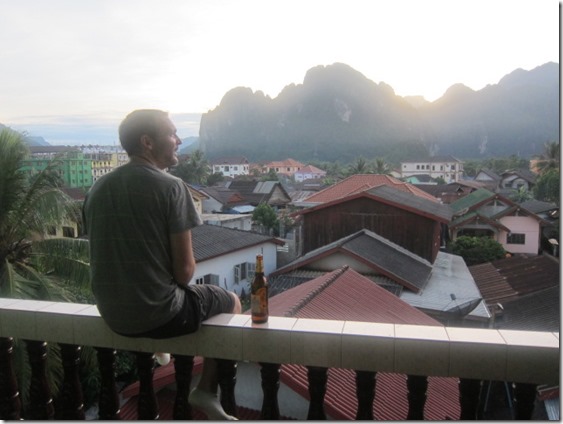
TemplesWish I looked this good coming down steps of an ancient temple!LaosChilling at the hotel with an awesome view at sunset in Laos

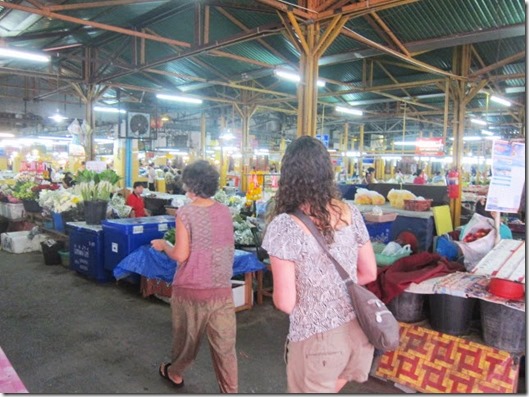
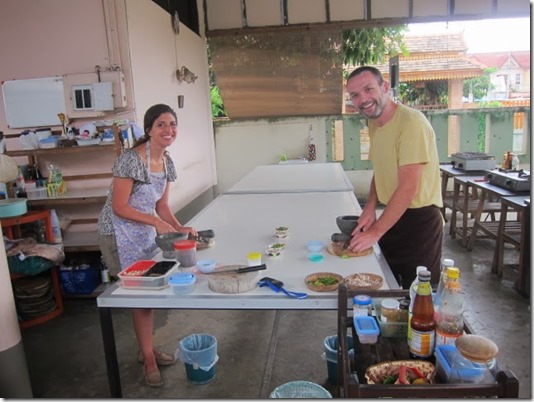
Shopping for Thai Cooking Class in Chiang MaiOkay…I SO wish I was here with Rachel…a private Thai cooking class which started at the market – how great is that!

Thai Cooking ClassMaking their own curry!

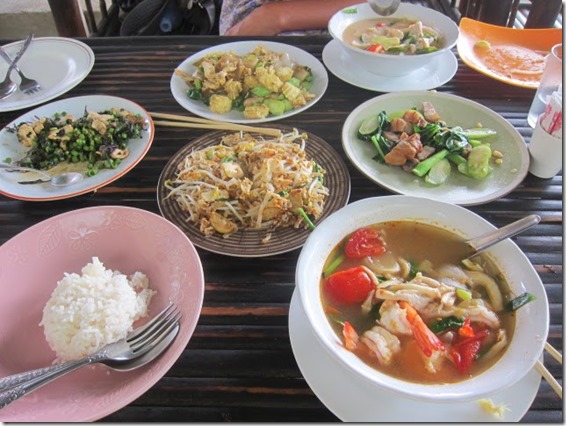
Thai Cooking Class MealThis is their second meal!  What a feast – let’s just say…I’m very impressed! 

What do YOU think?

Signature Snowflake 001

CAS Regarding Dahlias

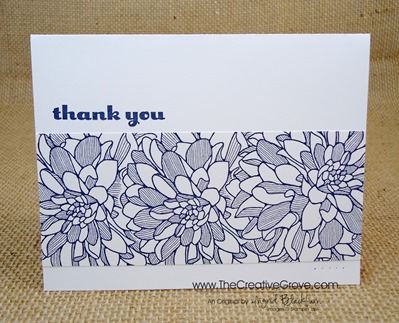
Regarding Dahlias 003 Main

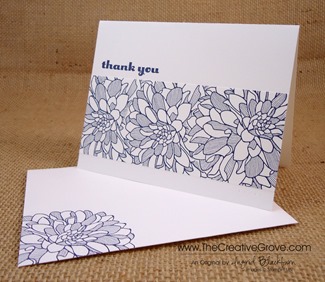
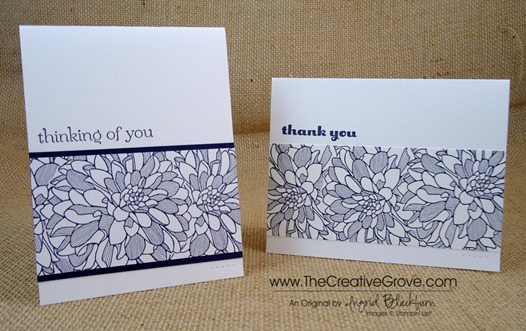
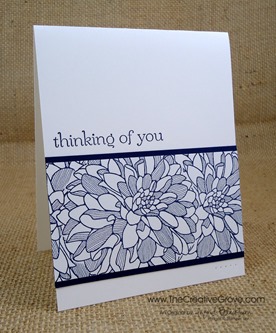
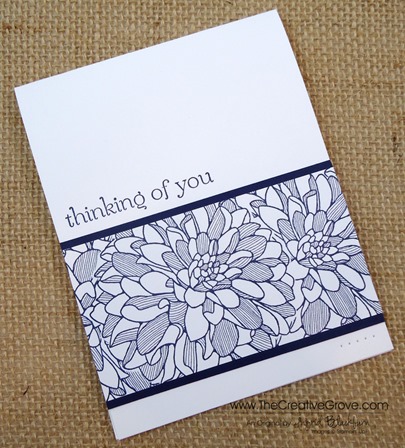
Clean and Simple (CAS) cards are always great.  They’re quick, easy and striking!  The Regarding Dahlias stamp set has several greetings and one very powerful floral image.  Perfect for clean and simple cards. 

Do you ever have an image remind you of someone?  That happens to me, and today I’m using flowers because I’m thinking of Yvonne.  Regarding Dahlias 003 Main  Duo

I teach card and scrapbooking classes locally here in my home and in various communities.  I’ll never forget the day I met Yvonne.  It was at a vendor event when she made her way to my table with her walker and oxygen tank.  Yvonne could not stop looking at my scrapbooks and cards – I could tell she was definitely an avid paper crafter!  She quickly arranged for me to teach scrapbooking in her community with a few of her friends religiously every month.  Each one became stampers in addition to scrapbookers, and I’ve loved every class that I taught there.  The friendships these ladies have with each other, in addition to just really loving every crafting moment together has always been special to be a part of for me. 
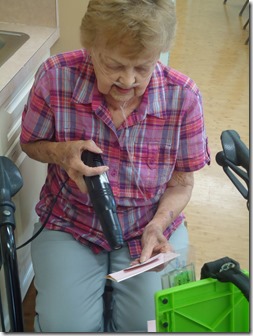
Yvonne has been one of my die hard stampers who never let anything get in the way of her trying all the paper crafting techniques she could – not even a broken shoulder or arm.  I have truly admired her zest for life and not letting the little things get to her (As if those are little things!). 

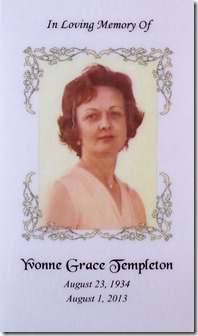
Yvonne was unable to make the trip up the stairs to my stamping studio for my stamping classes in my home, so one day I decided to bring class to her.  It was an awesome fun afternoon, stamping with a friend.  We made several projects using various techniques and to this day is one of my fondest memories of a private one on one class.  Yvonne never missed a class, and over time, I noticed that she gravitated toward the floral images.  So, today this card is for you Yvonne.  You will be greatly missed and I know that wherever you are, you are most definitely living life to the fullest and certainly stamping and scrapbooking!
                DSC00891 002

Creative Tips –

  • To create the floral design, you will want to make a mask out of printer paper.  Card stock will be too thick, and you will find that you have a white gap at the edge of your masked images, which I know will frustrate you!
  • Turn your stamp as you stamp the other images.  This way you have variety and not a repetitive look.Regarding Dahlias 003 Main Front 1
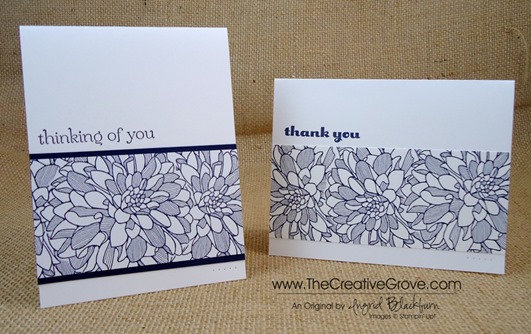
  • This image above has two stamped identically and then one not – can you see the difference?  My other sample has the flower at a slightly different angle.  It’s a bit easier on the eye.
  • You can see that I chose to matte the strip two ways, white strip on white and white strip on matching Night of Navy card stock.  Both are lovely, and have very different looks.Regarding Dahlias 003 Main  Duo
  • You might want to try stamping a long strip that you can cut to the size you need – that way you will have it for multiple cards.
  • Remember the law of 1/3rds when you are placing your images.  In CAS cards, you want to have a lot of white space, so placing your strip and greeting in the top or bottom third will be visually appealing to the reader.
  • For a finishing touch, add some paper piercing to the the opposite side of your strip. 
    2013 Holiday Catalog
    Have you taken a peek at the new Holiday Catalog yet?  The projects are awesome, the new products, well many are quite addictive!  My personal favorite is the new Expressions Thinlits Dies.  How about you?  View all our Catalogs here

Regarding Dahlias 003 Main Angle 2

To Shop 24/7 in the Creative Store – Click here!

Stamp Sets – Regarding Dahlias (130327c, 130324w), Sweet Essentials (126457c, 132085w) Paper – Whisper White, Night of Navy Ink – Night of Navy  Cool Tools – Paper Piercing Tool, Essentials Mat Pack, Stampin’ Pierce Mat

  Regarding DahliasUntitled-12

A Big Shot Birthday

004

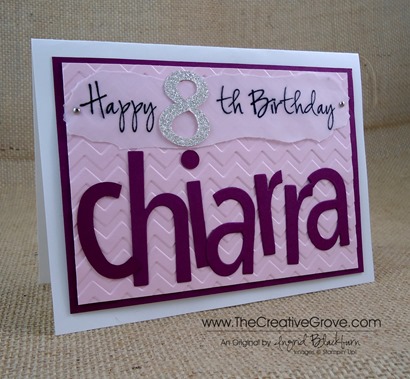
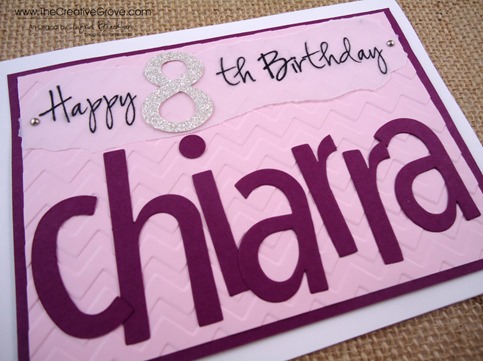
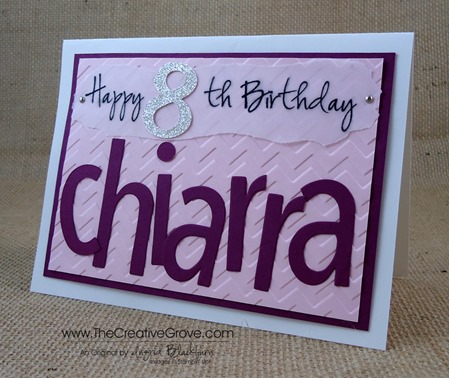
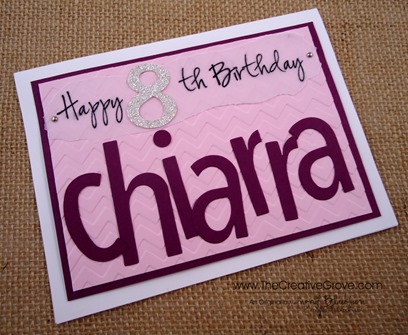
My niece Chiarra is in Orlando for a visit for her 8th birthday.  I felt she needed a fun card with her name on it – since she never finds anything with her name!  So I took out my trusty Big Shot, some of my favorite BigZ dies and went to work. 

009

I created a fun background with the Chevron Embossing Folder in Pink Pirouette and cut her name out using a retired set of BigZ dies in Rich Razzleberry.  For the greeting I used my Word program to write Happy  th Birthday in a fun font – Pea Mel in Between – it’s a handwriting font, and I added the Number 8 from the Typeset Alphabet BigZ dies.  I printed it on vellum and tore it before attaching it with two mini-brads.

003

Chiarra loved the card and especially the gifts to go with it!  There’s nothing like a personalized birthday card to make you feel special.

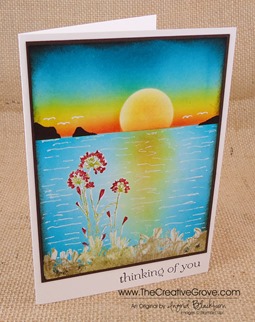
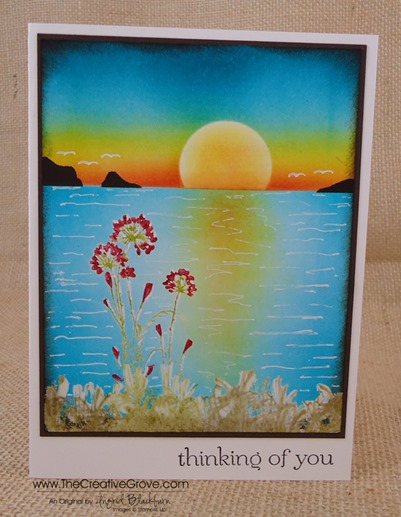
Into the Sunset with Serene Silhouettes

Today is about color.  I have to admit, I struggled with a project today…let’s just say that I can procrastinate with the best of them if I put my mind to it, how about you?  This is why I usually create between the hours of 5 and 9 am!  Well, if this is the result of a little procrastination every now and then, I guess it’s not that bad!  Today I focused on starting with three of the retiring colors as no other stamp set struck me with inspiration.  So it’s all about River Rock, Bashful Blue and Riding Hood Red today.

Once I knew what colors wanted, I went looking for inspiration on Pinterest and I happened to see a card with Serene Silhouettes and the rest is shall we say history.  Thankfully this stamp set isn’t going away, and I thought, humm….it’s been a few weeks since I whipped out my brayer.  I’m sure my friend and CG Crew member Amy has been wondering if my brayer got locked up in a drawer somewhere…she and I seem to text each other a new brayer project we’ve created almost every week it feels like…lol!

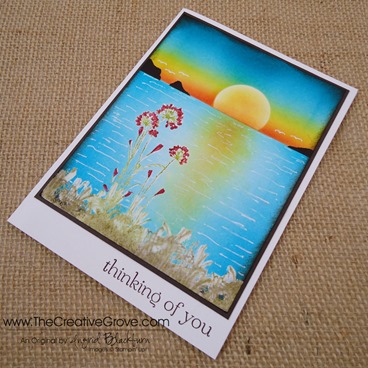
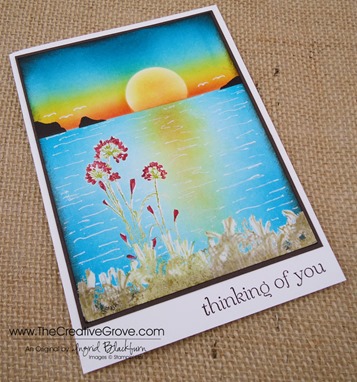
As I sat in front of my blank piece of 5.5” x 4.25” Whisper White paper, I thought of my Dad.  I grew up in San Francisco and we had a view of the Pacific Ocean from my house.  I’m lucky, I’ve seen my fair share of amazing sunsets over Ocean Beach.  And on a good day, you can even see the Farallon Islands in the distance.  My dad used to always tell us stories about the firemen who would dive for abalone there in the shark infested waters.  This card is paying homage to my roots back home in San Francisco, California.  The grass in the sand dunes, gorgeous blue waters, an amazing sunset and sea gulls flying around with islands in the distance.   Here’s to you Dad, I miss seeing you more often, I’m thinking of you and hope your day is filled with beauty like this!

Creative Tips –

  • I started out by stamping my main image in Versamark and then coloring it with all retiring colors – Lucky Limeade, River Rock and Riding Hood Red with Classic Ink Pads and Stampin’ Write Markers.  (They’ll be gone for good on June 3rd – if even available still)
  • I then embossed my image in Crystal Clear Embossing Powder. 
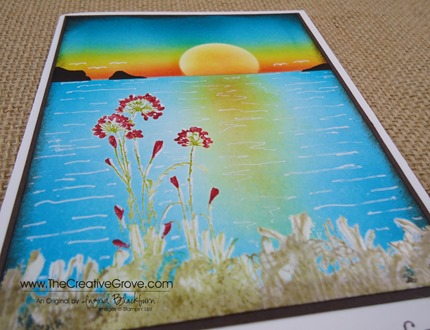
  • I repeated the grass portion of the same stamp set several times along the bottom. Serene Silhouettes 001 Bottom Angle
  • Once my stamped images were cooled and set, I masked my horizon and began to brayer my ocean in Bashful Blue.  I went across in a horizontal motion and then focused from the left and then the right in a vertical motion, leaving my middle a bit white.
  • I went over it with Tempting Turquoise to brighten it up a bit and then focused on the horizon line both with my brayer and a sponge.
  • I switched my mask and placed a sun on my paper under my mask in the area where the sun sinks into the water. 
  • I brayered the top 2/3 of my sky, in this order, with Bashful Blue, Tempting Turquoise and hit the very top with Island Indigo.
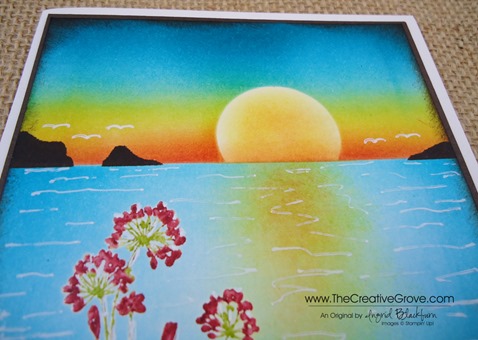
  • I layered Daffodil Delight next with my brayer from the horizon to the blue to create a little pop of yellow.  Where it met the Bashful Blue it created that pop of green that you get.  Serene Silhouettes 001 CU Sunset
  • I intensified my color with a Daffodil Delight sponge in a circular motion.
  • I added a hint of Tangerine Tango first with a brayer and then with a little sponging from the horizon.
  • My final color is Riding Hood Red just at the horizon line to add a little drama and intense orange color right at the horizon.
  • I removed all my mask and sponged a little color into my sun with Daffodil Delight and then just a hint of Tangerine Tango.
  • I lightly sponged some Daffodil Delight in the water where I left the white area.  I didn’t over do this as I didn’t want it to turn green from the Bashful Blue.  If you don’t leave enough whitish space, you will get too much green – remember yellow and blue make green.  I followed up with a hint of Tangerine Tango.Serene Silhouettes 001 Front
  • I created a mask of two islands and sponged them in using Early Espresso.
  • For my finishing touch, I used a White Gel Pen to create my seagulls & water ripples .  Finally, I used Early Espresso and a sponge to frame my card.

I hope you love this card as much as I do.  I just love sunsets, who doesn’t!  We’ve had some amazing ones here in Florida this week, maybe I just have them on the brain!  I hope your evening is filled with beauty today.  I’d love to hear from you – let me know if you whip out your brayer and give some creative scenery a try! 

Hands on Creative Scenery Classes

If you’re in the Orlando area on June 21st, I will be teaching Creative Scenery 101!  For more information on this fun class click here.  If you would like me to come to you directly, contact me – I’m up for traveling to teach these classes!  Be sure to check back here for the online version of this class later this month as well. Smile

To Shop 24/7 in the Creative Store – Click here!

Serene Silhouettes 001 Side


Stamp Sets – Serene Silhouettes (127324c, 132073w), Sweet Essentials (126455w, 126457c) Ink – Versamark (102283), Tempting Turquoise (126952), Island Indigo (126986), River Rock (126977), Daffodil Delight (126944), Tangerine Tango (126946), Riding Hood Red (126968), Red Riding Hood Marker (119701 – Regals Marker Collection)  Paper – Whisper White (100730), Early Espresso (119686)  Cool Tools – Stamping Sponges (101610), Brayer (102395), Blender Pen (102845), VersaMarker (retired), Clear Embossing Powder (109130), Heat Tool (129053), 1” Circle Punch (119868)  Finishing Touch – White Gel Pen (105021)

Home Sweet Home

SF Day 1 009 edited

This week I’m spending time in San Francisco, California to visit my family and celebrate my dad’s 80th birthday, spend some quality time with my mom, and brother.  I was born and raised in San Francisco and it’s a beautiful place to visit.  Plus I’m super excited to meet my new niece – Aubrey.

I would never change a thing about growing up in San Francisco.  We had amazing culture, I grew up in a melting pot of people, culture, excellent food, and more physical sports and outdoor activities than you can think of.  I’m quite proud to say I’m a California girl – even if I don’t live here anymore.  

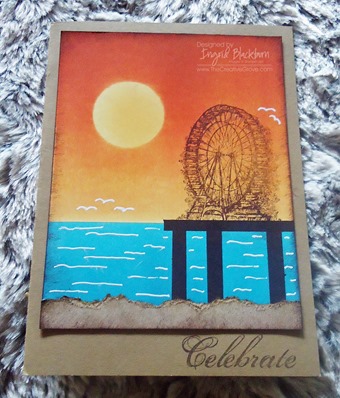
One of the things we loved about being in the Bay Area was going to our old family cabin in the Santa Cruz Mountains.  I loved being surrounded by the towering Redwoods (hummm, wonder where my love of redwoods came from?)  We would go on hikes, walk through the Basins, and go to the Boardwalk in Santa Cruz.  The Boardwalk had the scariest (well as a kid) rollercoaster, because it was all wood!  I loved it.  So when we had the free Sale-a-bration Stamp set Feeling Sentimental, I had to do a sunset boardwalk scene – it just reminded me of the Boardwalk in Santa Cruz. 

This card was one of the projects in my Brayer 101 – Introduction to Creative Scenery class that I taught the past few months.  The stamp set is now gone (but I know several of you have it!), so I’ve come up with a great new project to replace it, but wanted to share this beautiful card with you.  I hope you like it!

I will be sharing how I made this card in a detailed post filled with Creative Tips to anyone subscribed to my Creative Tips mailing list!  I’m going to share it on Saturday at 12 noon – the day of my Dad’s party, so you have plenty of time to subscribe still! 

Have a great day – enjoy your families – I’m going to enjoy spending quality time with mine.  I’ll be sure to report back all week so that you can see all the fun places and things I’m doing.

For information about taking Brayer classes as part of my Creative University series in person, check out my upcoming events page by clicking here.

Signature Snowflake 001

To Shop 24/7 in the Creative Store – Click here!

Ciao Baby from St. Barts

St Barts Columbier Point

Ciao from St. Barts!  I’m loving my trip through the Caribbean, and thought I’d pull a little inspiration for this month’s featured RemARKable Stamp Set Blog Tour from my actual surroundings today here on St. Bart’s in the French West Indies.  I’m sure you enjoyed your creative inspiration on Linda’s blog Ink Stamp and Scrap and are ready for a little brayer and sponging creativity.

blogtour-stampmonth-Mar

When I thought about what to do for today’s Blog Tour, the first thing that sprang to mind was the word Ciao.  In Europe that could be hello or goodbye, so it was entirely appropriate for my project today.  I’m saying hello from the French West Indies and goodbye to St. Barts as we’re on our way to St. Maarten.  Here is a little of what I did today.

Gouverneur Beach St Barts

Today, I spent the day on Gouverneur Beach on the south side of St. Barts.  This was the most highly recommended beach by every local we spoke to, and it was quite an experience driving there.  The narrow roads that wound around the island at several steep points was so worth every frightful turn as we ended up here.  This is my inspiration photo for my card today.  I hope you love it as much as I enjoyed making it.

Ciao Baby 001 Main

Creative Tips:

  • I brayered River Rock and Crumb Cake for my sand and used a sponge for the contouring.
  • I brayered Tempting Turqoise and Island Indigo for my Caribbean Sea.  I used a sponge for contouring and spotlighting.
  • My sky was done out of Tempting Turqoise and Baja Breeze.
  • For the land, I masked two islands in Crumb cake, Soft Suede, Old Olive and Gumball Green.

  • I used a Garden Green Marker for the shrubbery.
  • I used a White Gel Pen to create my foam, clouds, seagulls and water movement.

Ciao Baby 001 PortA little St. Barts with some luxury inspiration in the backdrop – mega yachts!

  • St. Barts is a luxury French island with unbelievable white sand beaches, and luxury properties as a playground for the rich and famous – it’s a literal who’s who and who has the biggest yacht here.  To capture that spirit I used the Ciao Stamp and matching punch (a SAB freebie – get yours while you still can!).  I stamped it in Early Espresso and adhered it to an Island Indigo banner.

Ciao Baby 001 CU Banner

  • I blinged up my banner which I cut with a 1” Square punch.

Brayering cards like this are little pieces of artwork.  I encourage you to sign them like I did, with the year and location.  My card is sitting in my stateroom and I’m going to leave it for my Stateroom attendant at the end of my cruise with a tip.

Ciao Baby 001 CU

I hope you enjoyed my brayering piece today.  I loved my inspiration just as much as I do this little work of art.  Enjoy Melissa’s creative inspiration on her blog http://www.stampinup.net/blog/2089191.  See you next week for the 25th Anniversary Blog Tour or next month for another featured stamp set!

blogtour-stampmonth-next

Signature Snowflake 001

Ciao Baby 001 Angle

Ciao Baby 129648S