Happy Monday! Today I am taking you to Africa for our Mojo Monday challenge via the new World Map Stamp and Zoo Review Stamp Set. The World Map background stamp was at the top of my list when the new catalog came out and its release was delayed until just recently – it’s another must have!
I struggled for about a minute this morning and then I saw the Zoo Review set and it all fell into place. All my Brayer 102 students will be thrilled as this set is one of the ones we use in that class. And this card was so simple to put together. I really like the masculine feel of it, I hope you do to. Here is what the Mojo Sketch looked like:


Creative Tips –
- I wanted an easy feel to this card and for the lion to be the stand out.
- I used the #6 and #7 Circle Framelits for the circle part. I didn’t want a 1/4” matte, so I took the #6 and used my xacto knife to cut around the outer edge. It gave me a 1/8” border which is what I was looking for. The #7 I ran through my Big Shot.

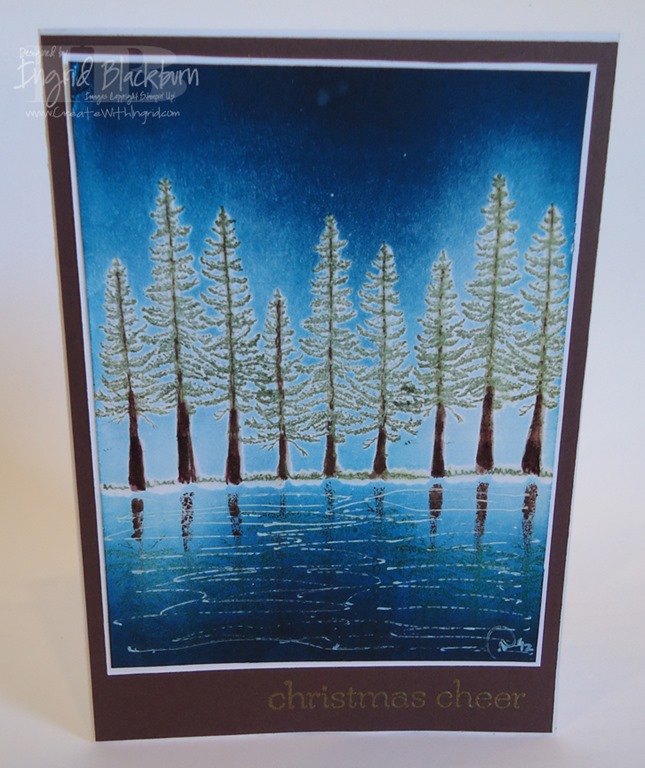
- The World Map is stamped tone on tone in Pear Pizzazz.
- Of course the color combination came straight out of the Color Coach!
- I added one of the Antique Brads for some texture and interest along with some paper piercing in the top corners.

- The Lion is the stand out of the card, so I embossed him and the greeting in Early Espresso Embossing Powder.


It’s a quick and easy card, but I love the feel. The world map is the perfect accent and feels more like Designer Paper. I hope you’ve enjoyed another fun Mojo Monday card! 
Learn a new technique in the Online Brayer Class
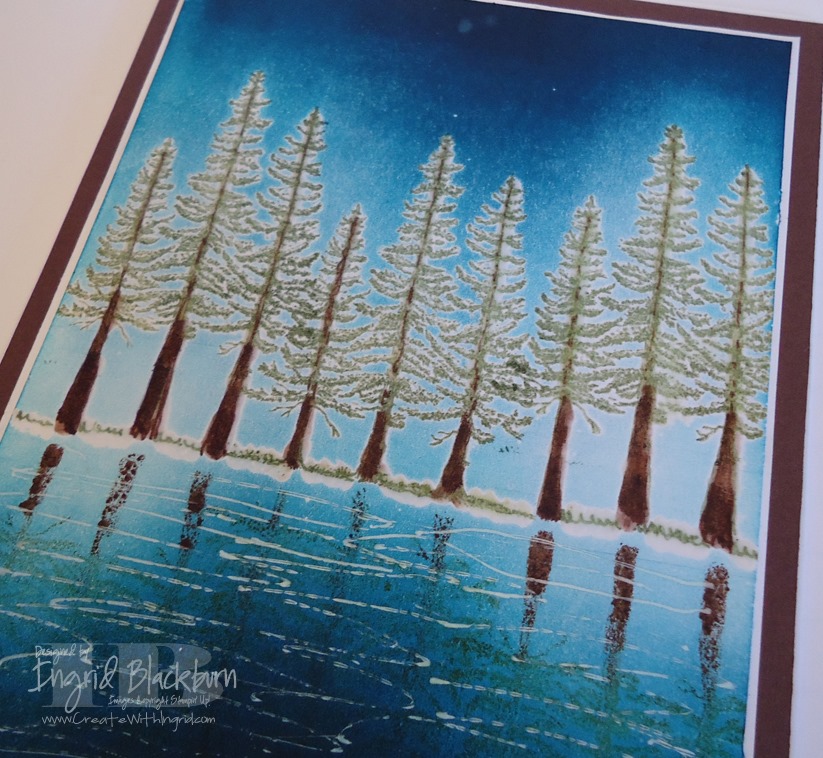
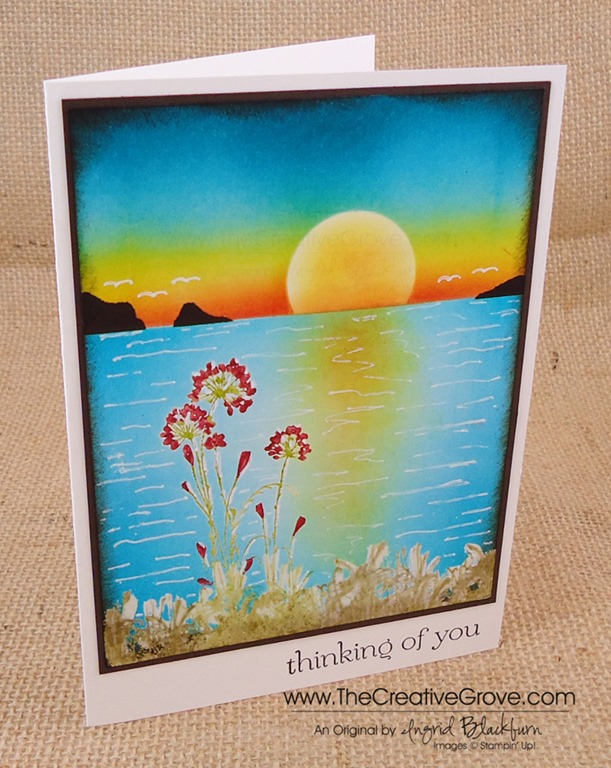
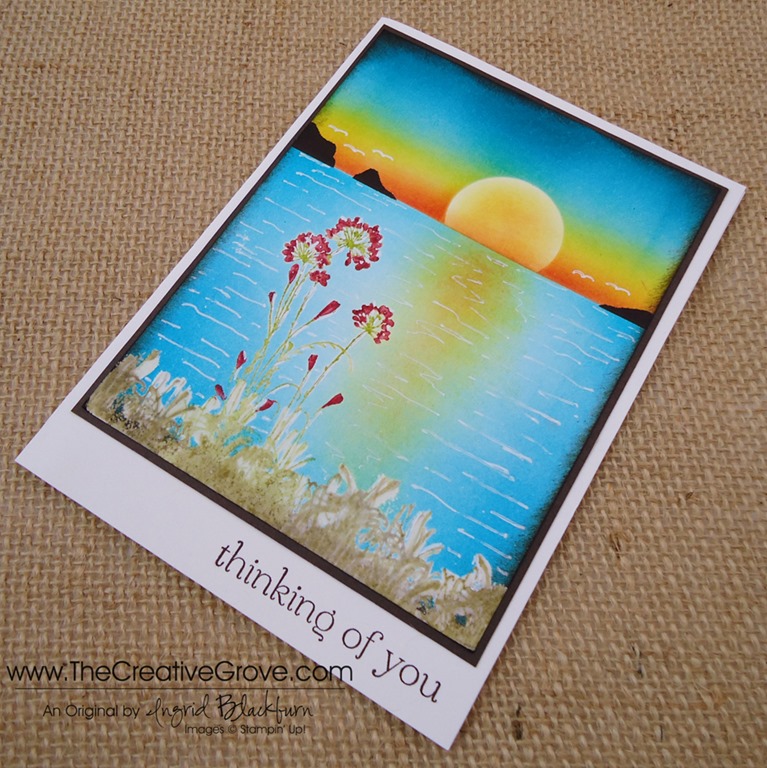
This class is still available at the introductory price – it’s going up next week! Creative Scenery classes using a brayer have by far been my biggest hit with stampers. The Brayer has stumped many crafters over the years, well actually more. Learn how to create gorgeous gradual transitions with 100+ minutes of step by step detailed video instruction teaching you how to master this technique. The end result – You will feel like an artist. Best of all, you will look at your stamps in a whole new way, and try things you never would have thought to do before. Find out more here

To Shop 24/7 in the Creative Store – Click here!

To view the details or see close ups of any products used in the above project, just click on the green link to view it in my store 24/7.
Stamp Sets – Zoo Review (12299c, 128769w), Lots of Thanks (129690c, 129687w), World Map (130345c, 130342w) Ink – Early Espresso, Pear Pizzazz Paper –Whisper White, Basic Black, Versamark Tools – Circles Collection Framelits, Big Shot, Xacto Knife, Paper Piercing Tool, Stampin’ Pierce Mat,Essentials Paper Piercing Pack Finishing Touch – Early Espresso Embossing Powder, Stampin’ Dimensionals, Antique Brads