So, you’ve probably seen the five projects I posted in the last two days, right? All clean and simple, great, fun projects. Now I’m going to mix and shake it all up! I’m going to take the dies from yesterday’s feature – Enchanted Garden and several of the same greetings you saw from All about You on Day One…and we’re going to create some Mixed Media fun today!
Now mixed media may or may not be your thing, but read along with me. My good friend Kylie asked me to be on a mixed media team a few months ago. I’ll be honest – I was scared to death. BUT, not one to be afraid to try something new…I found myself saying yes…feel familiar? Do you also have a problem saying no…lol?!! Well let me tell you – it was the single best decision I’ve made, as it opened an entire new art form to me and allowed me to put my creative juices to work. Many more than I even realized I had.
You may think you’re not an artist – but I have the same doubts and questions about myself that you do – trust me! So when I decided to make a few mixed media projects for the Stamp of Approval collection, I thought…okay – I’ll stretch myself. The point I’m working toward is that you can take any kind of image or die and turn it into any kind of art form you want. Just let the creativity flow. With that in mind…here’s what I have for you today:
Mixed Media SOA – Day Three
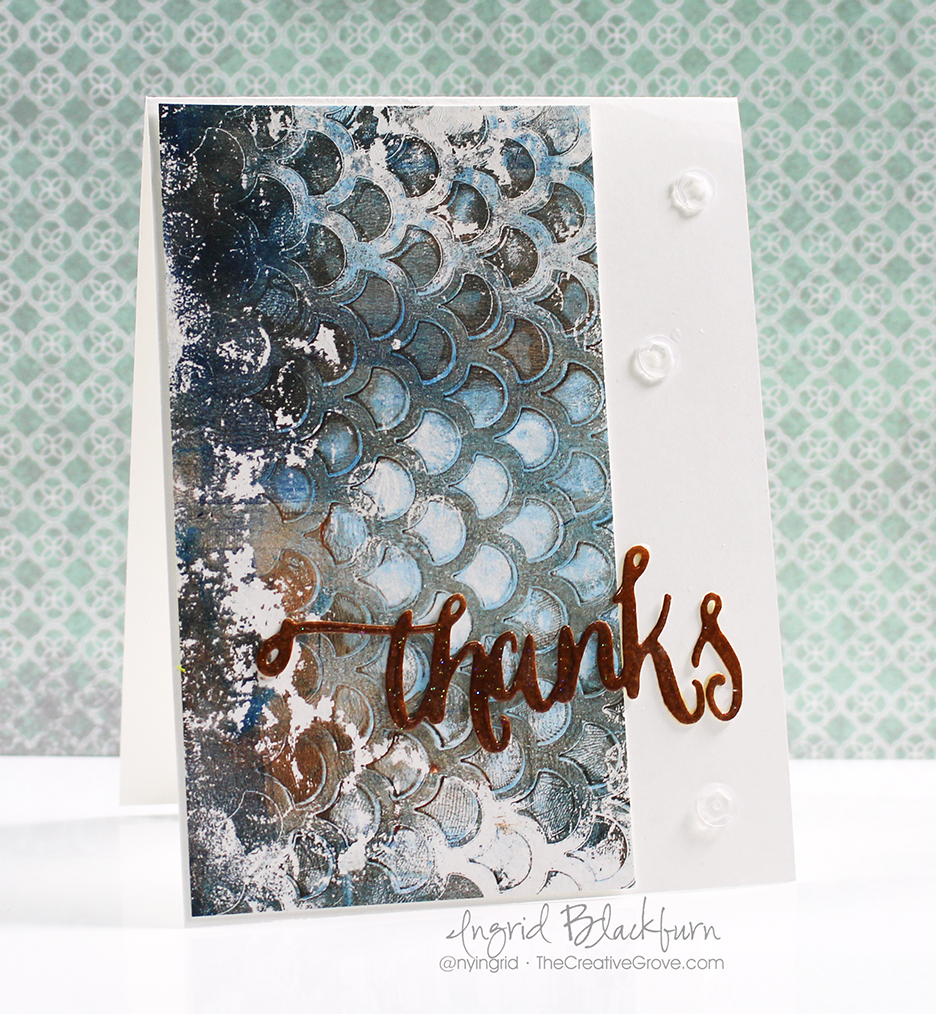
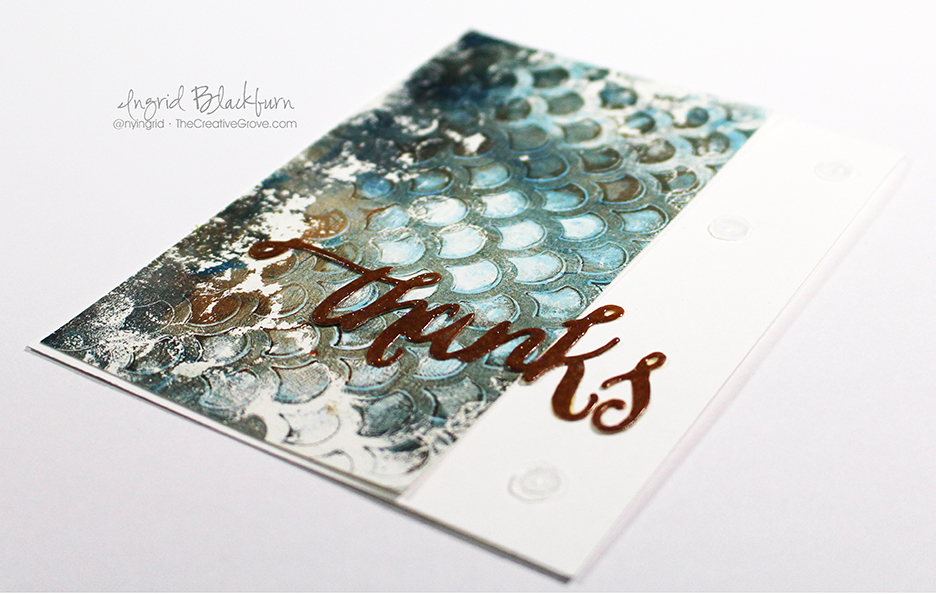
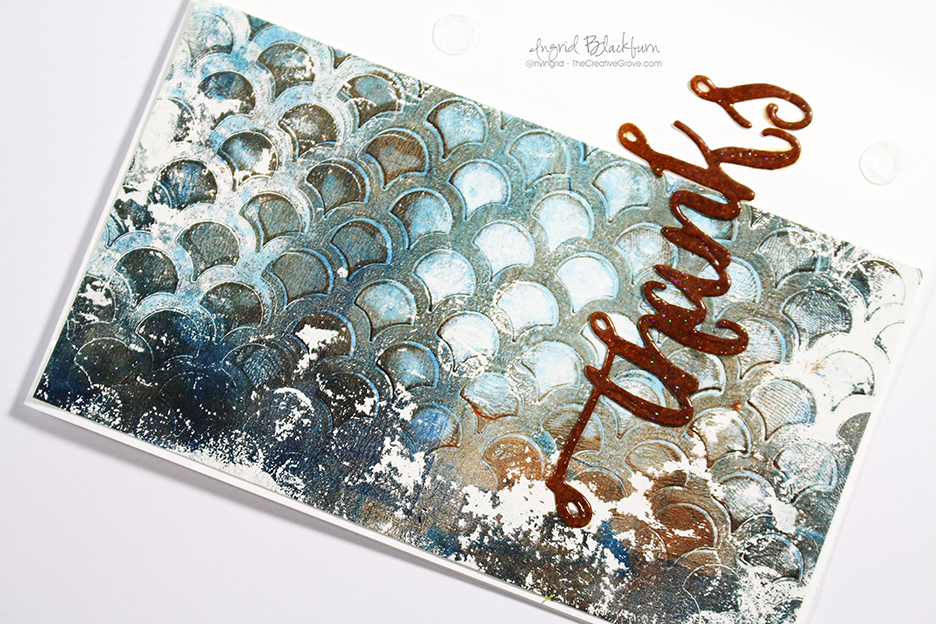
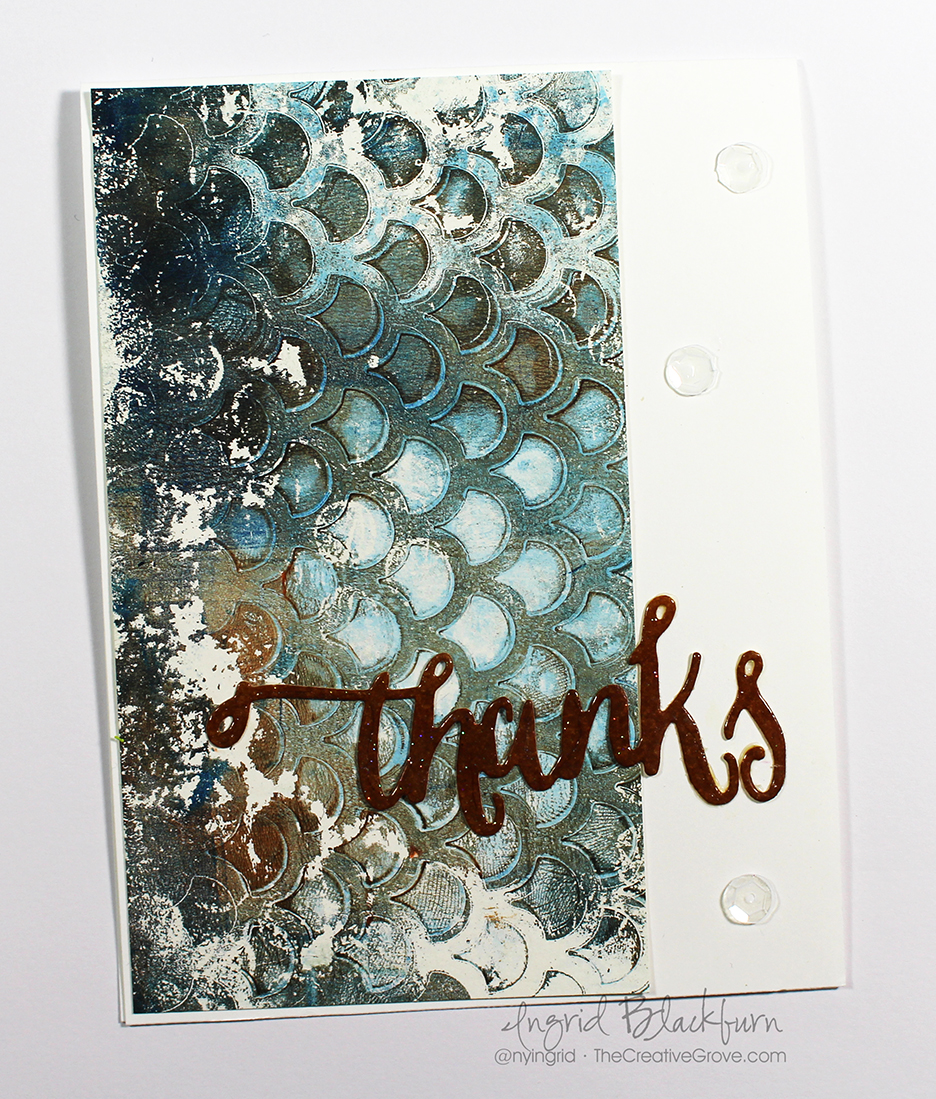
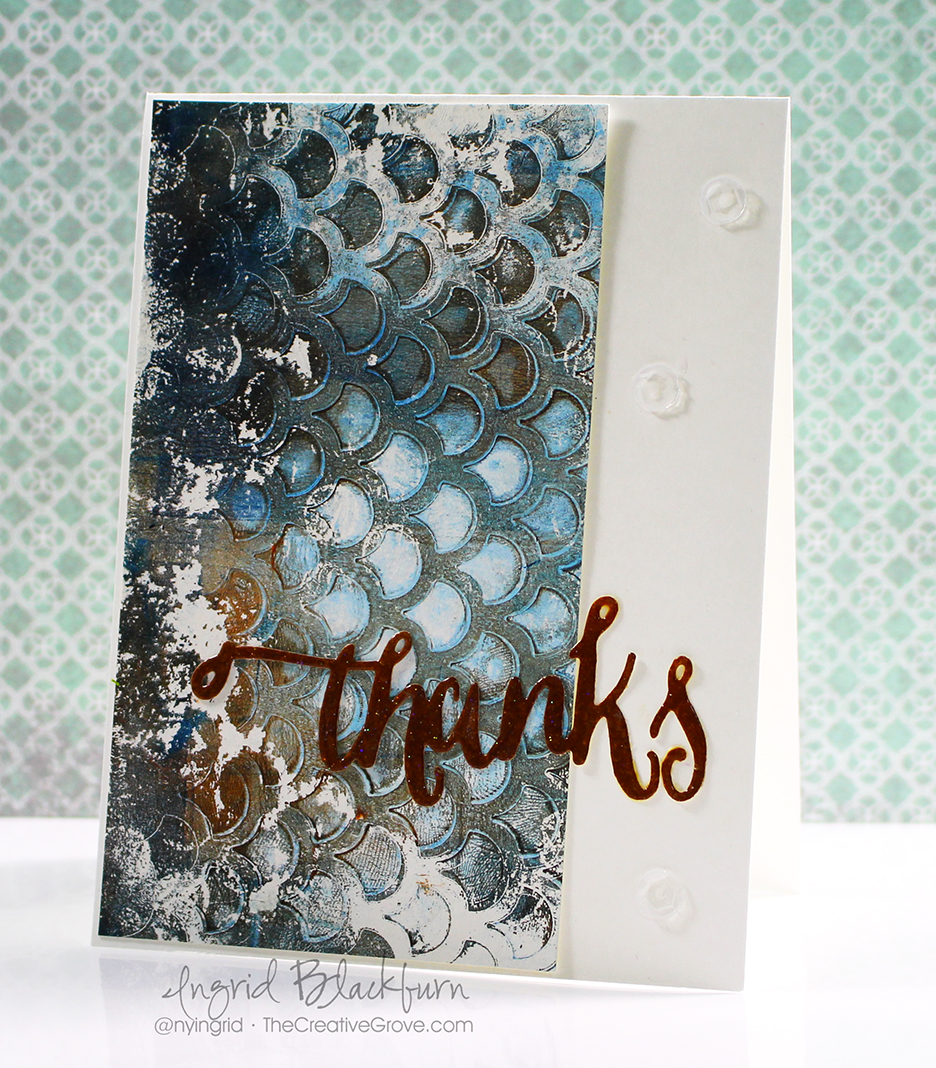
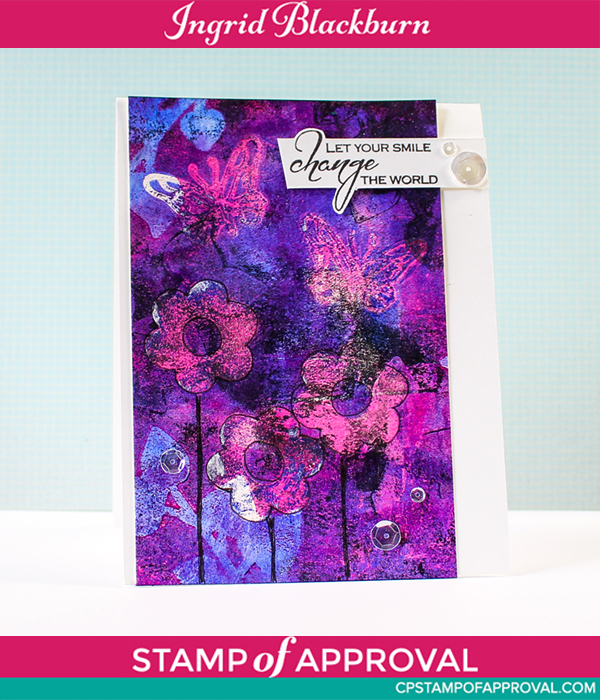
Project One – Enchanted Monoprint
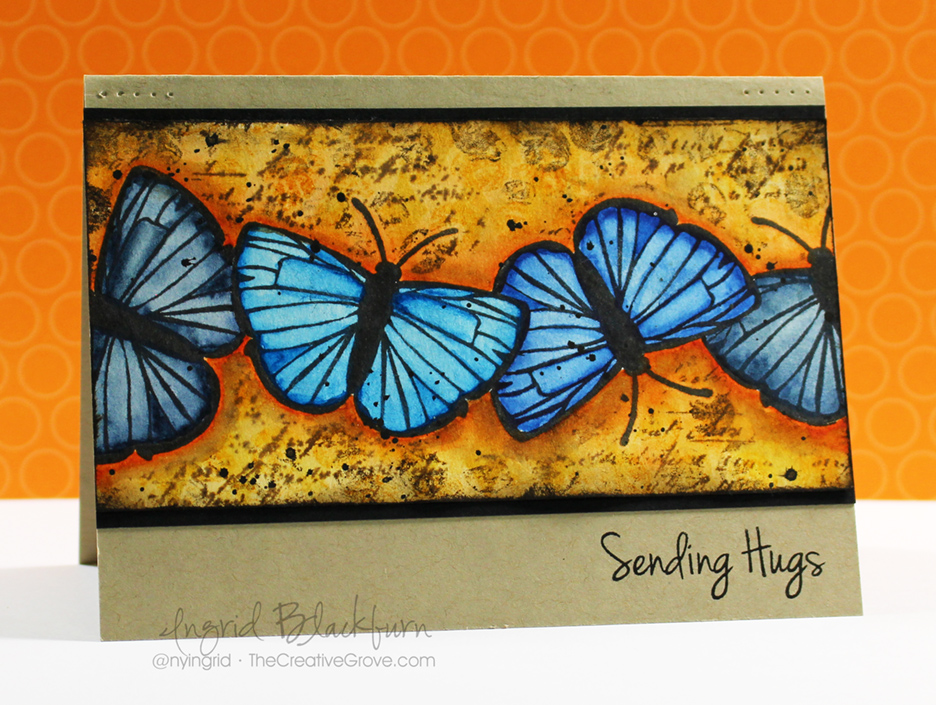
I’m not ashamed to admit that I’m addicted to monoprinting – a print that can only be made once. I started off by brayering my Gelli Arts plate with some various colors of Acrylic paint, laid down some paper die cut images from the Enchanted Garden collection and the Enchanted Butterfly and then went to work pulling layers of prints and ghost prints. I then layered some of the heart vine die cuts from the same collection with a little Cobalt acrylic paint mixed in with a little Paynes Grey. the end result was just stunning. I trimmed it down and added one of the awesome saying fromt he Beautiful World stamp set, a few sequins and there you have it!
This was a quick little project that is just so cool to look at. I love how the paint colors when layered took on some very cool tones. Now wait till you see the next one!
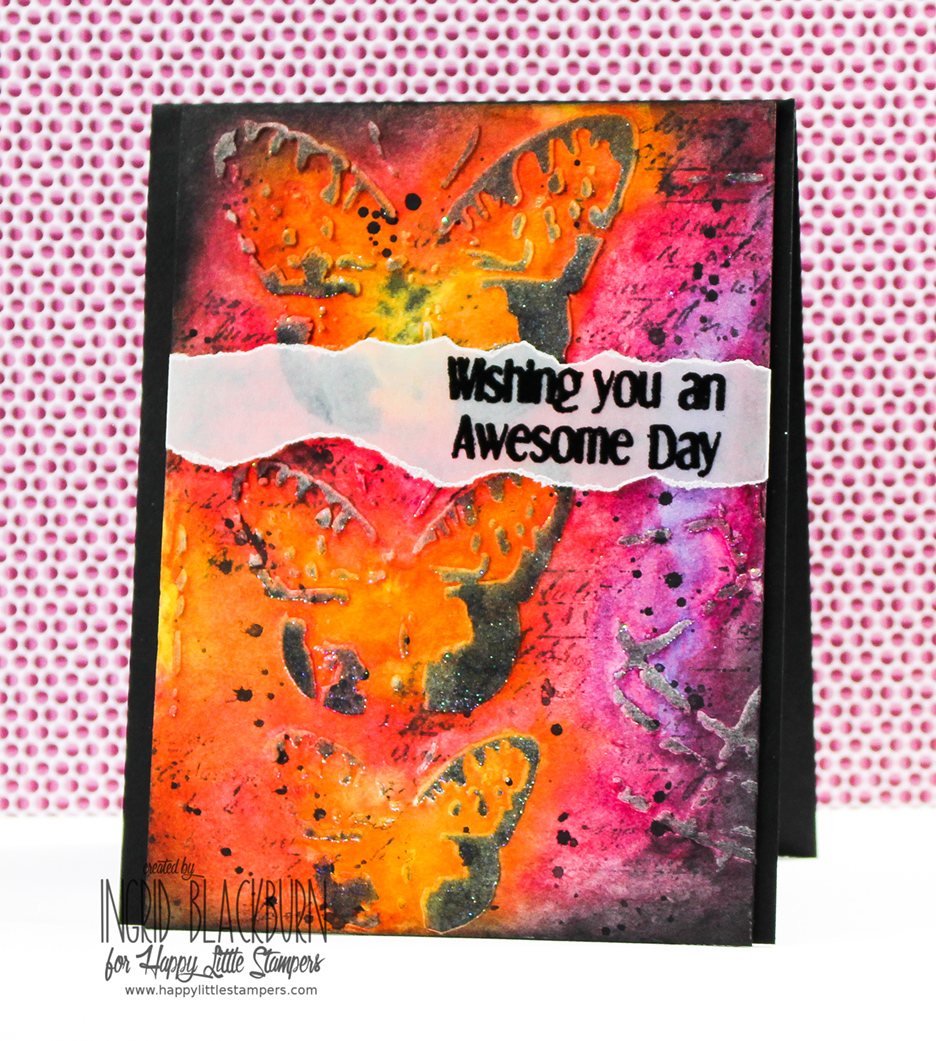
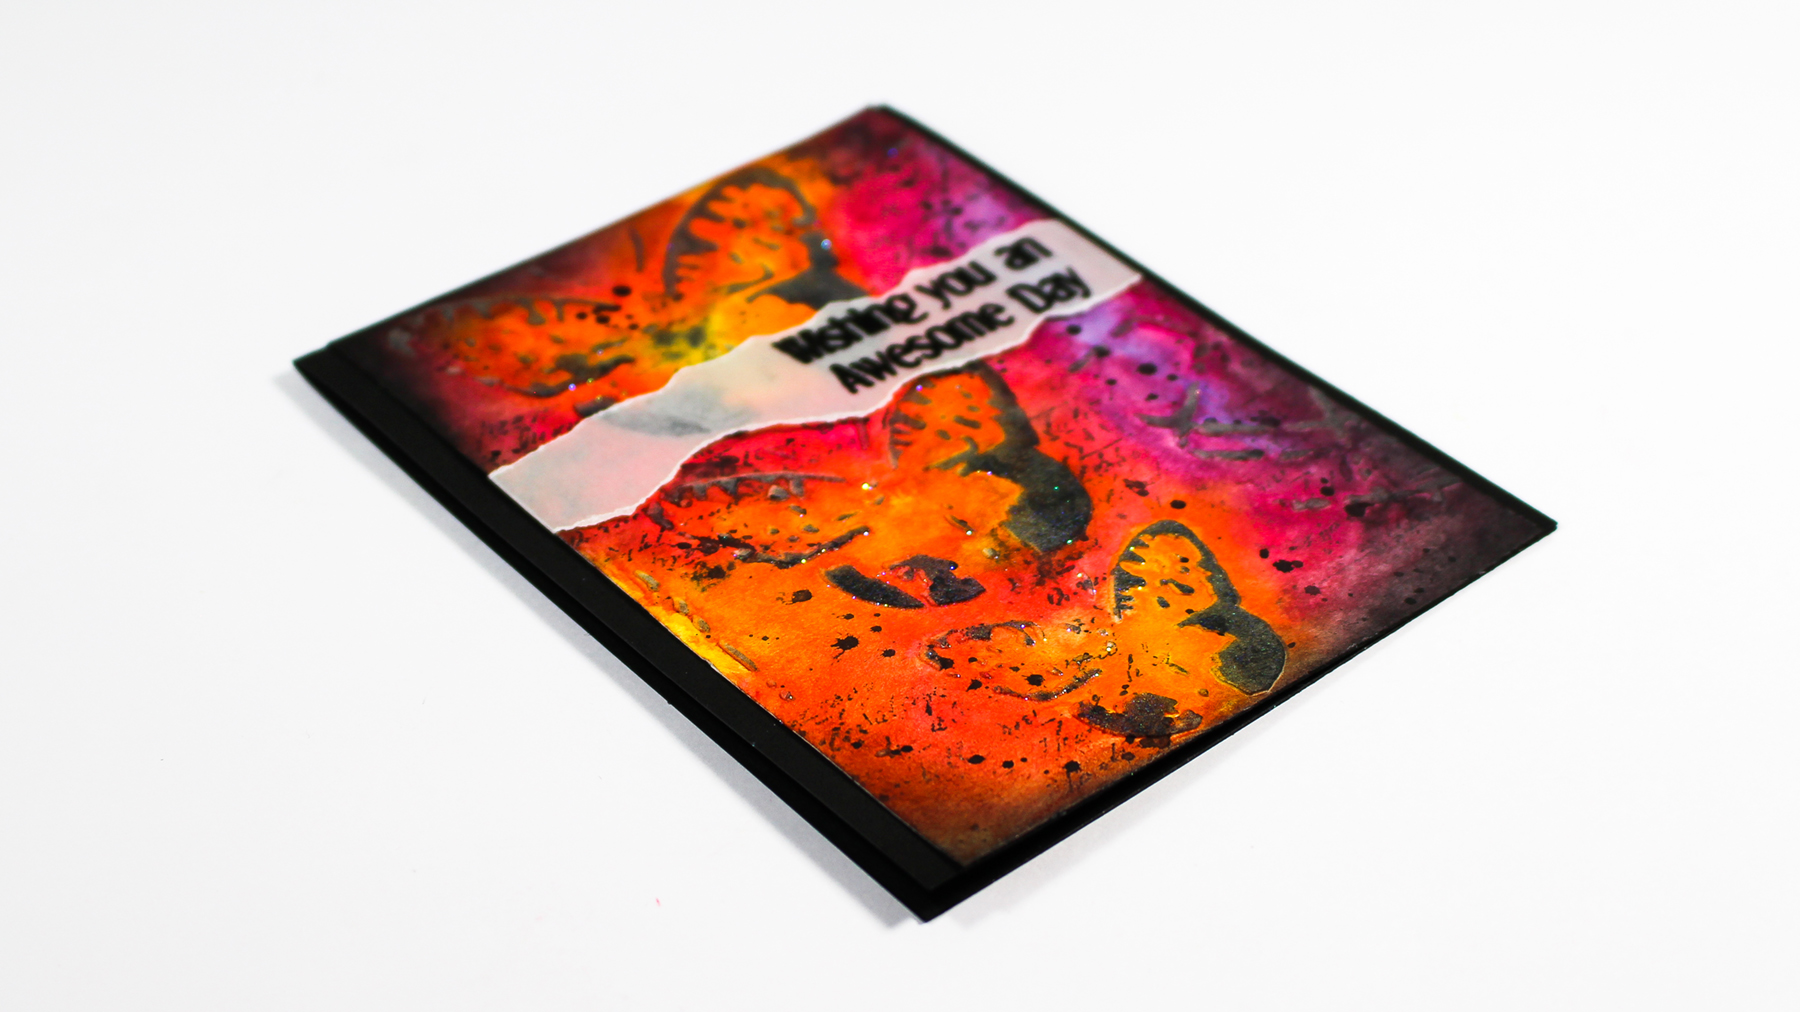
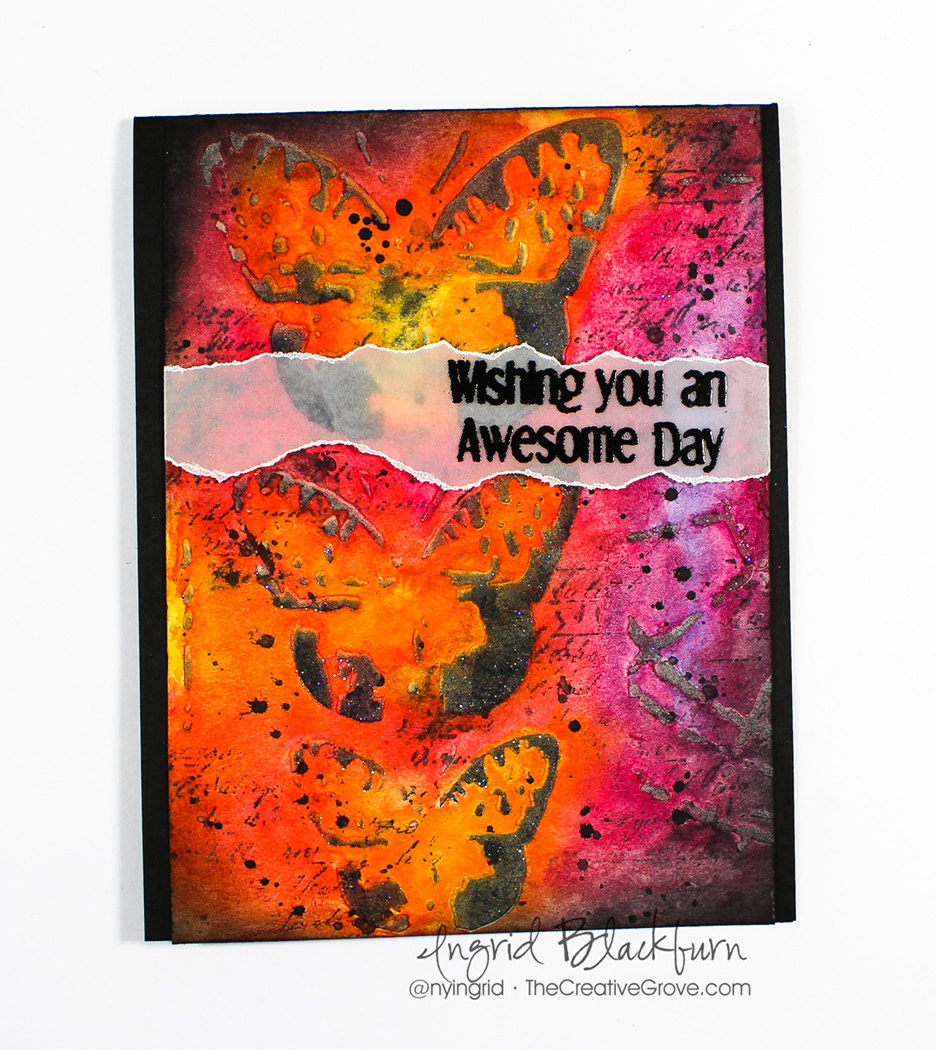
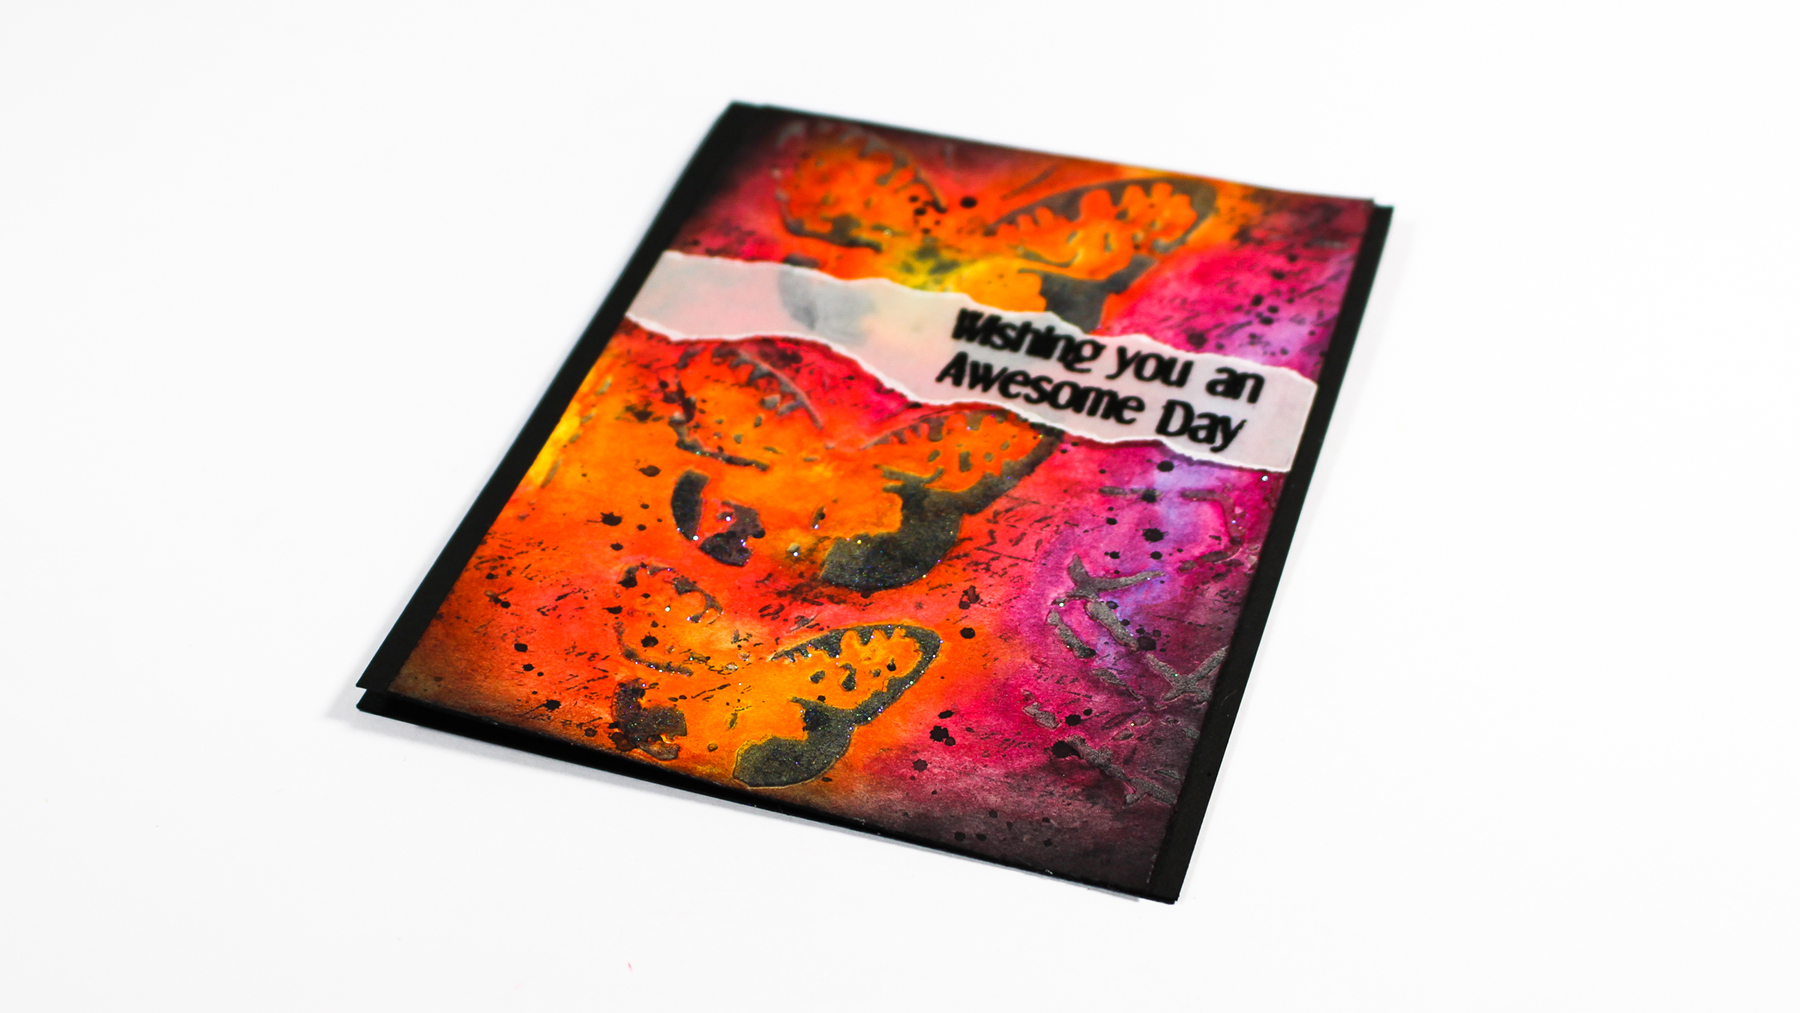
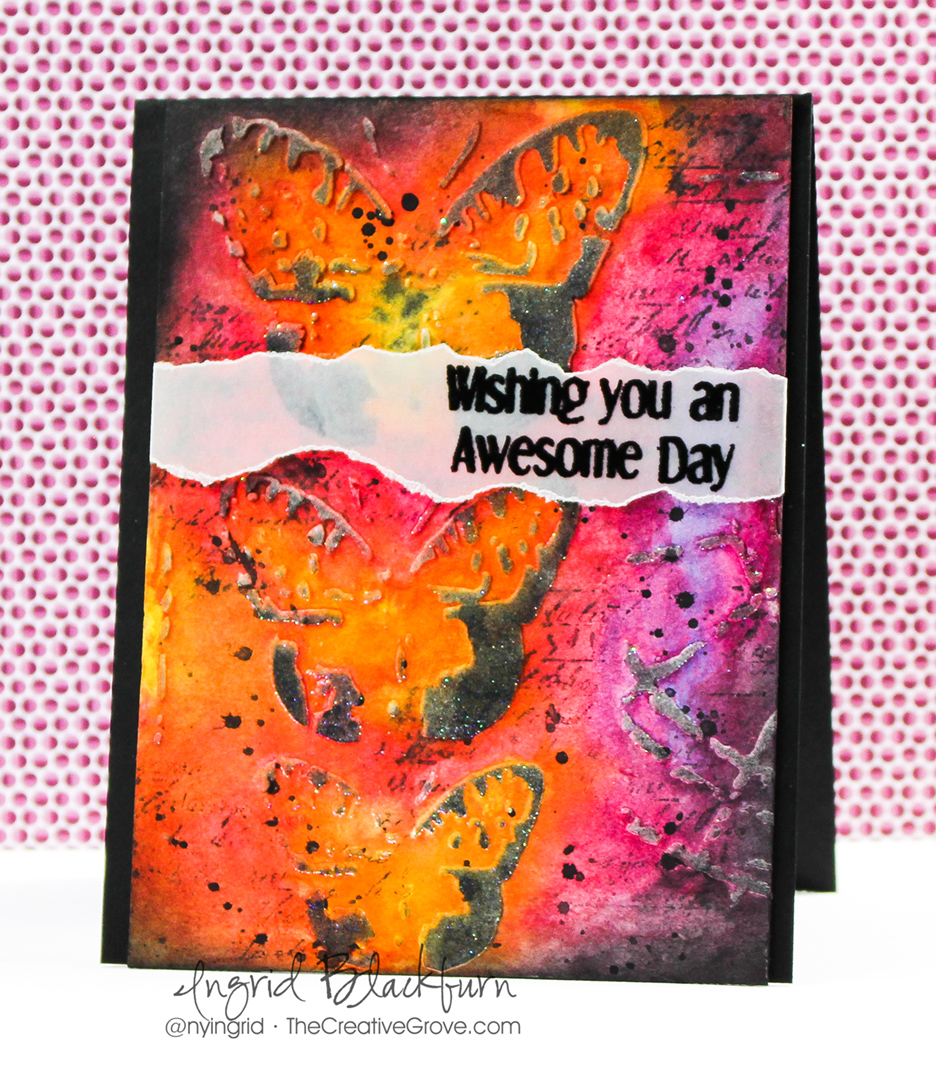
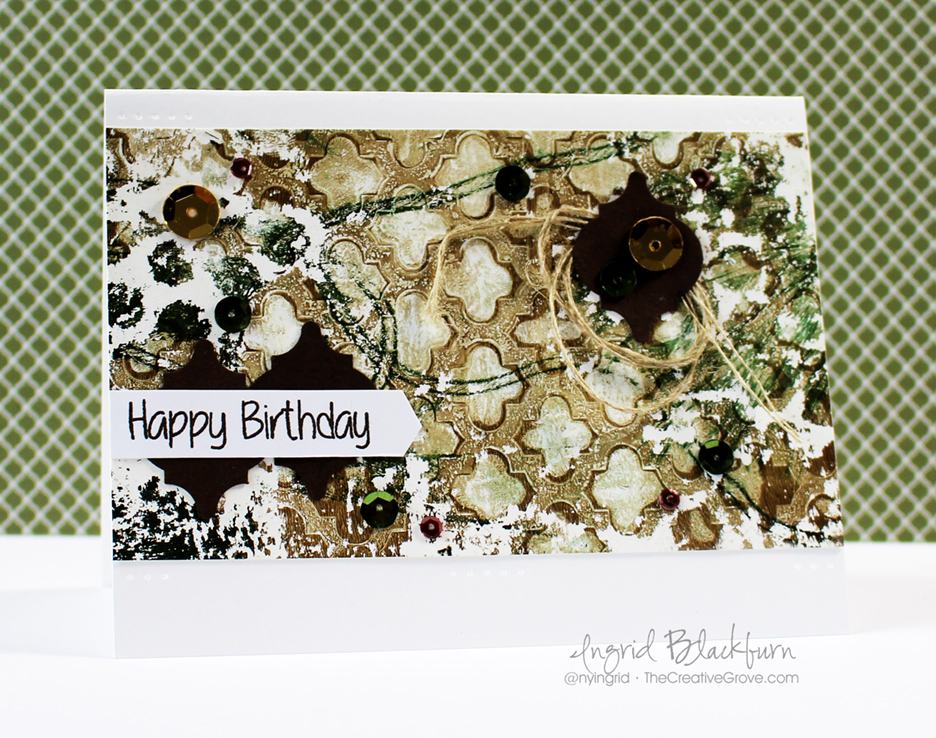
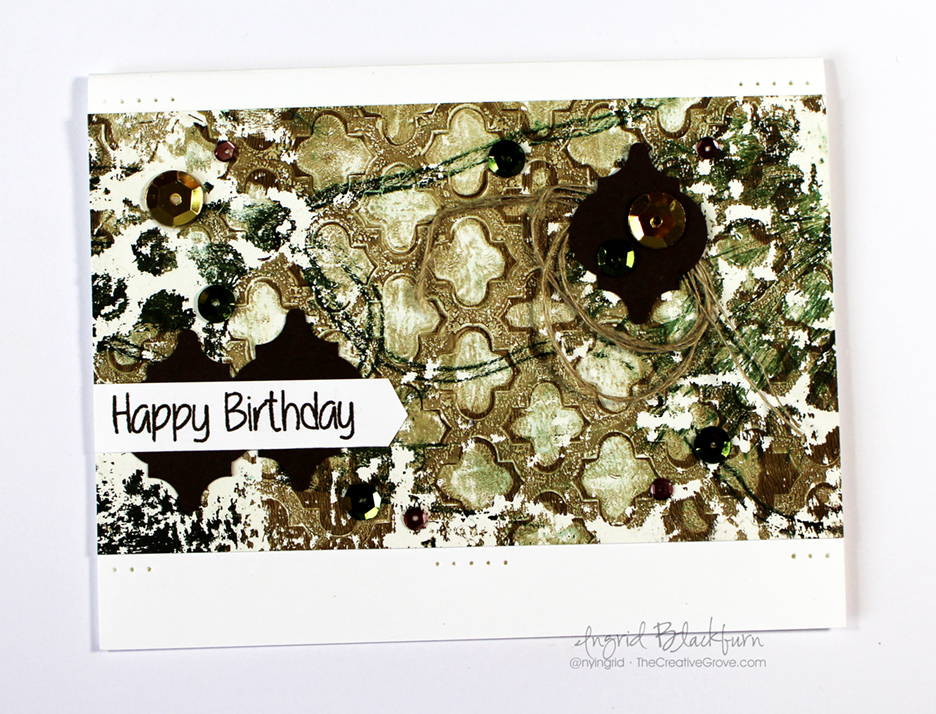
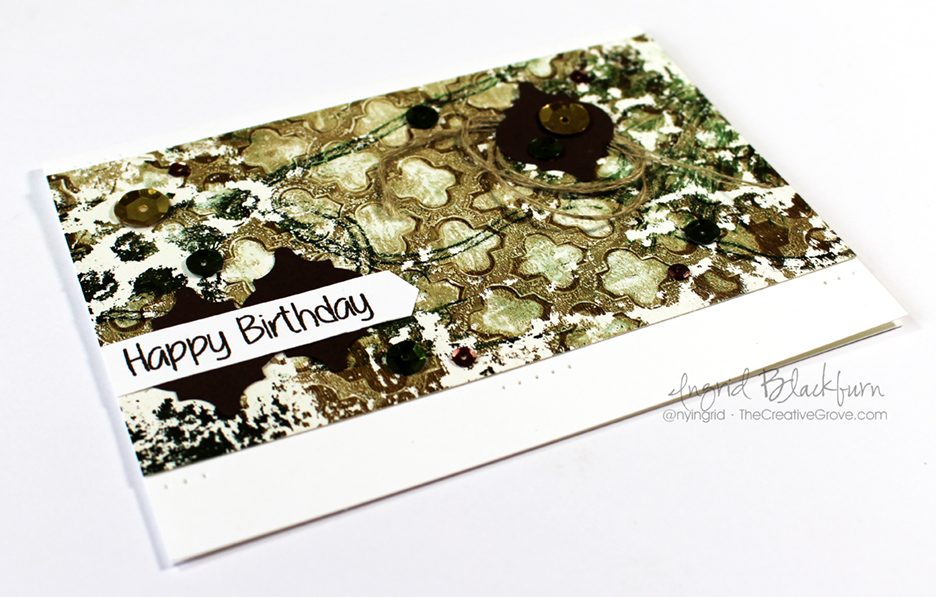
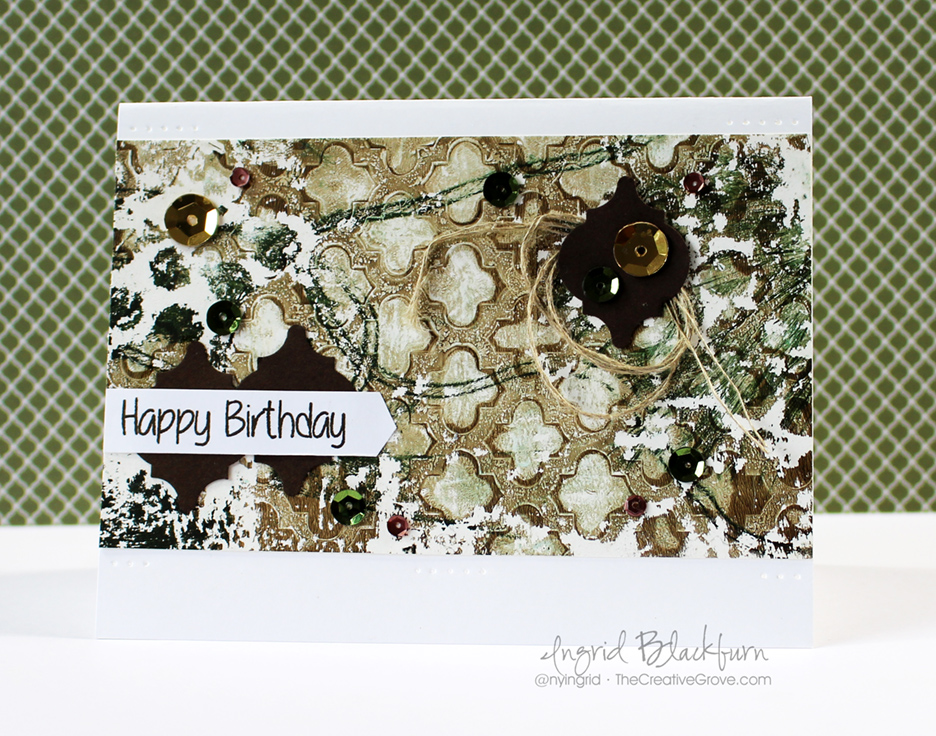
Project Two – Mixed Media Garden
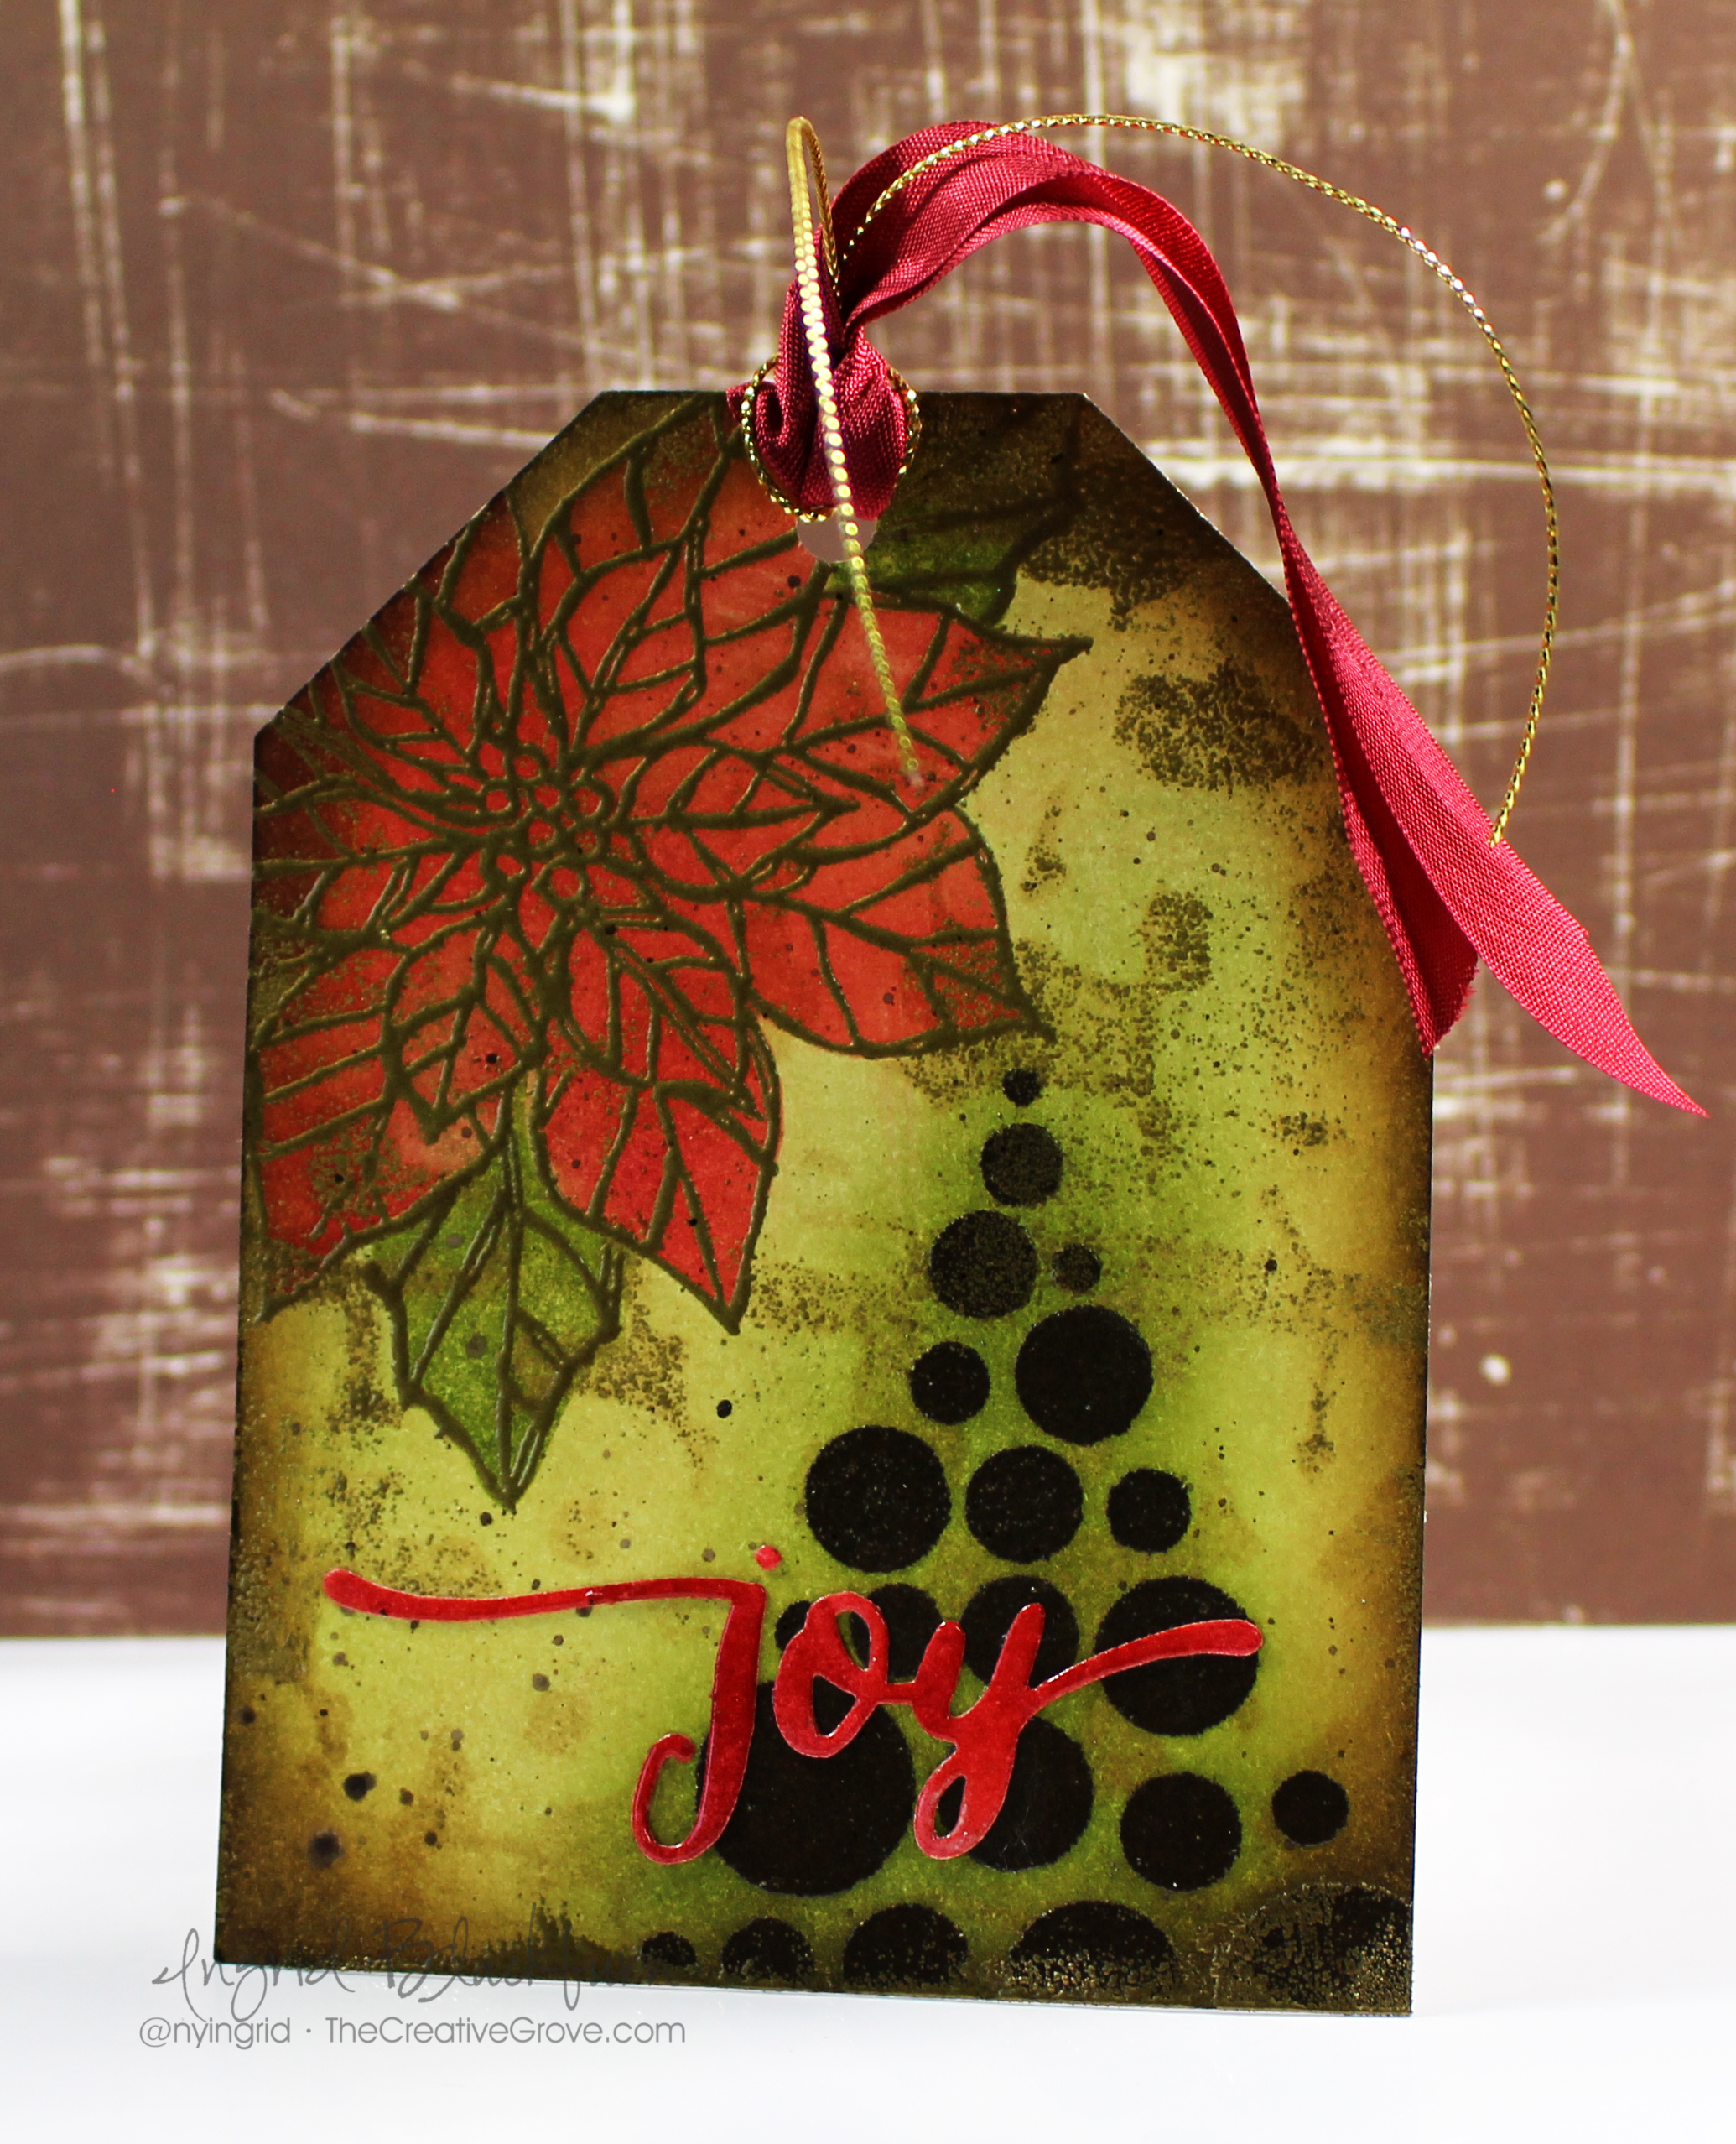
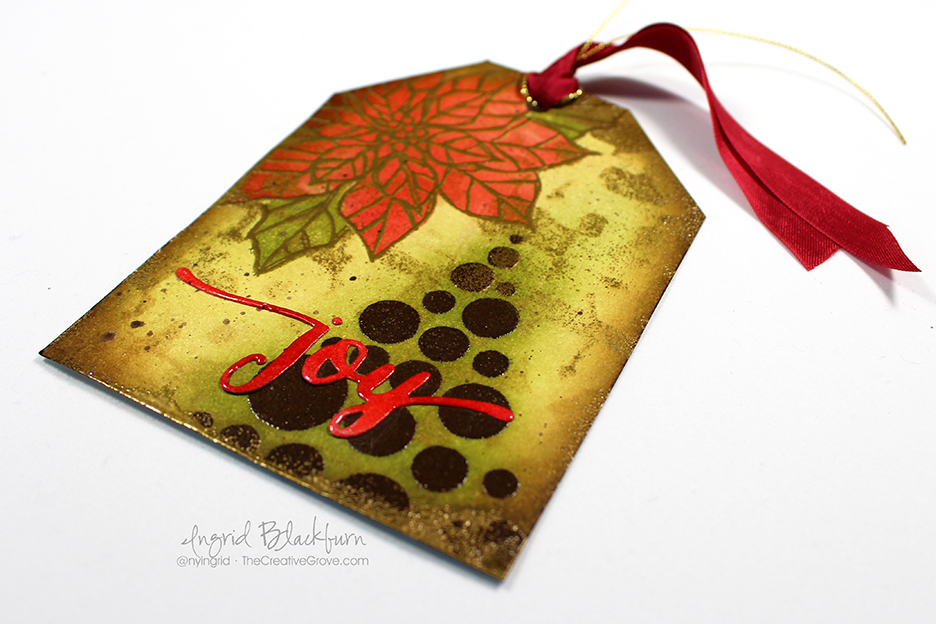
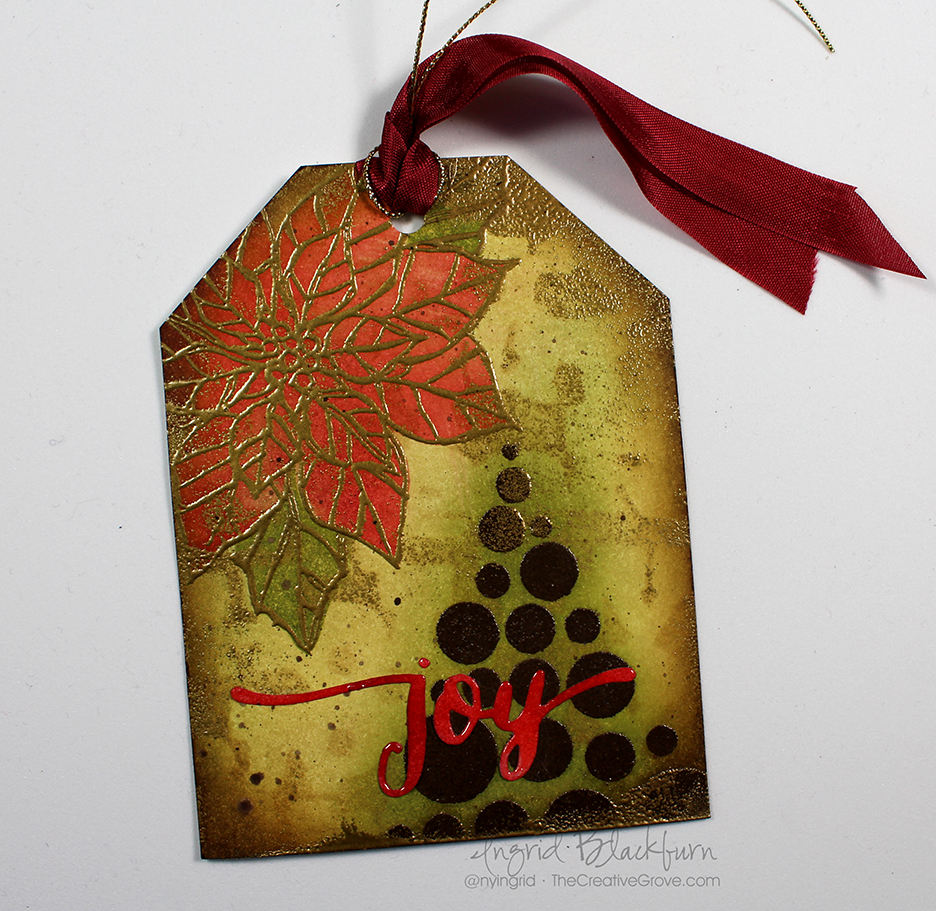
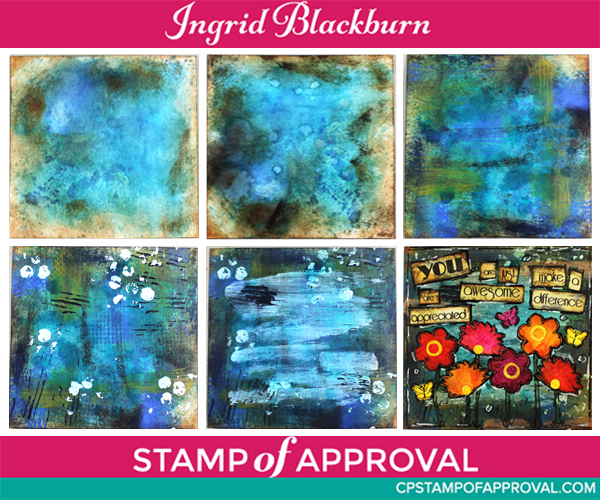
I’ve been playing around with simple mixed media techniques, just building my base of knowledge until I let loose on this project. I was finally ready to dive right in. This card measures 5 3/4 x 5 1/2″ tall, and the photo doesn’t do it justice. To give you an idea of what the layers looked like leading into the final piece, I put a six step shot below.
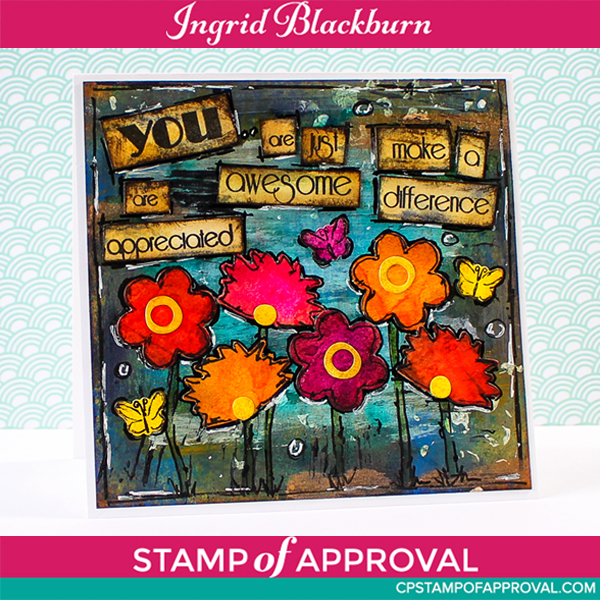
I started with several distress layers – inks and stains, followed by some acrylic paints in the corners, applied with a fan brush. Once I had the layers looking like I wanted, I began to layer some textures on using things we all have hanging around – bubble wrap, the inside of a starbucks cup holder, some drywall mesh. Okay – not everyone has that last one, but my dad’s garage has a treasure box of cool textured items I use in mixed media…lol. I added each with more acrylic paint and distress inks.
Before moving on to the dies, I added a little white gesso randomly in the middle to give me a light source in the distance. Then you’ll want to go to work on some deeply layered wrinkle free distress pieces in the most vibrant colors you have. Die cut them out using the Enchanted Garden Dies and grunge them up with some Tea Dye and Ground Espresso inks.
Add them along with the greetings from All About You, add a little doodling around the edges with a pigment liner and white gel pen and you’re all done! Okay, that made it sound like it takes just a few minutes. Not quite, but it was a relaxing time and this is a special project that anyone would just love.
So what did you think? Do you see projects like these when you see the stamps sets I’m talking about? Now go look at your stash, what can YOU use for cool projects?!!
You’ve heard me talk about Stamp of Approval for the past few days…if you aren’t sure what it is, be sure to check this page out – Click Here to find out More.
When you decide to get the Stamp of Approval Beautiful World collection – April 20th is coming up quickly, you’ll also get a PDF with more projects than you can imagine. Included…are full written tutorials on both of these projects, my first five and the rest from the next two days! 🙂

So be sure you’re on the wait list for Stamp of Approval – that’s the only way to get the link first before the public. It sells out quick! To see what all the products look like, visit Catherine’s Blog and check out her videos. And don’t forget to keep checking the other great designers blogs too. Here are some quick links for you:
And just in case you missed them – there are the first five projects from the first two feature days – just click which day you want to see.
Day One Day Two
See you tomorrow with more!

[optin_box style=”12″ alignment=”center” email_field=”email” email_default=”Enter your email address” email_order=”2″ integration_type=”aweber” double_optin=”Y” list=”3846012″ name_field=”name” name_default=”Enter your first name” name_order=”1″ name_required=”Y” opm_packages=””][optin_box_field name=”headline”]Learn more with our exclusive FREE video series:[/optin_box_field][optin_box_field name=”paragraph”]PHA+UGx1cyB5b3XigJlsbCBiZSBhZGRlZCB0byBteTxzdHJvbmc+IEZSRUU8L3N0cm9uZz4gQ3JlYXRpdmUgVGlwcyBFLWxldHRlci4gRnJvbSB0aW1lIHRvIHRpbWUgeW914oCZbGwgZ2V0IGV4Y2x1c2l2ZSBwcm9qZWN0cywgdmlkZW9zICZhbXA7IHRoZSAxMiBEYXlzIG9mIENocmlzdG1hcyBzZXJpZXMuPC9wPgo=[/optin_box_field][optin_box_field name=”privacy”][/optin_box_field][optin_box_field name=”top_color”]undefined[/optin_box_field][optin_box_button type=”0″ button_below=”Y”]Get Instant Access![/optin_box_button] [/optin_box]