Adding a Simple Metal Look to Your Cards

Mixed-Media-Metal---Ingrid-Blackburn-001

I love adding metal to cards. It’s an unexpected look and it’s always fun playing with textures that I don’t use in my day to day crafting. Metal is something that’s quite easy to add.

It’s time for yet another Mixed Media challenge over at Happy Little Stampers….first up – I have something totally easy that you can immediately implement in your crafting – tin foil and metallic embossing powders – and be sure to read on – I didn’t add them the traditional way!

HLS Mixed Media challenge August 2016

When you think of metal, you may go to the chunky pieces that you can add, but I wanted to keep my mixed media piece a little flatter. So to get a natural look, I used two everyday items we all have in our homes – aluminum foil and water.

Simple ways to add Metal to your Projects:

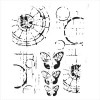
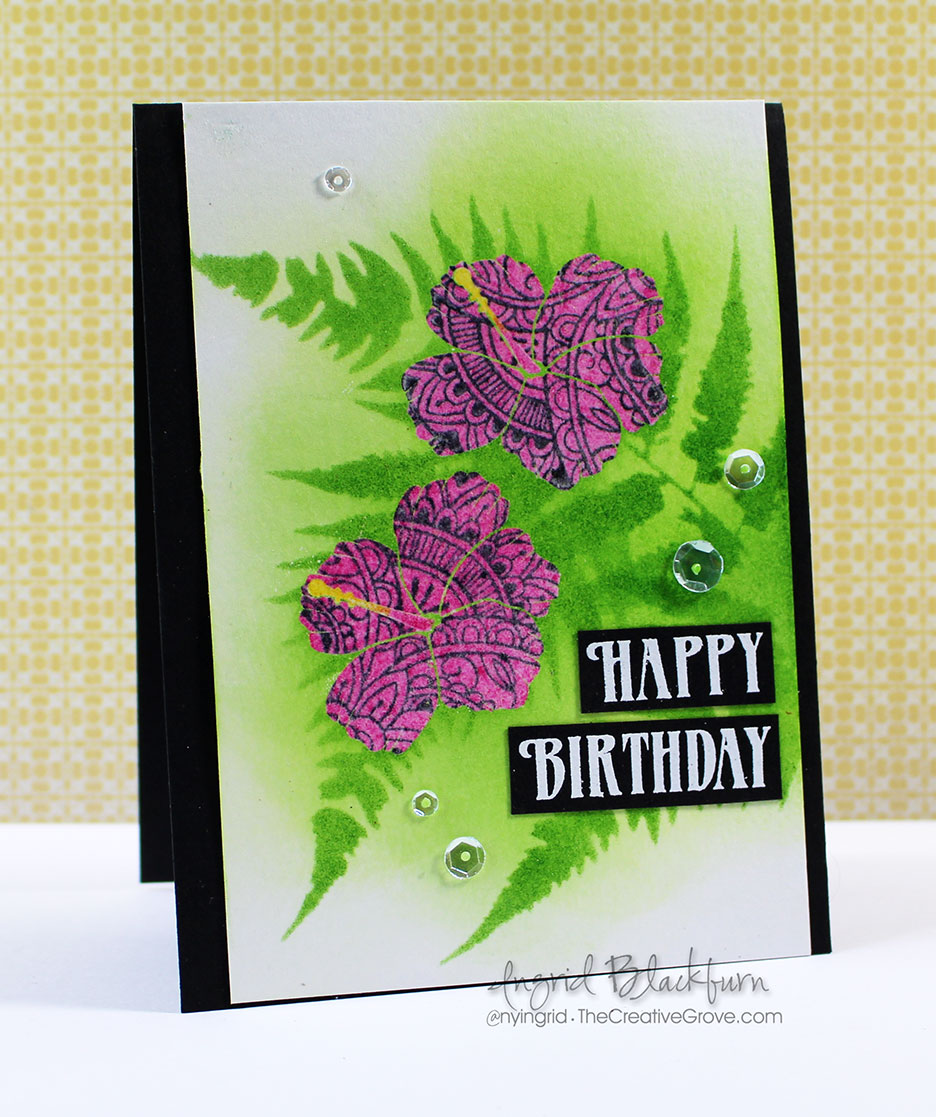
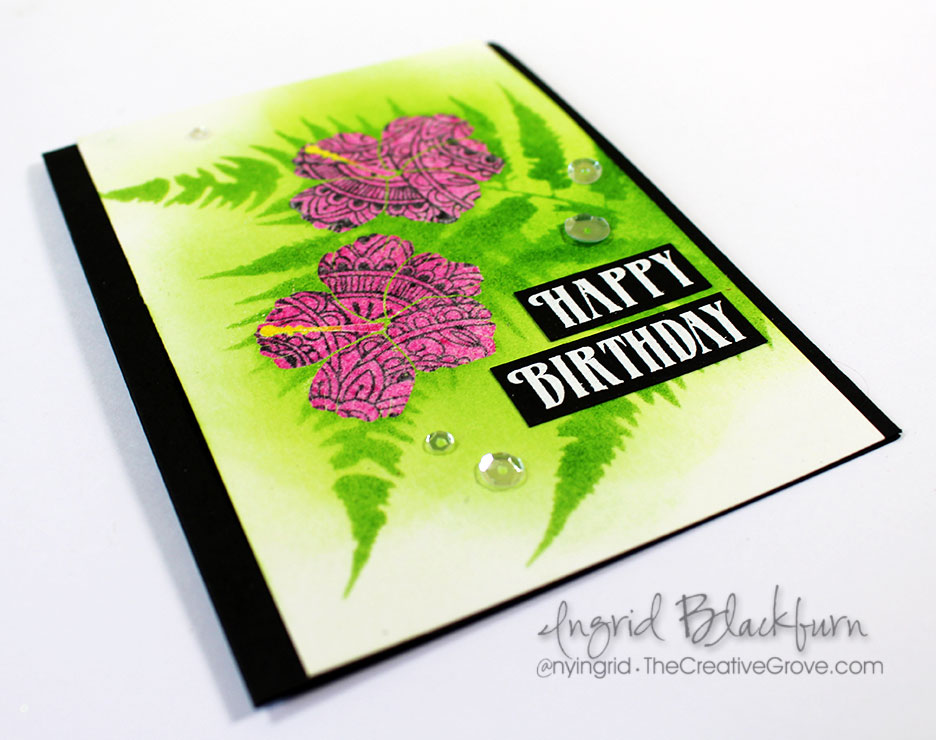
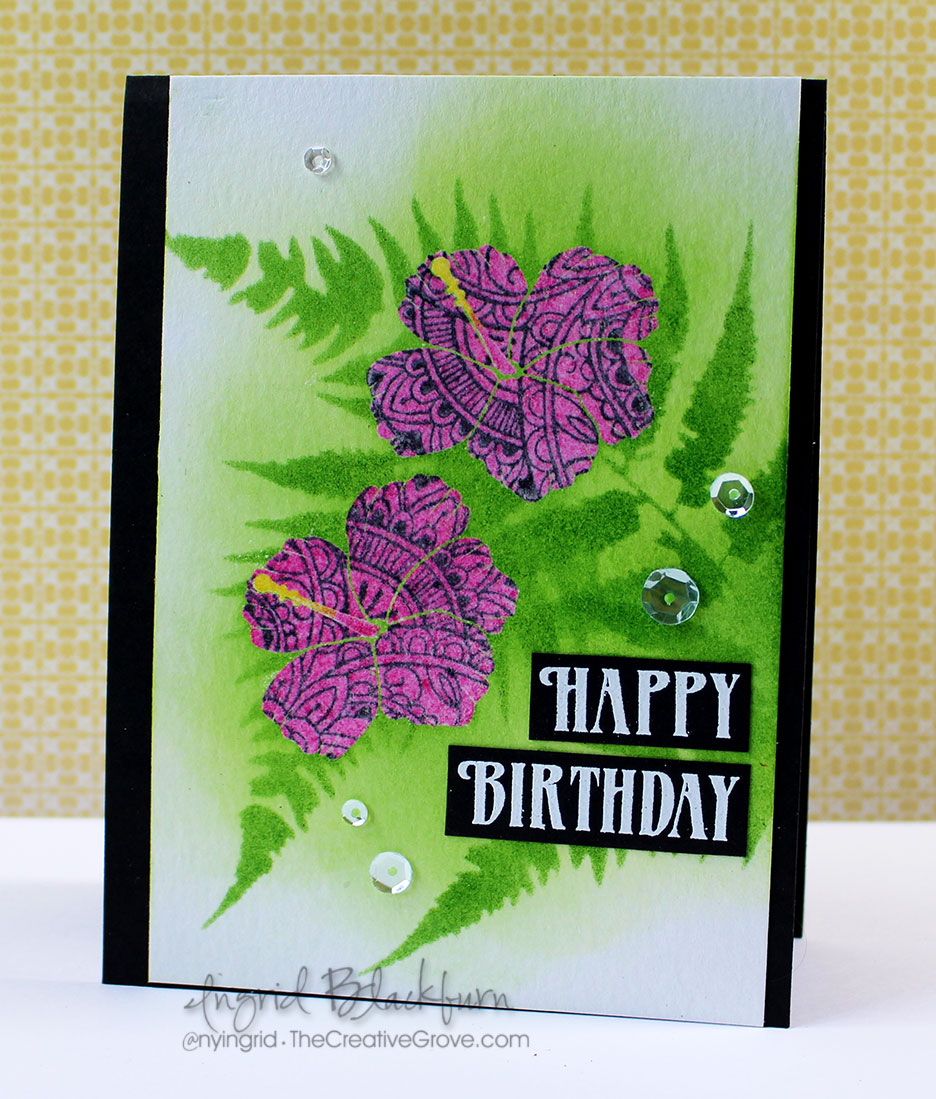
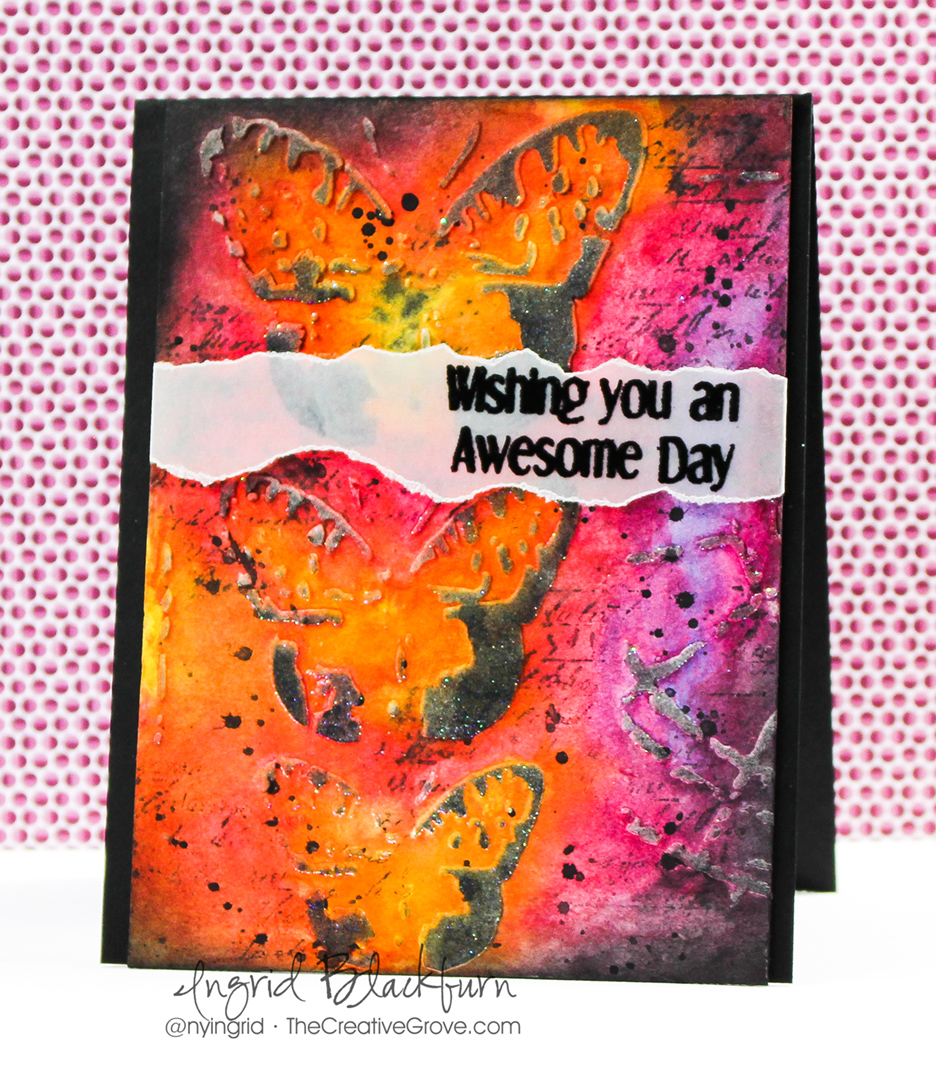
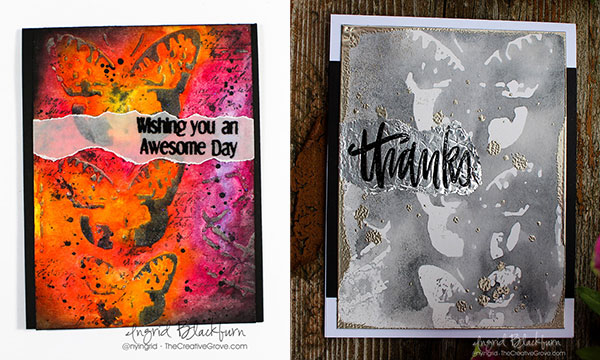
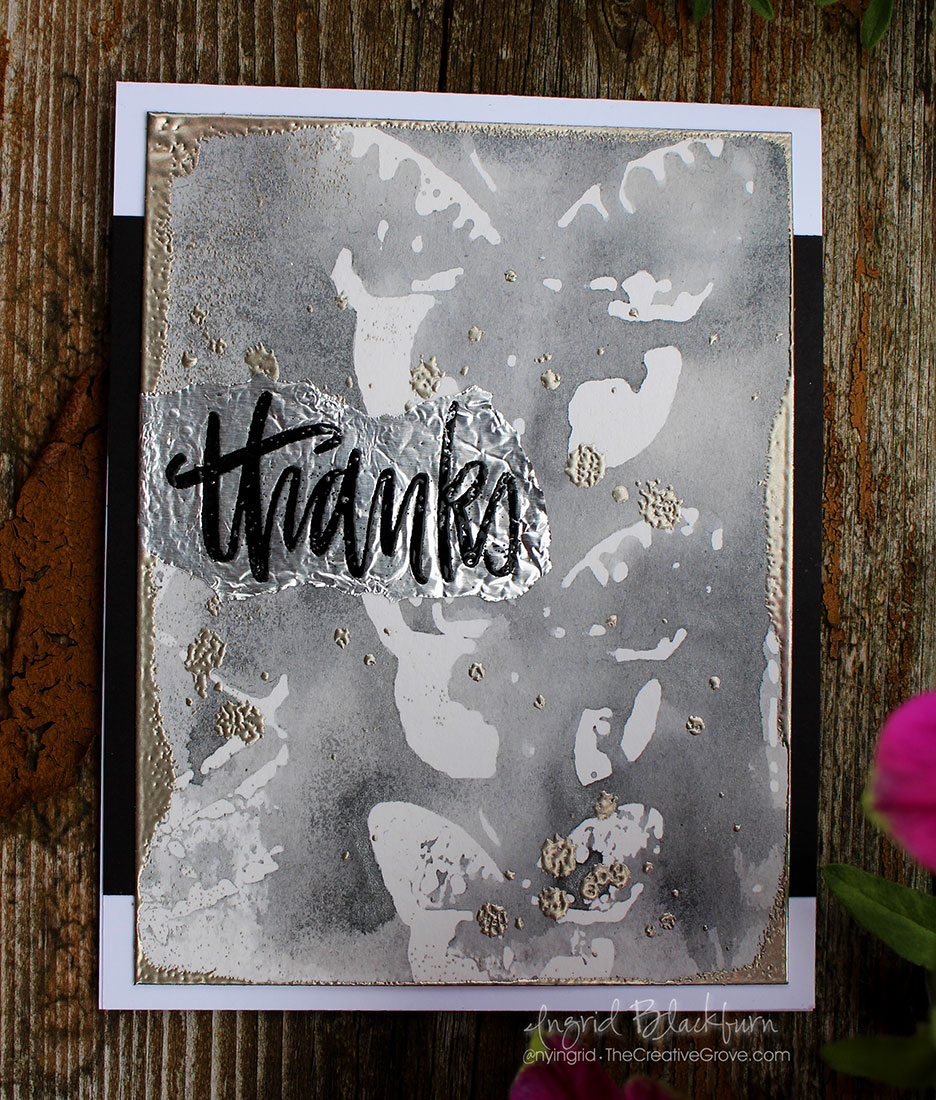
To get a nicely watercolored look in the project on the right, you’ll want to use a stencil with a solid negative space (the space that doesn’t get used). I chose the Mini Specimens stencil by The Crafters Workshop – I LOVE their stencils.

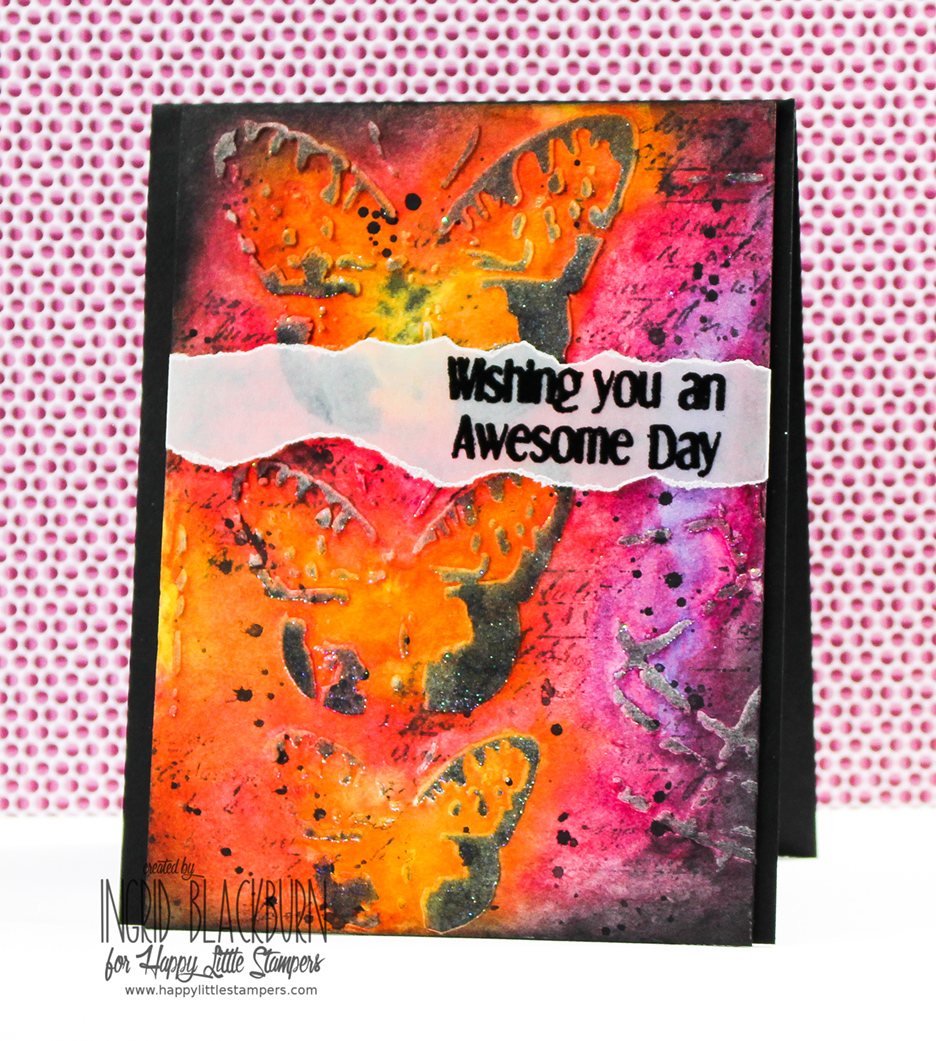
First, stencil through your positive image onto a project. The excess ink will collect on the negative space of the stencil. The watercolored look in our project today comes from the ink that was left over from the project on the left. I added Hickory Smoke and then some Soot Black on top of some embossing paste in this watercolor mixed media piece – there’s a video for that project (link below):

Mixed-Media-Metal---Ingrid-Blackburn-010

Click Here for the Left Project’s Tutorial & Video

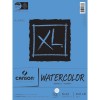
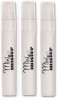
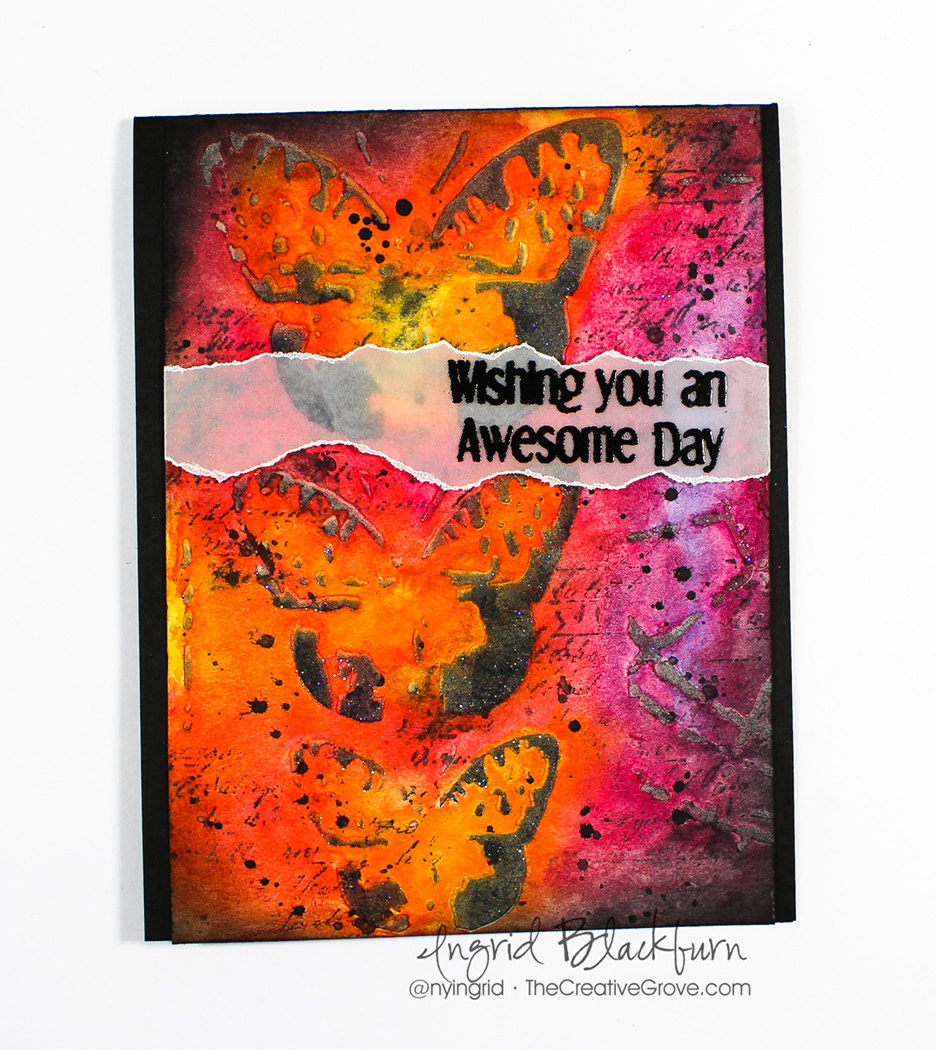
Once you’re done adding color to your positive image (the colorful one on the left), grab a second piece of watercolor paper, spritz your stencil with all the left over ink on it with a mini mister and press into your paper. You’ll then get a watercolored negative space look for your card stock. You basically turned your stencil into a stamp!

Since we’re using the negative of the image – note that when you stamp it – it’s reversed from the positive one (colorful left project above)!

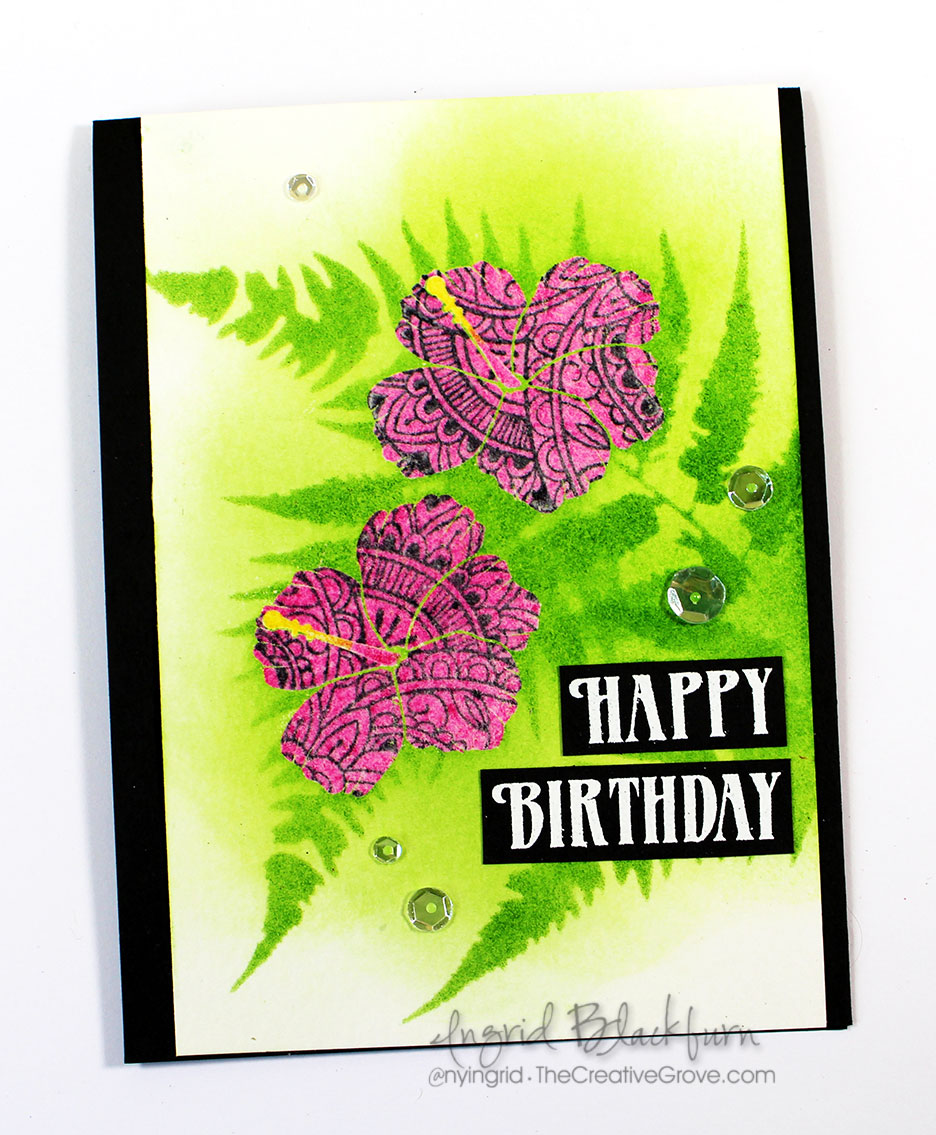
It’s a little hard to see in the photos, but this project has a sparkly sheen to it. To get that look, use pearlized water by adding a little Perfect Pearl (Perfect Pearl shade by Ranger) into my water filled mini mister rather than regular water.

Mixed-Media-Metal---Ingrid-Blackburn-004

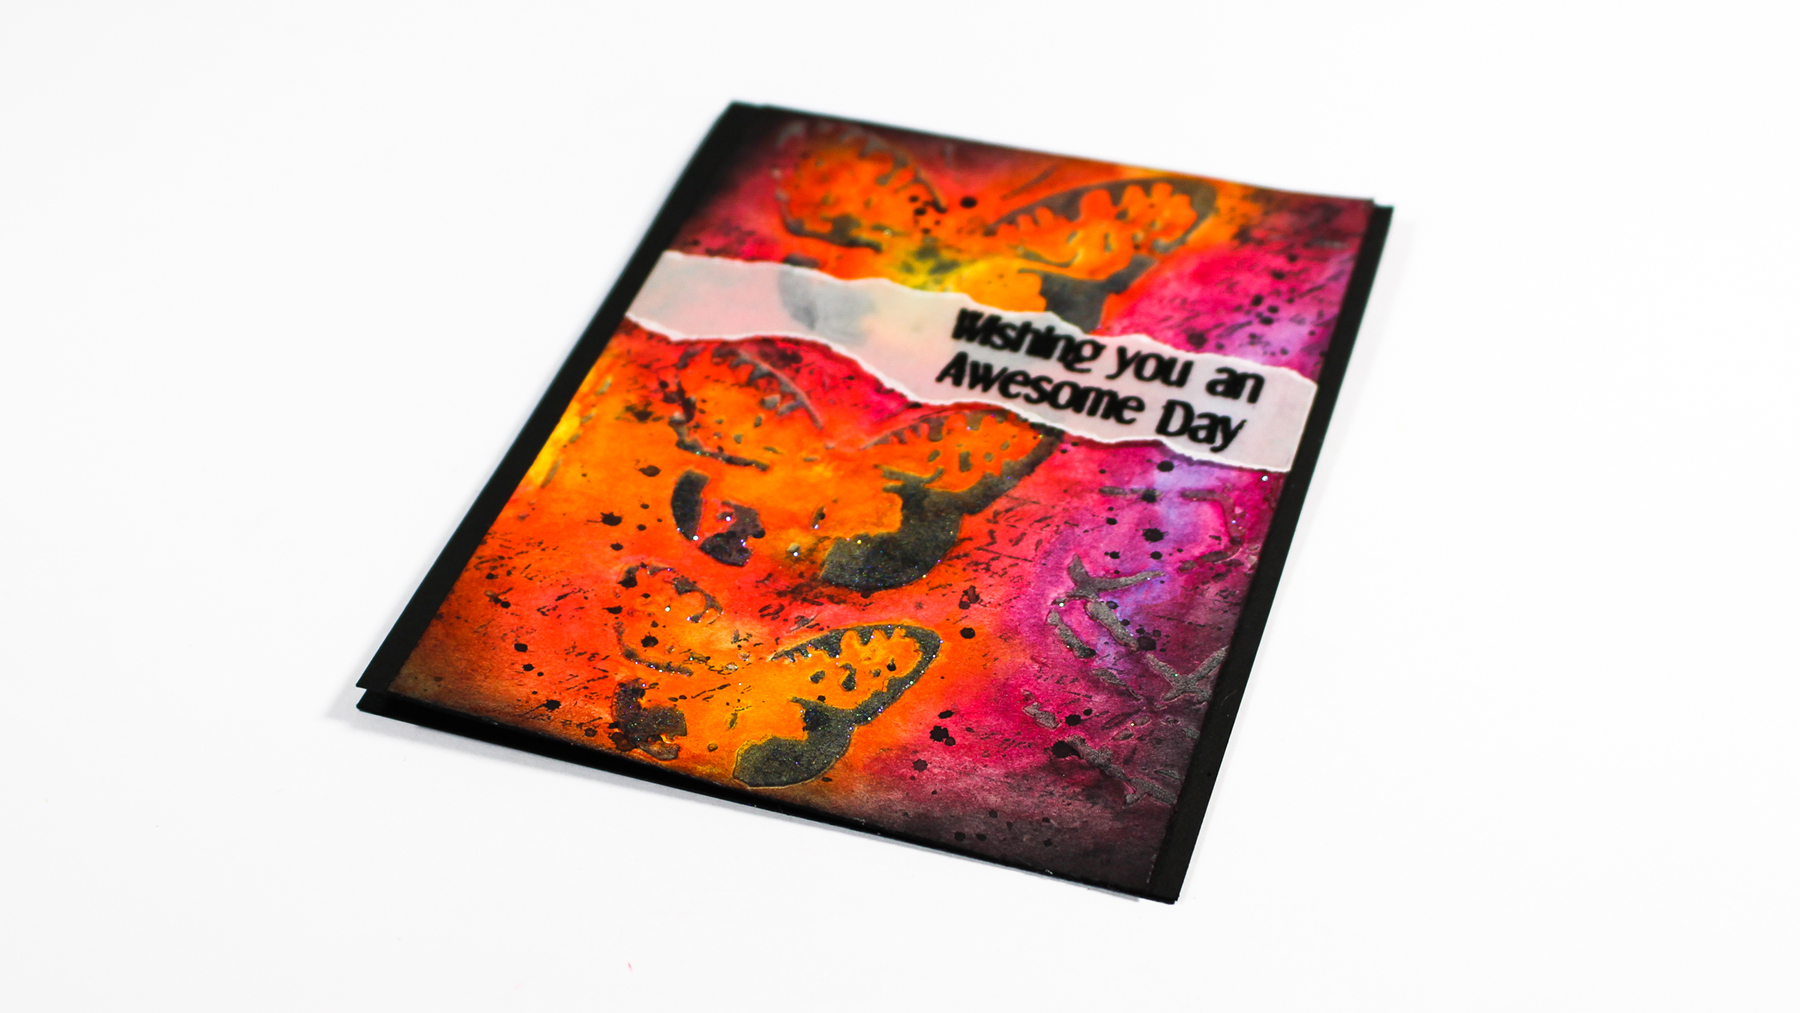
Now that we have our mixed media base – stenciling & watercolor, next up is adding some metallic accents. The coolest part is that for the splotches you don’t even use ink – what? Yup….spritz a little water into to palm of your hand and flick it at your project. Keep this a little at a time so you don’t add huge splotches.

Mixed-Media-Metal---Ingrid-Blackburn-002

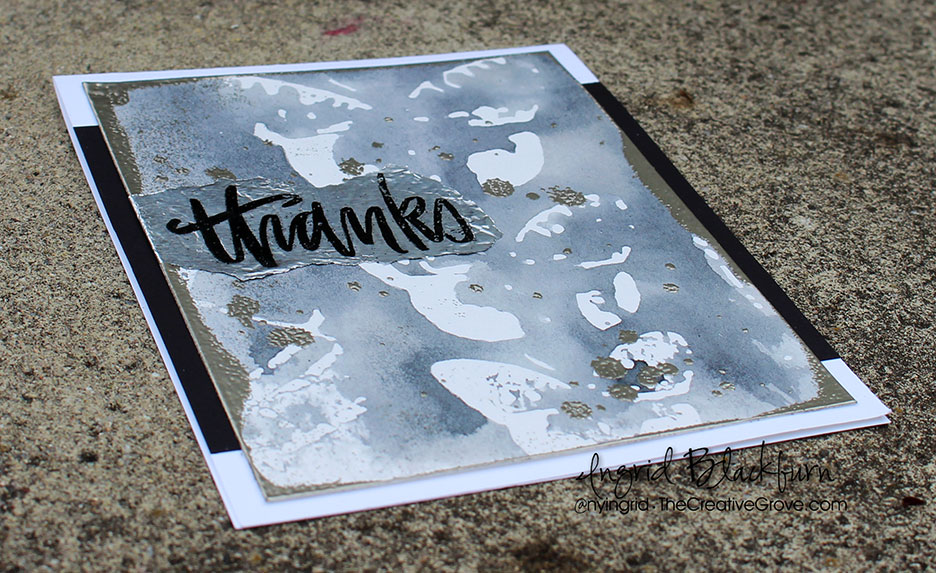
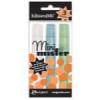
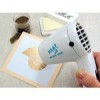
Add embossing powder – I used Pewter Powder and emboss. Pretty cool, huh? That’s how you get that realistic splotch look.

TIP – when you heat your powder, since there’s no ink to really grab onto it – first heat from underneath. That way your powder will start the melting process, finish from above, but keep your heat tool a little further away so you don’t blow all the powder away.

Mixed-Media-Metal---Ingrid-Blackburn-003

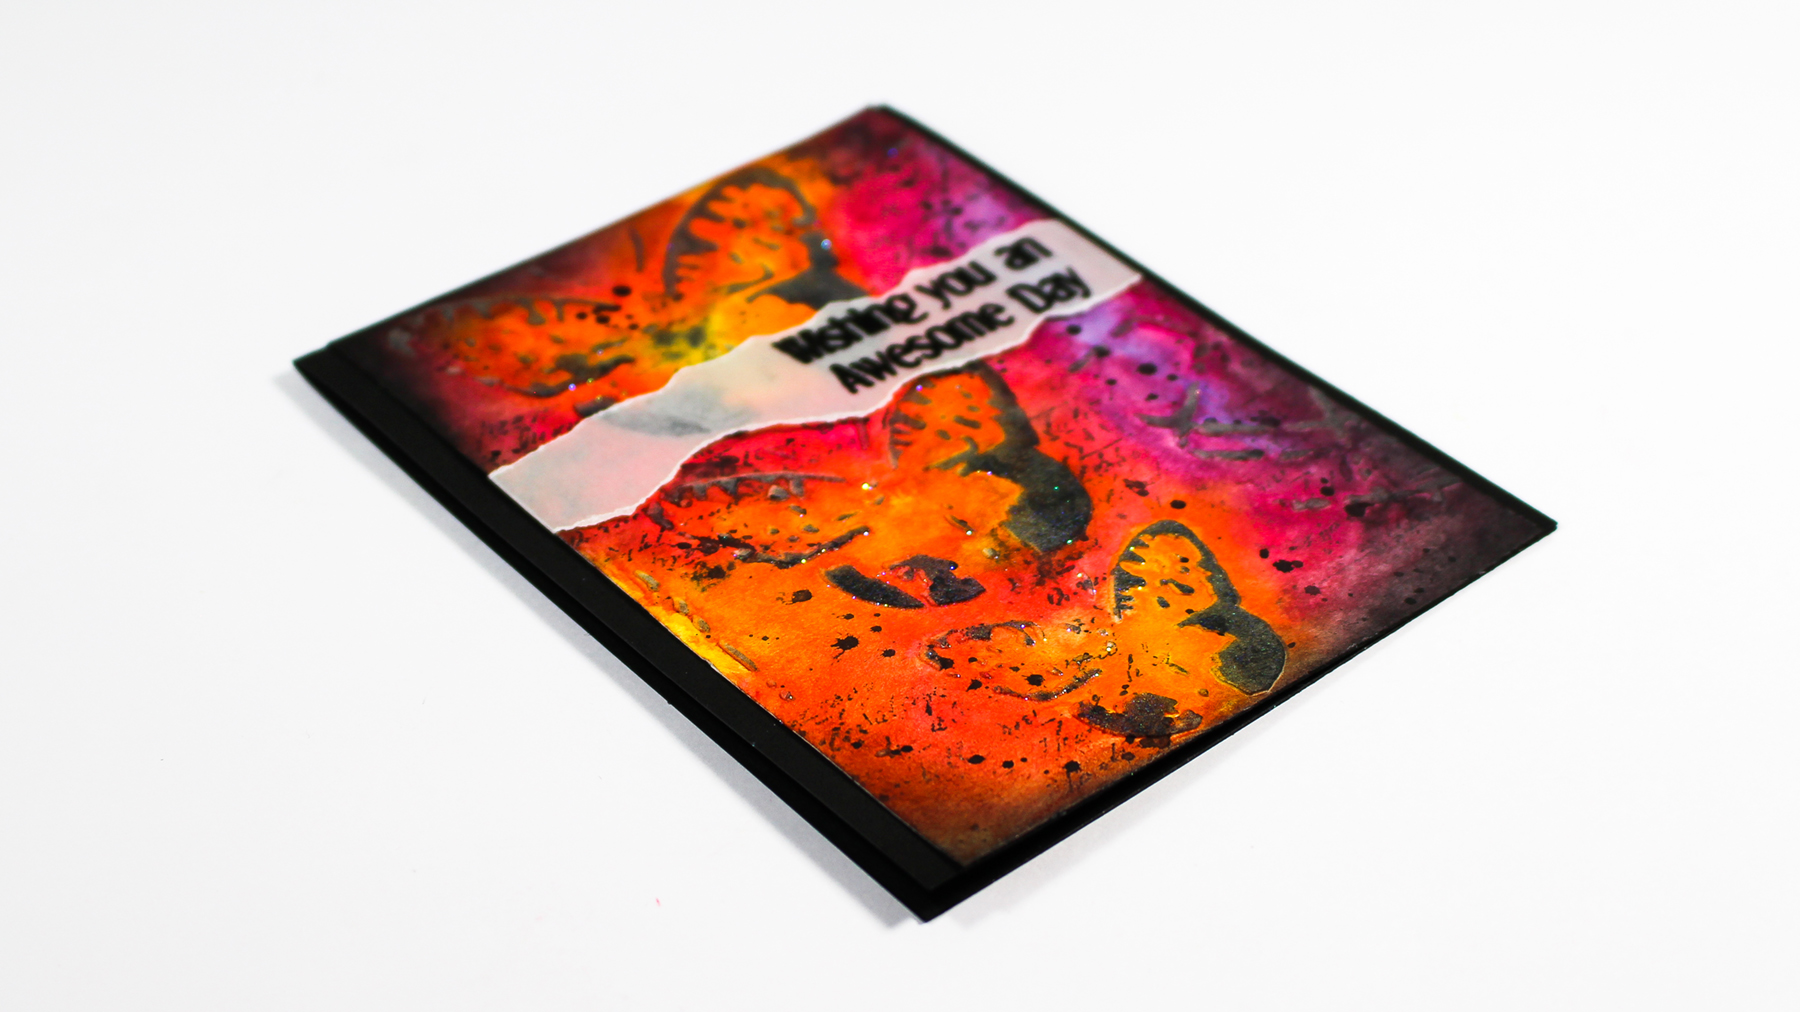
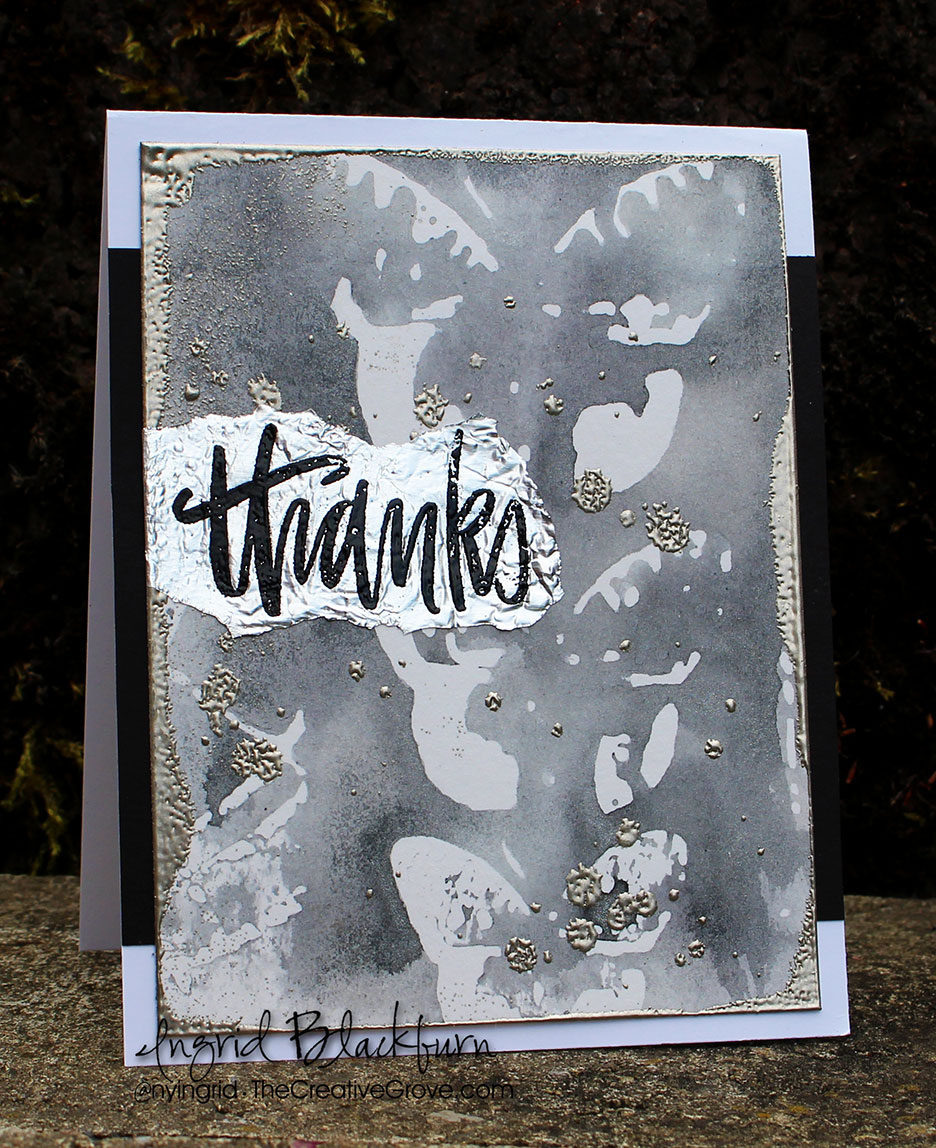
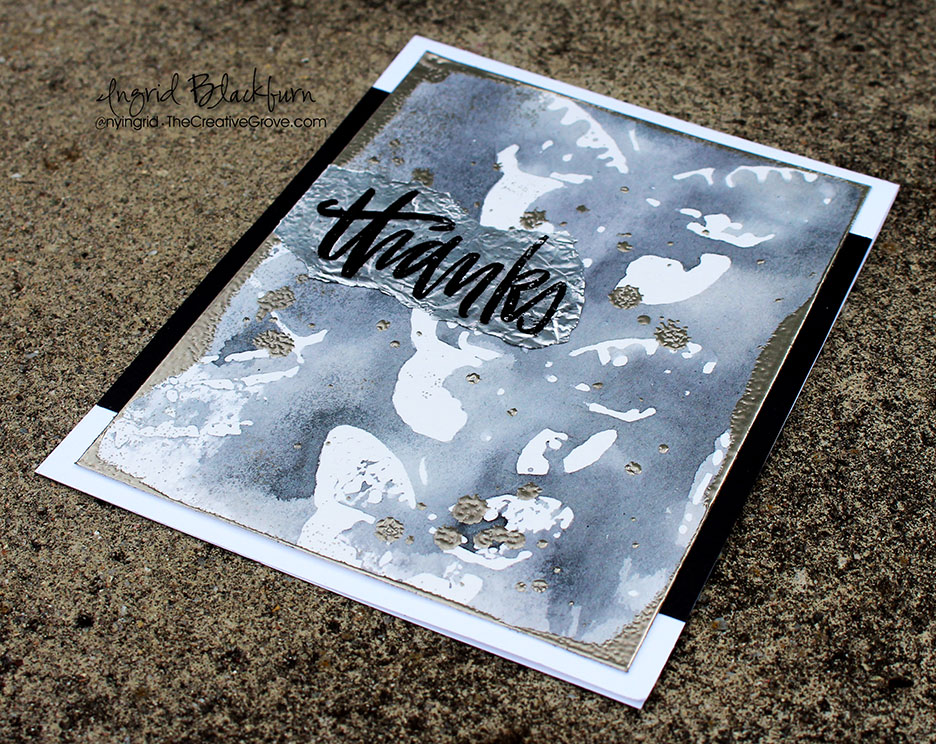
To get that great look to the sides – use water or versamark in a direct to paper manner. Once you have the look you’re going for, grab some heavy duty tin foil. stamp a sentiment in versamark, and emboss in Black. I used a new stamp set Hand painted Thanks by Neat & Tangled.

The black is a nice contrast to the shiny Tin Foil. Tear around it  leaving a longer strip to one side to overlap when you attach. Use glue to attach it to your watercolor paper. If you wrinkle it a bit more than you want – just flatten it out with your finger – or leave them in – it’s texture!

Mixed-Media-Metal---Ingrid-Blackburn-005

I love the shiny mixed with the Pewter – it’s a new/old look. That’s it! Adding a simple metal look to your cards is really that easy! I’m curious…have you ever embossed with water?

So now it’s your turn to add a metal look to your mixed media projects! I can’t wait to see what you come up with, head on over the Mixed Media Challenge and check out everyone’s creations.

Till next time –

Signature

[optin_box style=”12″ alignment=”center” email_field=”email” email_default=”Enter your email address” integration_type=”aweber” double_optin=”Y” list=”3846012″ name_field=”name” name_default=”Enter your first name” name_required=”Y” opm_packages=””][optin_box_field name=”headline”]Learn more with our exclusive FREE video series:[/optin_box_field][optin_box_field name=”paragraph”]PHA+UGx1cyB5b3XigJlsbCBiZSBhZGRlZCB0byBteSBGUkVFIENyZWF0aXZlIFRpcHMgRS1sZXR0ZXIgd2hlcmUgSSBzaGFyZSBleGNsdXNpdmUgcHJvamVjdHMsIHZpZGVvcyAmYW1wOyB0aGUgMTIgRGF5cyBvZiBDaHJpc3RtYXMgUHJvamVjdCBTZXJpZXM8L3A+Cg==[/optin_box_field][optin_box_field name=”privacy”][/optin_box_field][optin_box_field name=”top_color”]undefined[/optin_box_field][optin_box_button type=”0″ button_below=”Y”]Get Instant Access![/optin_box_button] [/optin_box]


MWAH – The Kissing Technique

The Kissing Technique has been around for forever, and chances are you already know how to do it. But for today’s card, I thought I’d re-visit an oldie but a goodie – it is the challenge theme over at Happy Little Stampers for the CAS Challenge this month!

July 2016 CAS Badge

I love this technique, it’s super easy to do, but for best results, use a bold image. I used the Hibiscus flower from the Aloha Spirit set by Create a Smile and kissed it together with the Spice Market background stamp by Hero Arts. It paired perfectly with the fern stencils by The Crafters Workshop & the sentiments from the Mix Mashed set by Happy Little Stampers.

Kissing Technique

Kissing Technique Tutorial

  • Ink up your flowers in versamark, then Picked Raspberry Distress Ink.
  • Ink up your Spice Market background stamp with Black Soot Distress Ink.
  • Stamp your flower onto the inked up background stamp, in essence kissing them together and then stamp onto your watercolor paper. When you kiss them together, the background image transfers to your inked up stamp giving you a very cool effect.

The Crafters Workshop Stencils

  • Tip – for an extra project, once you’re done kissing your images, place a piece of card stock on your background stamp and rub the back to transfer the images. Where you kissed the two together you’ll have a “missing” lighter design of your flowers!
  • Next, sprinkle clear embossing powder over your kissed images and heat set.
  • Ink up the stamens of the flowers in Picked Raspberry at the bottom and Mustard Seed at the top crossing somewhere in the middle. Stamp and heat set with clear embossing powder.

Kissing Technique - Create a Smile Stamps

  • Lightly sponge the center area of your watercolor paper in Twisted Citron and Mowed Lawn. I used watercolor paper as it makes sponging super flawless. Tip – your embossed images will resist your ink.
  • Add the fern images by lightly stenciling them in Mowed Lawn Distress Ink and a sponge tool. Since these are quite fine and easily move, I pounce my tool. Shift and repeat until you have a desired effect.
  • Lightly spritz a cloth and rub over your flowers to remove any ink left behind from the background.
  • Emboss your greeting from Happy Little Stampers, white on black card stock, trim down & separate. Attach to your card along with some sparkling clear sequins.
  • Matte onto black card stock, slightly offsetting to the right.

-Kissing-Technique-stamping techniques

It’s a super cute technique that will definitely have everyone say…how did she do that?!! Now it’s your turn – join us this month over at the Happy Little Stampers CAS Challenge and show off your kisses!!!!

Go get those fingers inky!!!

Signature

[optin_box style=”12″ alignment=”center” email_field=”email” email_default=”Enter your email address” integration_type=”aweber” double_optin=”Y” list=”3846012″ name_field=”name” name_default=”Enter your first name” name_required=”Y” opm_packages=””][optin_box_field name=”headline”]Learn more with our exclusive FREE video series:[/optin_box_field][optin_box_field name=”paragraph”]PHA+UGx1cyB5b3XigJlsbCBiZSBhZGRlZCB0byBteSBGUkVFIENyZWF0aXZlIFRpcHMgRS1sZXR0ZXIgd2hlcmUgSSBzaGFyZSBleGNsdXNpdmUgcHJvamVjdHMsIHZpZGVvcyAmYW1wOyB0aGUgMTIgRGF5cyBvZiBDaHJpc3RtYXMgUHJvamVjdCBTZXJpZXM8L3A+Cg==[/optin_box_field][optin_box_field name=”privacy”][/optin_box_field][optin_box_field name=”top_color”]undefined[/optin_box_field][optin_box_button type=”0″ button_below=”Y”]Get Instant Access![/optin_box_button] [/optin_box]

Mixed Media Watercolor

Mixed-Media-Watercolor-March-2016-HLS

If I were to say Textured Watercolor to you, what would you think of? Mixed Media? Embossing Paste? I have to admit, this month I felt a little challenged when I saw the theme over at the Mixed Media Challenge at Happy Little Stampers – Water. Now you can take this a few ways – water based  techniques or literally create a water scene (Usually what I’d do). SO, I thought I’d give a little Textured Watercolor a shot.

HLS Mixed Media challenge March 2016

To get the water flowing on my mixed media piece, and have a little fun – I whipped out some bright colors, stencils, stamps and a few different mediums. I even shot a real time video for you too – so if you want to see how I watercolored Embossing Paste to create a beautiful textured card, just watch here – or click the link below to watch in HD on YouTube.

Watch in HD on YouTube

The snow is falling as I write this blog post, so it was fun to work on a project that gave me a spring/summer feel. That’s what I love about art, it takes you away to some cool places! Here’s a written tutorial for you too – but the video has much more detail.

Mixed Media: Creating Textured Watercolor

  • Add embossing paste  through a stencil where you want to on 140# cold pressed watercolor or mixed media paper. I used Specimens 12×12″ by The Crafters Workshop. Set aside to dry.
  • Paint over your dried piece with bright vibrant watercolors as in the video. I used Lemon Yellow, Translucent Orange, Magenta, Quinacrodone Violet, Cobalt, Paynes Grey (Schminke) and Permanent Rose (Mission).

Mixed Media Watercolor-002

  • Keep your watercolor loose and bright, adding dimension through layers and depth by keeping the darker areas balanced with the light.
  • Allow to dry thoroughly.
  • Stamp Script stamp in Soot Black Distress Ink in random spots, touching up in spots with water to keep it loose and imperfect.
  • Add splats with a watery Paynes Grey and a paint brush.

Textured Mixed Media

  • Once dry, add a little sponging to the edges and lightly on the sides with Hickory Smoke and Soot Black Distress inks.
  • Secure your project and stencil over it again. Sponge your embossing paste in Hickory Smoke and Soot Black. If not dark enough to your liking, use your Distress Inks in the direct to paper method.
  • Cover your project with a destatic tool.
  • Place your stencil over top your project again and smoosh a versamark pad over your embossed images.

Mixed Media Watercolor

  • Add glitter, then a little clear embossing powder. Heat set
  • Rub over your project with a cloth or paper towel to remove the destatic powder and some of the glitter.
  • Emboss a greeting on a piece of Vellum card stock, tear and add to your project as in the video. I used Everyday Sentiments (Happy Little Stampers)
  • Add piece to black card stock and trim if needed. If you do trim, add a little black to the bottom as in the video and touch up your sponging.

Mixed-Media-Watercolor-007

And come to think of it – I created another Watercolor Mixed Media piece earlier in the week for my friends Loll & Bonnie’s new challenge too – CAS Mix Up. See that card here. I decided to play along with two other challenges today – Anything but Cute – Color and Mixed Media Mojo – Springtime/Watercolor.

abc-badge-crazy-for-color  Graphic to copy 3

So grab those bright watercolors, and have fun creating your own Mixed Media piece! I’m sure you’ll get just as lost in it as I did. Till next time –

Signature

[optin_box style=”2″ alignment=”center” email_field=”email” email_default=”Enter your email address” email_order=”2″ integration_type=”aweber” double_optin=”Y” list=”3846012″ name_field=”name” name_default=”Enter your first name” name_order=”1″ name_required=”Y” opm_packages=””][optin_box_field name=”headline”]Learn with our exclusive FREE video series[/optin_box_field][optin_box_field name=”paragraph”]PHA+R2V0IHRoZSBmcmVlIENyZWF0aXZlIFRpcHMgRS1sZXR0ZXIgYW5kIGxlYXJuIHdpdGggc3Vic2NyaWJlciBleGNsdXNpdmUgdmlkZW8gYW5kIHBpY3RvcmlhbCBjb250ZW50LiBJbmNsdWRpbmcgb3VyIHllYXJseSAxMiBEYXlzIG9mIENocmlzdG1hcyBzZXJpZXMhPC9wPgo=[/optin_box_field][optin_box_field name=”privacy”][/optin_box_field][optin_box_field name=”top_color”]undefined[/optin_box_field][optin_box_button type=”0″ button_below=”Y”]Get Instant Access![/optin_box_button] [/optin_box]