Kylie’s 12 Days of Christmas Card Challenge – Day Seven

There are two things I’m grateful for this year – my online friends and a good ole Christmas Card Challenge. Okay there are lots of other things too, but today is about a sweet friend of mine – Kylie Purtell and her 12 Days of Christmas Card Challenge with friends.

12-days-of-christmas-graphic

I’ve had a wonderful last few years participating in many online card challenges – most of them Christmas! Yes, I’m a sucker for Christmas. And I normally have my own 12 Days of Christmas Series myself…but between a move from Europe back to the USA (we’re settling in the Raleigh, North Carolina) area, and purchasing a new home unexpectedly – my November/December got turned upside down – please forgive me!

So I was elated when Kylie asked me to participate in her 12 Days of Christmas with Friends Challenge. And I encourage you to enter too – pick any inspiration from any day….today is Day 7 – and just jump on in. The prizes are from three of my favorite stamp stores – all small businesses owned by amazing women.

To Salute these three creative women – Kylie, Shery & Christine, I thought it would be fun to put together a little Christmas fun using products from all three – from where else…my hotel room…lol!

ingrid-blackburn-candy-cane-holly-001

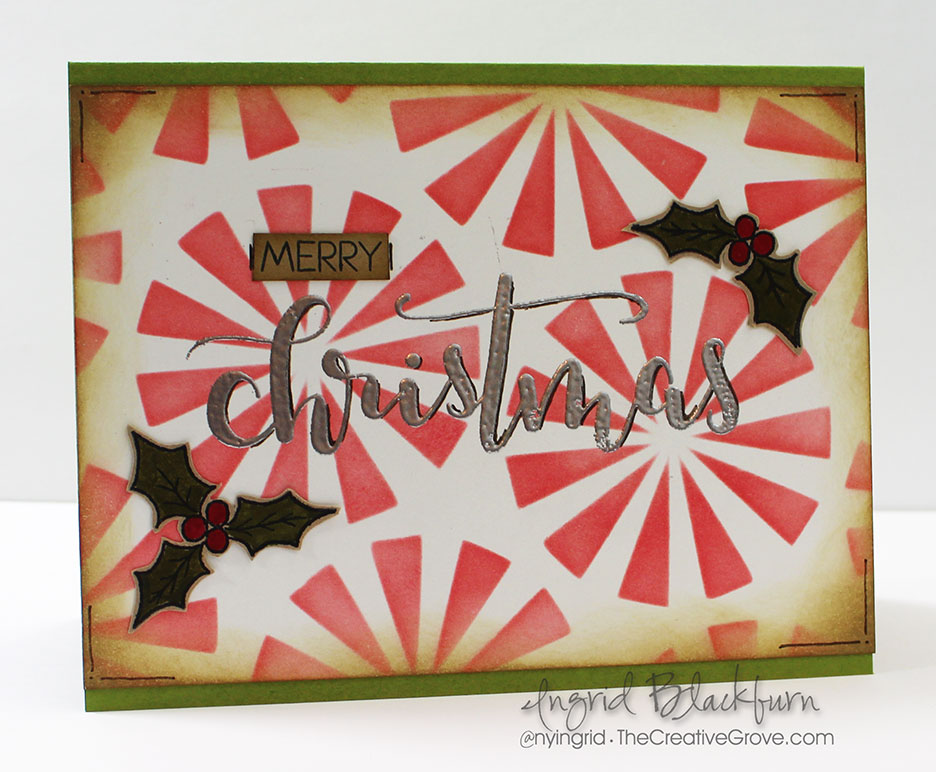
I went for a little rustic look with some toned down colors here.

  • To create it you’ll want to sponge a little Festive Berries through the ARTplorations by STAMPlorations Merry Go Round Stencil  – keep it light to have it look effortless.
  • Next sponge around the perimeter with a little Tea Dye Distress Ink lightly and add a few lines and dots to the corners with an Early Espresso Distress Marker.
  • Next Stamp the Holly & Berry images from the Christmas Joy stamp set by Happy Little Stampers in Black Archival Ink on Kraft colored card stock.

ingrid-blackburn-candy-cane-holly-002

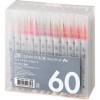
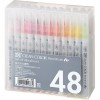
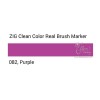
  • Color in your images using Zig Clean Color Markers and cut out leaving a little edge to allow the images to pop.
  • Once your background is fully dry (I zapped mine with a Heat Tool), test it to see if any embossing powder sticks, and then stamp the gorgeous Christmas greeting in Versamark ink from the Christmas Surprise stamp set by Create a Smile Stamps.
  • Emboss it in Silver powder and stamp the coordinating greeting onto a little strip of Kraft in Black. Adhere to your background and edge with an Early Espresso Distress Marker.
  • Edge the greeting a bit with the same Early Espresso Distress Marker – keeping it uniform – mine is slightly to the right and underside of the letters. This helped to pop the image off the busy background.
  • Add your panel to a folded piece of Olive card stock and there you have it! My card front measures 5 1/2 x 4″.

ingrid-blackburn-candy-cane-holly-001

Don’t you just love how the background looks like little peppermint candies…I love all these elements, and these three companies are some of my favorites – I’ve spent my fare share at each this past year – just don’t tell Michael! 😉

And for another fun little card for some inspiration…I kept it Clean and Simple using Kylies super cute newest Christmas set – Christmas Joy. I’m in love with the little trees in it and the sentiments. Be sure to stop by the Happy Little Stampers video channel this week for lots of Christmas inspiration too…

ingrid-blackburn-cas-tree-002

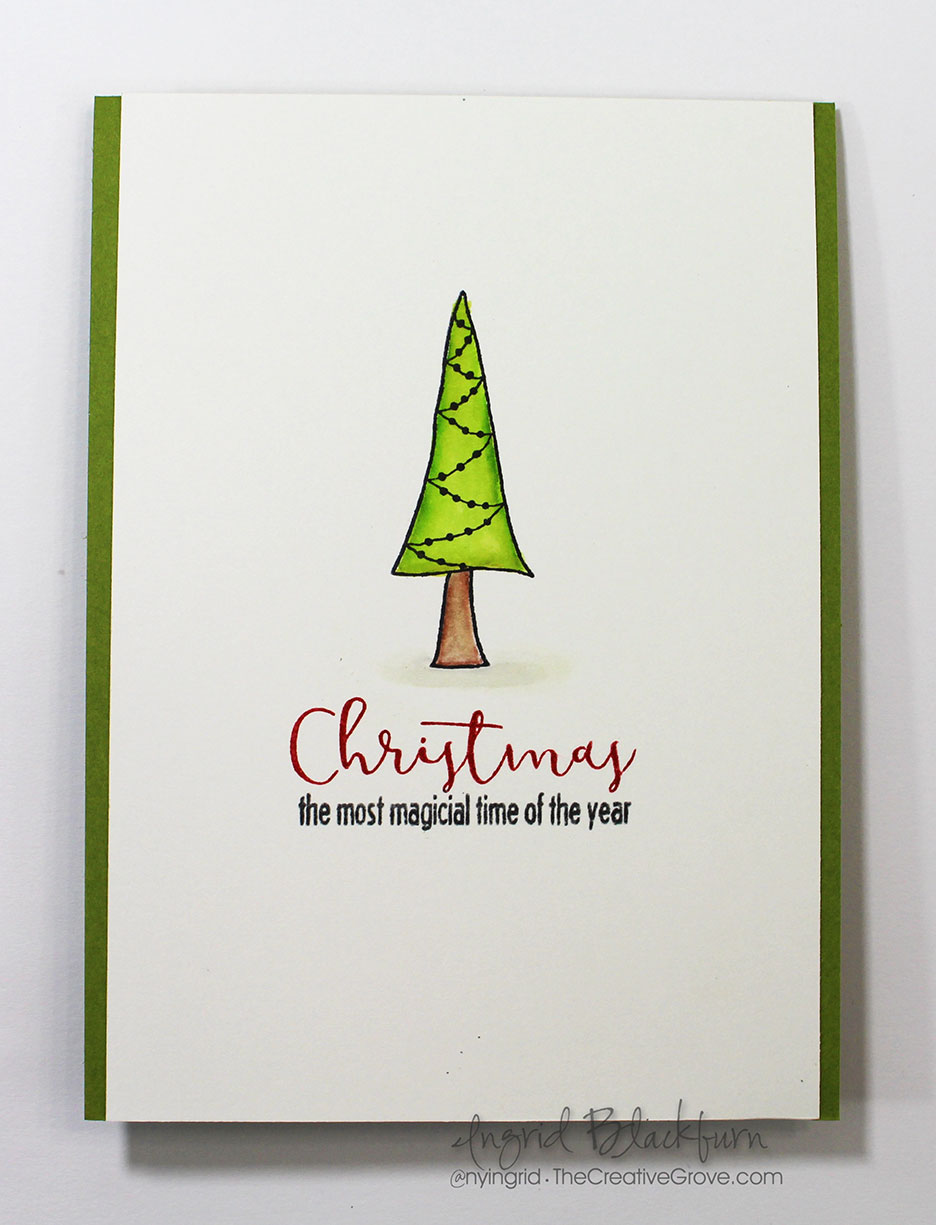
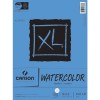
I used Strathmore Bristol paper for a super smooth finish that works effortlessly with Zig Clean Color Markers. If you have these awesome watercolor markers – you NEED this paper! Lower quality papers just don’t get the same blend.

  • Use several shades of green to blend the perfect tree after stamping it in Archival Ink (Ranger), and a few browns for the trunk.
  • Add a light shadow underneath the tree in a warm grey for a simple shadow which grounds your tree for a realistic look.
  • Use a MISTI stamp tool to position your greeting, then ink up the Christmas in Red, stamp…clean and repeat using black on the bottom. It was so easy to do. I used Catherine Pooler’s new ink pads – Polka Dot Red and Midnight Black.

ingrid-blackburn-cas-tree-003

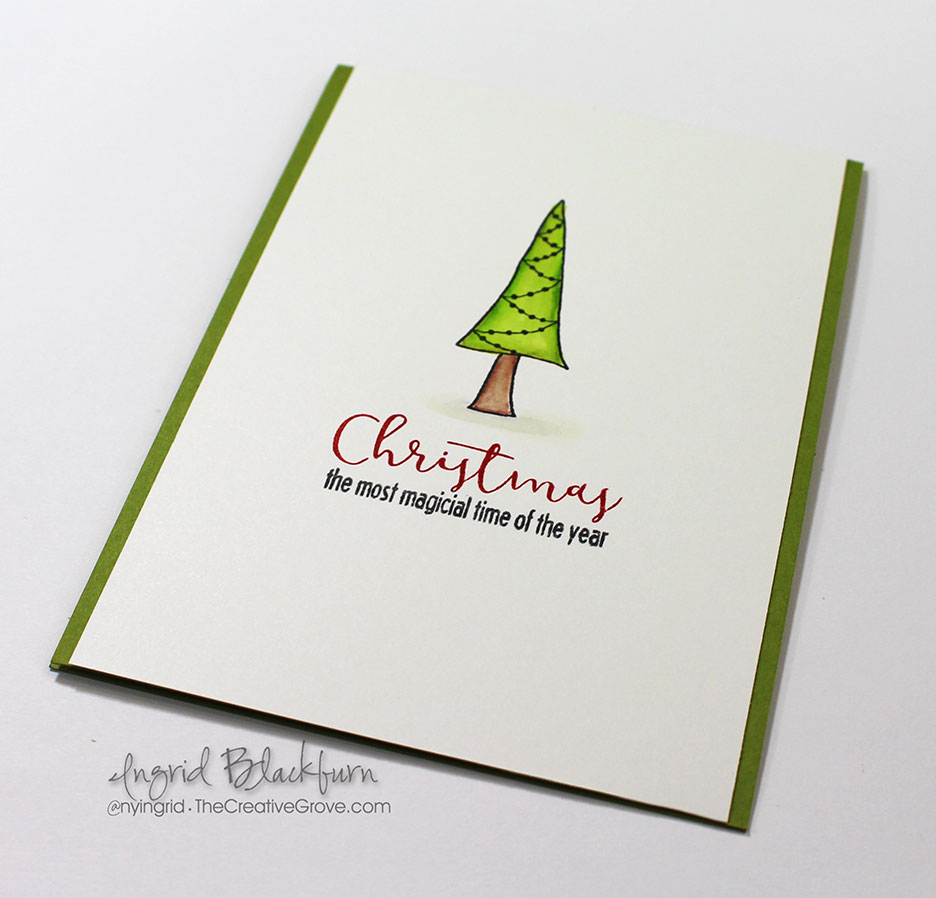
  • Originally I thought a one layer card would be perfect…but the little Olive borders added so much – I just HAD to trim it and layer.

It’s cute though, right? I just love these little trees – seriously…I can’t stamp enough with them!

So now it’s up to you! Enter the challenge to win gift certificates from Happy Little Stampers, STAMPlorations and Create a Smile! If not just to enter to finish off those cards – and if you’re done…start on next year!

Click Here to visit Kylie’s blog and enter in the Linky contest – run, don’t walk!!! You have until 12 pm – December 17th (AEST) Winners will be chosen at random. for a $20 gift certificate to one of the following sponsors:

createasmile stamplorations1-webhls-shop-badge

Thanks for stopping by and saying hi! It’s been a little bit, I’m happy to have had the opportunity to actually stamp again! Be sure to stop by the Happy Little Stampers Video Channel to see our Christmas Series – we’re live right now! Notice some of those cute little trees?


Happy Little Stampers YouTube Channel

Hope to see you very soon – and if we don’t cross paths until 2017 – Merry Christmas and Happy New Year!

Signature


CAS Watercolor Spritz

Have you tried Watercolor Spritzing much on cards before? I”ll be honest – I use my mini mister like it goes out of style, but mostly with water! This month over at Happy Little Stampers, the Clean and Simple challenge is Watercolor Spritzing. So here goes –

Sept 2016 CAS Badge

Adding Watercolor Spritzing to your Projects:

For this project, I kept it super simple and clean. Take any stencil you like – I used the Swirly Stencil by Create a Smile. Lay it over some watercolor paper – I used 140# Cold Pressed by Strathmore, an spritz! That’s it!!

Watercolor Spritzing

For my watercolor spritzing look, I used Vibrant Turquoise Dylusions Spray by Ranger. The bright and deep colors in that line are incredible. One thing I don’t like though is that my fingers get quite stained with these products – no matter how careful I am…lol!

TIP – Don’t over spritz it – you want just enough to get a good pattern. If you add too much, then it will seep under your stencil and color the pattern. A little looks good, but too much defeats the purpose. Fully dry it before moving on.

Spritzing Techniques

For a little contrast to the cool vibrant turquoise background, die cut and emboss one of the Happy Little Stampers butterflies in Iridium WOW embossing glitter and watercolor with the Purple Zig Clean Color Real Brush Pen by Kuratake. Blend it out with a water brush. I just LOVE the vibrant colors in that line.

They’re both popped up, add a quick sentiment and you’re good to go. Quick, easy and definitely mass producible!

Now it’s your turn – I can’t wait to see what you create for the CAS Watercolor Spritzing Challenge!

Go get those fingers inky – mine are….

Signature

[optin_box style=”12″ alignment=”center” email_field=”email” email_default=”Enter your email address” integration_type=”aweber” double_optin=”Y” list=”3846012″ name_field=”name” name_default=”Enter your first name” name_required=”Y” opm_packages=””][optin_box_field name=”headline”]Learn more with our exclusive FREE video series:[/optin_box_field][optin_box_field name=”paragraph”]PHA+UGx1cyB5b3UnbGwgYmUgYWRkZWQgdG8gbXk8c3Ryb25nPiBGUkVFPC9zdHJvbmc+IENyZWF0aXZlIFRpcHMgRS1sZXR0ZXIgd2hlcmUgSSBzaGFyZSBleGNsdXNpdmUgcHJvamVjdHMsIHZpZGVvcyAmYW1wOyB0aGUgMTIgRGF5cyBvZiBDaHJpc3RtYXM8L3A+Cg==[/optin_box_field][optin_box_field name=”privacy”][/optin_box_field][optin_box_field name=”top_color”]undefined[/optin_box_field][optin_box_button type=”0″ button_below=”Y”]Get Instant Access![/optin_box_button] [/optin_box]

Supplies

I get asked a lot where I get some of my supplies. To make it easier for you, I’ve listed all the supplies below. I myself shop at various places and know you probably have your favorite online stores too! So I included choices where I could or if there is just one – it’s the best price I’ve found. 🙂

The letters below each image are links to stores where you can buy each of the products listed. EH – Ellen Hutson, SSS = Simon Says Stamp, AZ = Amazon, etc. I buy almost all my own supplies. To help support my blog, videos & allow me to keep creating for you, I use compensated affiliate links when possible.


MWAH – The Kissing Technique

The Kissing Technique has been around for forever, and chances are you already know how to do it. But for today’s card, I thought I’d re-visit an oldie but a goodie – it is the challenge theme over at Happy Little Stampers for the CAS Challenge this month!

July 2016 CAS Badge

I love this technique, it’s super easy to do, but for best results, use a bold image. I used the Hibiscus flower from the Aloha Spirit set by Create a Smile and kissed it together with the Spice Market background stamp by Hero Arts. It paired perfectly with the fern stencils by The Crafters Workshop & the sentiments from the Mix Mashed set by Happy Little Stampers.

Kissing Technique

Kissing Technique Tutorial

  • Ink up your flowers in versamark, then Picked Raspberry Distress Ink.
  • Ink up your Spice Market background stamp with Black Soot Distress Ink.
  • Stamp your flower onto the inked up background stamp, in essence kissing them together and then stamp onto your watercolor paper. When you kiss them together, the background image transfers to your inked up stamp giving you a very cool effect.

The Crafters Workshop Stencils

  • Tip – for an extra project, once you’re done kissing your images, place a piece of card stock on your background stamp and rub the back to transfer the images. Where you kissed the two together you’ll have a “missing” lighter design of your flowers!
  • Next, sprinkle clear embossing powder over your kissed images and heat set.
  • Ink up the stamens of the flowers in Picked Raspberry at the bottom and Mustard Seed at the top crossing somewhere in the middle. Stamp and heat set with clear embossing powder.

Kissing Technique - Create a Smile Stamps

  • Lightly sponge the center area of your watercolor paper in Twisted Citron and Mowed Lawn. I used watercolor paper as it makes sponging super flawless. Tip – your embossed images will resist your ink.
  • Add the fern images by lightly stenciling them in Mowed Lawn Distress Ink and a sponge tool. Since these are quite fine and easily move, I pounce my tool. Shift and repeat until you have a desired effect.
  • Lightly spritz a cloth and rub over your flowers to remove any ink left behind from the background.
  • Emboss your greeting from Happy Little Stampers, white on black card stock, trim down & separate. Attach to your card along with some sparkling clear sequins.
  • Matte onto black card stock, slightly offsetting to the right.

-Kissing-Technique-stamping techniques

It’s a super cute technique that will definitely have everyone say…how did she do that?!! Now it’s your turn – join us this month over at the Happy Little Stampers CAS Challenge and show off your kisses!!!!

Go get those fingers inky!!!

Signature

[optin_box style=”12″ alignment=”center” email_field=”email” email_default=”Enter your email address” integration_type=”aweber” double_optin=”Y” list=”3846012″ name_field=”name” name_default=”Enter your first name” name_required=”Y” opm_packages=””][optin_box_field name=”headline”]Learn more with our exclusive FREE video series:[/optin_box_field][optin_box_field name=”paragraph”]PHA+UGx1cyB5b3XigJlsbCBiZSBhZGRlZCB0byBteSBGUkVFIENyZWF0aXZlIFRpcHMgRS1sZXR0ZXIgd2hlcmUgSSBzaGFyZSBleGNsdXNpdmUgcHJvamVjdHMsIHZpZGVvcyAmYW1wOyB0aGUgMTIgRGF5cyBvZiBDaHJpc3RtYXMgUHJvamVjdCBTZXJpZXM8L3A+Cg==[/optin_box_field][optin_box_field name=”privacy”][/optin_box_field][optin_box_field name=”top_color”]undefined[/optin_box_field][optin_box_button type=”0″ button_below=”Y”]Get Instant Access![/optin_box_button] [/optin_box]