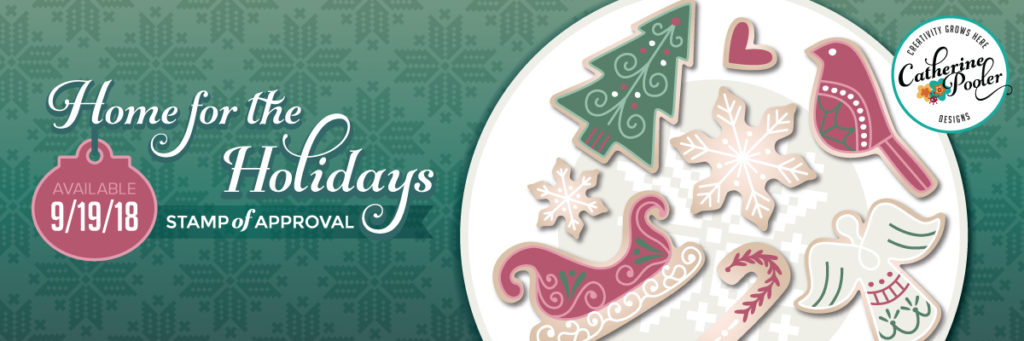
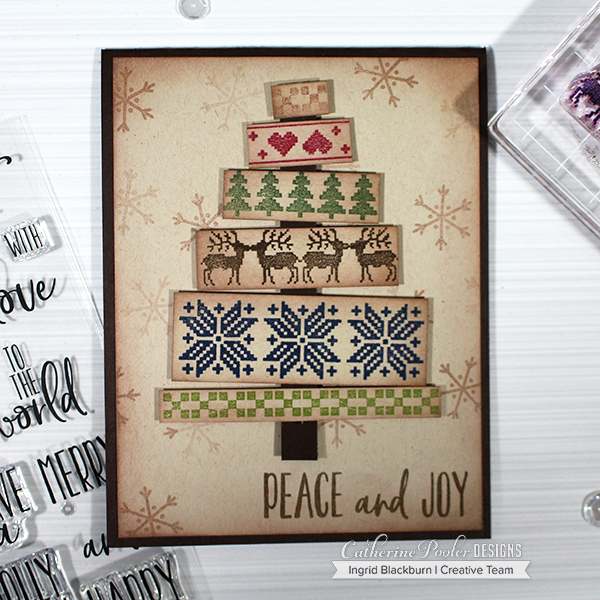
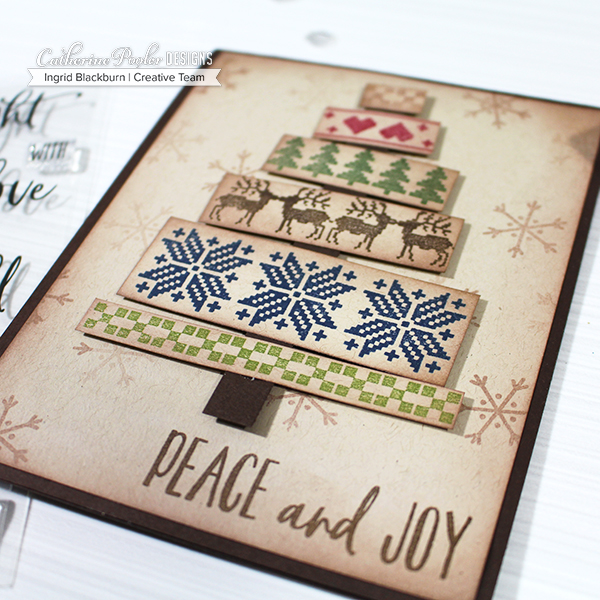
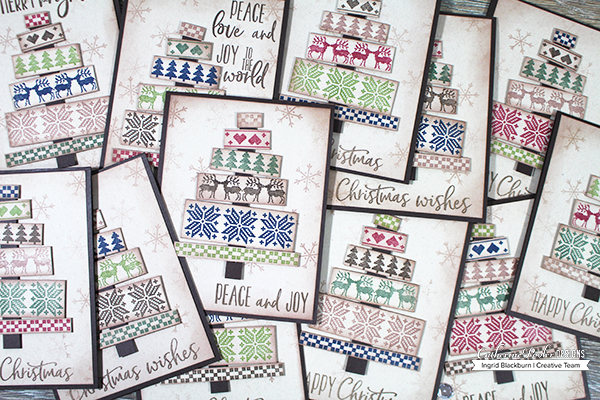
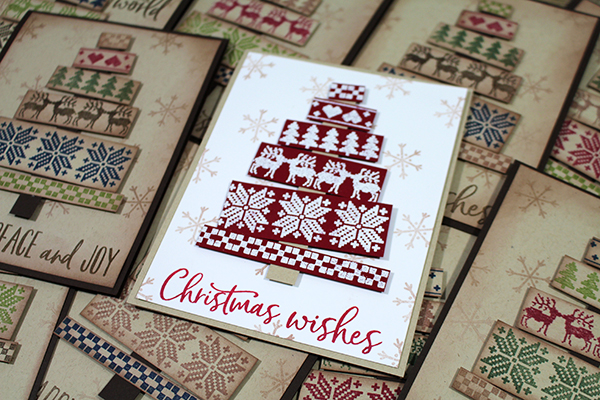
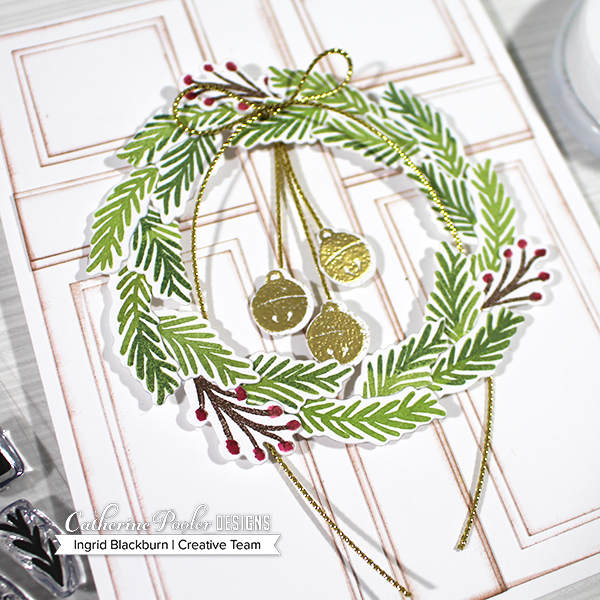
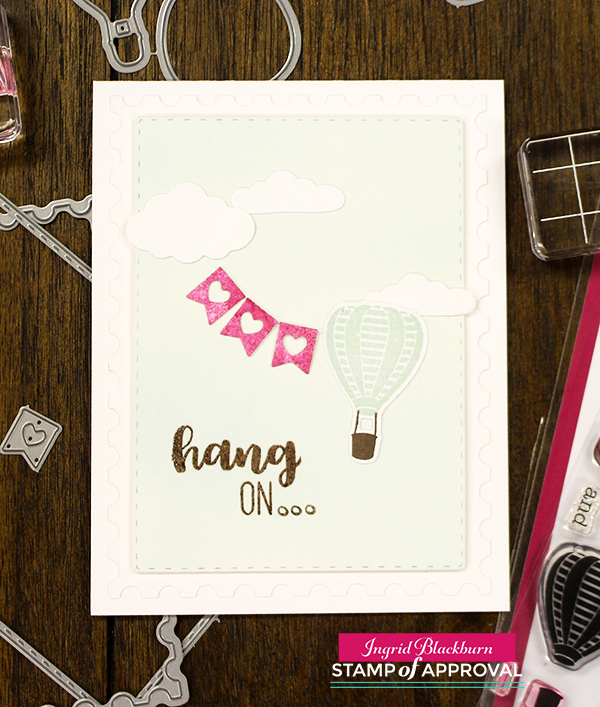
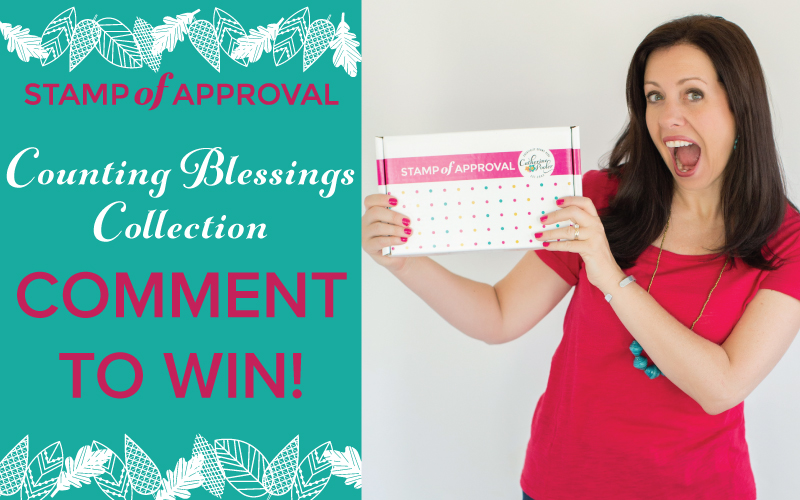
Nothing is better than good Christmas Sugar Cookies, right? I have a quick and simple treat for you this evening. It’s the live public release of the new Catherine Pooler Home for the Holidays Stamp of Approval Collection! This fun collection of stamps, dies and brand new exclusive embossing glitters is a dream to create with. I’ve been having fun all week showing you how to create wreaths for your custom doors, mass producing my take on the classic nordic sweater turned Christmas tree cards, and I thought tonight we’d tackle the holiday sweet tooth!
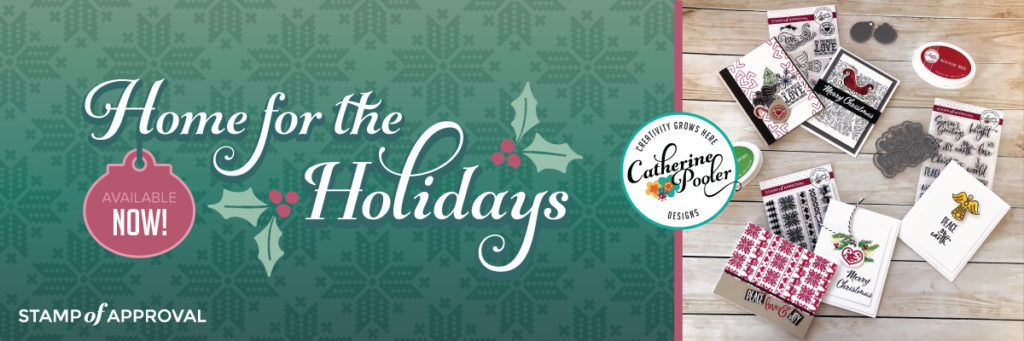
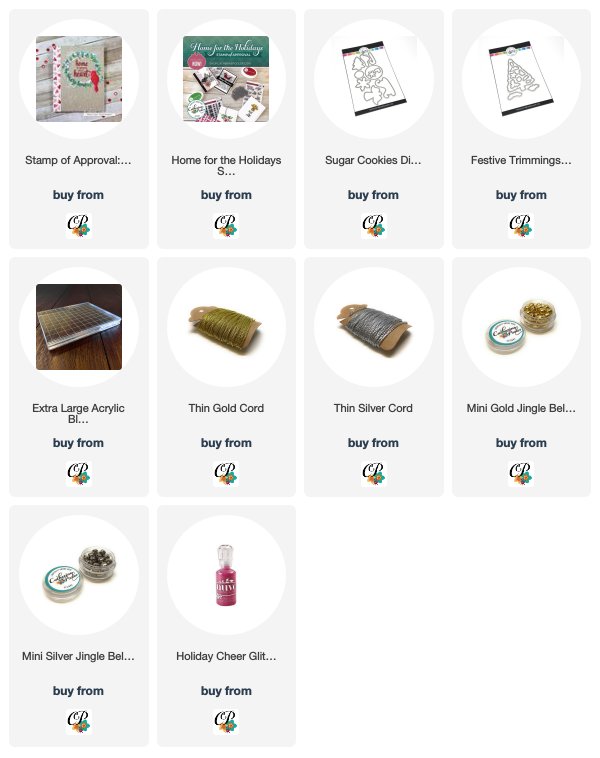
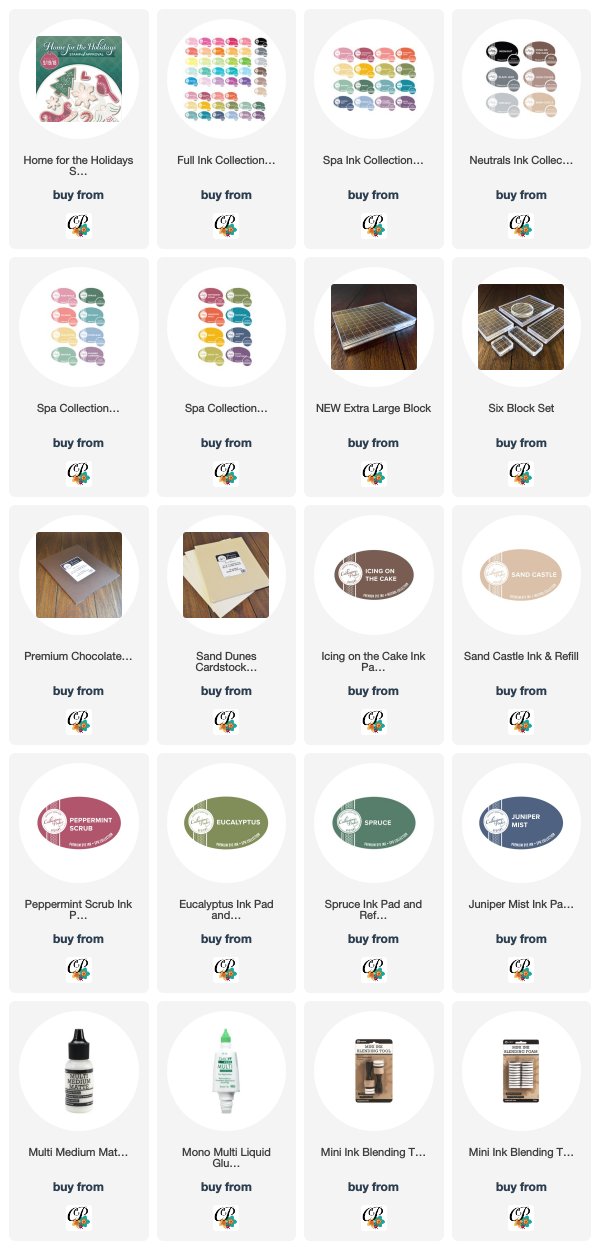
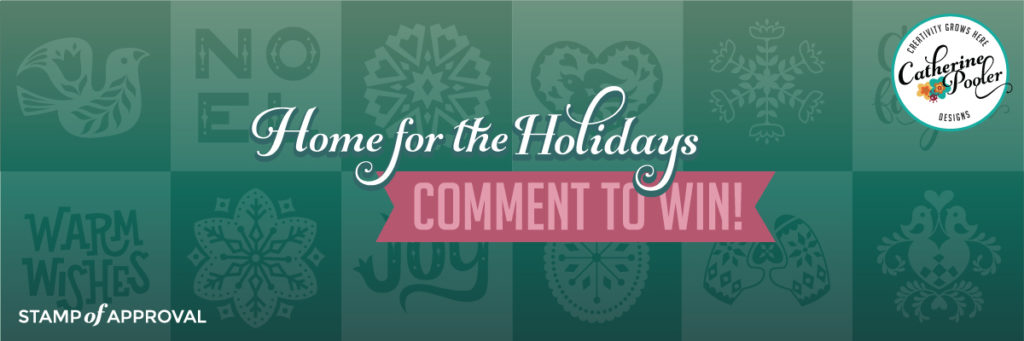
This release has 10 products in it (5 Stamp Sets, 2 Dies, and 3 Embossing Glitters):
- Cozy Borders Stamp Set
- Christmas Cookies Stamp Set
- Holiday Mix Stamp Set
- Festive Trimmings Stamp Set
- Tiny Wishes Stamp Set
- Tiny Tags Dies
- Merry Christmas Layered Word Dies
- 3 New Custom WOW Embossing Glitters – Lime Rickey, Rockin’ Red, and Something Borrowed
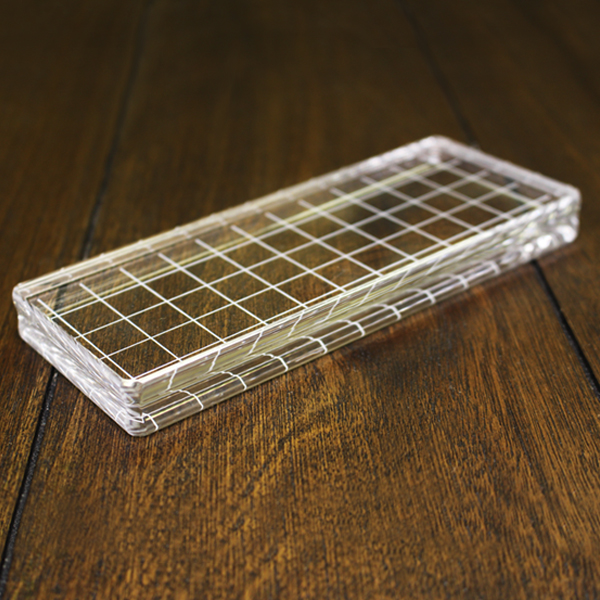
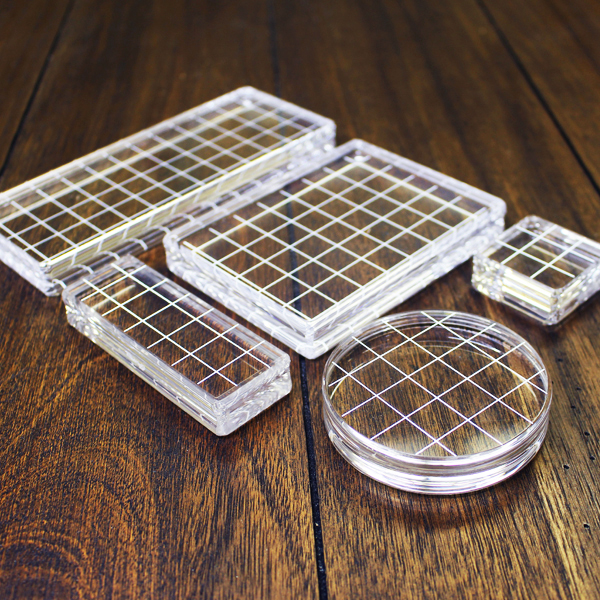
In addition to the release, there are a few new products being released as well – including a brand new “colossal” sized block – you probably saw me use it in my video on this post here – it’s the lightest weight block of its size I’ve used yet!
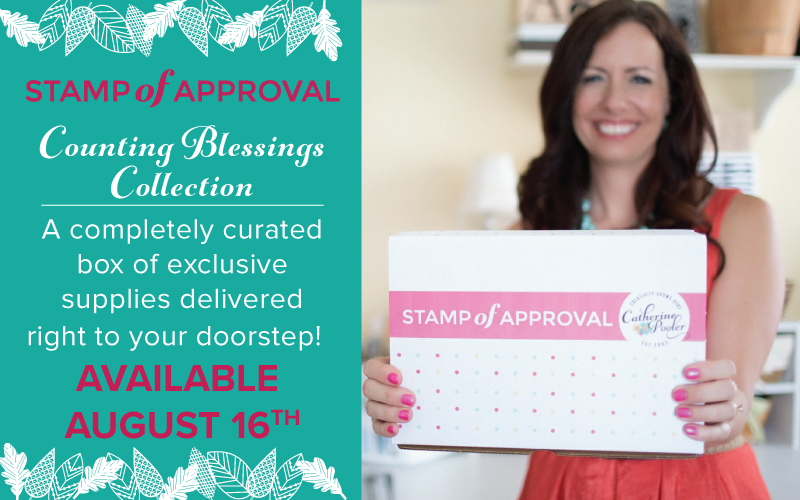
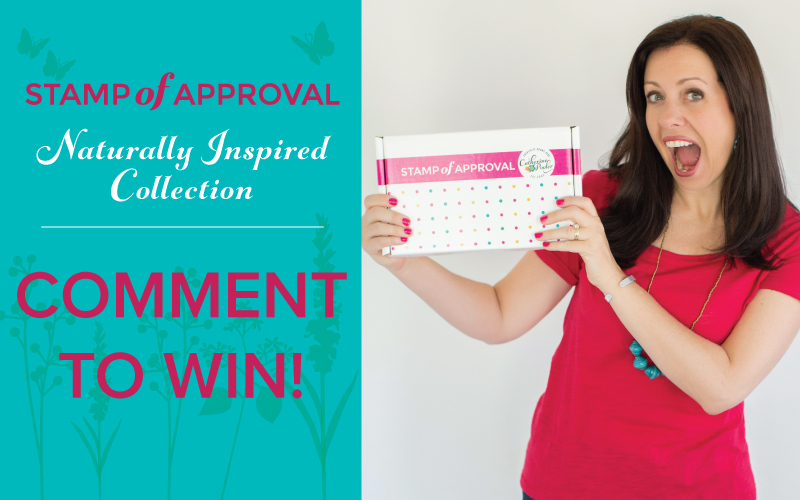
If you aren’t familiar with Stamp of Approval, it’s a curated collection of stamps and dies that work so well together. It’s perfect to help take the guess work out of your holiday cards. These boxes always sell out, and they are going fast, so don’t miss it! To grab one, just go directly to the Shop Here.
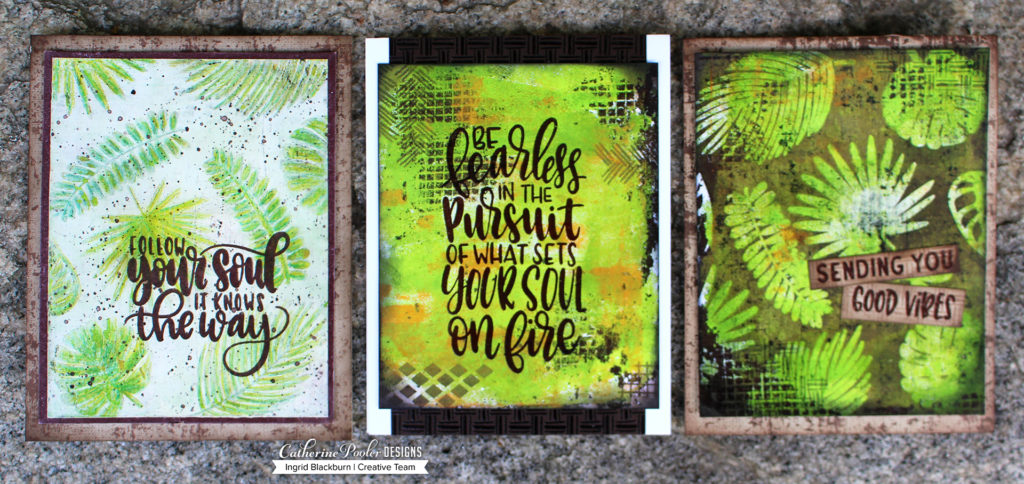
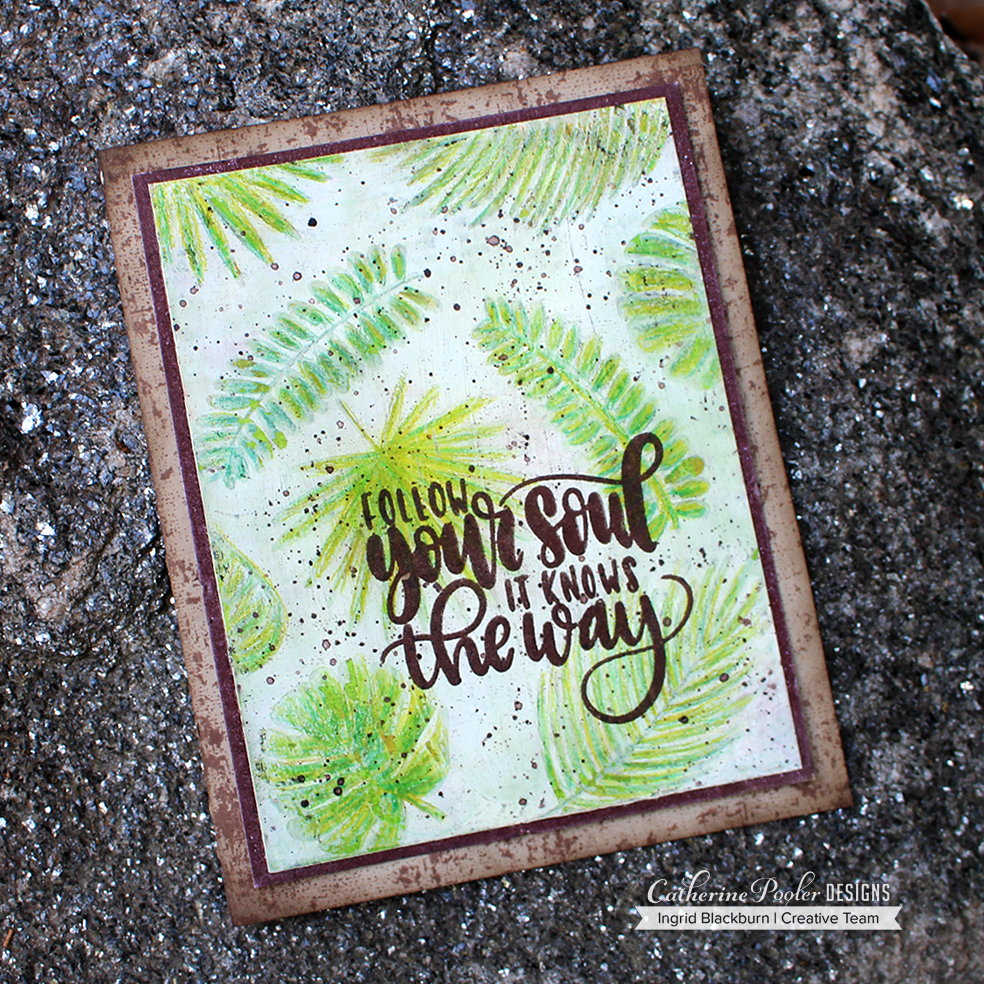
Christmas Sugar Cookies Tutorial
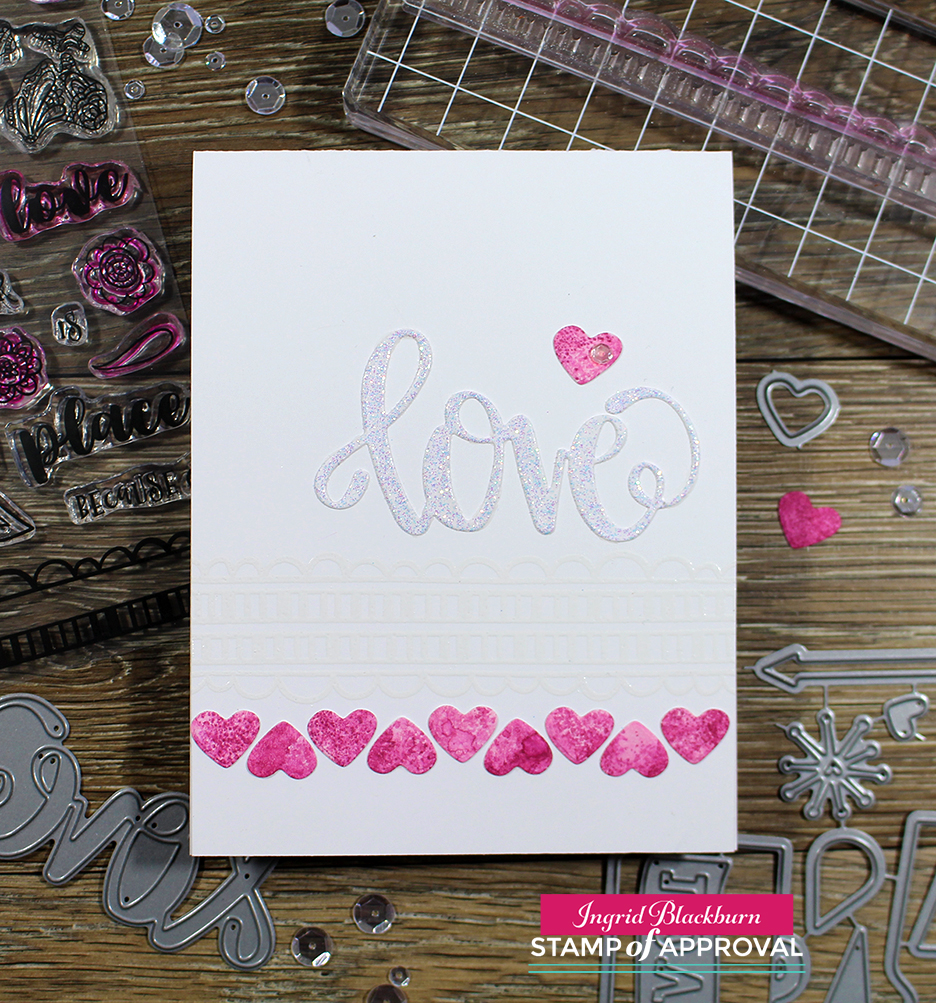
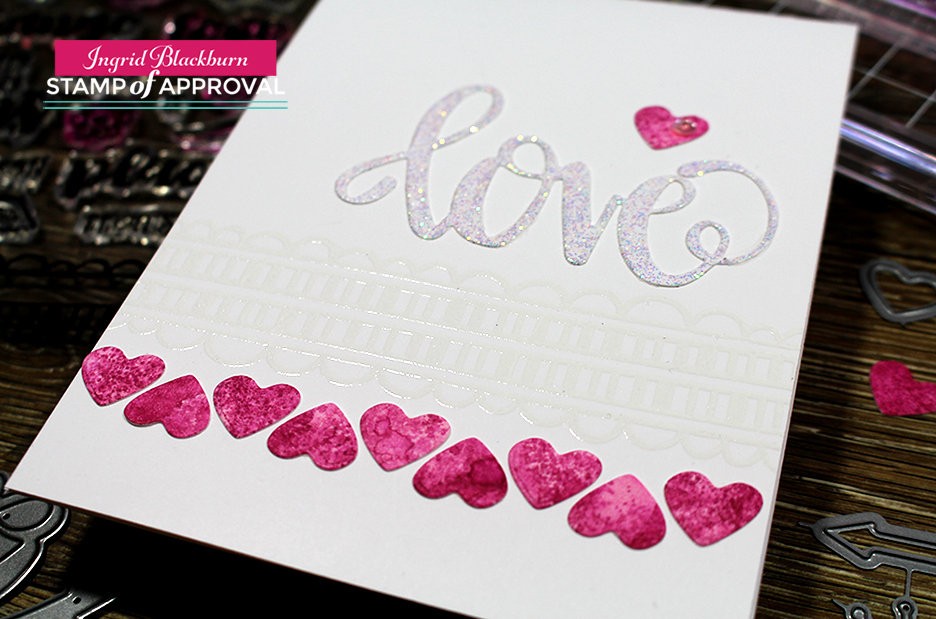
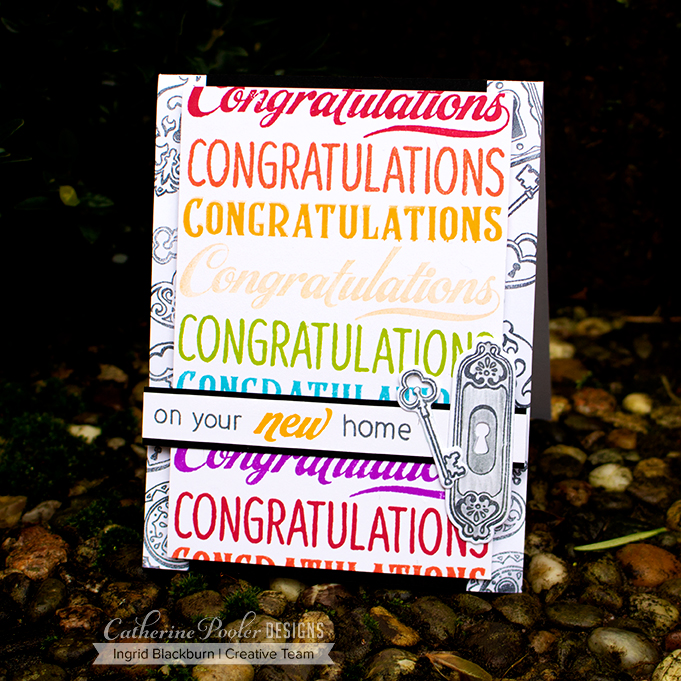
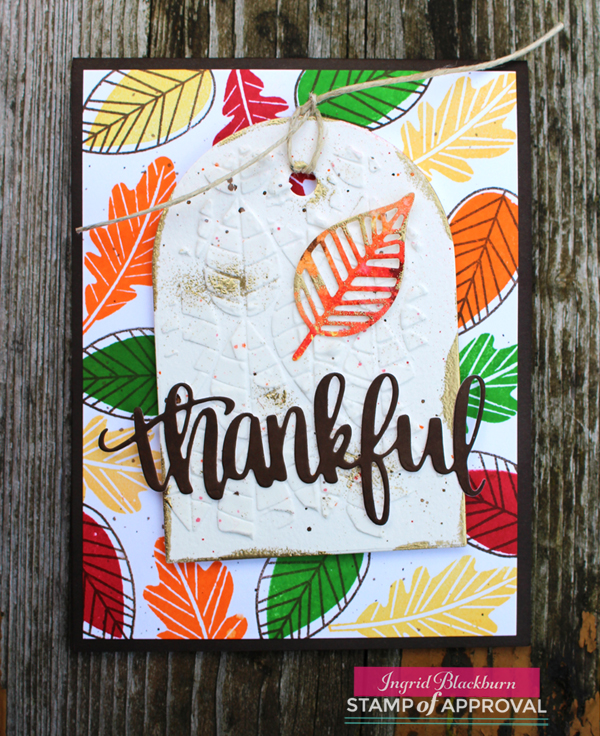
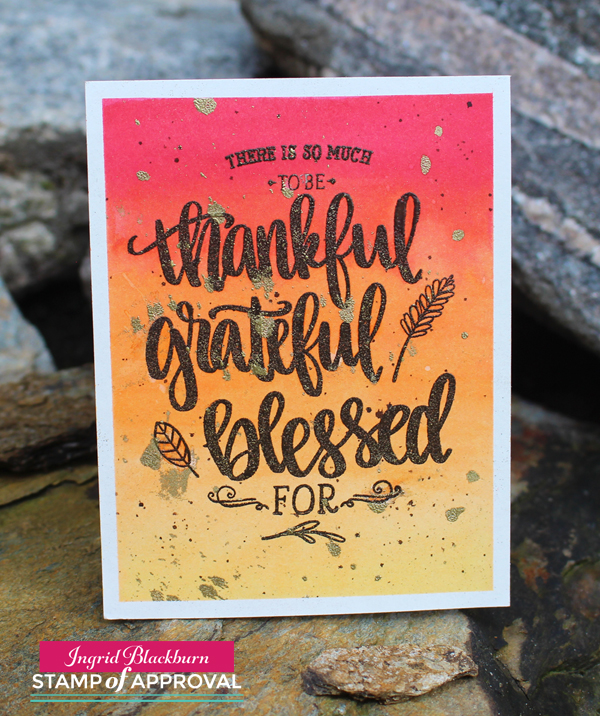
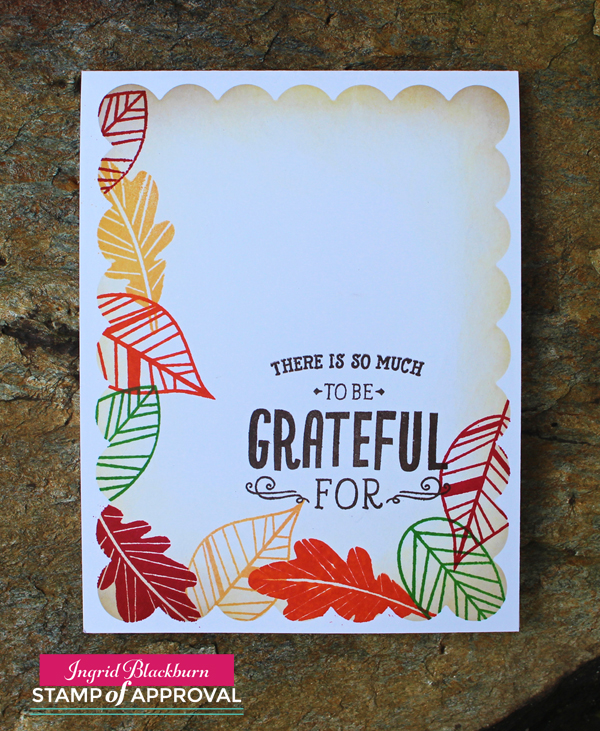
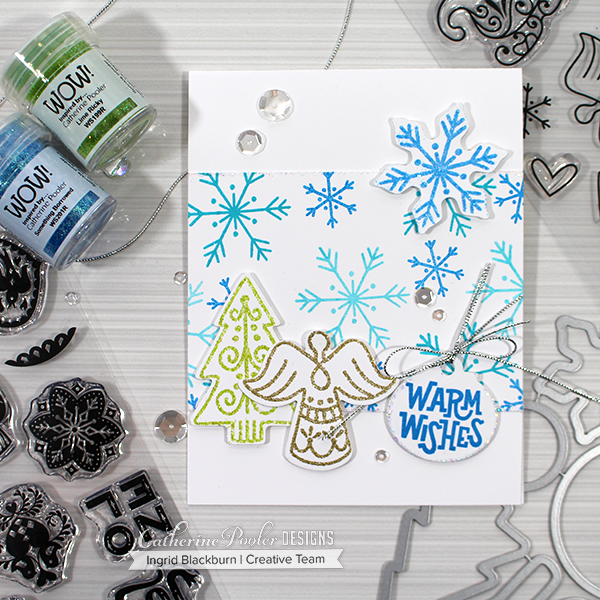
So here’s some fun sugary inspiration for you. This project showcases the Sugar Cookie Dies and Christmas Cookies Stamp Set. The sentiment is from the nordic folk art themed Tiny Wishes Stamp Set using the new Tiny Tags Dies. There’s even a little of the new Thin Silver Cord on there!
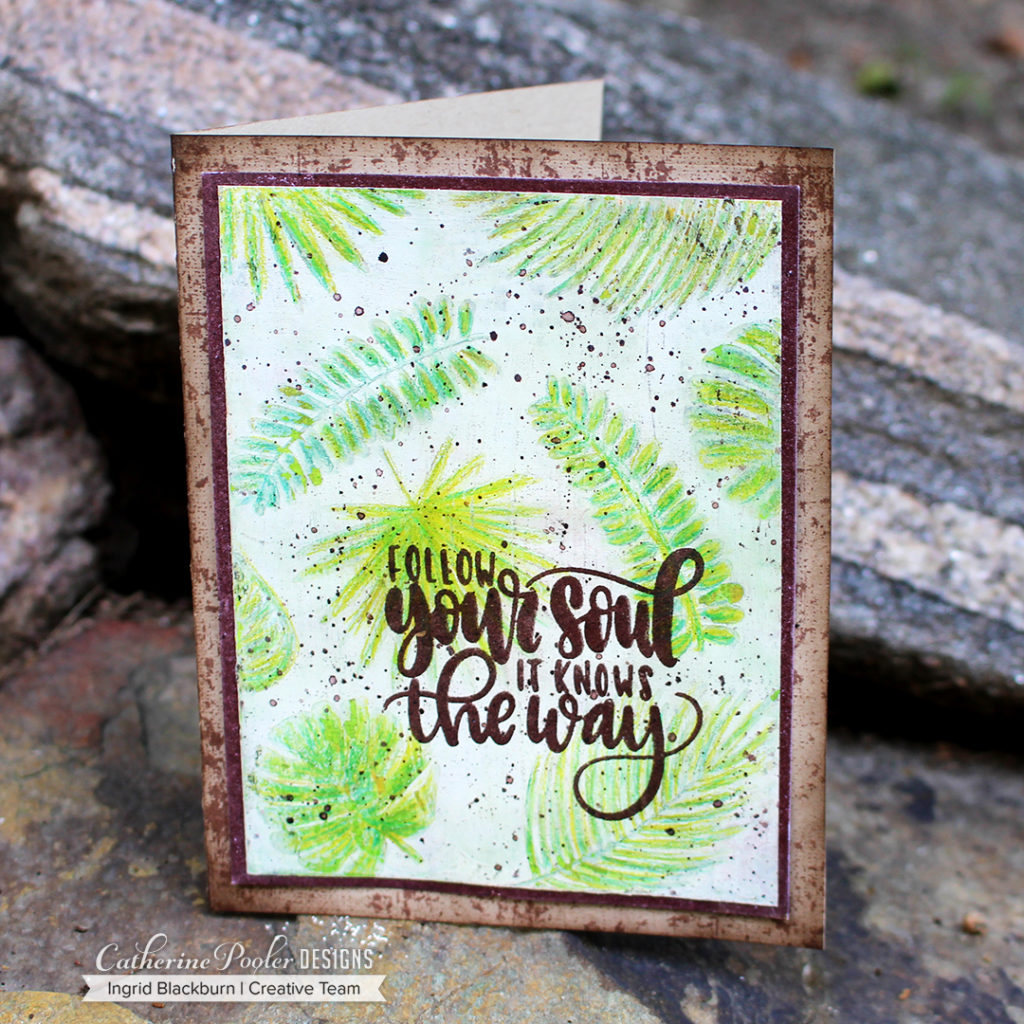
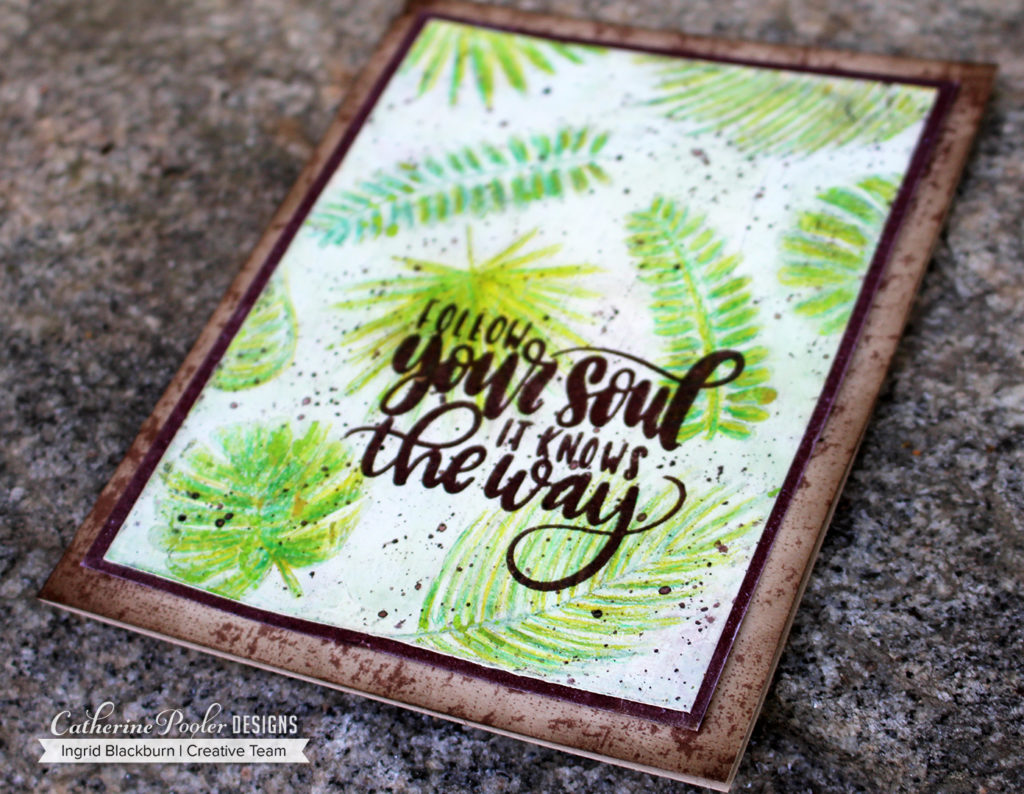
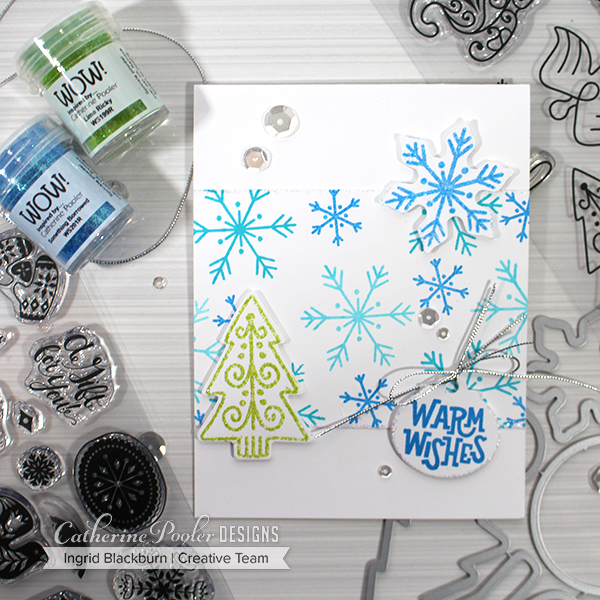
I have similar cards here – you’ll have to tell me which one you prefer – with…or without the Angel? I love angels…but it was messing with my need to have odd numbers of elements on my cards. I literally could not decide, so I’m leaving it up to you!!!
TCG Giveaway – Leave me a comment below and I’ll choose three people randomly to send a Christmas Card to this season!! (I did make 12 the other day for the video hop….) 😉 I’ll announce the winners this weekend!
Christmas Sugar Cookie Card #1
Christmas Sugar Cookie Card #2
To have some fun with the sugar cookie theme, The large snowflake die is embossed in the new exclusive Something Borrowed Embossing Glitter – what? Yup you read that right – embossing powder in Catherine’s colors – just in time for the holiday season! The Tree is in Lime Rickey Embossing Glitter – my favorite Party Line Green ink, what’s yours? Tell me in the comments below!!
Only one missing is Rockin’ Red, I know I probably should have snuck a peek of it – it’s awesome!
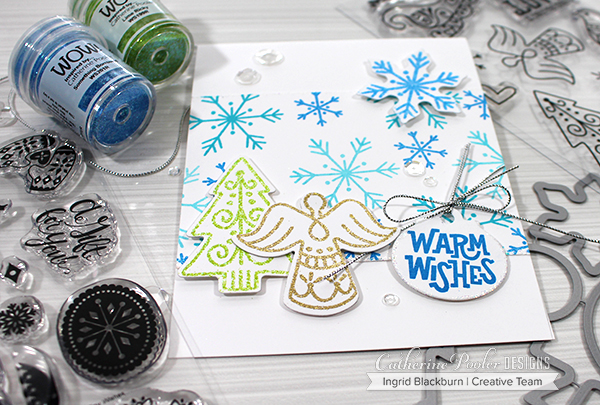
I’m not a big straight glitter fan, but Embossing Glitters I can do! Why you may ask…well, they stick to the paper and don’t rub off! I swear, every time I use glitter, I wear it for days (hubby too), what about you? Do you have that same problem? For the Angel, I used Wow Metallic Sparkle Embossing Glitter and around the Circle Tag, some of Catherine’s exclusive Wanderlust Embossing Glitter – literally the BEST (hands down) sparkly clear glitter. See it in this photo?
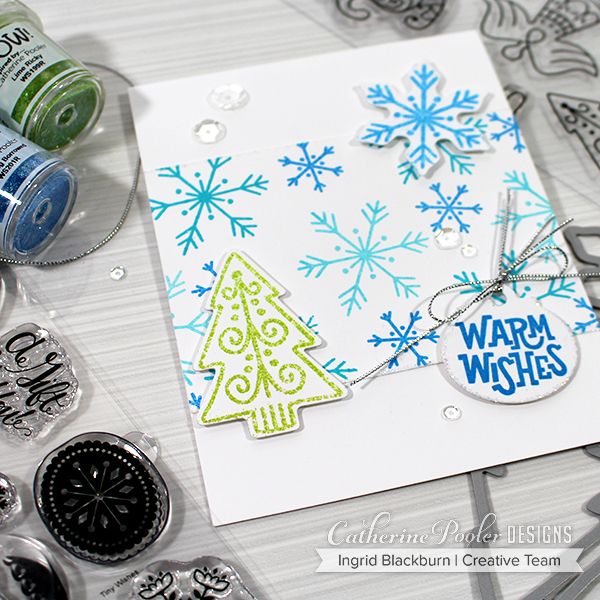
I hope you loved these cards. They are pretty straight forward. Stamp the two snowflakes in three colors – It’s a boy, Fiesta Blue and Something Borrowed. Stamp your dies in Versamark or WOW embossing ink and heat set with your desired embossing glitters. The warm wishes was stamped in Something Borrowed. The snowflake panel is also edged with Versamark and embossed in Wanderlust Embossing Glitter. Tie a little Thin Silver Cord and you’re all set! I popped the dies up on a little foam tape and it’s a simple, cost effective card. VERY easy to mass produce.
Thanks for joining me this week. There are still prizes up for grabs in the three hops – don’t miss out!! Here are the three hops, be sure you like, comment and subscribe all along the hops! There are three ways to win 7 prizes. You can always start on Catherine’s channels too.
- Instagram Hop – 3 $25 gift certificates as Prizes
- Blog Hop – 3 $25 gift certificates as Prizes
- Video Hop – Stamp of Approval Collection as a Prize
You have through Thursday 9/20 to enter, winners will be announced on Catherine’s blog on Monday 9/24.
Have a great night!

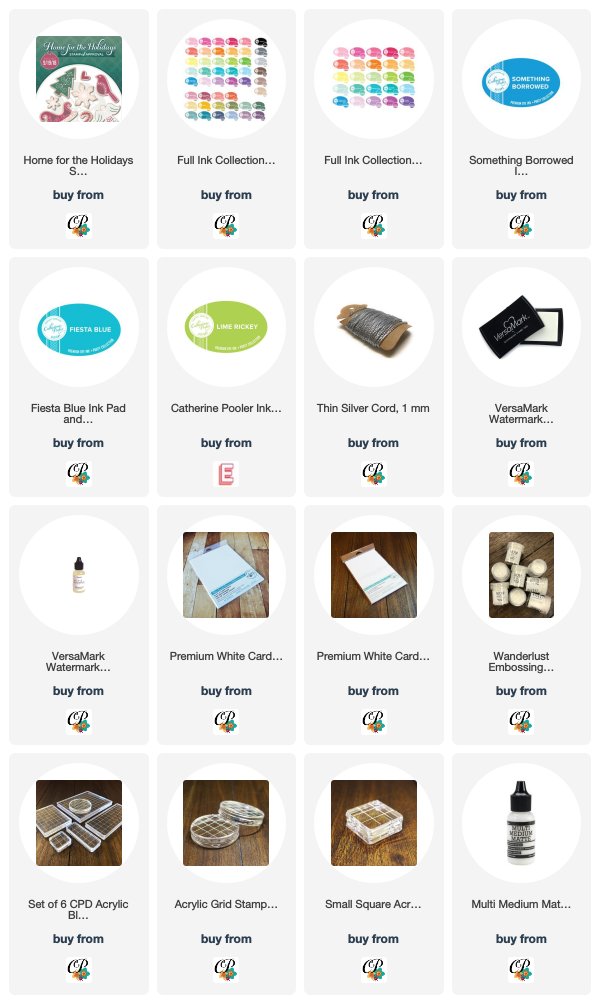
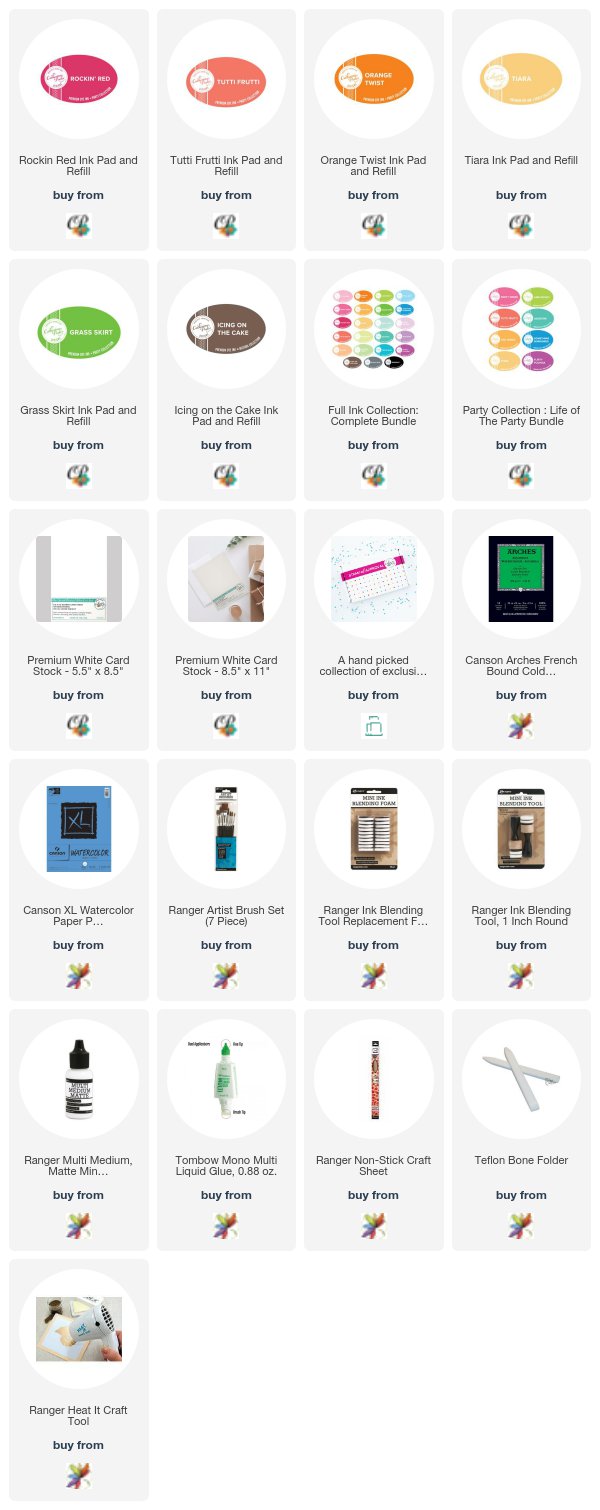
Supplies
To make finding the supplies I used in these projects a bit easier for you, here are a few clickable links. Compensated Affiliate Links are used when possible. Click here for disclosure. Happy Shopping!