Embossing on Christmas Cards

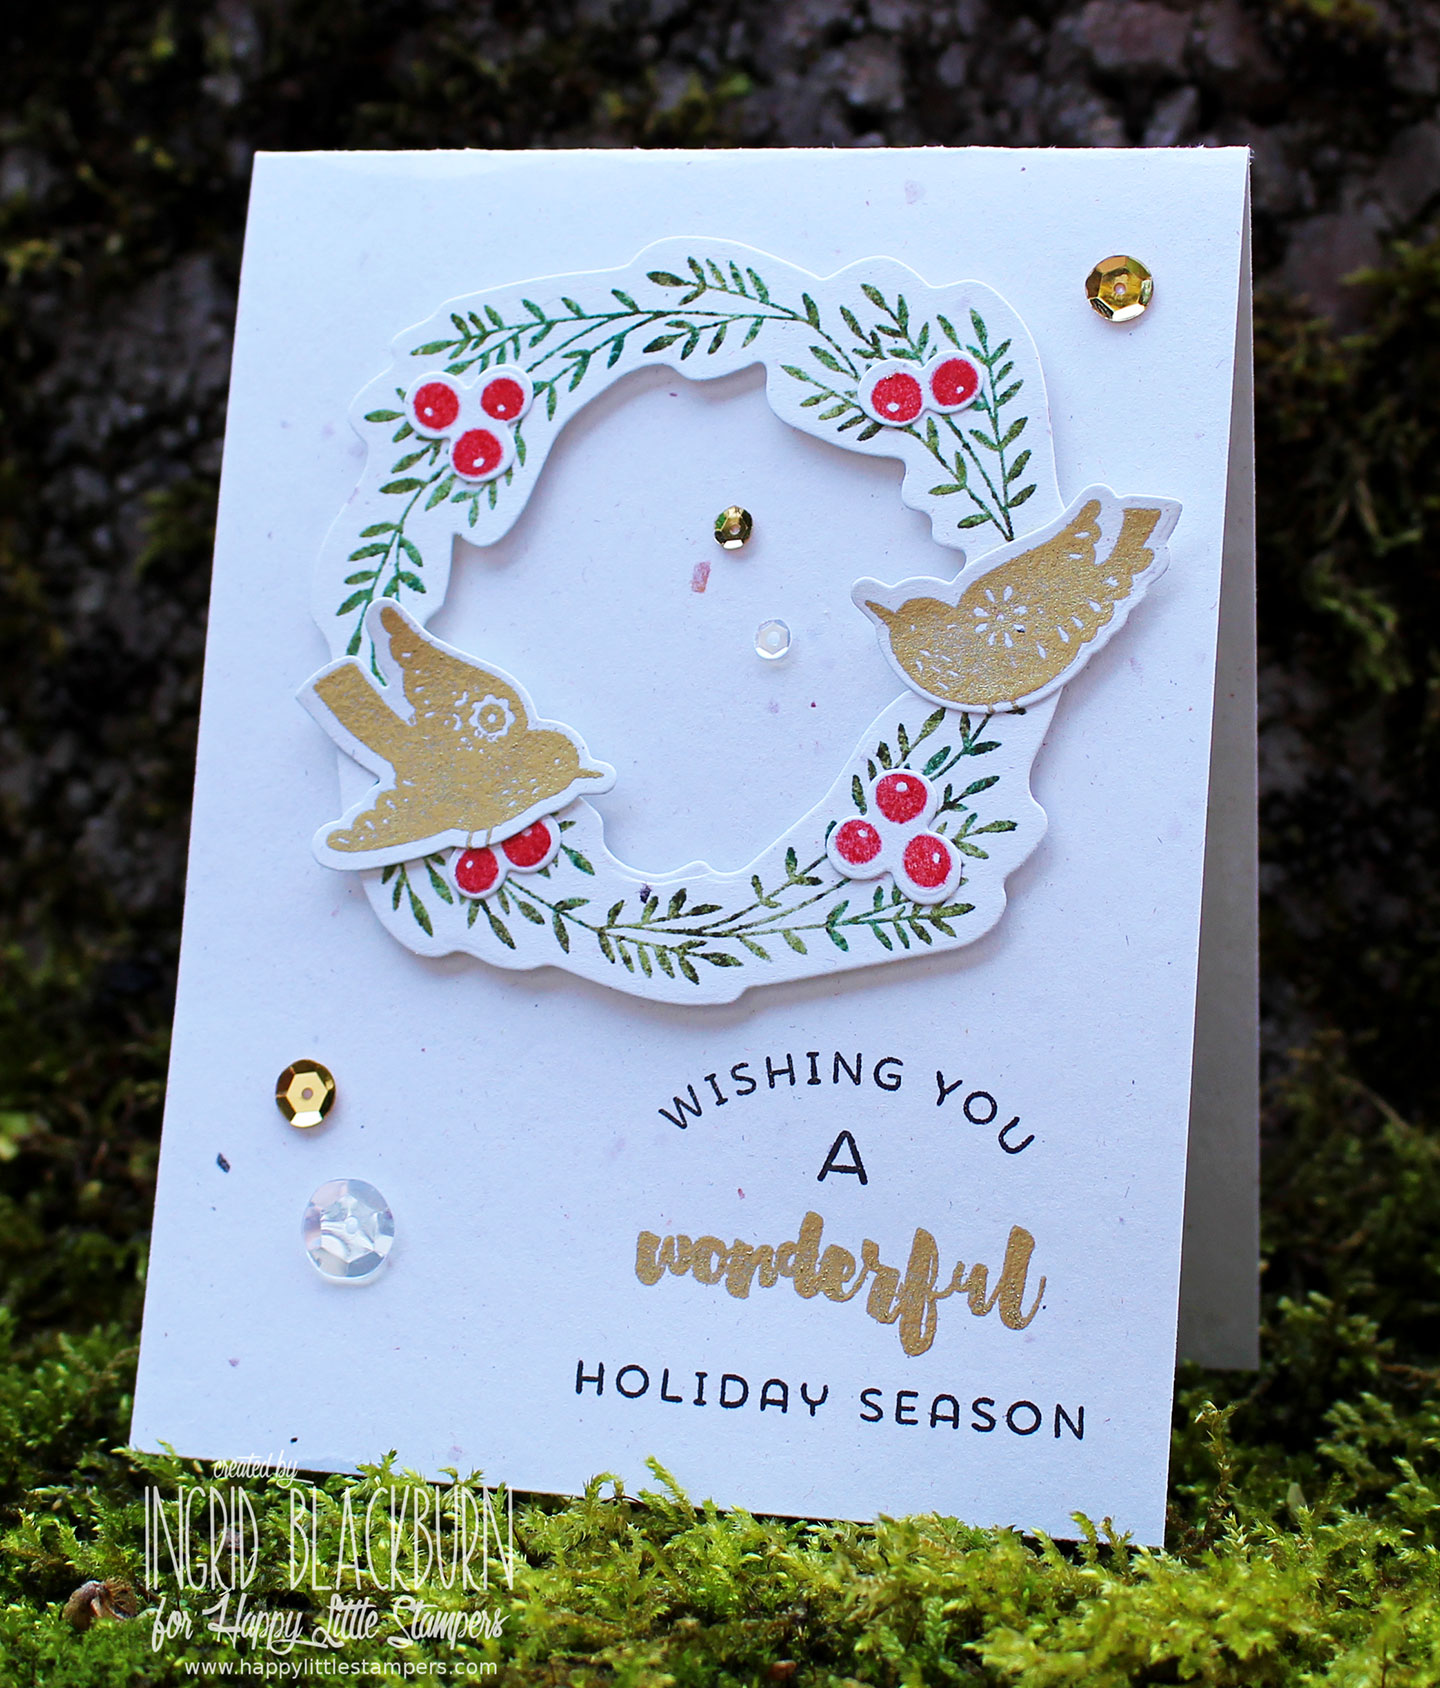
Today I have a Christmas card for you that would make a wonderful mass produced card. The theme over at the Happy Little Stampers Christmas Challenge this month is embossing – and this card is loaded with embossed pieces.
hls-christmas-challenge-october-2016

I”m using my favorite new wreath and stamped embellishments by Wonderful Wreath by Catherine Pooler Designs. And let me tell you, with the matching die cuts it’s SUPER easy to get nice cut out pieces – love that!
christmas-embossing-ingrid-blackburn-hls

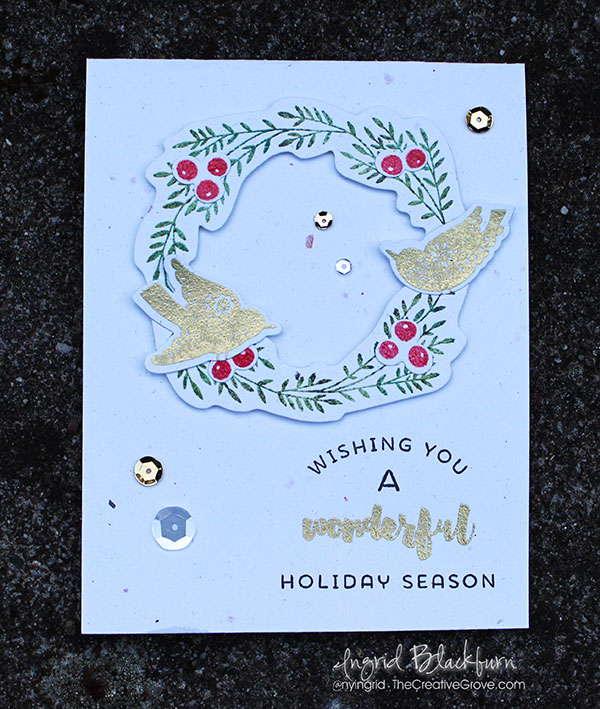
First stamp & emboss the wreath in a few greens. I inked it up in Versamark, then Peeled Paint, Forest Moss & Evergreen Bough Distress inks. Then just emboss in clear and you have your own custom embossed color! Pretty awesome, right? I’ve been doing this technique for years – that way you don’t need to buy all those colors that you’ll only use once – use what you have!
christmas-embossing-ingrid-blackburn-003

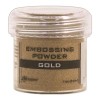
Emboss your berries the same way, using Barn Door. Next, emboss the birds and scripty greeting from this set in Gilded Gold by Brutus Monroe – my go to gold. TIP – Keep in mind that the Gilded Gold looks so much like a foil – it’s a true metallic. Because of it’s metallic properties, it embosses in a flash, literally. If you do over emboss it, it will start to bubble – and that happens quick. I just LOVE this embossing powder.

The Wishing you….Holiday Season is stamped in Early Espresso by Stampin Up and is the only non-embossed image on here!
christmas-embossing-ingrid-blackburn-002

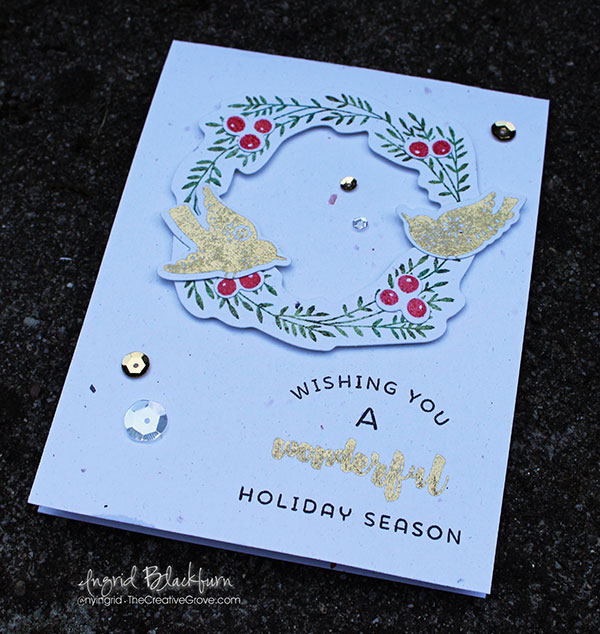
The finish off your card, pop up the wreath and add a few sequins. I think one of the things I love about this project is that it’s just 1/2 a sheet of card stock folded – and it’s a naturals type card stock with neutral flecks. The neutral quality adds to the card a bit – of course bright white would be great too!

Now it’s your turn to check out what the Design Team has done and join in on all the fun for this month’s Christmas Challenge. I KNOW you emboss!

Till next time –

Signature

[optin_box style=”12″ alignment=”center” email_field=”email” email_default=”Enter your email address” integration_type=”aweber” double_optin=”Y” list=”3846012″ name_field=”name” name_default=”Enter your first name” name_required=”Y” opm_packages=””][optin_box_field name=”headline”]Learn more with our exclusive FREE video series:[/optin_box_field][optin_box_field name=”paragraph”]PHA+UGx1cyB5b3XigJlsbCBiZSBhZGRlZCB0byBteSBGUkVFIENyZWF0aXZlIFRpcHMgRS1sZXR0ZXIgd2hlcmUgSSBzaGFyZSBleGNsdXNpdmUgcHJvamVjdHMsIHZpZGVvcyAmYW1wOyB0aGUgPHN0cm9uZz4xMiBEYXlzIG9mIENocmlzdG1hczwvc3Ryb25nPiBQcm9qZWN0IFNlcmllczwvcD4K[/optin_box_field][optin_box_field name=”privacy”][/optin_box_field][optin_box_field name=”top_color”]undefined[/optin_box_field][optin_box_button type=”0″ button_below=”Y”]Get Instant Access![/optin_box_button] [/optin_box]
Gold Snowflakes

Gold-Snowflakes---001

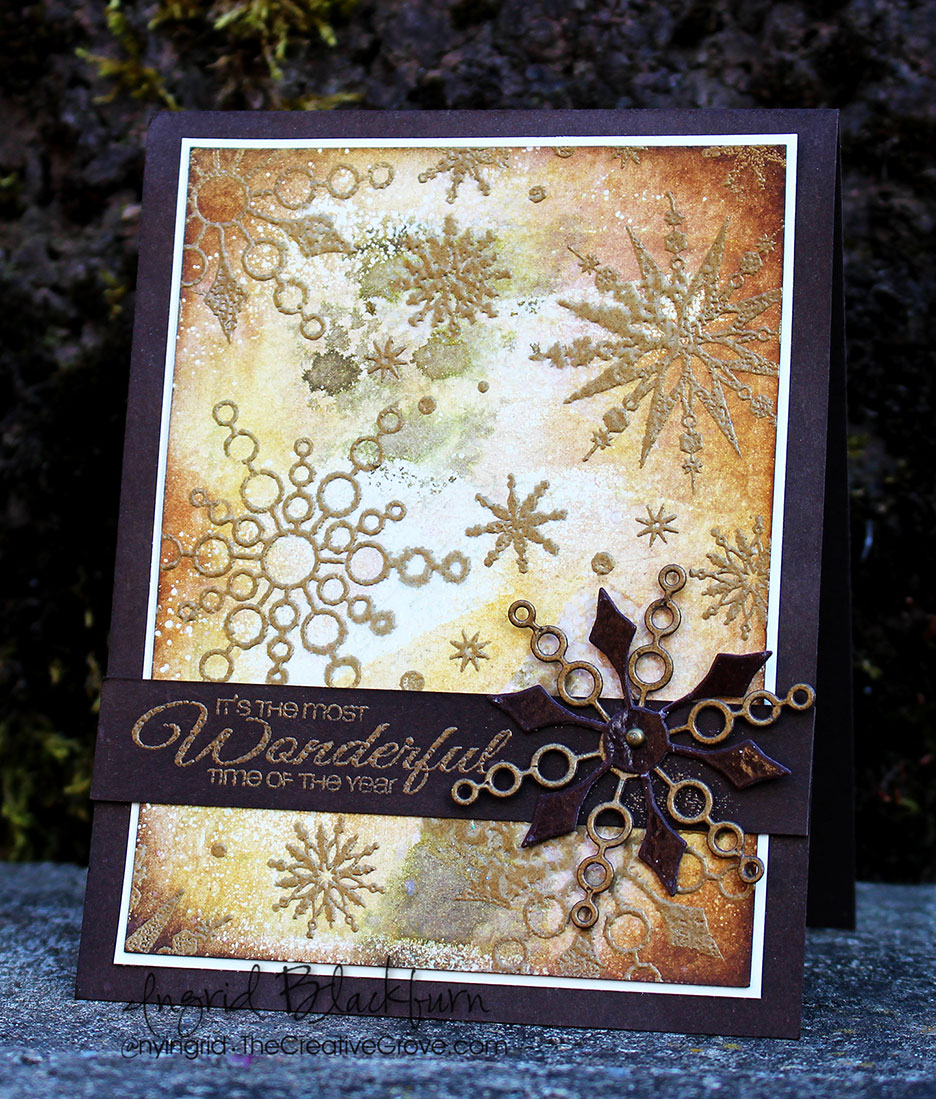
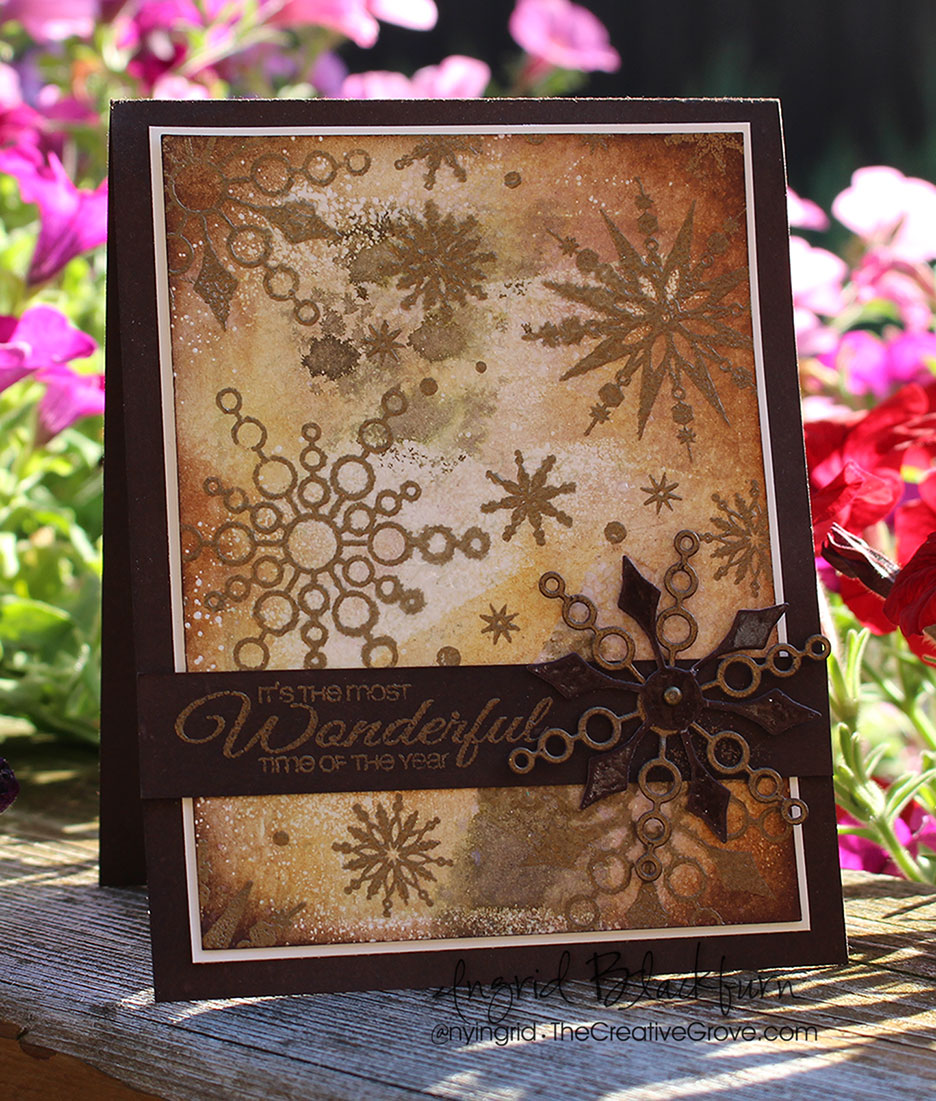
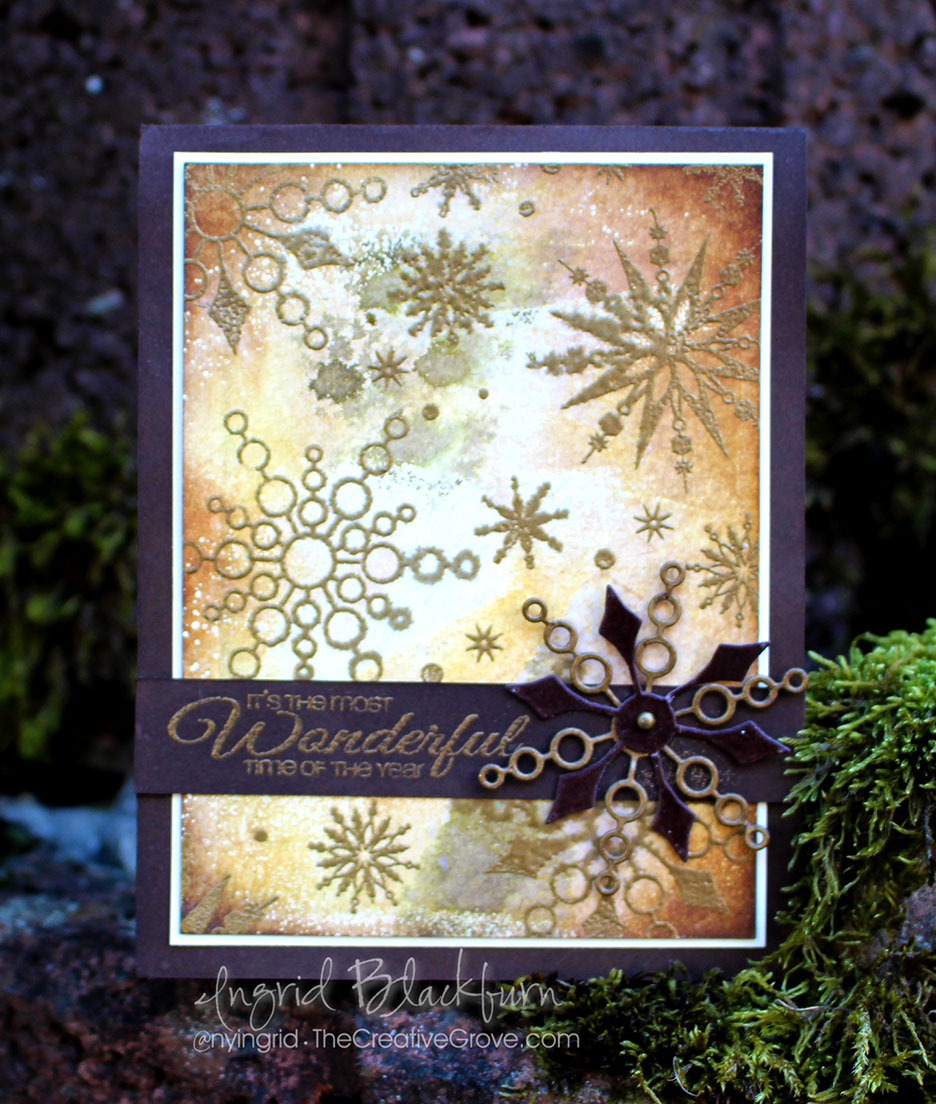
Snowflakes don’t always have to be white. Today’s project features the best in embossed snowflakes. This mixed media piece utilizes the best of emboss resist and sponging for a unique textured look with a flurry of gold snowflakes. Yup, the Christmas Challenge over at Happy Little Stampers is all about Snowflakes this month – so join us in all the fun!

HLS Christmas Challenge August 2016

To get started, stamp and emboss several snowflakes from Bring on the Snowflakes and Snowy Sayings by CAS-ual Fridays. Emboss in gold. I love all the little pieces in the Snowy Sayings set – those little dots and snowflakes are invaluable stamps to have!

Randomly swipe your versamark pad lightly over a few spots and sprinkle some Ulta Thick Embossing Enamel onto your project. Try not to add too much or get it too heavy in spots. Brush away if too thick in areas.  Heat from underneath to get it to start melting and heat set. This will trap the white color of the card base for some light in your project as you darken your project. The UTEE will also give you a little thicker and rough texture giving it a real mixed media feel.

Gold-Snowflakes---002

Add distress colors directly to your project and sponge them as well. Start with your lightest shade and darken on the perimeter always leaving some color exposed. I used Tea Dye, Vintage Photo, Gathered Twigs and Ground Espresso.

Matte it onto a white 1/16th wider base and onto your Espresso card base. A 3/4″ strip of espresso with one of the Snowy Sayings greetings in Gold is perfect.

For a cool effect, I used the Funky Flakes coordinating dies and embossed both snowflakes – one in gold, the other clear on espresso and attached them with a mini brad. TIP – To get your brad to coordinate, heat it with your heat tool, dip it into your embossing powder while hot and heat again.

Gold-Snowflakes-003

See, snowflakes don’t have to be the traditional white! Now it’s your turn – I can’t wait to see what you come up with…Christmas is only 4 1/2 months away – time to get going on those cards!! Every year I put out a free 12 days of Christmas series for the Creative Tips e-letter subscribers…be sure to see that when it begins later this fall – subscribe here for free.

[optin_box style=”12″ alignment=”center” email_field=”email” email_default=”Enter your email address” integration_type=”aweber” double_optin=”Y” list=”3846012″ name_field=”name” name_default=”Enter your first name” name_required=”Y” opm_packages=””][optin_box_field name=”headline”]Learn more with our exclusive FREE video series:[/optin_box_field][optin_box_field name=”paragraph”]PHA+UGx1cyB5b3XigJlsbCBiZSBhZGRlZCB0byBteSBGUkVFIENyZWF0aXZlIFRpcHMgRS1sZXR0ZXIgd2hlcmUgSSBzaGFyZSBleGNsdXNpdmUgcHJvamVjdHMsIHZpZGVvcyAmYW1wOyB0aGUgMTIgRGF5cyBvZiBDaHJpc3RtYXMgUHJvamVjdCBTZXJpZXM8L3A+Cg==[/optin_box_field][optin_box_field name=”privacy”][/optin_box_field][optin_box_field name=”top_color”]undefined[/optin_box_field][optin_box_button type=”0″ button_below=”Y”]Get Instant Access![/optin_box_button] [/optin_box]
Till next time –

Signature


Vintage Mojo Monday

Blooming with Kindness 003 Main

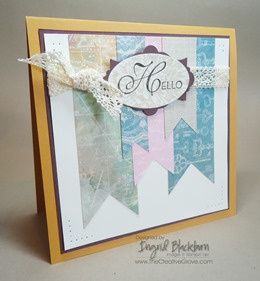
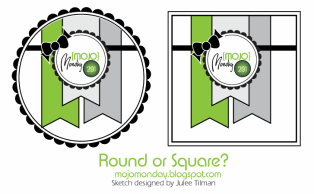
Vintage looking cards don’t have to be difficult to make.  I find that sometimes I struggle with this look, but a few elements really help make this card come together quickly.  It’s Mojo Monday again and I have to admit, I’m never round – always square!  Maybe someday I’ll step outside of my comfort zone and attempt the round, but not today.

      Mojo291SketchBlooming with Kindness 003 Front

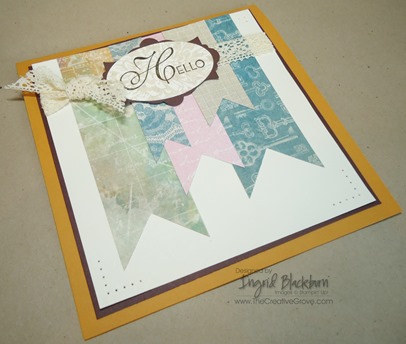
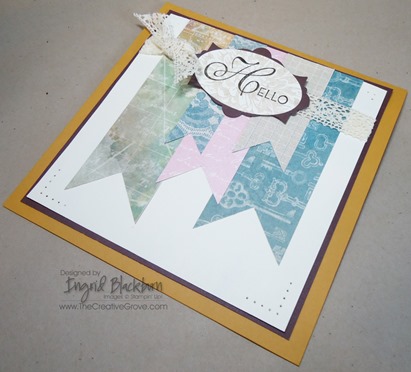
I immediately went to my Fan Fair Designer Series Paper when I saw this sketch.  I tried it with three banners, but just had to put five on instead.  It’s ironic that today’s card is about banners, as I just filmed a video on just how to make banners yesterday.  I’ll be editing it today, so look for it tomorrow! Click Here to see the Video

Creative Tips:

  • My dimensions on this card are 5.5”x5.5” for the base.  I cut the Chocolate Chip 5”x5” and the Very Vanilla 4 7/8”x4 7/8”. 
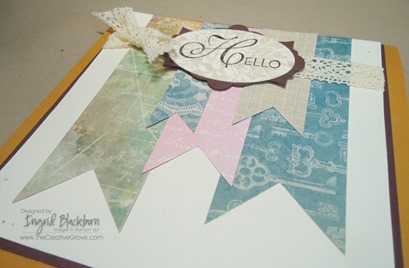
  • After choosing the Fan Fair Designer Series Papers that  I wanted as the banners, I altered the height and width of each one for a little variety.  To make my banners, I used a 1 3/8” Square Punch.  I wanted the peak to be the same in each one, so I used it on all five banners.Blooming with Kindness 003 Banners
  • For the greeting, I have to admit that I first did two ovals with our new Oval Framelits.  But I don’t like having too much of a matte and since they are round, trimming them just isn’t an option.  So instead I used the small Apothecary Accents Framelits for the Matte.  It evokes a Spanish Inquisition feel for me – not sure why, but it does. 
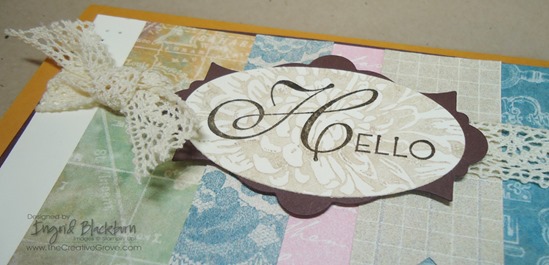
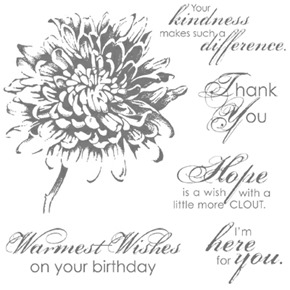
  • I wanted to do a little stamping and add some texture to the backdrop of my greeting.  I went to the gorgeous flower in Blooming with Kindness.  I stamped it off once in Crumb Cake to lighten it a bit and then added my greeting from Lacy and Lovely in Early Espresso for contrast.  Of course I popped it up too.Blooming with Kindness 003 CU
  • For my ribbon accent I used our 5/8” Victoria Crochet Trim.  It’s my first time using this delicate but gorgeous ribbon, you have got to try it, the photos do not do it any justice and it’s perfect for any vintage looking card! Blooming with Kindness 003 Side
  • I needed to fill the white space up a little on the project, so I went to my good ‘ol stand by – paper piercing with the Essentials Paper Piercing Pack.  Since there was so much space at the bottom, I added 5 holes in each direction rather than my usual three.  And at the top I only did two.  It really turned out nice – grab your paper piercer any time you feel like it needs something.  The best part – it’s a one time inexpensive purchase. Overall, I just love the way this project turned out.  It’s not my normal style or color combination, but there’s just something about it that is striking and it’s definitely a vintage look.  Have fun making your own Mojo Monday creation!

Signature Snowflake 001

Check out the Retired Lists!  Get all your favorites while you still can.

Retired Stamp Sets                      Retired Accessories List

To Shop 24/7 in the Creative Store – Click here!

Blooming with Kindness 003 Angle

Stamp Sets – Lacy and Lovely (122885w, 122887c), Blooming with Kindness (126420w, 126422c) Paper – Fan Fair DSP (126918), Very Vanilla (101650), More Mustard(100946), Chocolate Chip (102128) Ink – Crumb Cake (126975), Early Espresso (126974) Cool Tools – Oval Framelits (129381), Apothecary Accents Framelits (127003), 1 3/8” Square Punch (119877), Essentials Paper-Piercing Pack (126187), Paper-Piercing Tool (126189), Stampin’ Pierce Mat (126119) The Perfect Finish – Stampin’ Dimensionals (104430), 5/8” Victoria Crocheted Trim (118481)

Blooming with Kindness126422LLacy and Lovely

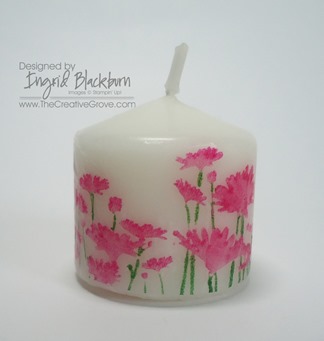
Best of Flowers Candle

Best Of Flowers 002 Main

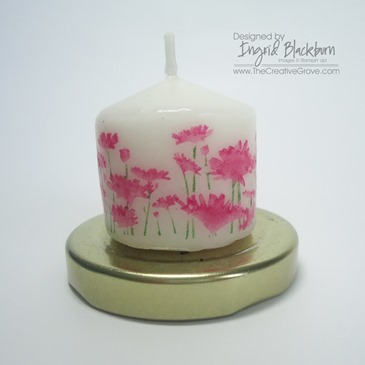
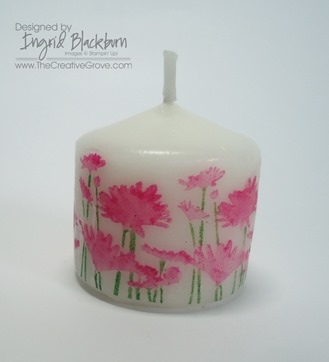
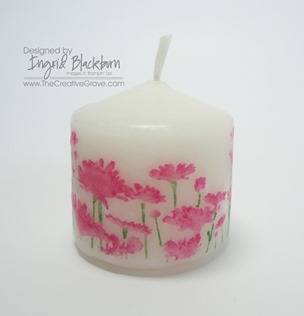
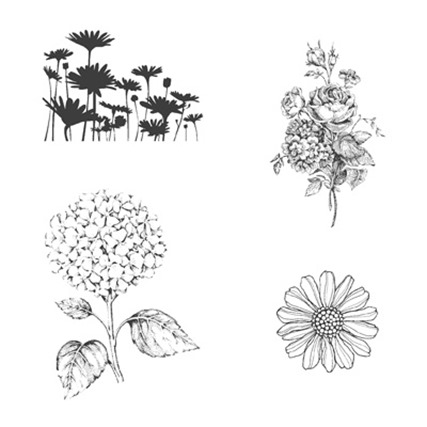
Stampin’ Up!’s 25th Anniversary exclusive stamp set Best Of Flowers can be used in many versatile ways – don’t just think in 2D for cards!  I wanted a little pop for these cute flowers on this stamp which is quite smaller than it’s original.  But the change is worth it – at least for my cute little votive candles!

Creative Tips:

  • Normally I would stamp with the ink pads, but since this stamp is so detailed, I used Stampin’ Write Markers – Melon Mambo and Garden Green. 
  • I took my time to color in my stamp and then huffed it – remoistened the ink with the warmth of my breath by huffing of my stamp.
  • I stamped several images on white tissue paper, and then cut around the whole image leaving a little space for my glue.
  • I glued each image directly to my candle using the two way glue stick.   I had to trim a few flowers off since they were taller than my candle.

Best Of Flowers 002 Angle 3

  • I wrapped the candle tightly with wax paper, leaving an excess amount for me to hold on to.
  • I used my Heat Tool to carefully melt the wax from the candle through the tissue paper and wax paper.  I then quickly roll it onto a hard surface covered with grid paper so not to get any wax on the surface.  This rolls the candle flat again. 
  • Once my image is translucent and I can’t see any of the white tissue paper, I knew it was done.  TIP – don’t over do it as your candle will be bumpy then.  It goes quick.
  • Be patient, pull your wax paper off slowly…let me say that again – Slowly!  Check it and spot melt any other sections with new wax paper. 
  • I get my wax paper at the $1 store – that way I’m not skimpy with it!
  • Best Of Flowers 002 Angle 1

The end result is a fun personable candle that dresses up any occasion!  Have fun using this versatile stamp set for so much more than just cards!

Tune in tomorrow for the RemARKable Stampers Blog Tour!  Have a great Saturday!!

Signature Snowflake 001

To Shop 24/7 in the Creative Store – Click here!

Best Of Flowers 002 Angle 2

Stamp Sets – Best of Flowers (133342c) Ink – Melon Mambo Stampin’ Write Marker – Brights Collection (119702),  Garden Green Stampin’ Write Marker – Regal Collection (119701)  Paper – White Tissue Paper, Wax Paper  Cool Tools – Heat Tool (129053), 2 way glue (100425) 

Best of Flowers 133342L

Home Sweet Home

SF Day 1 009 edited

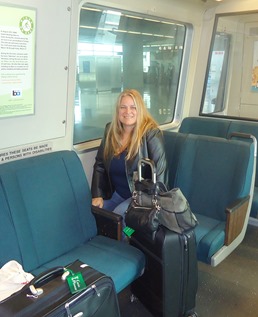
This week I’m spending time in San Francisco, California to visit my family and celebrate my dad’s 80th birthday, spend some quality time with my mom, and brother.  I was born and raised in San Francisco and it’s a beautiful place to visit.  Plus I’m super excited to meet my new niece – Aubrey.

I would never change a thing about growing up in San Francisco.  We had amazing culture, I grew up in a melting pot of people, culture, excellent food, and more physical sports and outdoor activities than you can think of.  I’m quite proud to say I’m a California girl – even if I don’t live here anymore.  

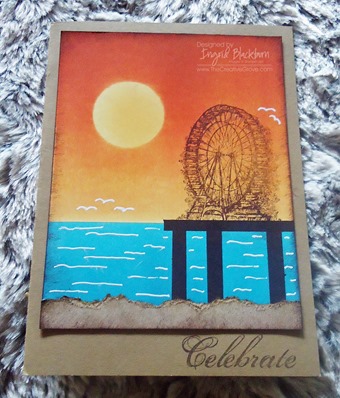
One of the things we loved about being in the Bay Area was going to our old family cabin in the Santa Cruz Mountains.  I loved being surrounded by the towering Redwoods (hummm, wonder where my love of redwoods came from?)  We would go on hikes, walk through the Basins, and go to the Boardwalk in Santa Cruz.  The Boardwalk had the scariest (well as a kid) rollercoaster, because it was all wood!  I loved it.  So when we had the free Sale-a-bration Stamp set Feeling Sentimental, I had to do a sunset boardwalk scene – it just reminded me of the Boardwalk in Santa Cruz. 

This card was one of the projects in my Brayer 101 – Introduction to Creative Scenery class that I taught the past few months.  The stamp set is now gone (but I know several of you have it!), so I’ve come up with a great new project to replace it, but wanted to share this beautiful card with you.  I hope you like it!

I will be sharing how I made this card in a detailed post filled with Creative Tips to anyone subscribed to my Creative Tips mailing list!  I’m going to share it on Saturday at 12 noon – the day of my Dad’s party, so you have plenty of time to subscribe still! 

Have a great day – enjoy your families – I’m going to enjoy spending quality time with mine.  I’ll be sure to report back all week so that you can see all the fun places and things I’m doing.

For information about taking Brayer classes as part of my Creative University series in person, check out my upcoming events page by clicking here.

Signature Snowflake 001

To Shop 24/7 in the Creative Store – Click here!