Chalktalk Distress Layered Thanks

Chalktalk Thanks 001

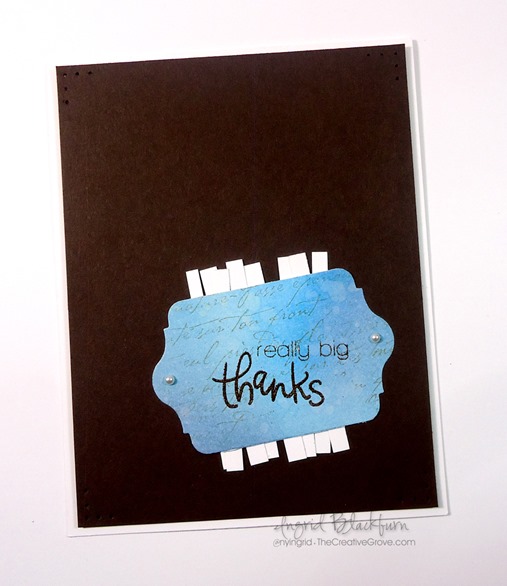
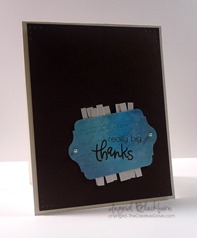
What do you do when you try out a new technique on a piece of scrap paper?  Do you use the left over piece for a project?  I try to, I figure if I’m going to take the time to figure it out, why not create something small at the very least!  That’s what this project is – my scrap turned into tag.

Chalktalk Thanks 003

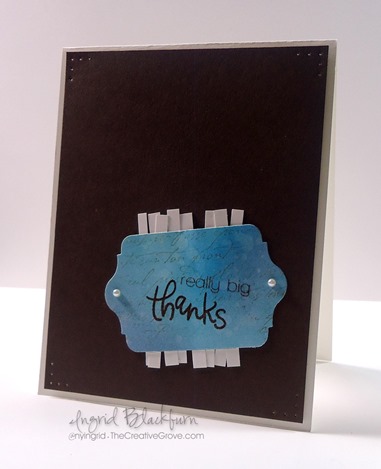
Layer several shades of blue distress inks with Vintage Photo, spatter a little water, dry your piece thoroughly and then layer a lightly stamped layer from a background script stamp.  The end result is stunning!  I cut out my scrap with the biggest tag framelit from the set Chalk Talk by Stampin’ Up! Next, you’ll want to use a darker brown to stamp your greeting from the stamp set Thanks by Simon Says Stamp on an angle and voila – you have a perfect tag.

Chalktalk Thanks 002

For a little emphasis, I decided to use some left over tiny strips of white to randomly place back and forth behind my tag.  I added a few pearls and some corner piercing to the main card front.  I like that the colors of the card are masculine – this card is a great clean and simple design that’s easily mass produced – just sponge colors on larger strips of white paper and then cut out your tags!

We have videos on this technique in our VIP Community with a few different projects if you want more step by step tutorials.  Hope to see you there!

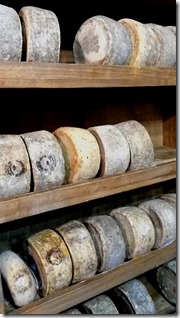
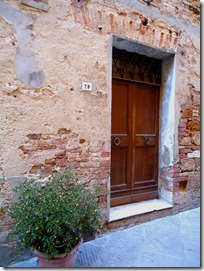
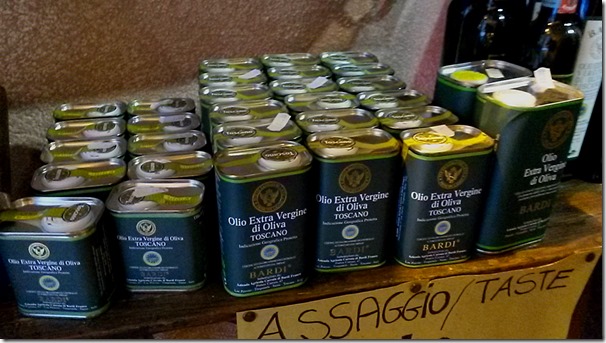
I’m wrapping up our week in Tuscany, we’re sad to go, but had a wonderful time here!  I must say after all the rich colors and texture, I’m excited to get into the stamping studio.  See you soon with more great projects.  For now, I’ll leave you with a few of the rich colors of the Tuscan countryside and villages.

20150113_15553720150112_144755DSC0831720141118_02332020150112_144938DSC08243DSC08355

Have a great day – thanks for stopping by!
Signature

Polka Dots and Striped Christmas

Striped and Polka Dot 003

Have you ever finished a project and just felt so-so about it?  That happened to me for this project.  So, what do you do when it just doesn’t feel right?  Well, make a tiny switch and then just like Emeril – BAM, that’s just what it needed!

128.pngCTS_94 Virginias View clean and simple

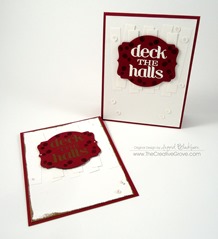
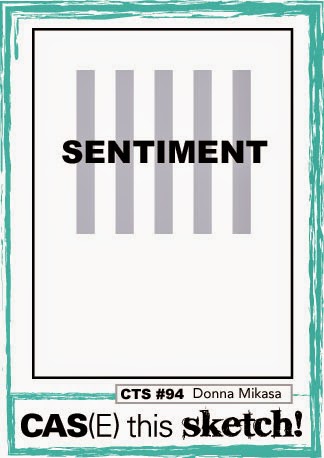
I created a clean and simple polka dot/striped card and entered it into three of my fav challenges – the Merry Monday Christmas, CAS(e) this Sketch, and Virginia’s View Challenges this week.  Here is what I came up with and how a small change made all the difference.  If you’re part of the VIP Community – there’s a step by step video tutorial on this project for you!

Striped and Polka Dot 002

Creative Tips –

  • To create subtle stripes, grab those left over 1/2 inch strips that you have from trimming down your card stock and cut them into 3” long strips.
  • Arrange them at the top in a back and forth pattern for a great backing to any element.Striped and Polka Dot 001
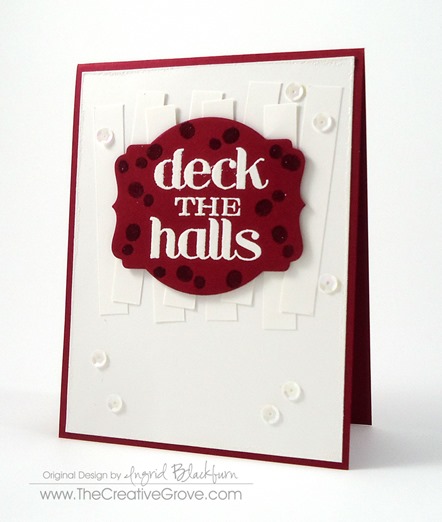
  • Cut out a shape – here you see Deco Framelits by Stampin Up and emboss your greeting – I used a bold greeting to be able to keep up with the polka dots.
  • For the polka dots, use any tiny circle stamp you have.  This is a double circle stamp I have from a floral set by Simon Says Stamp – love these little stamps!
  • Stamp them in versamark and emboss with clear powder
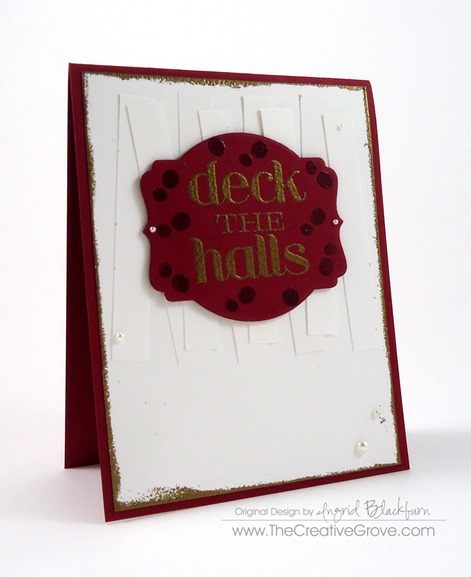
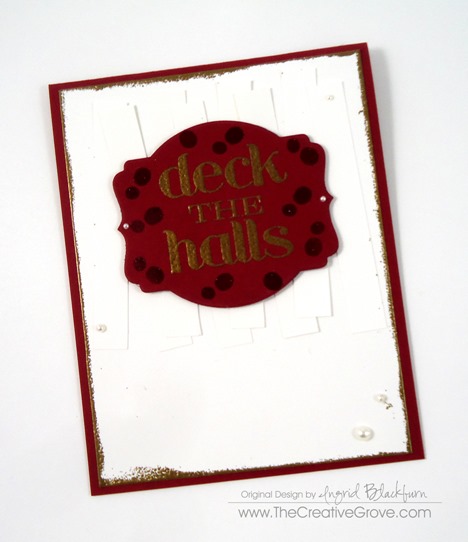
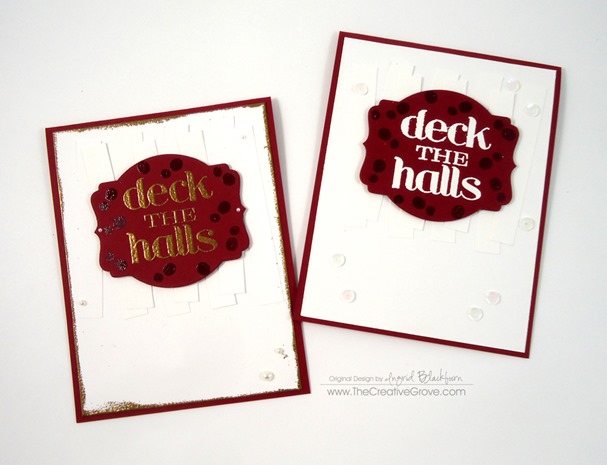
  • My original card used Gold Embossing Powder for the greeting and around the card front.  The gold got a bit overpowered – I’m not sure if it was all the elements or the Cherry Cobbler color, but it just wasn’t working for me.Striped and Polka Dot 007
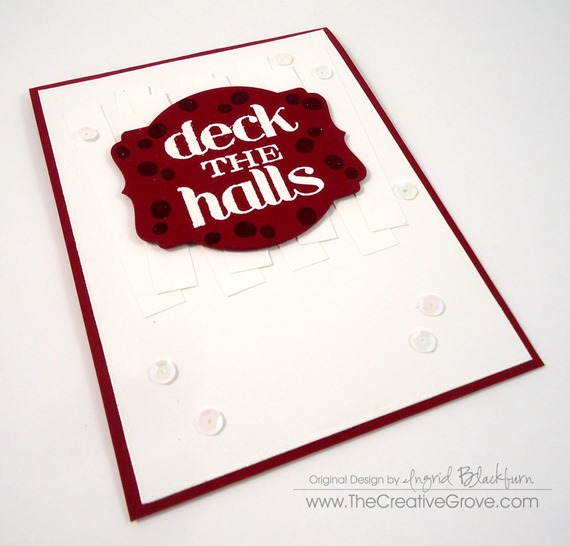
  • To give the card a little more pop and make it work, as Tim Gunn says…I switched to White Embossing Powder for the greeting
  • I loved the embossed edge on the card front – so I duplicated that in white. It’s kind of hard to see the white edge in this photo though…Striped and Polka Dot 006
  • The original card uses pearls, but that didn’t work for me either, so I switched to sequins and BAM – perfection!

Here they are side by side – see the difference?  It’s night and day.  Sometimes minor changes make all the difference in the world.

Striped and Polka Dot 004

So don’t settle for mediocre, next time try it a second time and enjoy your success!

Signature

Find out how to become part of The Creative Grove Community here