Mojo Color Me Christmas

Color Me Christmas 001 Main R

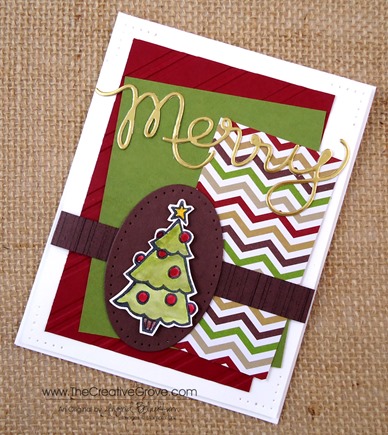
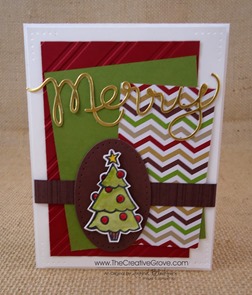
Do you like to color?  Then the Color me Christmas set is for you!  Today for the Mojo Monday challenge I played with some of my favorite new items from the new Holiday Catalog that went live last Thursday.  Did you get your free copy?

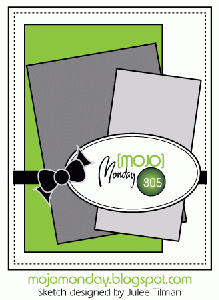
This weeks sketch had some simple elements that came together rather quickly.  I think you will find that you can use this design for any card situation and will  use this go to sketch quite frequently.  Here is the sketch and my result.  Enjoy the Creative Tips for you on these products below.

Color Me Christmas 001 Front Mojo305Sketch

Creative Tips –

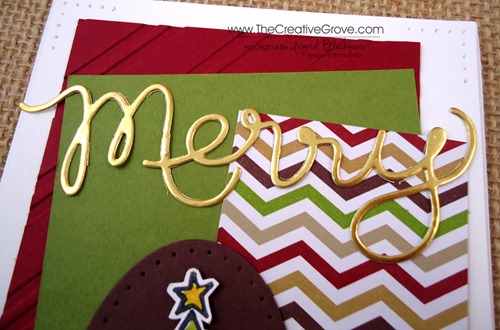
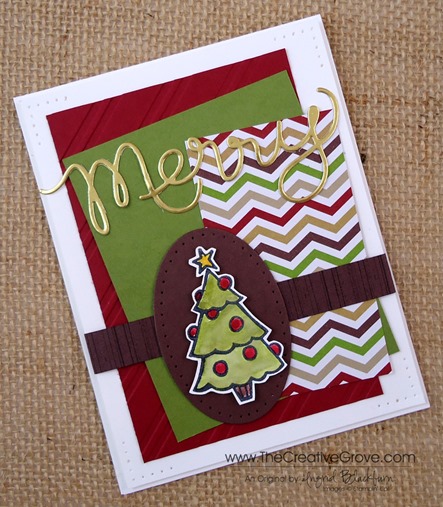
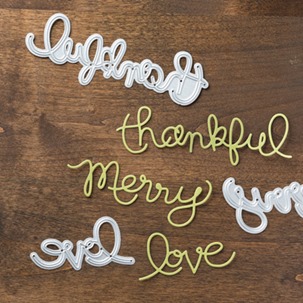
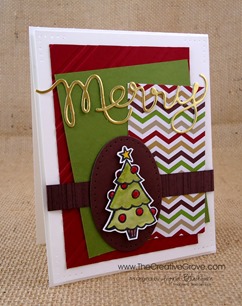
  • One of my top 5 items from the Holiday Catalog are the new Expressions Thinlits Dies.  Here you can see how I made the word Merry with the new Gold Foil paper that you will absolutely love!Color Me Christmas 001 CU2
  • For some fun backgrounds, you can see that I paired the Cherry Cobbler card stock that was run through the Big Shot with the new Stylish Stripes Embossing Folder and the fun Designer Series Paper (DSP) from the Season of Style DSP Stack.
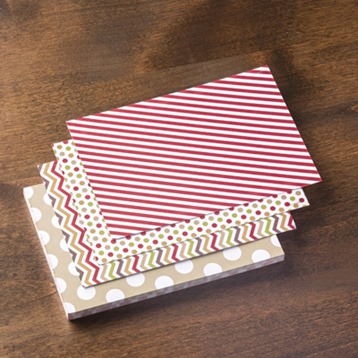
  • You will love the Two new Season of Style DSP Stacks because you finally have 24 – 4 1/2” x 6 1/2” sheets each of two designs.  That’s 48 sheets total!  Perfect for your Holiday Cards!!
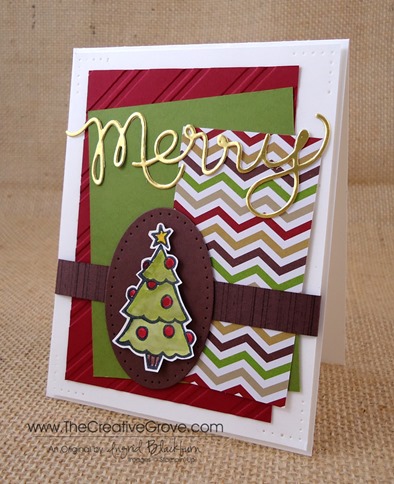
  • To pull all the colors together you can see that I chose to work with the two most basic neutrals in the DSP stack – Chocolate Chip and Whisper White.  These neutrals help to make this card pop for you visually.Color Me Christmas 001 Side (1)
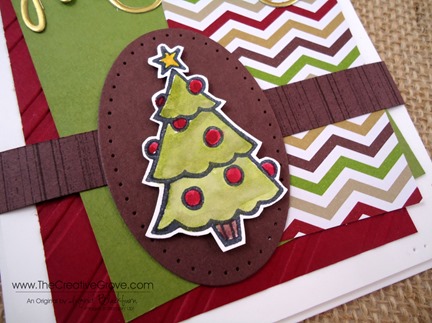
  • The Color me Christmas stamp set was stamped in StazOn Jet Black before being water colored with Old Olive, Cherry Cobbler, Chocolate Chip and Crushed Curry.  To make this go by quicker, you will want to use the Aqua Pens.
  • You will find that you do not need Watercolor Paper for small little items like this if you control how wet your brush is.  Of course if you have difficulty doing that, definitely try the watercolor paper out!  I used Whisper White for my little tree.
  • The tree was cut out using Paper Snips and you will want to make sure to leave a little white on the edge .  This will help pop the image on it’s background as it provides your eye with the color contrast it needs to be seen.Color Me Christmas 001 CU1
  • At first I had a piece of retired Chocolate Chip Grosgrain Ribbon that I was going to use.  Then I thought – where are you going to find that?  So I made my own Faux Grosgrain using – yup, you guessed it – the Gorgeous Grunge Stamp Set!  I am going to make sure that each and every one of you have this must have stamp set before you know it!
  • Isn’t this tree look just like a purchased die cut?  Can you believe that you can make this over and over again customizing it exactly how you want it?  I just love this set.
  • For a little character and finishing touch to the card, you can see that I added some paper piercing.  You will want to use both the Essentials and Occasions Paper Piercing Packs.Color Me Christmas 001 Main L
  • And of course for some drama, the tree and card front are popped up on Stamping Dimensionals.

It’s cute, right?  That tree is really becoming one of my favorite new images.  I can’t wait to stamp now with the rest of this set.  Be sure that you tune in tomorrow!  Have a great start to your week.


Signature Snowflake 001

Color Me Christmas 001 Angle

To Shop 24/7 in the Creative Store – Click here!

Stamp Sets – Color Me Christmas (131745c, 131742w), Gorgeous Grunge(130517c, 130514w) Paper – Old Olive, Cherry Cobbler, Chocolate Chip, Whisper White, Season of Style Designer Series Paper Stack, Gold Foil Ink –Cherry Cobber, Old Olive, Chocolate Chip, Crushed Curry, StazOn Jet Black Cool Tools – Stylish Stripes TIEF Folder, Paper Piercing Tool, Essentials Mat Pack, Stampin’ Pierce Mat , Occasions Mat Pack, Expressions Thinlits Dies, Aqua Painters The Perfect Finish – Stampin’ Dimensionals
Expressions ThinlitsColor Me ChristmasSeason of Style Paper Stack

Chalk Talk Birthday Wishes

Chalk Talk 003 Main R

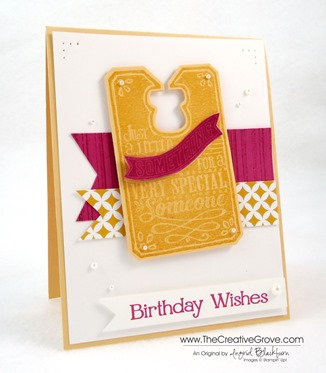
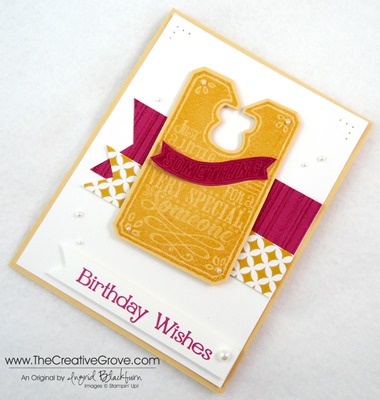
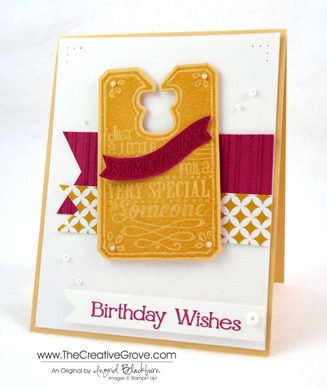
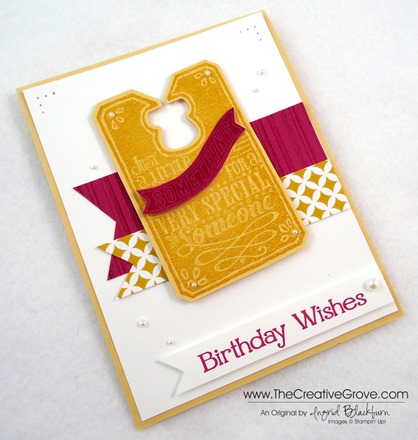
Who doesn’t love a bright and cheery Birthday card?  Today I’ve combined the new Chalk Talk stamp set and framelit collection with some of our new Eastern Elegance Designer Series Paper and the Gorgeous Grunge stamp set for a fun little Birthday for someone special.  I needed a quick and easy birthday card, I’ve been stamping, filming and editing my Brayer 101 – Introduction the Creative online video class series the last few days.  It’s almost ready – look for it tomorrow!  If you’ve taken the live class with me, you’ll love this class too – the projects are all different!

Creative Tips –

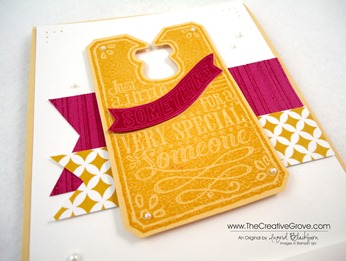
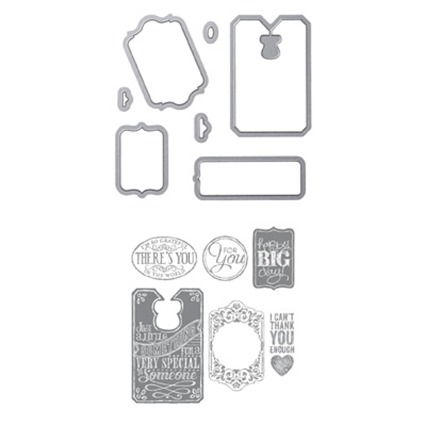
  • I stamped the large tag in So Saffron and cut it out using the Chalk Talk Collection Framelits.  If you get the stamp set and the framelits together – it’s a bundle and you save 15%!  I’m all about savings. Chalk Talk 003 CU
  • To give a little variety to my tag, I stamped it again in Rose Red and cut out the banner within the tag.  I tried it on white, but it didn’t look right.
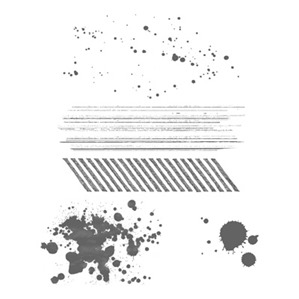
  • I wanted to add a little splash of design behind my tag, but I didn’t want to take away from it, so I picked a simple design and then created another with my stripe stamp from the gorgeous grunge set.
  • To make my banner ends I used the 1” square punch for the smaller banner and cut the large one with my paper snipsCheck out this video on how to make Banner Flags Chalk Talk 003 Side
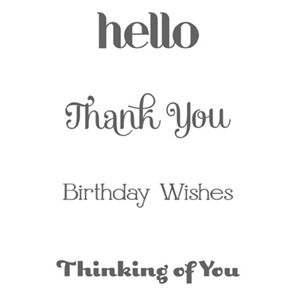
  • I used the Greeting from the new Four You stamp set, it covers all bases without breaking the bank!
  • I popped my greeting banner and Chalk Talk tag up on Stamping Dimensionals for some depth to the card.
  • For finishing touches, I added a little piercing to the extra white space at the top of the card and some Pearl Basic Jewels on the tag, banner and card.
    Chalk Talk 003 Main L

It’s a fun card that is bright, cherry and simple.  Best of all it took me under 10 minutes to make!  My kind of birthday card. Smile

Announcing a new Online Video Class

It’s coming – Saturday July 13th!!  Brayer 101 – Introduction to Creative Scenery will be available as an online class.  Be sure to stop by to check it out.  You will want to learn how to make these amazing projects.  Get step by step video instruction and access to a private blog just for this class. 


Signature-Snowflake-001_thumb1

To Shop 24/7 in the Creative Store – Click here!

Chalk Talk 003 Angle

To view the details or see close ups of any products used in the above project, just click on the green link to view it in my store 24/7. 

Stamp Sets – Chalk Talk (130634c, 130631w),  Chalk Talk Bundle (132730c, 132731w), Gorgeous Grunge (130517c, 130514w), Four You (130538c, 130535w) Ink – So Saffron, Rose Red Paper –Whisper White, So Saffron, Rose Red Cool Tools – 1” Square Punch, Chalk Talk Framelits,Stampin’ Sponges Finishing Touch – Stampin’ Dimensionals,Pearl Basic Jewels

Gorgeous GrungeFour You

Chalk Talk Bundle

Clean and Simple Happy Day

Happy Day 002 Main R

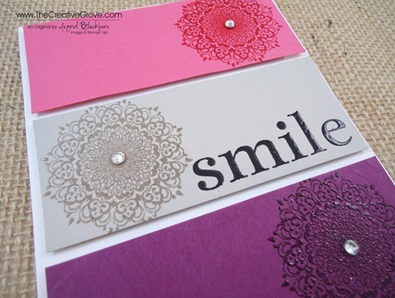
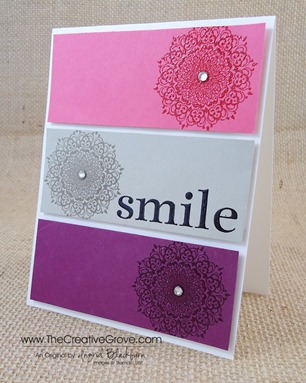
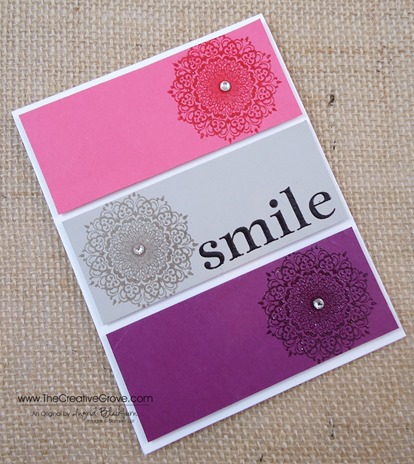
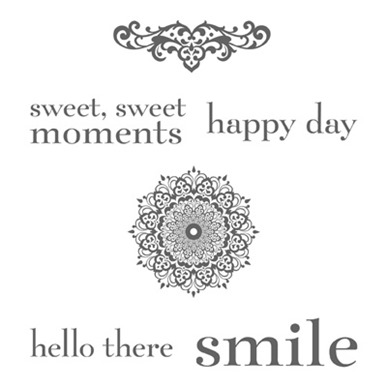
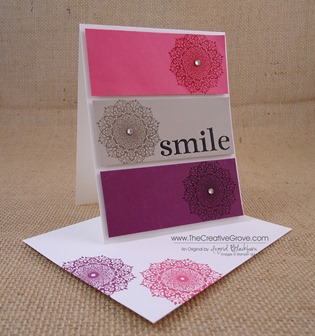
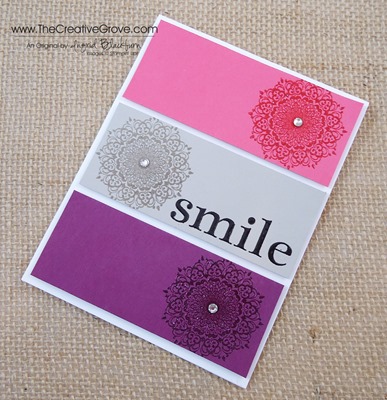
Smile, today’s project uses the Happy Day stamp set!  I was in a clean and simple mood this morning.  Part of it must have been because I cleaned off my creative space and filed away all those pesky little scraps that we tend to accumulate.  The end result, a clean and simple card that leaves the recipient smiling.  SmileHappy Day 002 Side

Creative Tips –

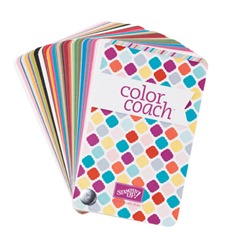
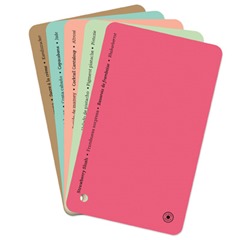
  • I pulled out my color coach and the first color to catch my eye was the new In Color Strawberry Slush.  It’s not an Ingrid color, so I was surprised to be drawn to it.  I’m more of a Midnight Muse/Island Indigo kind of a gal.  

                        Color Coach2013-2015 In Colors

  •   The top color combination was Strawberry Slush, Sahara Sand and Rich Razzleberry – I know, you’re saying huh?  Me too, but look at the end result – it totally works! (Just one reason I can’t live without my color coach!)Happy Day 002 CU
  • I was going for simplicity with a little drama, not TOO simple.  So I decided to emboss my elements and pop up my panels.
  • Tip – To emboss my medallions, I stamped my image in Versamark and then the color I needed.  I embossed each image in Clear Embossing Powder.  This particular image is super fine in design – you’ll want Stampin’ Up! embossing powder – they’re quite fine.
  • The greeting Smile, I embossed in Black for some contrast. Happy Day 002 Height
  • Each panel is popped up on Stampin’ Dimensionals and for the finishing touch, a medium sized Rhinestone was added to the center. Happy Day 002 Main L
    See, it’s a clean and simple card that will literally take you a few minutes, but the end result is striking.  The colors are really growing on me the more I look at them.


Signature Snowflake 001

To Shop 24/7 in the Creative Store – Click here!

Happy Day 002 Angle

Stamp Sets – Happy Day (130297c, 130294w) Ink – Versamark (102283), Strawberry Slush (131178), Rich Razzleberry (126950), Sahara Sand (126976) Paper – Whisper White (100730), Strawberry Slush (131295), Rich Razzleberry (115316), Sahara Sand (121043) Cool Tools –  Color Coach (130118) + In Color Cards (130120), Clear Embossing Powder (109130), Black Embossing Powder (109133) Finishing Touch –Stampin’ Dimensionals (104430),  Rhinestone Basic Jewels (119246),
Happy Day Stamp Set