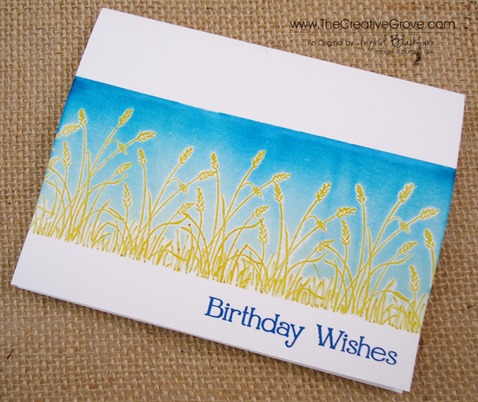
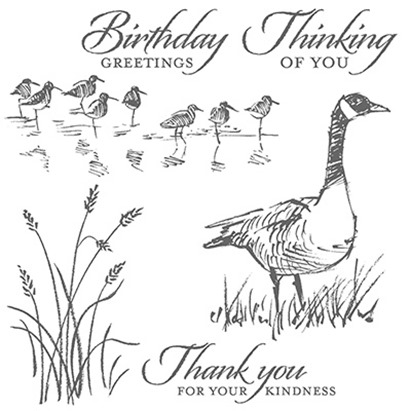
Are all of your clothes from the same store? Probably not, so why would your crafting supplies be? The world of rubber stamping is vast and varied. So take what you already have – inks, paper, tools, and incorporate a little nature from Stampscapes into it!
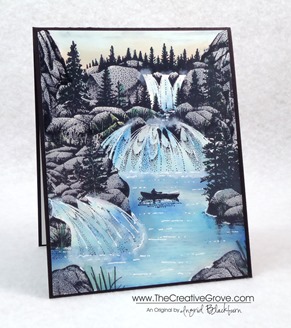
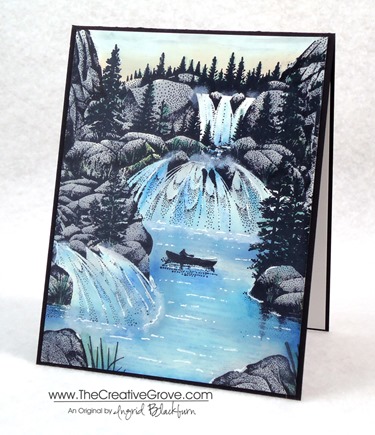
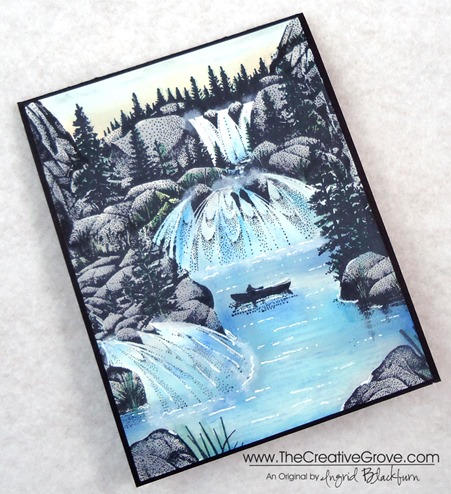
If I had my way, I’d live at the base of this scene. Well, pretty close to it at least, the falls might be too loud! About six months ago I came upon a scene built with these amazing outdoor scenery stamps. You already know how I love to create brayer scenes, so these stamps really jumped out at me.
Stampscapes stamps were first created by Kevin Nakagawa in 1993. They are individual nature stamps that you can very easily combine together to create a seamless scene. The designs are tonal in nature which allows them to overlap seamlessly. Here I used 9 different stamps to build this scene. I know, you’re probably saying, what? I’ve become quite the addict, and have loved incorporating them into my stamping passion. If you love creative scenery and scenes with depth, I know you will too. Enjoy the steps to how I made this card.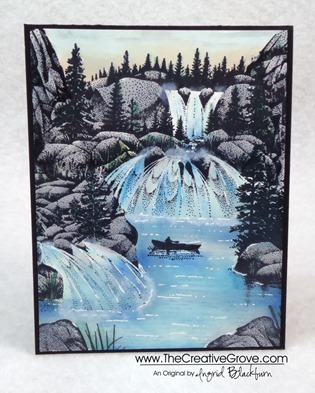
Creative Tips –
- This scene was stamped in Black Dye ink on Glossy cardstock. You can use a dye based ink pad like Memento Tuxedo Black or Marvy Black. You will want an ink that will dry, that’s why you want a dye based ink. The Stampin’ Up! Basic Black has had it’s issues since they’ve been working to perfect the formula, so I wouldn’t recommend it for a project on glossy paper at this point.
- The Cascading Falls is the main image, so to build around that, you’ll want stamps that can accentuate it, not take away from it.
- The other images you will want to use for this scene are: The right side of Side Falls, the left side of Lakeside Reflections, both the right and left side of Tall Rock with Falls, Rock 1 and 2, Reeds, Shimmering Water, and Solo Canoeist. All stamps are in the large format with the exception of Reeds.
- When building the scene, you want to overlap about 1/4” of the edge with your new image to create a seamless blend of images without any gaps. Use a torn piece of paper towel rather than an actual cut out mask. Since these stamps are tonal in nature, they blend seamlessly with each other. The added bonus … this method is so much faster that traditional masking!
- To add color, you will want to carefully place color with your Colorbox Stylus tool using various shades of blue. Remember to always start with the lightest shade working into darker ones. Keep some white space to keep the scene light.
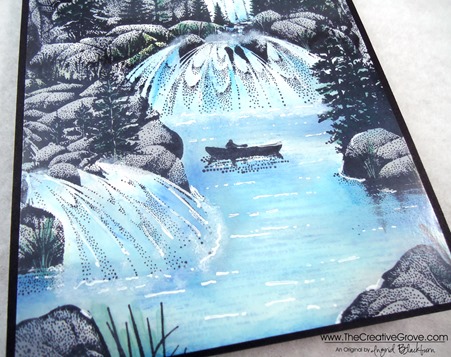
- Add a slightly darker shade around the rocks, building up a shadow underwater. You might want to do the same at the base of your three falls.
- Be careful not to add too much blue to your falls, waterfalls reflect light and they are primarily white. I added three shades of blue in streaks in the general same areas.
- Use a grey ink color to shade your rocks with your stylus tip. You will want to be careful as you edge your rocks near the water. Try also adding a few grey streaks into your pool of water for some shadowing, but not much!
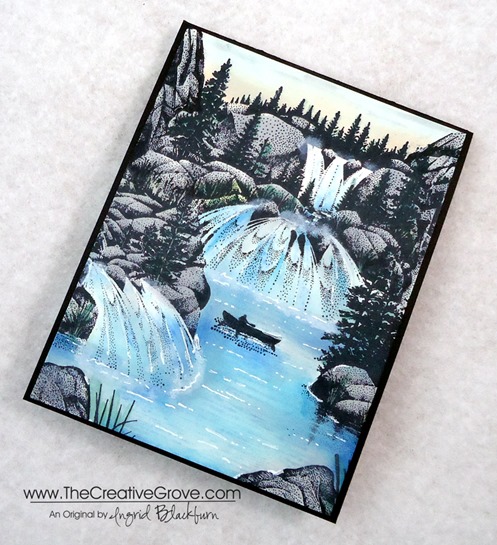
- You can add some green to your trees with a more precise applicator such as a Brushtix Mixed Media Brushes by Tsukineko or use markers. When using markers, be careful not to add too much color as the images are quite fine.
- The ripples in the water were stamped with Marvy Salvia Blue. This gives the water a little depth and movement without taking away from the scene. Use a light/medium blue for this.
- To highlight your scene, add some movement in the water with streaks and dots using a Uni-ball Signo White Gel Pen. Also add random streaks to your waterfalls. Be sure to add texture along the rocks and base of the falls.
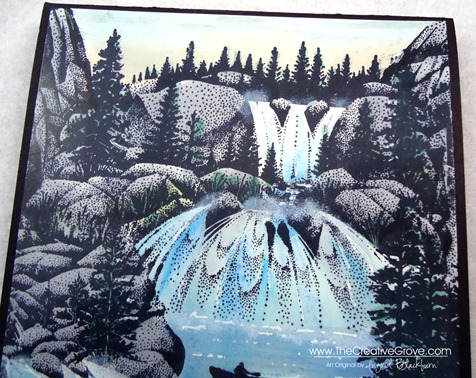
- To give the look of water mist that you see on waterfalls, you will want to loosen the end of a Q-tip to give it a lighter texture and dab it into the Whisper White White Craft Ink Pad. It’s a pigment ink that is sticky and will give you the lightness and movement that you are looking for. Be careful not to press to hard – practice on scrap paper first.
- For the sunrise, you can add a little Peach Bellini by Adirondack Lights at the top of your forest line.
- I got a little blob of black in my sky on the left, so I dabbed my Q-tip into my grey and lightly added some streaks for clouds in my sky. You can quickly and easily overdo this, so make sure to use gentle pressure and less is more.
Creative Scenery Classes
If you love creative scenes, check out the online Brayer 101: Introduction to Creative Scenery class. In this class, you will learn how to master the use of your brayer to build scenes using Stampin’ Up! stamps and layering ink in a seamless way. For more information, click here.
To Shop 24/7 in the Creative Store – Click here!
Stamp Sets – Stampscapes Stamps Ink – Marvy – Black, Prussian Blue, Salvia Blue, Light Blue, Bottle Green, Grey; Adirondack Lights – Cloudy Blue, Aqua, Peach Bellini; Stampin’ Up! – Whisper White Craft Pad Paper –Glossy White, Basic Black Tools – Colorbox Stylus, Brushtix Mixed Media Brushes Finishing Touch – Uni-ball Signo White Gel Pen, Q-tip
