I’m honored to be a guest designer for the Mixed Media Mojo Challenge today. This month, the girls are challenging you to create a mixed media piece (more than one medium) with a flower theme in mind – I chose to make a few abstract flowers. There’s even an optional twist – real or faux stitching – I’m sure you can guess which one I applied!
I started out wanting to create a card for a friend. But something happened as I was working on my piece. My dad wandered into my crafting office, stopped an said Wow – that’s really nice! THUD….that was me picking myself up off the floor.
You see, my father has NEVER commented on anything I’ve made unless I gave it to him directly….lol! He lingered next to my crafting desk, and continued to tell me how much he liked this piece – it was about 80% done. Maybe it was the flowers? The colors? I was too dumbstruck to even ask why! Who cares why….He liked it, he liked it – he really, really liked it! (channeling my inner Sally Field)
My dad loves flowers – so in my mind – that’s it. Well, I decided right then and there that this would not be a card, but rather a frame-able piece that I’ll give him for Father’s day. He’s hard to shop for – at 83 he doesn’t need much – and did I mention that he liked it!
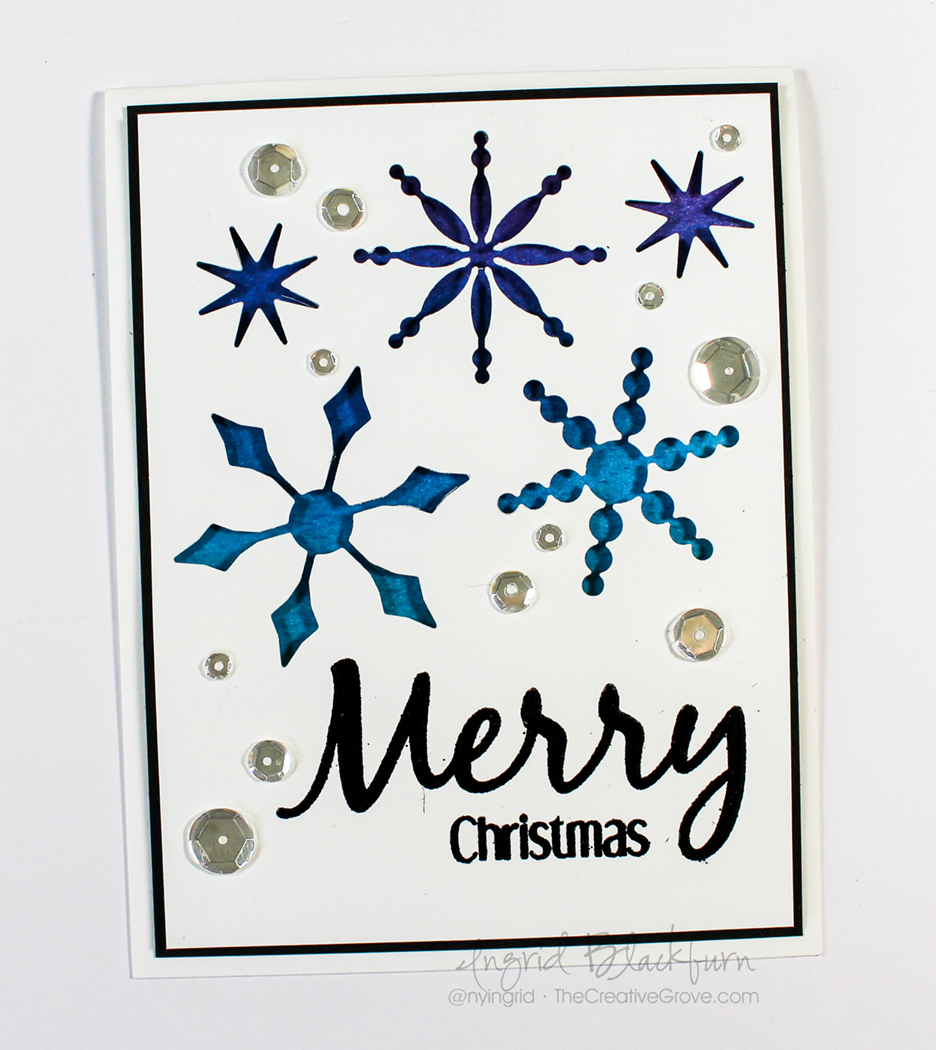
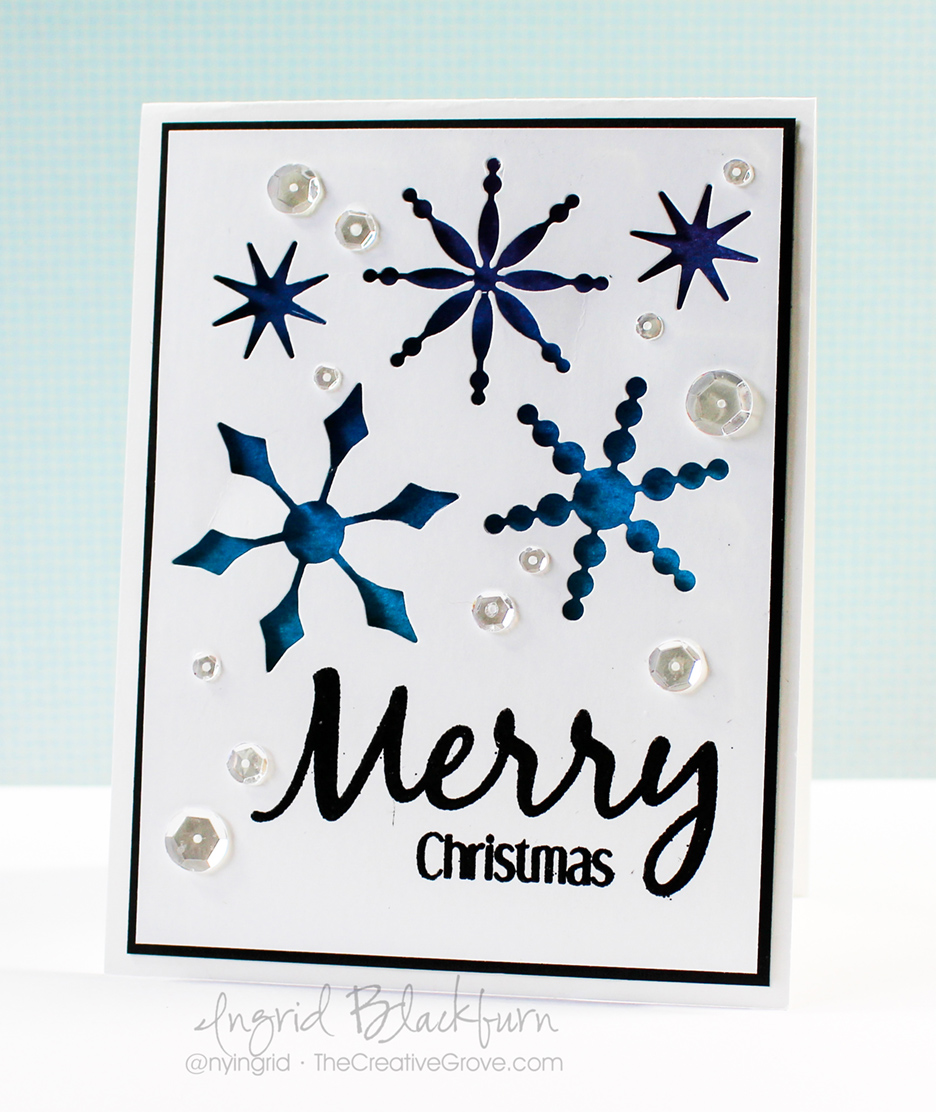
So here it is – my little masterpiece. This project was so much fun to make, here’s how I did it.
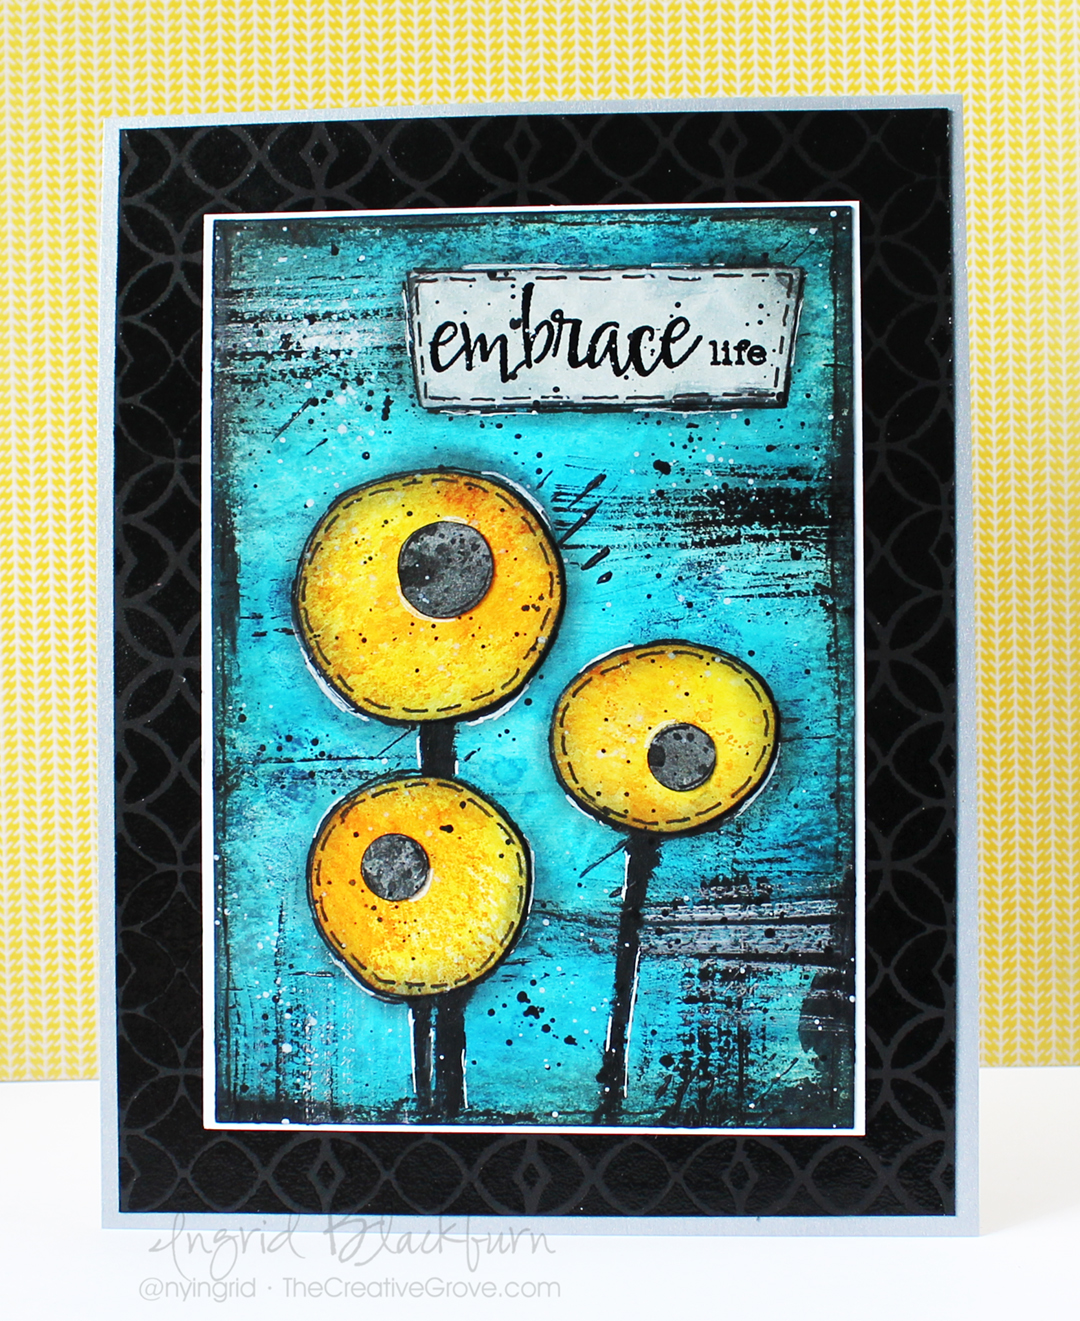
Abstract Flowers Project Instructions
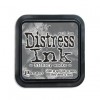
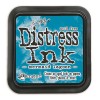
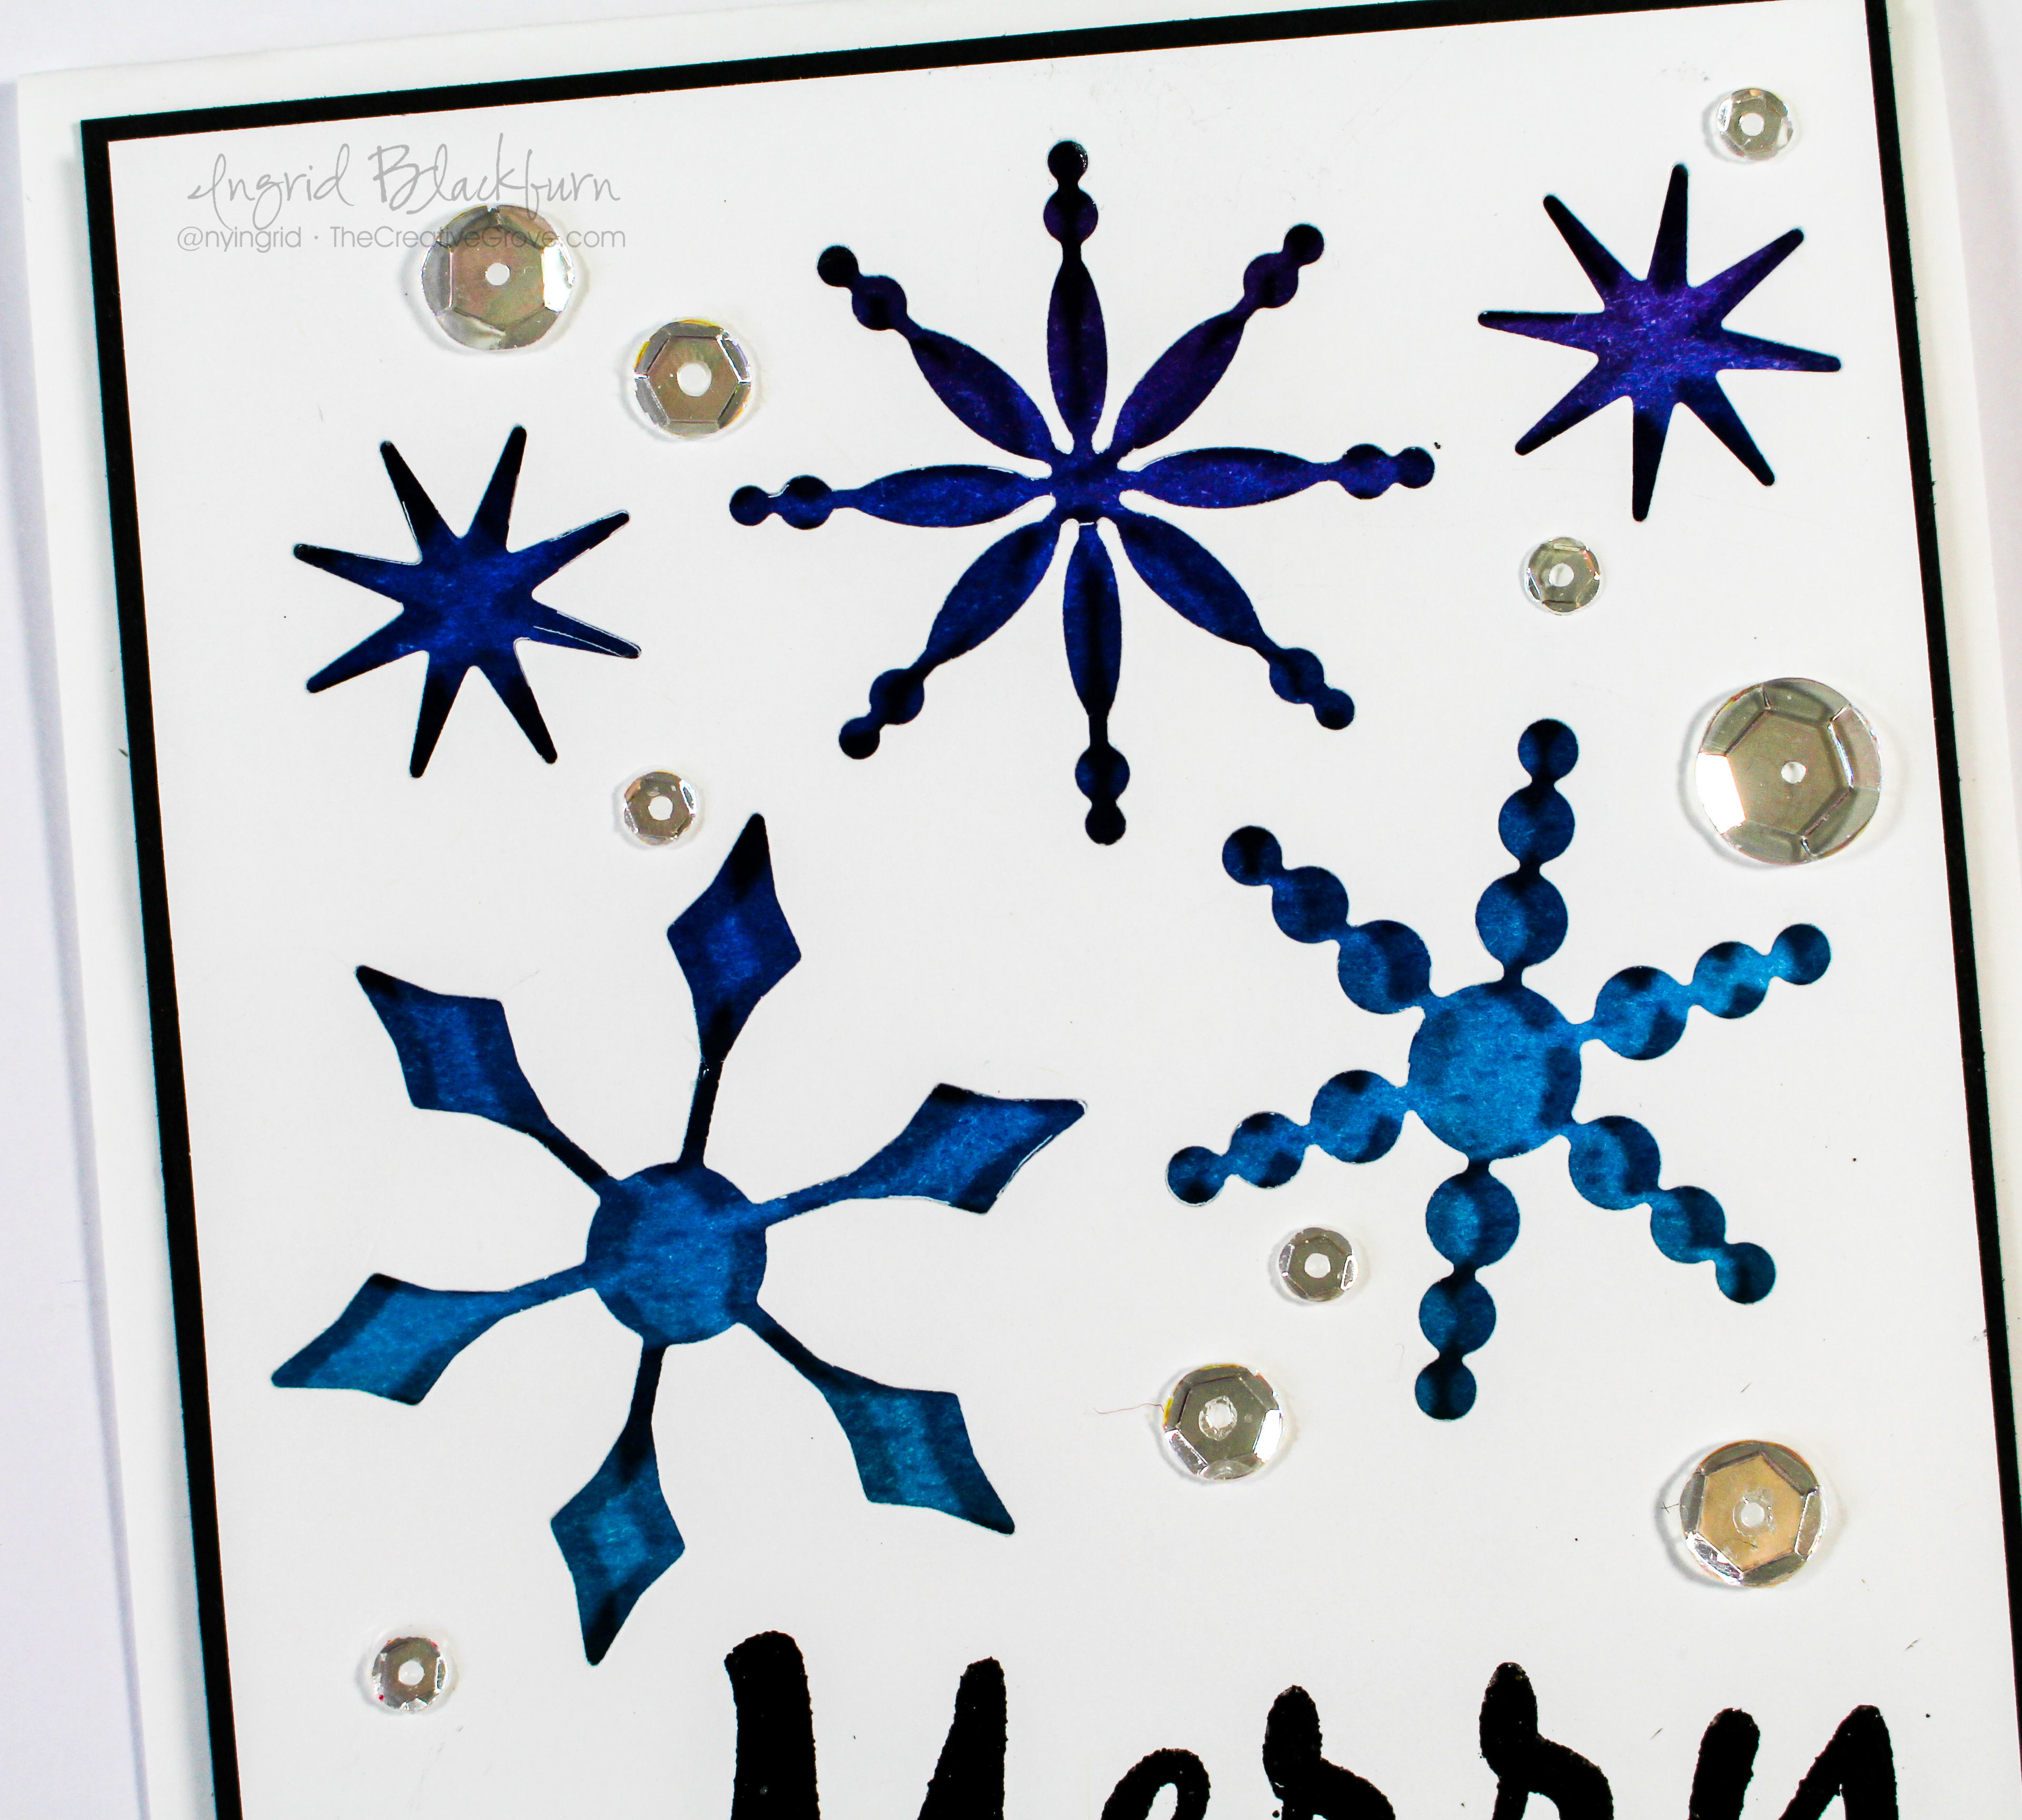
First you’ll need to create a few Wrinkle Free Distress backgrounds – one in Mustard Seed/Spiced Marmalade and another in Tumbled Glass/Broken China/Mermaid Lagoon/Salty Ocean. The centers of the abstract flowers are with the same technique in Hickory Smoke/Soot Black. Once you have those done, free hand cut the flowers and centers. The background was edged in Hickory Smoke, Soot Black and some Paynes Grey Acrylic diluted with water. Brush some Paynes Grey and Silver acrylic paint onto the background with a fan brush. A little background detail was added using the Latticeworks stencil, a Starbucks cup holder and some bubble wrap. Next add a little faux stitching on the flowers and greeting (from the Noteworthy set by Stamplorations).
Add a little basic shadowing under the abstract flowers, paint some stems in Paynes Grey, and add some PG & White splatters, and a little edging in a black and white pigment pen – that’s it! I love the Mixed Media Mojo piece, I wanted to keep it cool – no browns which is very unlike me!
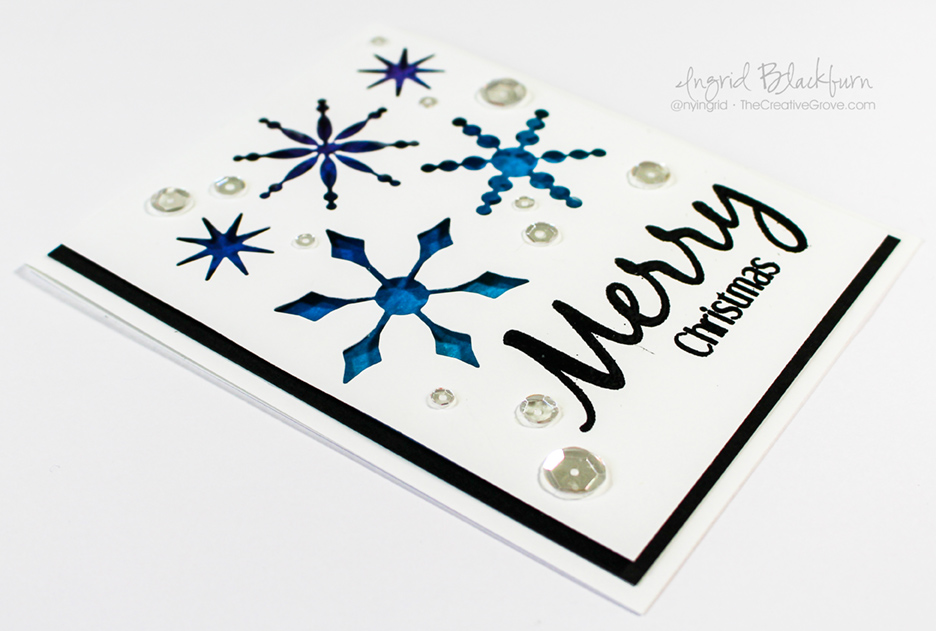
Since I had decided to frame it for my father, it needed a cool matte. Once I settled on the combination of 1/16 white, 3/4 black and 1/8 Brushed Silver…the black needed to stand apart, add to the design and not take away all at the same time – that’s asking a lot!
Enter clear embossing for a subtle tone on tone effect. To get this perfect result with the Tim Holtz stencil, you’ll want to find the center point in your project. Then line up your stencil over the center. That way you can go up and down in perfect unison to get as close to a perfect pattern as possible. Line up your patterns top and bottom and smoosh Versamark to your project. Add Brutus Monroe clear embossing powder – it’s hands down the best powder I’ve used in 18 years of embossing! And I’ve used many different kinds. 🙂

I just love the end result – it turned out almost exactly as I envisioned…which is rare! I hope you enjoyed it too. It doesn’t matter if you go the more traditional or Abstract Flower route, you’ll have fun creating your own piece. And stop by the challenge blog for sure a few times this month – there’s a new Mixed Media tutorial every week – a true treasure of creative inspirational how to!
So here’s what I want you to do now….go to the Mixed Media Mojo Challenge and give the Flowers Challenge a try – Mixed Media doesn’t have to be crazy involved, you’d be surprised what you can come up with with just some simple things like watercolor, acrylics, stencils and some water. It’s relaxing and you’ll amaze yourself – I promise!
Now click here to visit the challenge and get inspired with all the great projects designed by the UBER talented Design Team! I’m off to find the perfect frame for this beauty. Now it’s your turn to get your fingers inky –

[optin_box style=”12″ alignment=”center” email_field=”email” email_default=”Enter your email address” email_order=”2″ integration_type=”aweber” double_optin=”Y” list=”3846012″ name_field=”name” name_default=”Enter your first name” name_order=”1″ name_required=”Y” opm_packages=””][optin_box_field name=”headline”]Learn more with our exclusive FREE video series:[/optin_box_field][optin_box_field name=”paragraph”]PHA+UGx1cyB5b3XigJlsbCBiZSBhZGRlZCB0byBteSBGUkVFIENyZWF0aXZlIFRpcHMgRS1sZXR0ZXIgd2hlcmUgSSBzaGFyZSBleGNsdXNpdmUgcHJvamVjdHMsIHZpZGVvcyAmYW1wOyB0aGUgMTIgRGF5cyBvZiBDaHJpc3RtYXMgUHJvamVjdCBTZXJpZXM8L3A+Cg==[/optin_box_field][optin_box_field name=”privacy”][/optin_box_field][optin_box_field name=”top_color”]undefined[/optin_box_field][optin_box_button type=”0″ button_below=”Y”]Get Instant Access![/optin_box_button] [/optin_box]