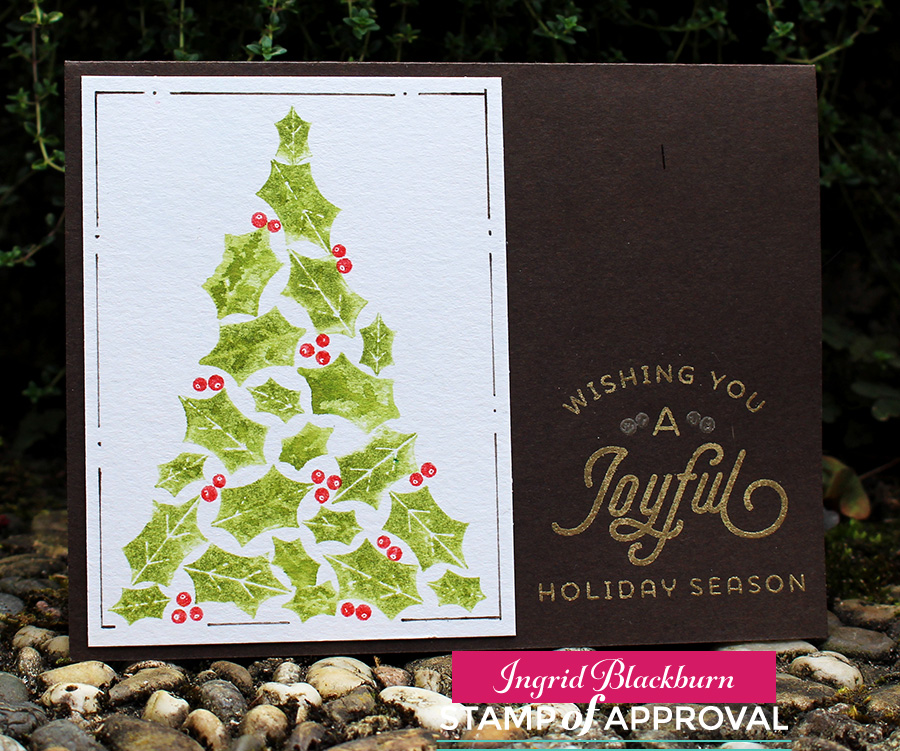
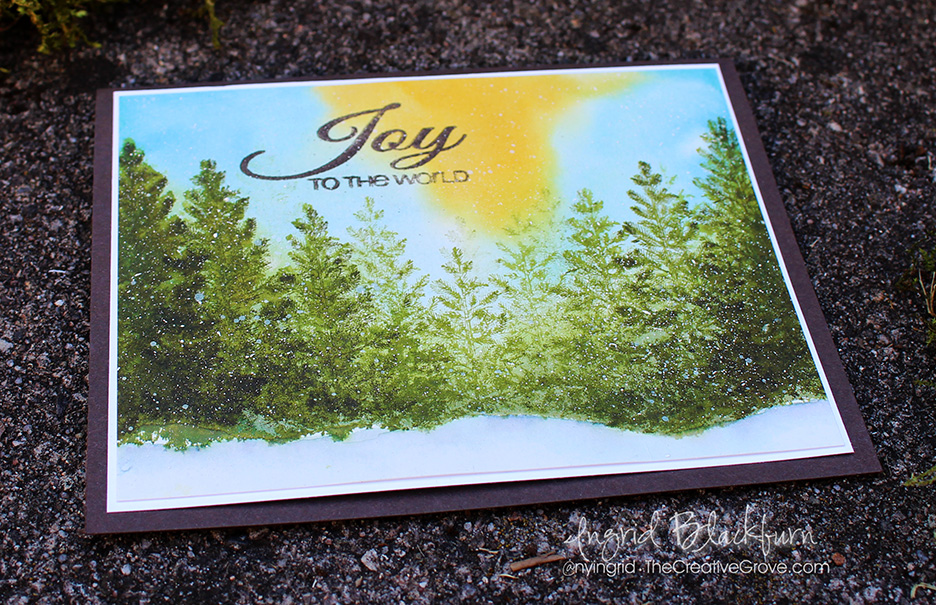
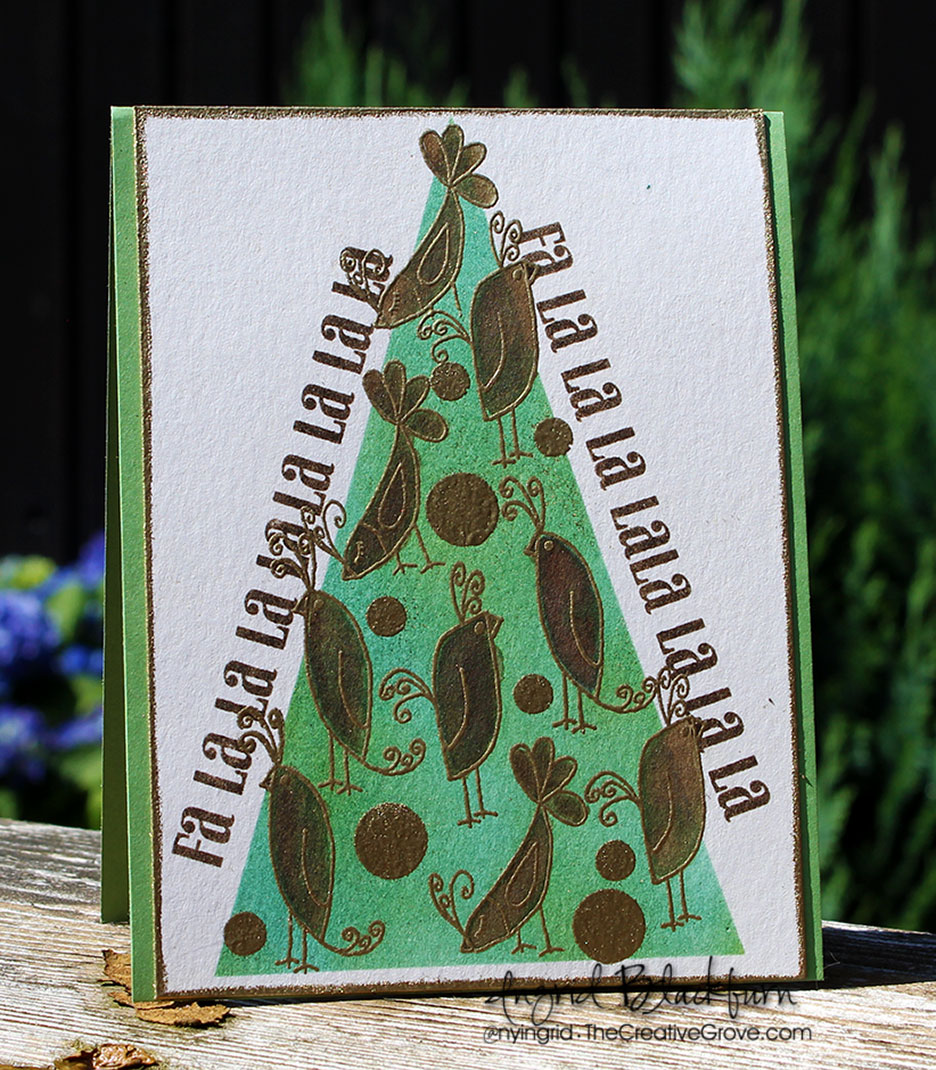
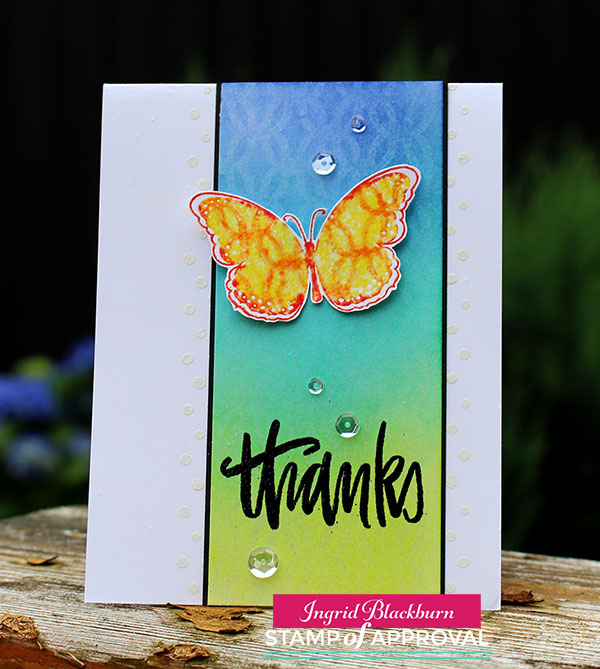
Don’t you just love taking things that you already have and using them in new ways? Today I thought it would be fun to show you how to combine stencils & background stamps for an unexpected look! So dust them off, and let today’s video inspire you to create something fun.
I’m honored to be participating in a video hop today to celebrate my friend Justine Hovey’s 1 Million views on her YouTube channel! WOW – she’s worked hard over the years to create something special, and I’m so excited to celebrate alongside her and some good friends.
Justine will be posting new videos all month long and giving away tons of prizes too. So definitely check her blog out here for all the details. She’s doing something fun with the video hop – each video along the hop has a secret word somewhere in it. Make sure to collect all of them to enter! And I think you’ll find plenty of fun YouTube channels to subscribe to along the way.
Combining Stencils & Background Stamps Tutorial
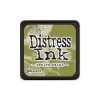
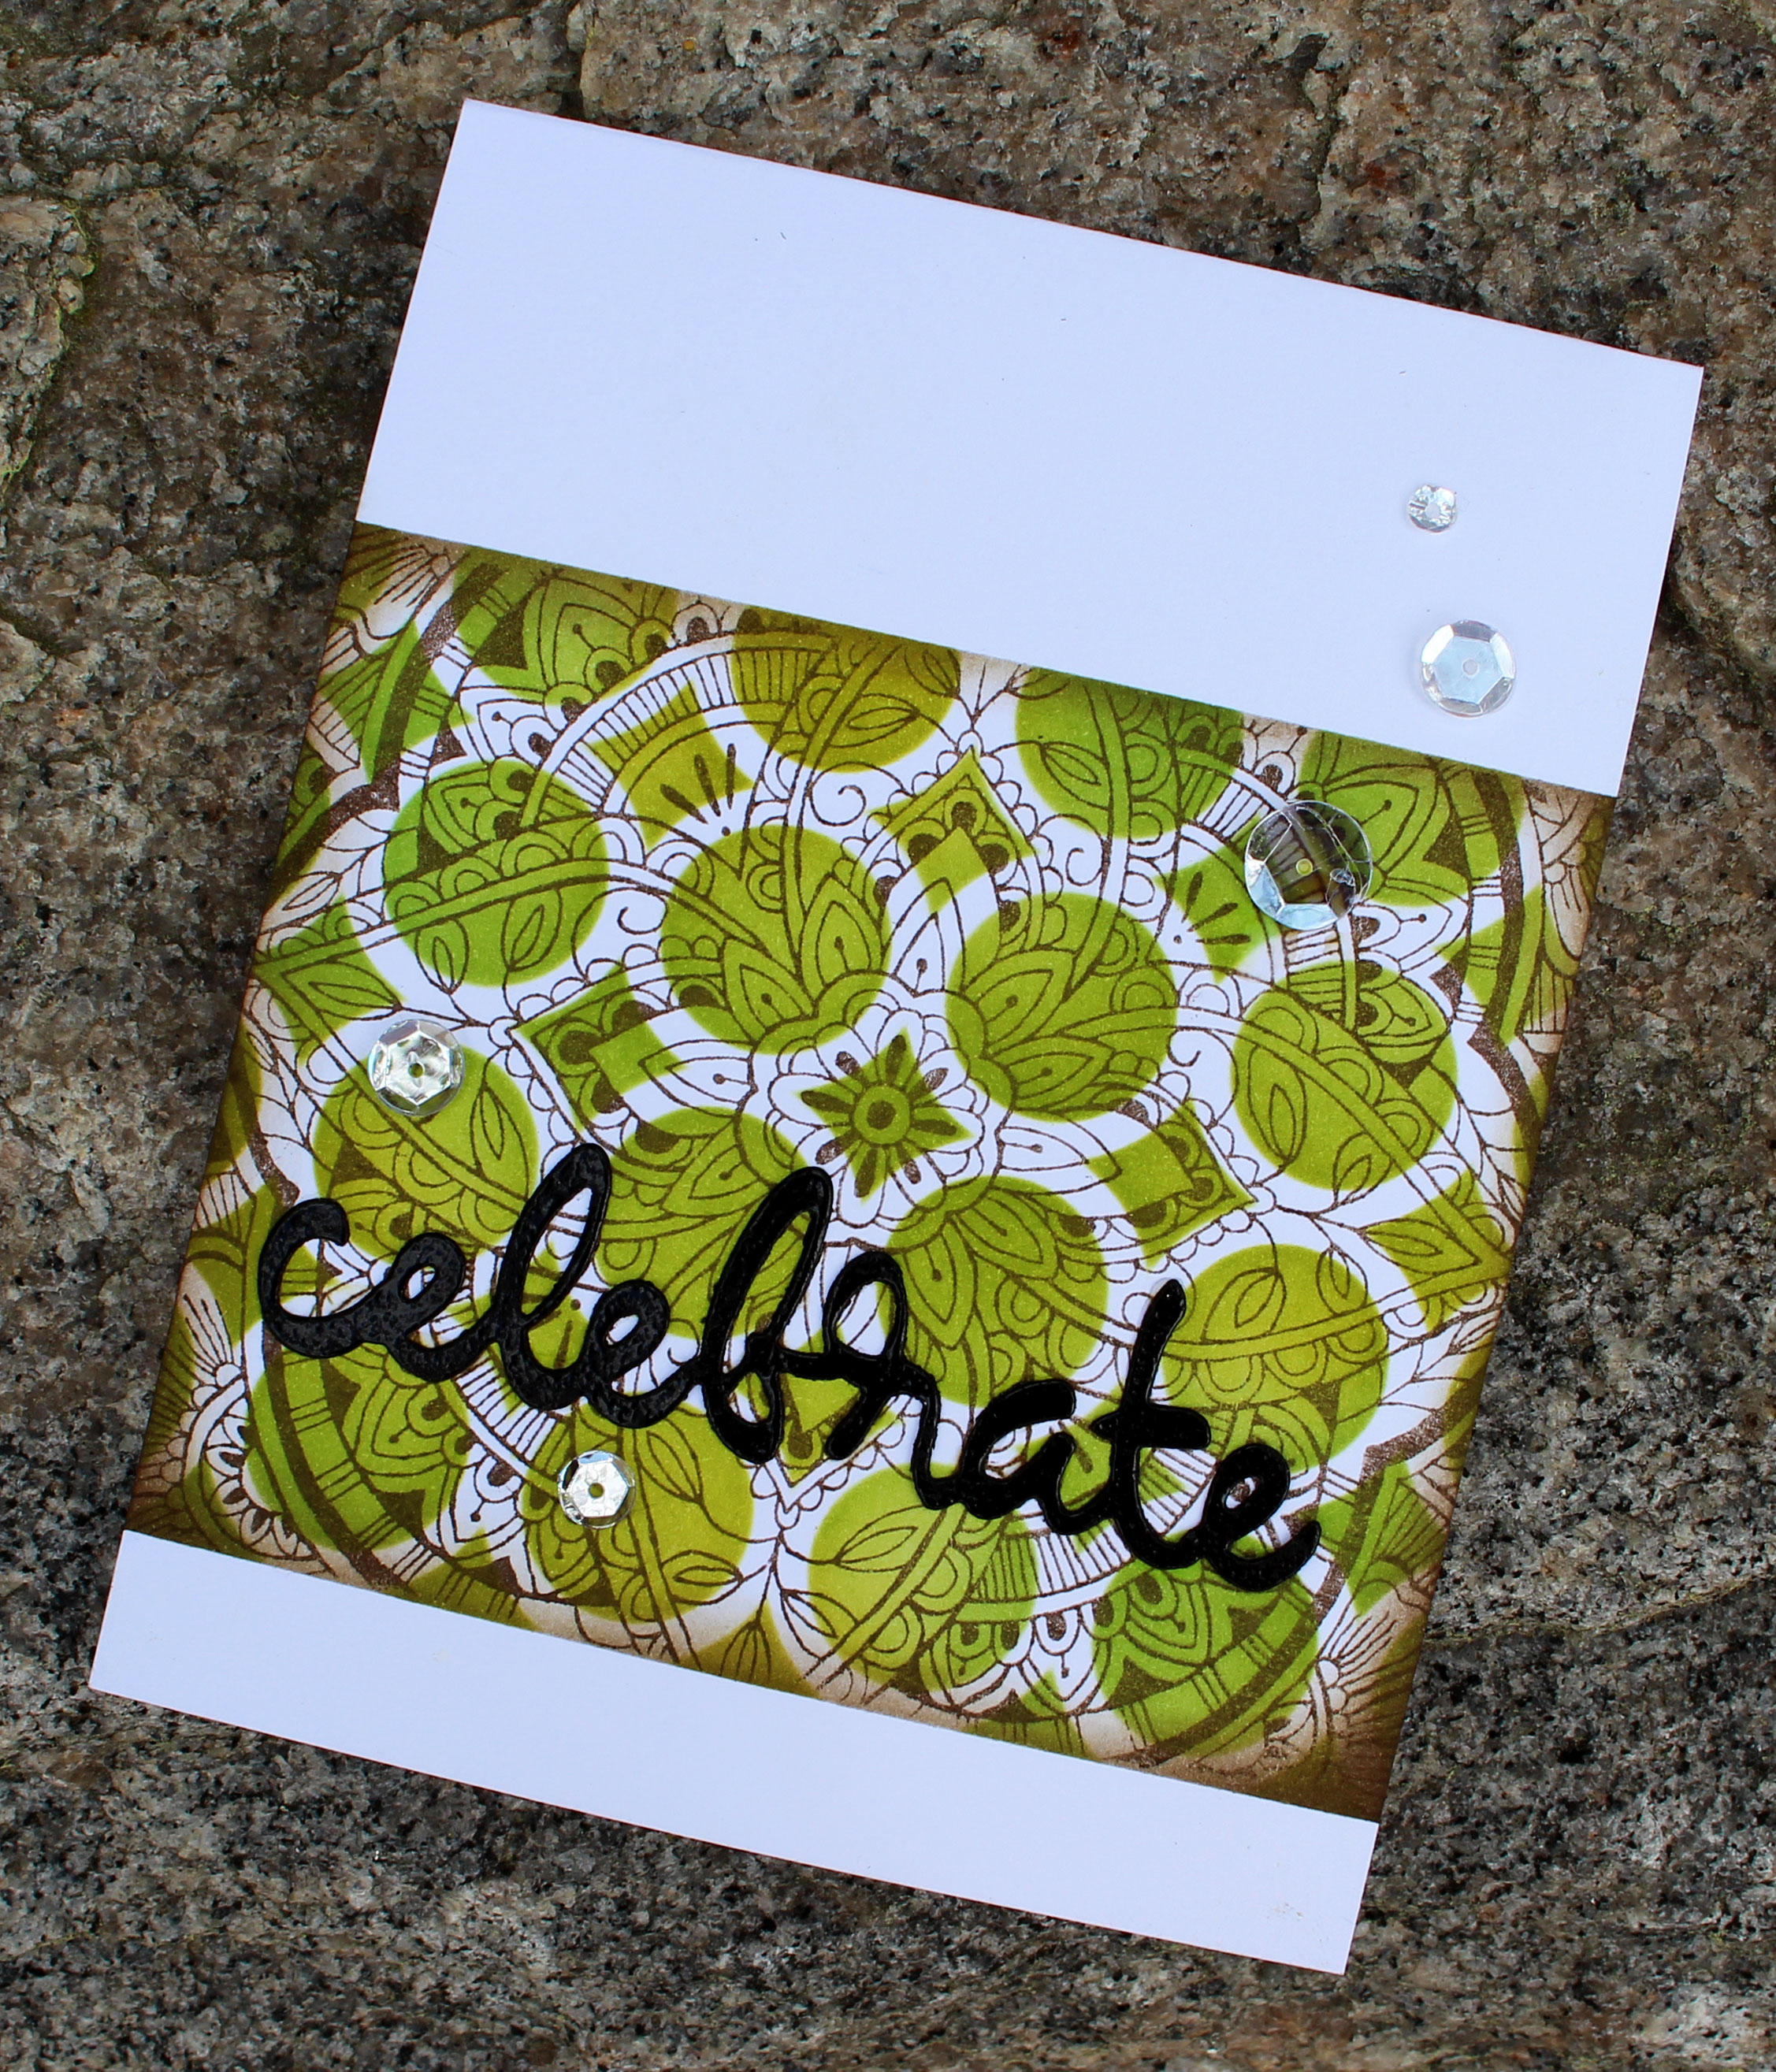
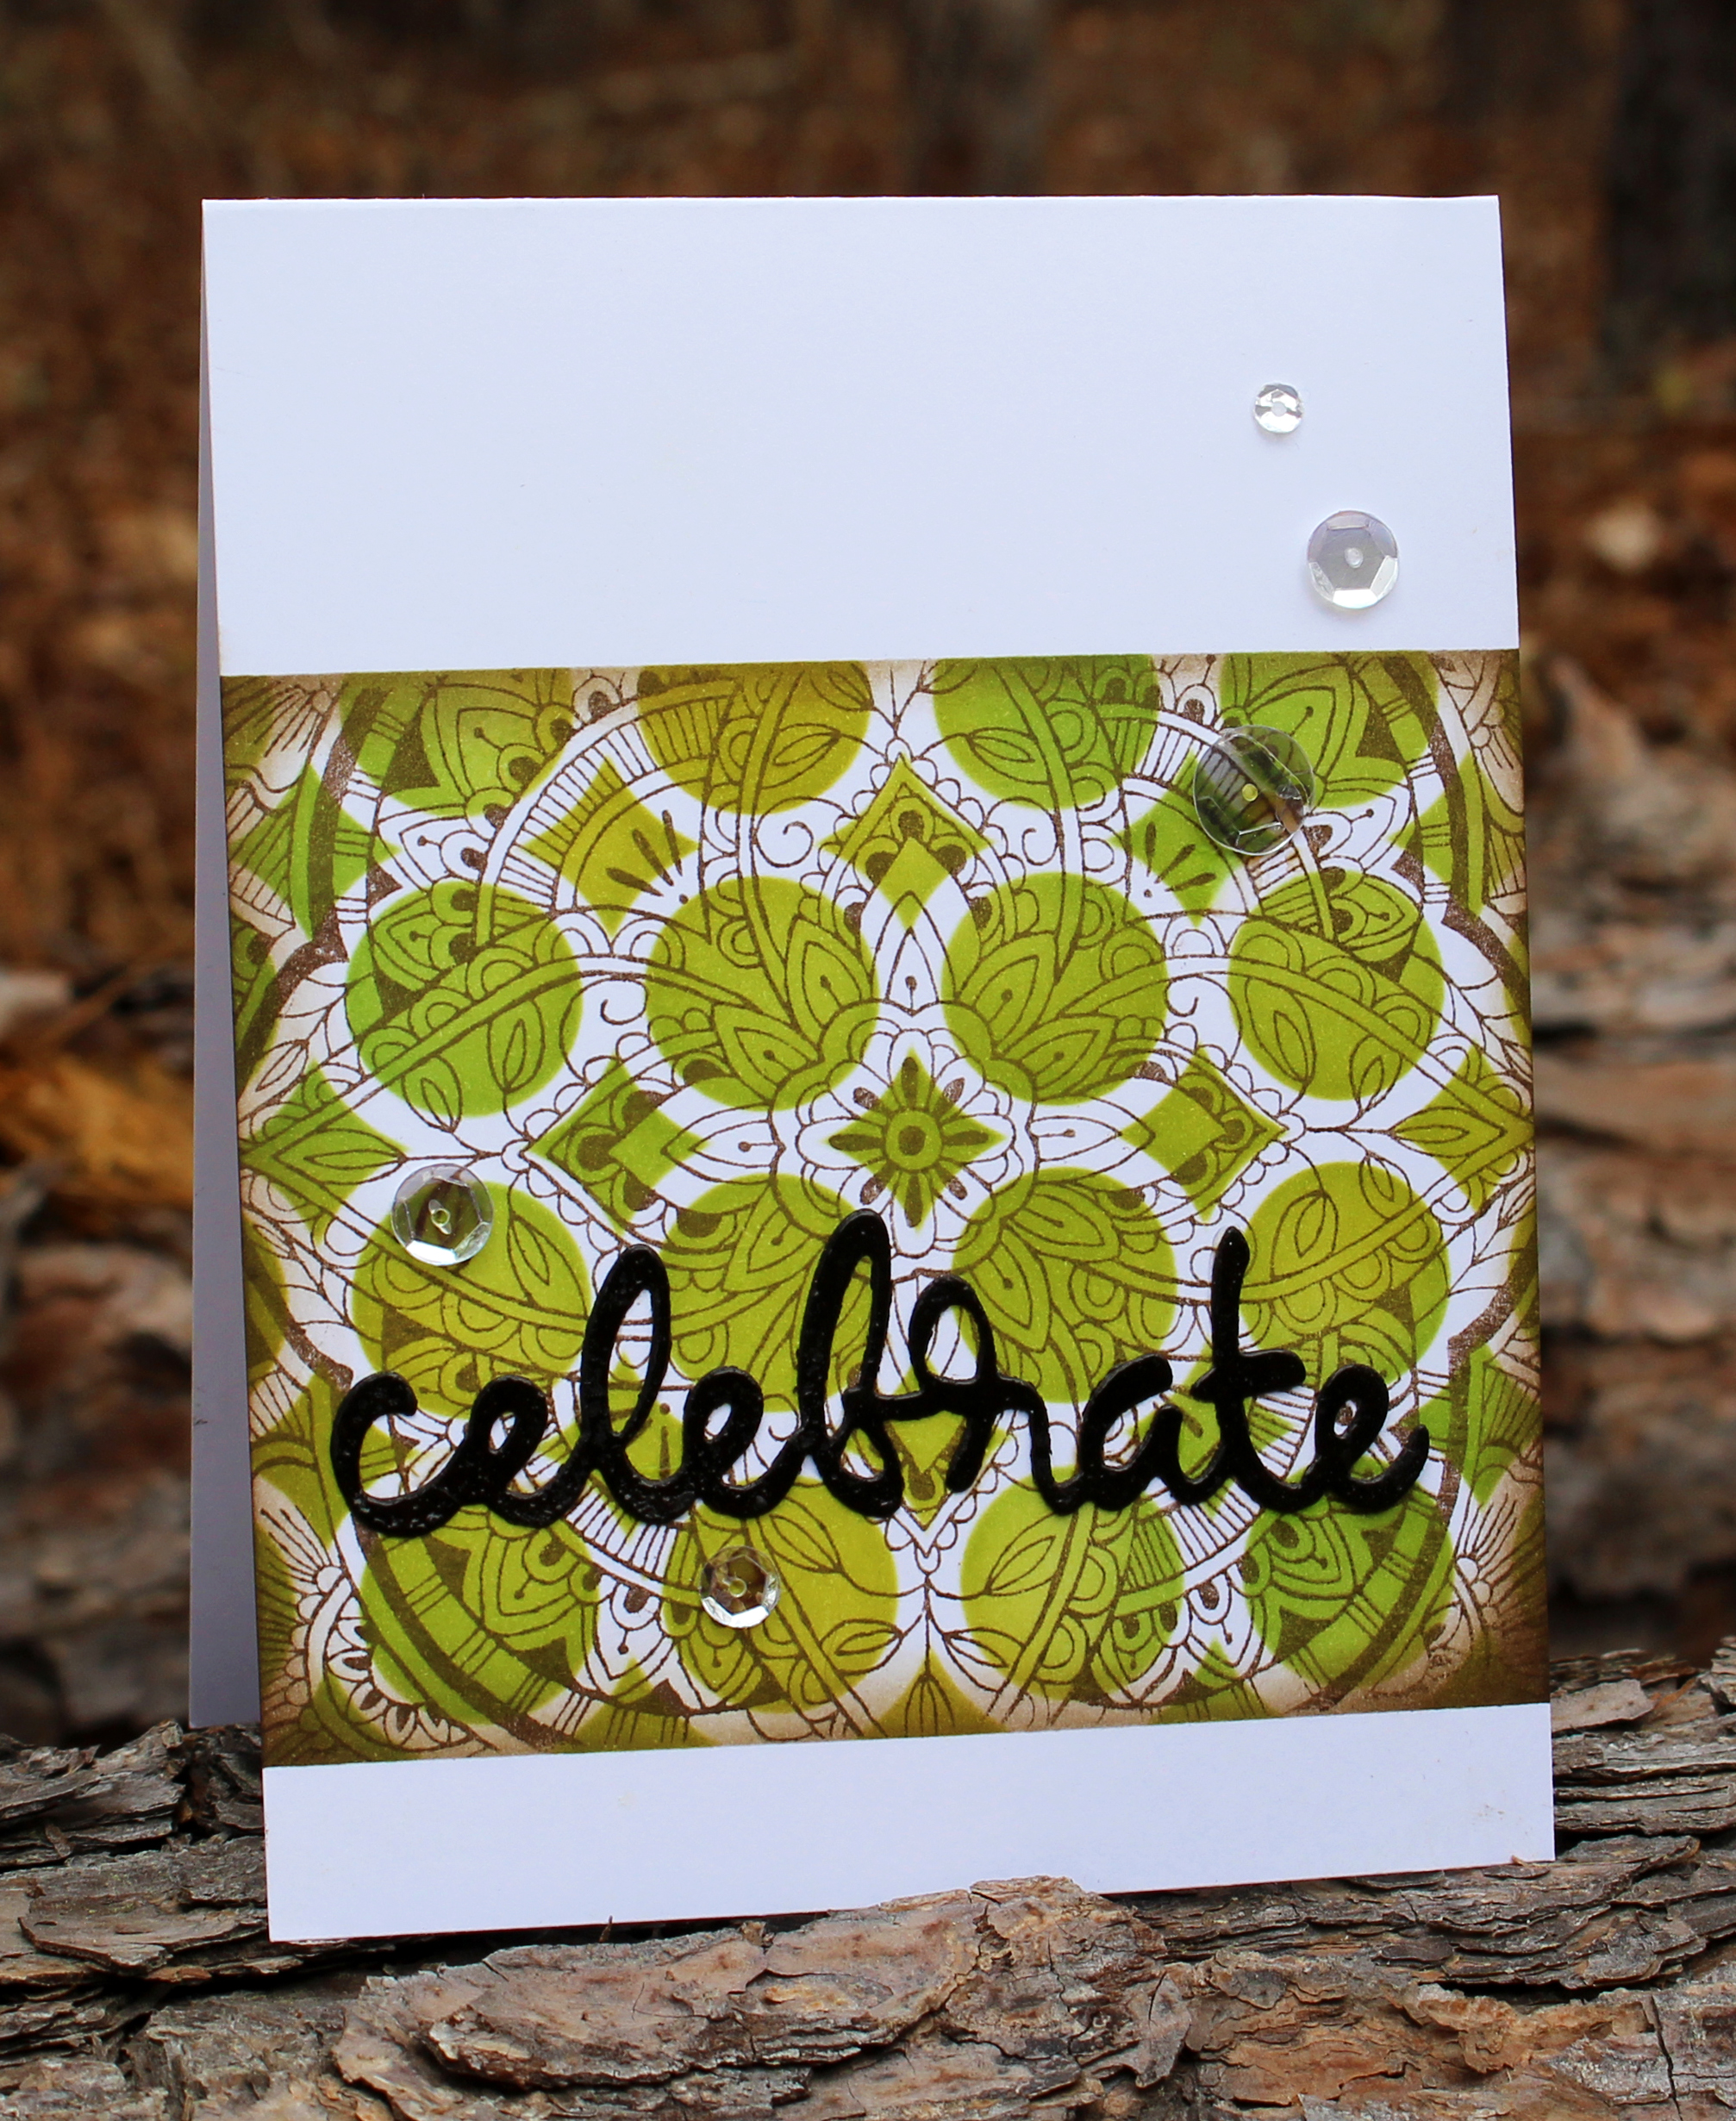
The theme for the video hop today is Celebrate, so my mind instantly went to putting on a party and getting out my fun colorful serving dishes. Michael and I love to entertain! I have several in the color Olive, and the Spice Market stamp design reminded me of fun entertaining dishes – so I just HAD to combine the two in some way for you over on my YouTube Channel. And inspiration struck.
Here are all the details and exactly how you can create this fun project:
Click here to view in HD on YouTube
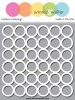
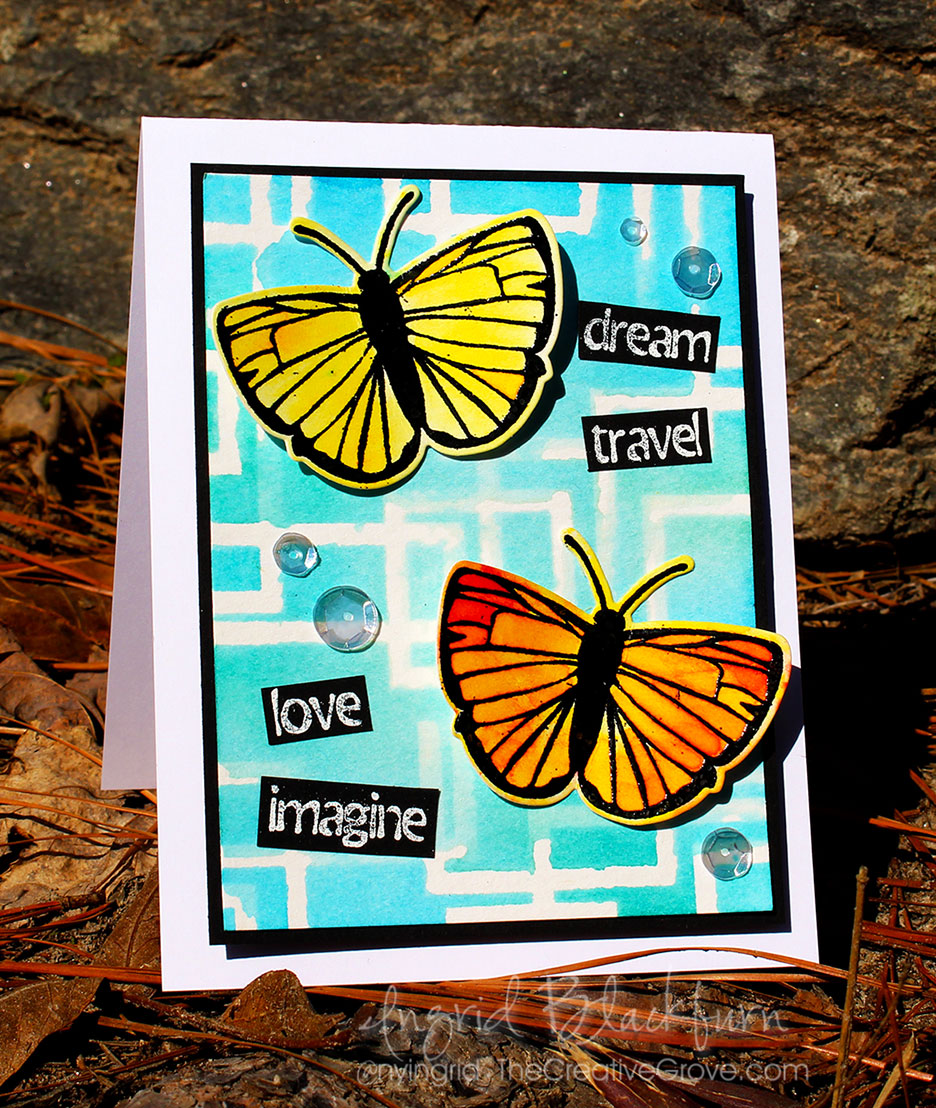
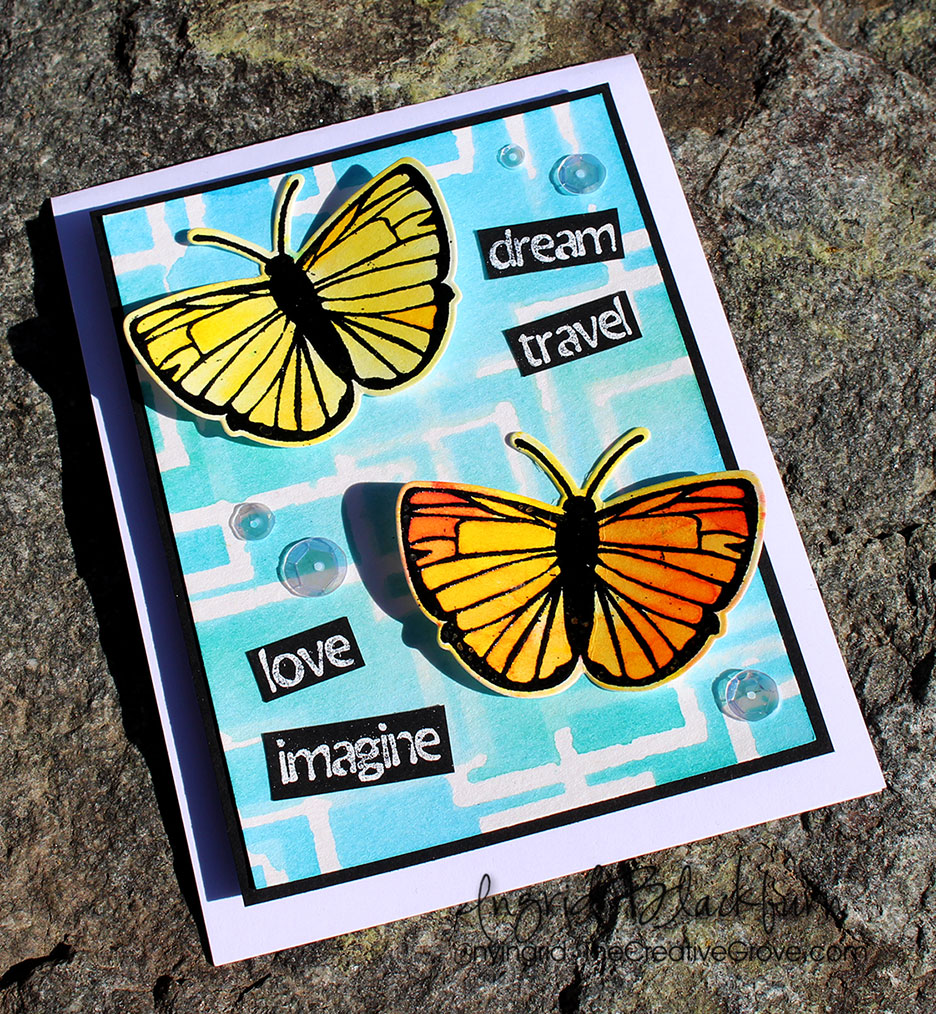
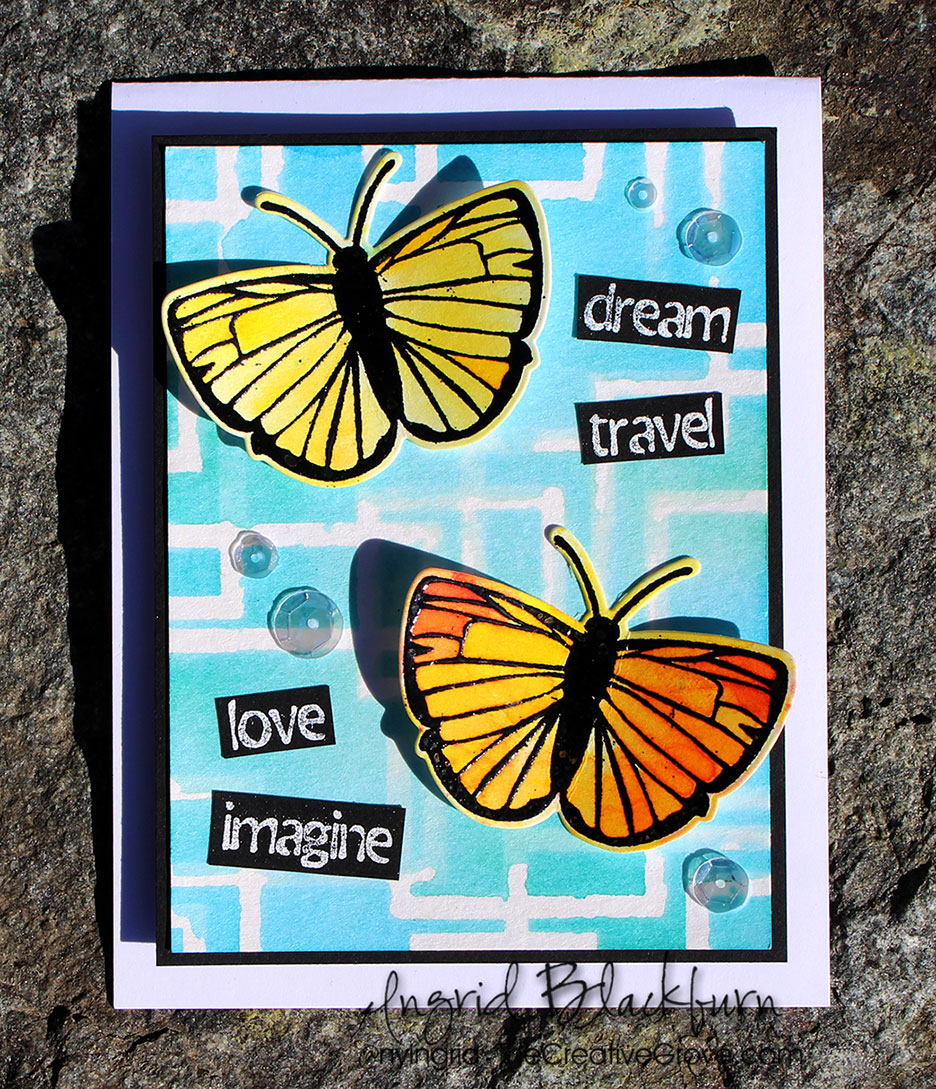
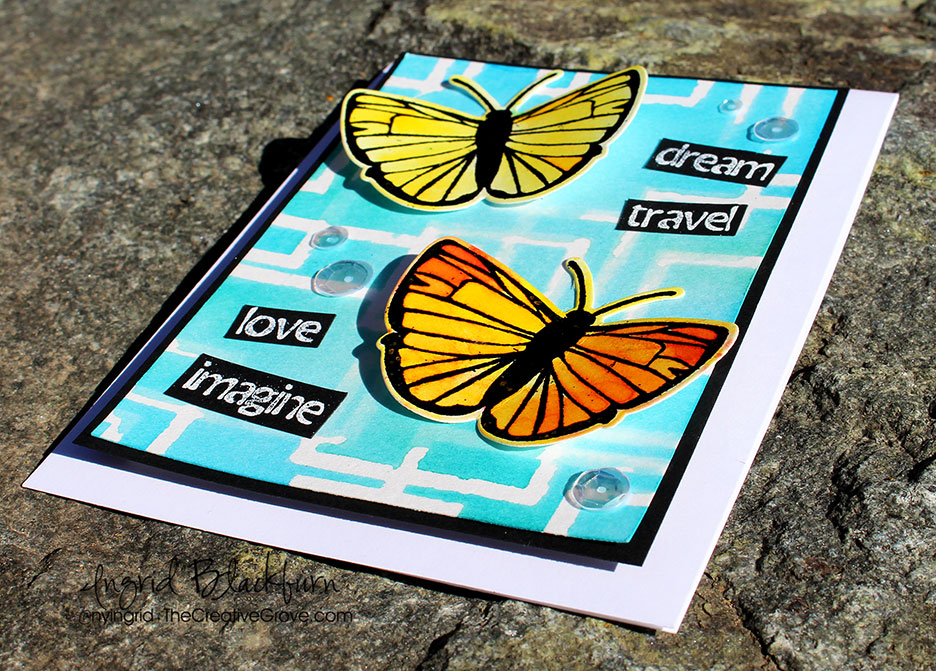
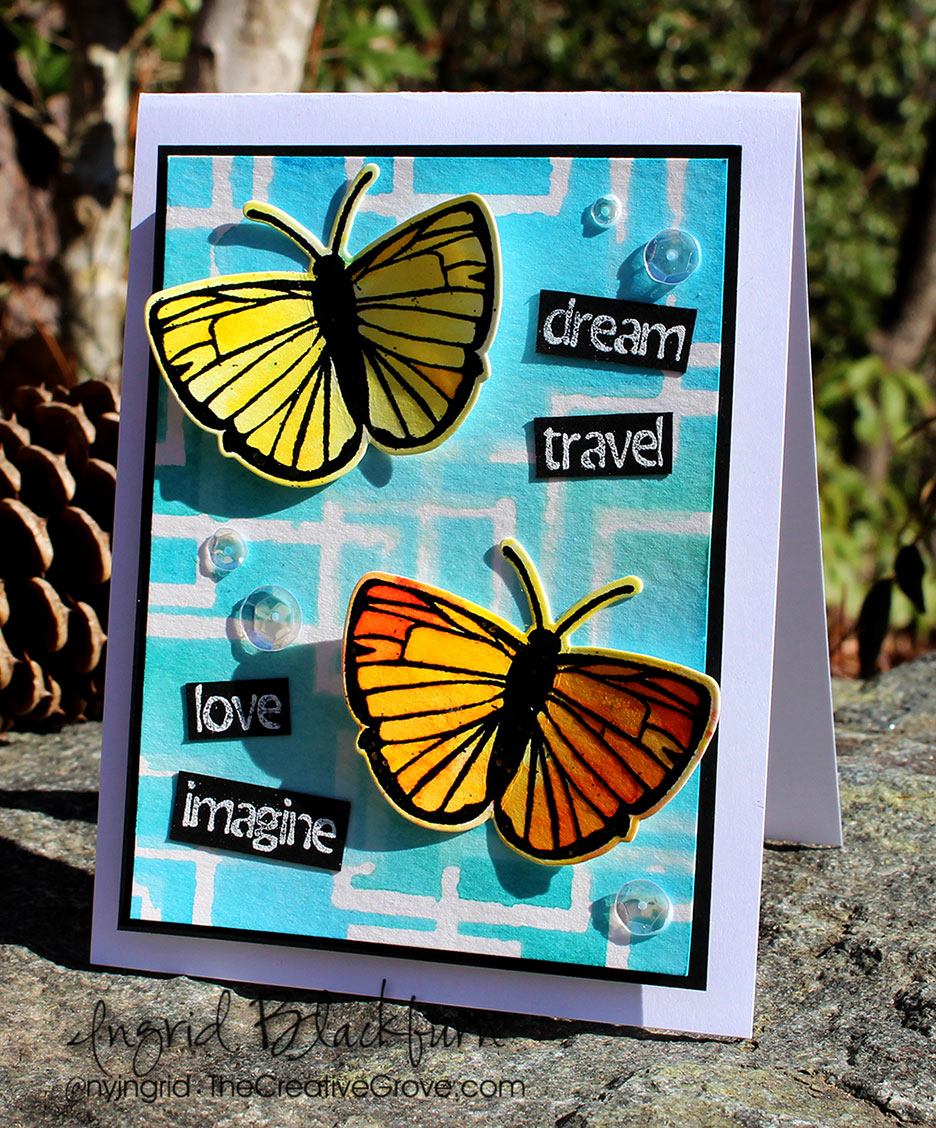
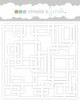
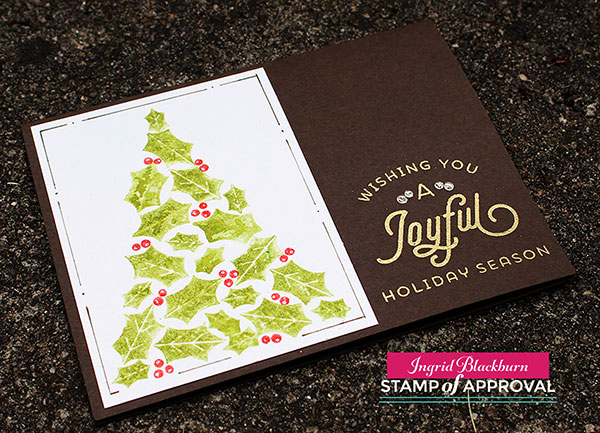
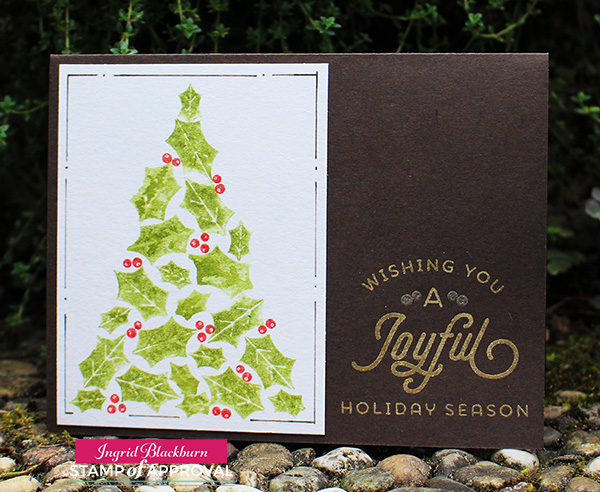
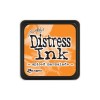
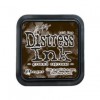
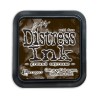
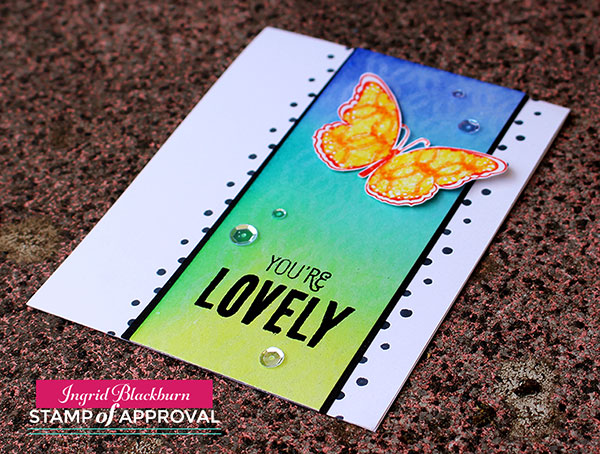
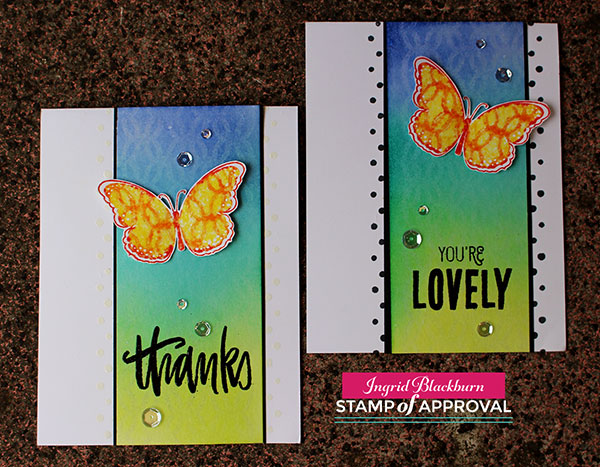
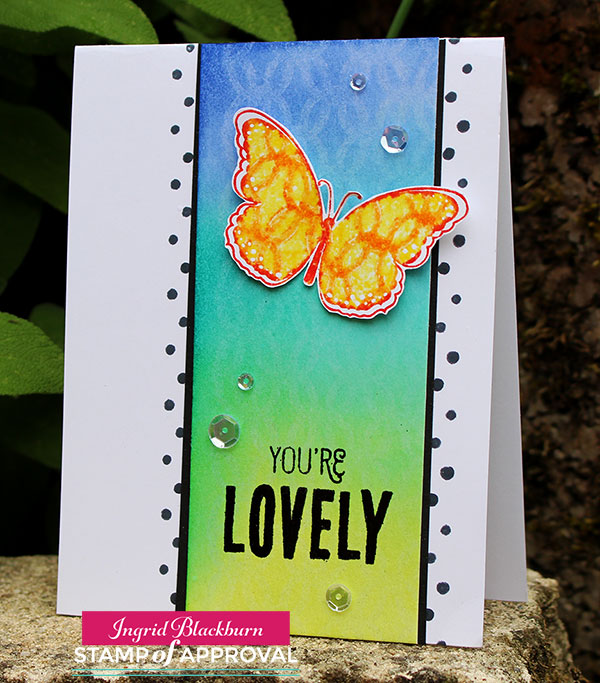
I used the Pattern of Rings stencil designed by Winnie & Walter for the Friendship Stamp of Approval Collection and combined it with one of my favorite background stamps – Spice Market by Hero Arts. And you can see – it’s a totally new look!
When combining stencils & background stamps yourself, look at recurring patterns. I chose the Pattern of Rings stencil because it was circles and there were lots of circular designs in the Spice Market stamp, so I thought they’d play well together.
So now it’s your turn – raid your stash of stencils and background stamps and start to create some amazing patterns!
Till next time –

[optin_box style=”31″ alignment=”center” email_field=”email” email_default=”Enter your email address” email_order=”0″ integration_type=”aweber” double_optin=”Y” list=”3846012″ name_field=”name” name_default=”Enter your first name” name_order=”0″ name_required=”Y” opm_packages=””][optin_box_field name=”headline”]Learn more with our exclusive FREE video series[/optin_box_field][optin_box_field name=”paragraph”]PHA+TG9yZW0gaXBzdW0gZG9sb3Igc2l0IGFtZXQsIGNvbnNlY3RldHVyIGFkaXBpc2NpbmcgZWxpdC4gRG9uZWMgdmVsIG51bmMgbm9uIGxhY3VzIHZlbmVuYXRpcyBjb21tb2RvLjwvcD4K[/optin_box_field][optin_box_field name=”privacy”][/optin_box_field][optin_box_field name=”top_color”]undefined[/optin_box_field][optin_box_button type=”0″ button_below=”Y”]Get Instant Access![/optin_box_button] [/optin_box]
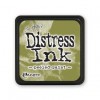
Supplies
To make finding the supplies I used in this project a bit easier for you, here are a few clickable links. Those that have multiple shopping options are indicated with letters – EH – Ellen Hutson, SSS – Simon Says Stamp. Compensated Affiliate Links are used when possible. Click here for disclosure. Happy Shopping!