How to Color Embossing Paste

This tutorial is a great DIY tip for how to color embossing paste quickly and easily on your cards and mixed media projects. I think you will be blown away with how easy it really is!

Here’s a video showing you exactly how to color embossing paste – and once you start, I guarantee you won’t want to stop…lol!

Click Here to watch it on YouTube in HD

And when you watch this over on YouTube – I’d LOVE for you to subscribe to my channel too! Don’t forget to click the notification bell as well. I’ll be doing some lives and premieres, and I’d LOVE to have you there as well.

So what did you think? Tell me in the comment section if you’ve ever done this? And have you tried multiple colors too? Don’t you love how they easily overlap in color to create their own? Which one is your favorite?

How to Color Embossing Paste Tutorial

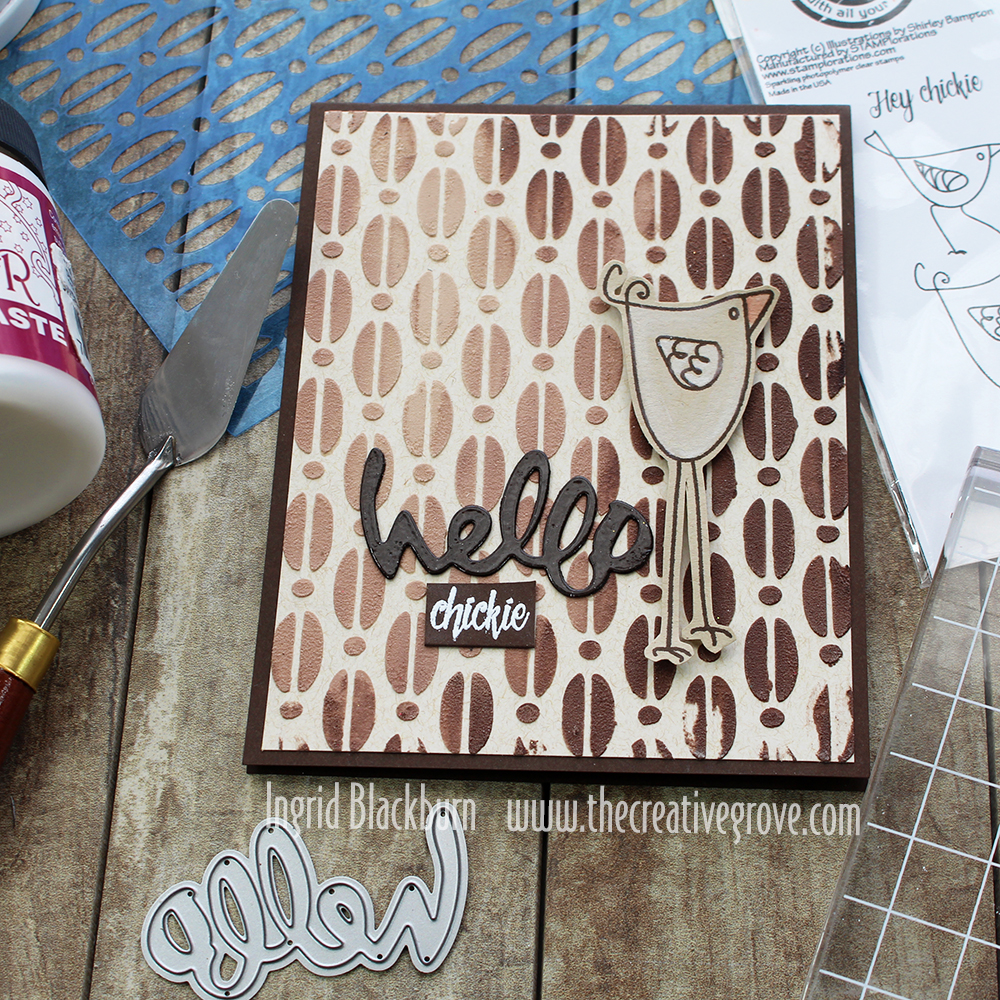
In a nutshell, you’ll want to blend your medium with a color source. In this video I used foam ink pads by Catherine Pooler. The colors are great, and her ink pads release quite a bit of ink. You can always use ink refills or something else like gelatos, etc…

You’ll also want to use a palette knife. I personally like using metal knives vs. the plastic ones. It’s a personal preference.

DIY how to color embossing paste

Your colored paste will really go far, so do a little at a time. How much color you add, will directly result in the depth of color in your medium. When using something like whipped spackle, that one always ends up lighter in color, so I have to add more ink.

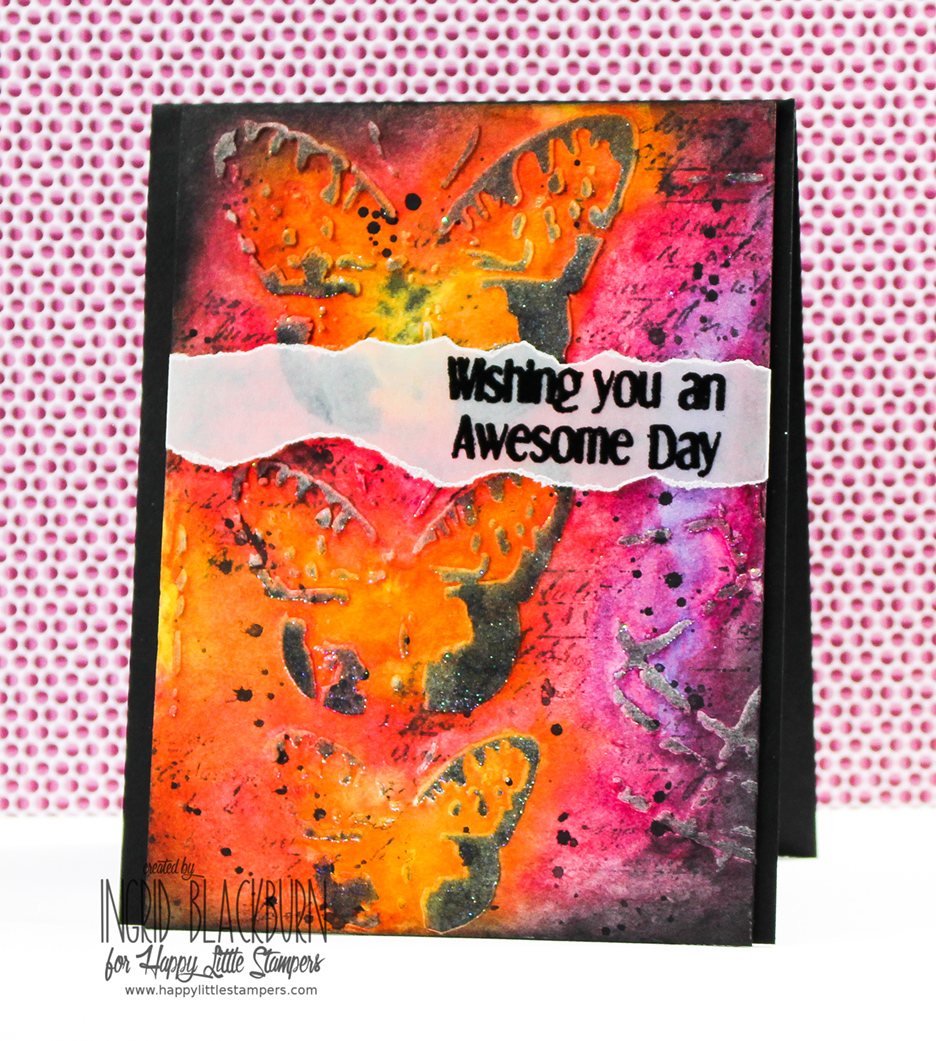
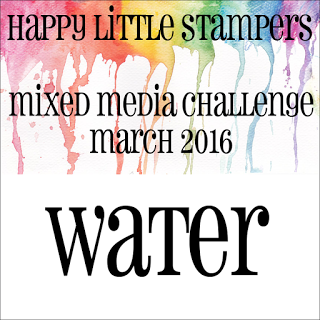
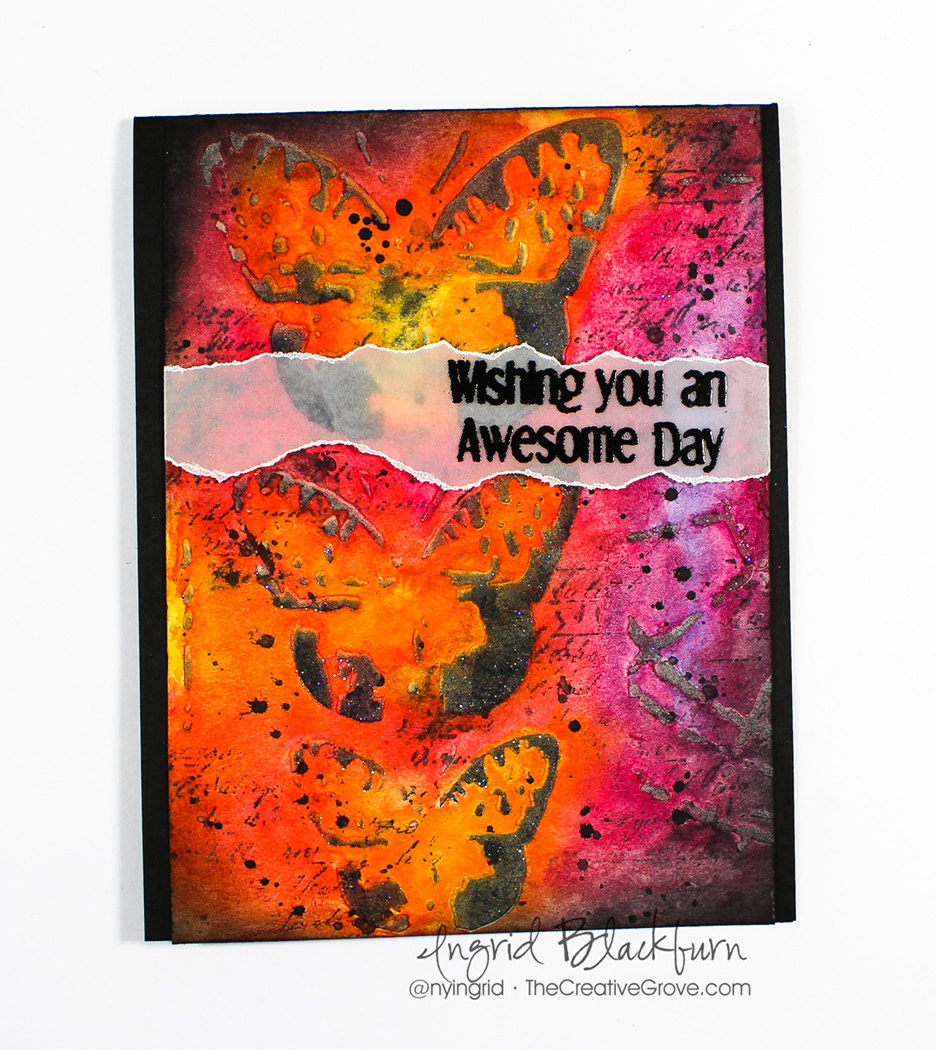
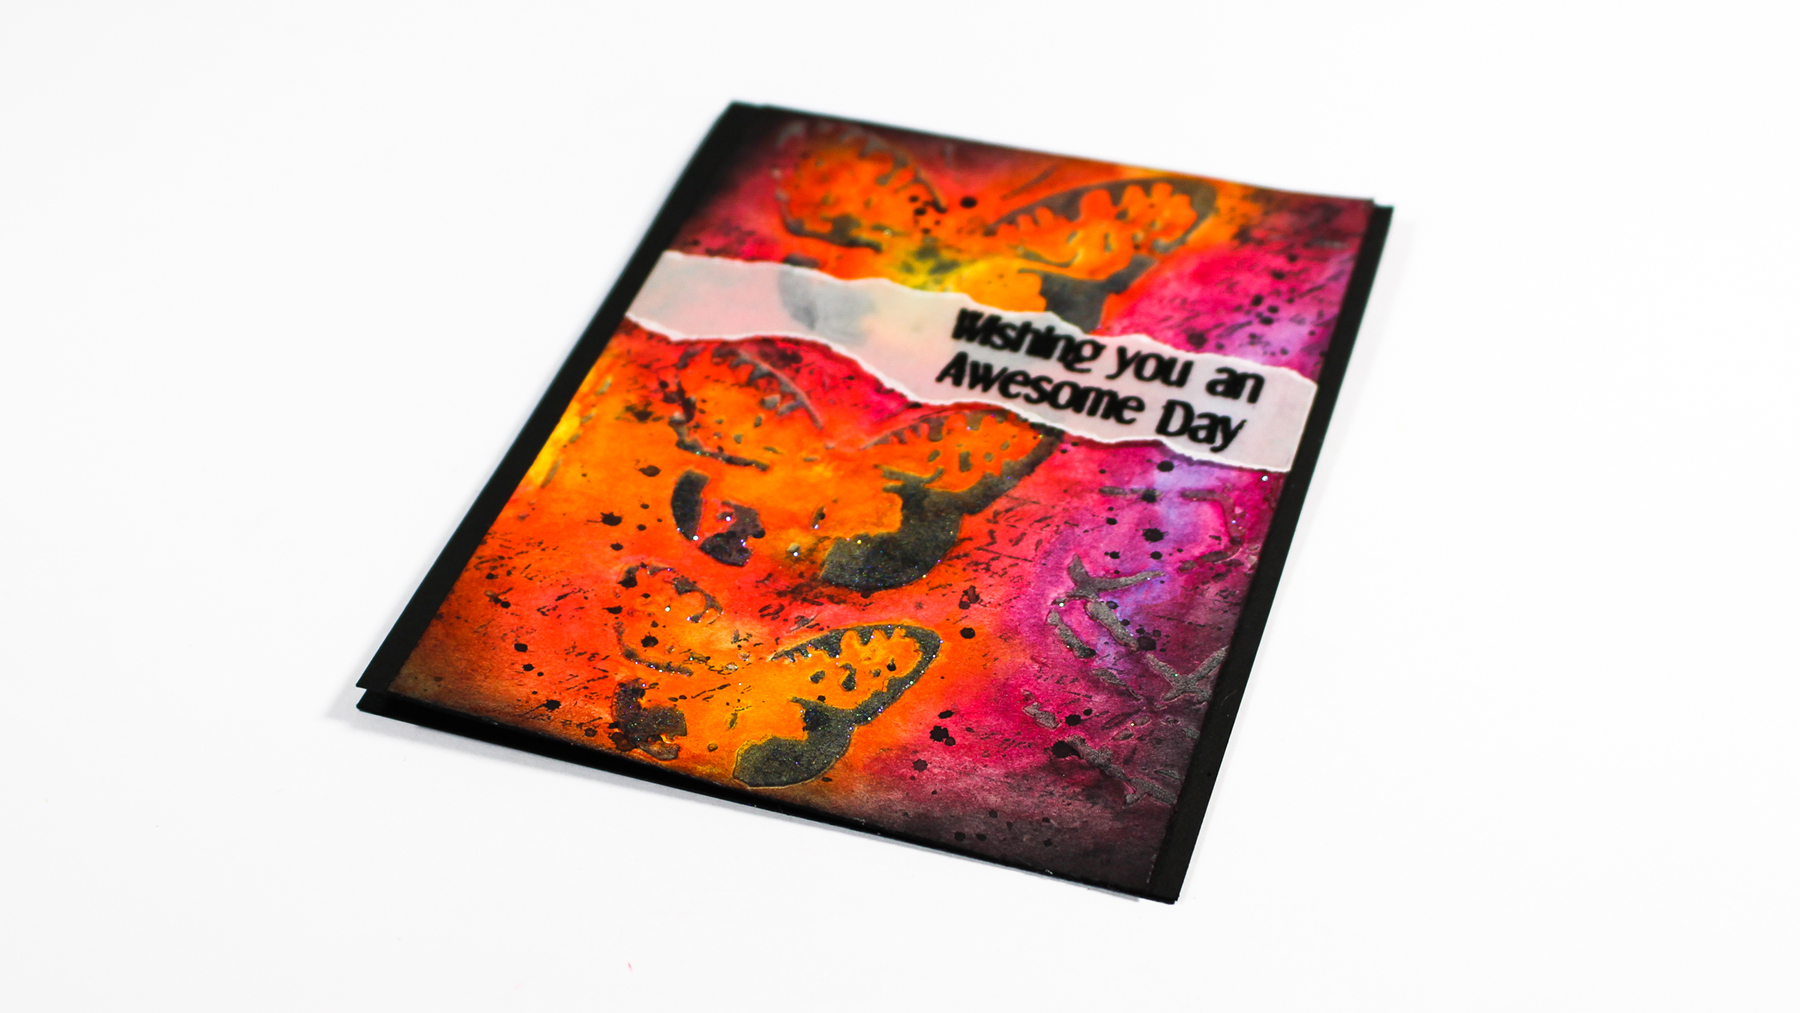
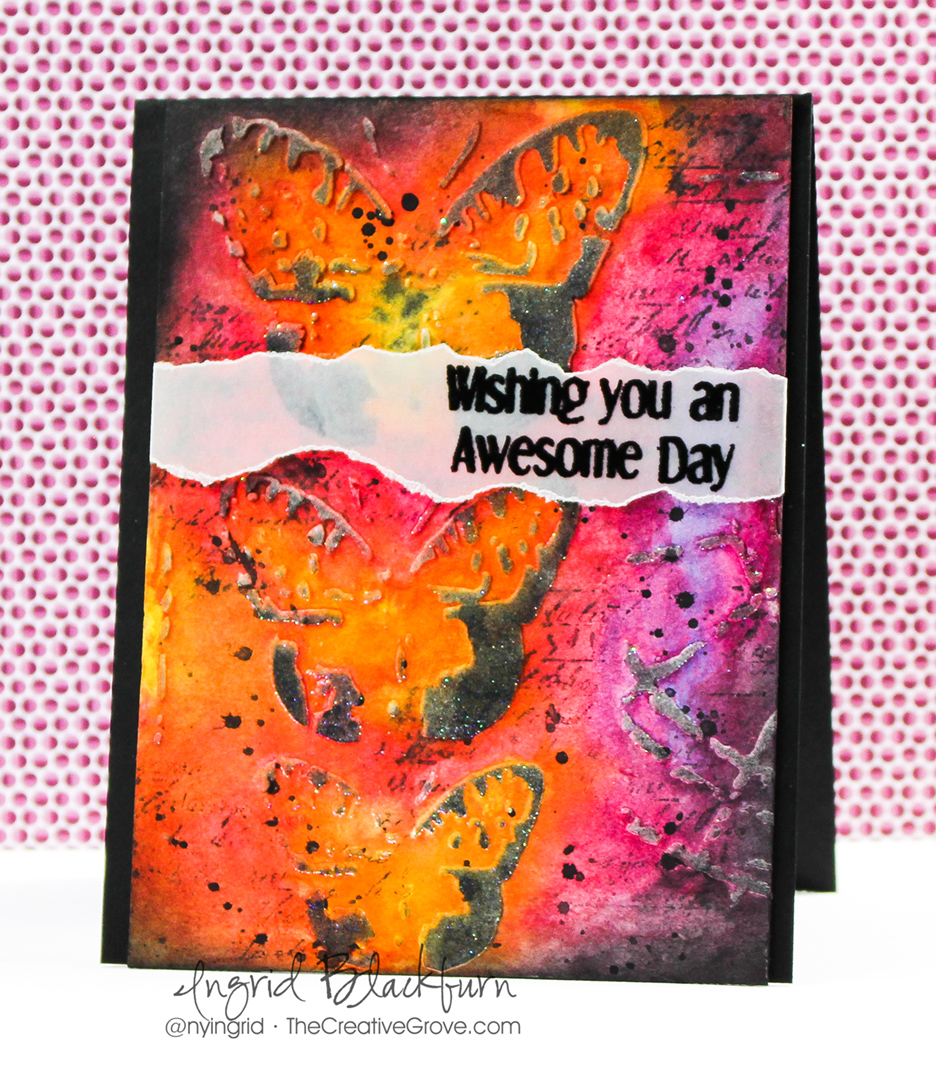
Here’s my final project. I didn’t explain really how I colored in this little chick, so here you go!

Since I used Sand Dunes cardstock by Catherine Pooler for my base, I needed to make my chickie white. Did you know that I commonly greet my friends with hey chickie all the time!!! That’s why I got the Foul Play stamp set in the first place….lol. But these little chick images totally ROCK.

how to color embossing paste tutorial

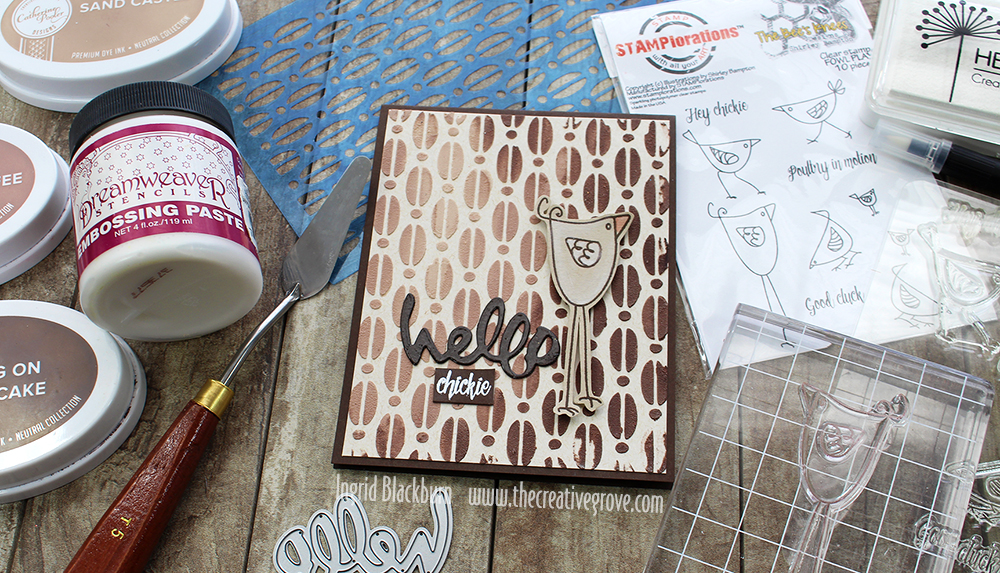
To make her white, I used a zig blender pen and Hero Arts Unicorn white pigment ink. Don’t think those pens are just for dye inks – use whatever you have!!! Just be sure to clean it thoroughly in between.

The hello die (my all time favorite hello die) also by Stamplorations is embossed with clear embossing powder by WOW! That way it really stands apart from the rockin’ background. I found without that, it just wasn’t popping.

The hello die and chickie (embossed in white on Chocolate cardstock), are glued directly to my card, the Chick is popped up with foam tape.

I hope you enjoyed this! Just like I said in the video – don’t forget to tag me with your creations over on Instagram with my new IG handle – @thecgstudio. I’d LOVE to see what you make.

Have a great day!!

Mixed Media Watercolor

Mixed-Media-Watercolor-March-2016-HLS

If I were to say Textured Watercolor to you, what would you think of? Mixed Media? Embossing Paste? I have to admit, this month I felt a little challenged when I saw the theme over at the Mixed Media Challenge at Happy Little Stampers – Water. Now you can take this a few ways – water based  techniques or literally create a water scene (Usually what I’d do). SO, I thought I’d give a little Textured Watercolor a shot.

HLS Mixed Media challenge March 2016

To get the water flowing on my mixed media piece, and have a little fun – I whipped out some bright colors, stencils, stamps and a few different mediums. I even shot a real time video for you too – so if you want to see how I watercolored Embossing Paste to create a beautiful textured card, just watch here – or click the link below to watch in HD on YouTube.

Watch in HD on YouTube

The snow is falling as I write this blog post, so it was fun to work on a project that gave me a spring/summer feel. That’s what I love about art, it takes you away to some cool places! Here’s a written tutorial for you too – but the video has much more detail.

Mixed Media: Creating Textured Watercolor

  • Add embossing paste  through a stencil where you want to on 140# cold pressed watercolor or mixed media paper. I used Specimens 12×12″ by The Crafters Workshop. Set aside to dry.
  • Paint over your dried piece with bright vibrant watercolors as in the video. I used Lemon Yellow, Translucent Orange, Magenta, Quinacrodone Violet, Cobalt, Paynes Grey (Schminke) and Permanent Rose (Mission).

Mixed Media Watercolor-002

  • Keep your watercolor loose and bright, adding dimension through layers and depth by keeping the darker areas balanced with the light.
  • Allow to dry thoroughly.
  • Stamp Script stamp in Soot Black Distress Ink in random spots, touching up in spots with water to keep it loose and imperfect.
  • Add splats with a watery Paynes Grey and a paint brush.

Textured Mixed Media

  • Once dry, add a little sponging to the edges and lightly on the sides with Hickory Smoke and Soot Black Distress inks.
  • Secure your project and stencil over it again. Sponge your embossing paste in Hickory Smoke and Soot Black. If not dark enough to your liking, use your Distress Inks in the direct to paper method.
  • Cover your project with a destatic tool.
  • Place your stencil over top your project again and smoosh a versamark pad over your embossed images.

Mixed Media Watercolor

  • Add glitter, then a little clear embossing powder. Heat set
  • Rub over your project with a cloth or paper towel to remove the destatic powder and some of the glitter.
  • Emboss a greeting on a piece of Vellum card stock, tear and add to your project as in the video. I used Everyday Sentiments (Happy Little Stampers)
  • Add piece to black card stock and trim if needed. If you do trim, add a little black to the bottom as in the video and touch up your sponging.

Mixed-Media-Watercolor-007

And come to think of it – I created another Watercolor Mixed Media piece earlier in the week for my friends Loll & Bonnie’s new challenge too – CAS Mix Up. See that card here. I decided to play along with two other challenges today – Anything but Cute – Color and Mixed Media Mojo – Springtime/Watercolor.

abc-badge-crazy-for-color  Graphic to copy 3

So grab those bright watercolors, and have fun creating your own Mixed Media piece! I’m sure you’ll get just as lost in it as I did. Till next time –

Signature

[optin_box style=”2″ alignment=”center” email_field=”email” email_default=”Enter your email address” email_order=”2″ integration_type=”aweber” double_optin=”Y” list=”3846012″ name_field=”name” name_default=”Enter your first name” name_order=”1″ name_required=”Y” opm_packages=””][optin_box_field name=”headline”]Learn with our exclusive FREE video series[/optin_box_field][optin_box_field name=”paragraph”]PHA+R2V0IHRoZSBmcmVlIENyZWF0aXZlIFRpcHMgRS1sZXR0ZXIgYW5kIGxlYXJuIHdpdGggc3Vic2NyaWJlciBleGNsdXNpdmUgdmlkZW8gYW5kIHBpY3RvcmlhbCBjb250ZW50LiBJbmNsdWRpbmcgb3VyIHllYXJseSAxMiBEYXlzIG9mIENocmlzdG1hcyBzZXJpZXMhPC9wPgo=[/optin_box_field][optin_box_field name=”privacy”][/optin_box_field][optin_box_field name=”top_color”]undefined[/optin_box_field][optin_box_button type=”0″ button_below=”Y”]Get Instant Access![/optin_box_button] [/optin_box]