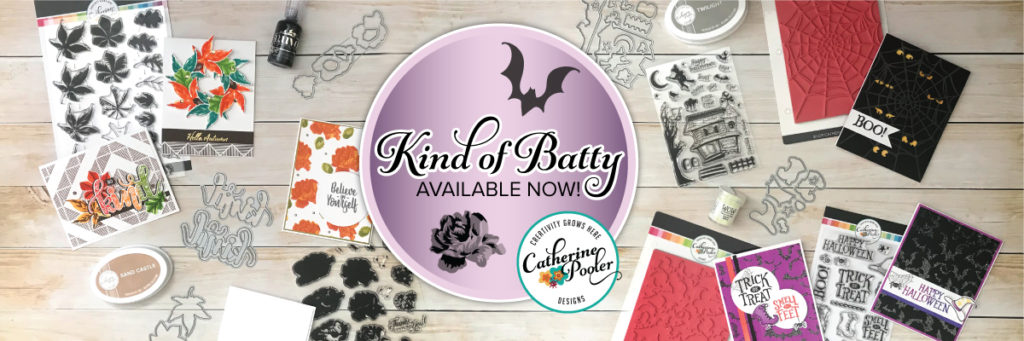
A Cobweb Stamp, Fall Leaves, Patterns and Christmas? Welcome to the Catherine Pooler Designs Kind of Batty Blog Hop – Day One. I’m SO excited to share some fun new cards with you today! We have a full line up today and will be sharing some creative inspiration for the next three days! There are prizes and cool things to see, so let’s jump right on in.
This release is a bit different – there’s more traditional product, and then there’s Halloween! I never thought I was a Halloween person, but I’ll be honest – this collection was just TOO cool to not create with it! The Halloween products work SO well together, and I’m going to show you some non-traditional things you can do with them. So let’s get started.
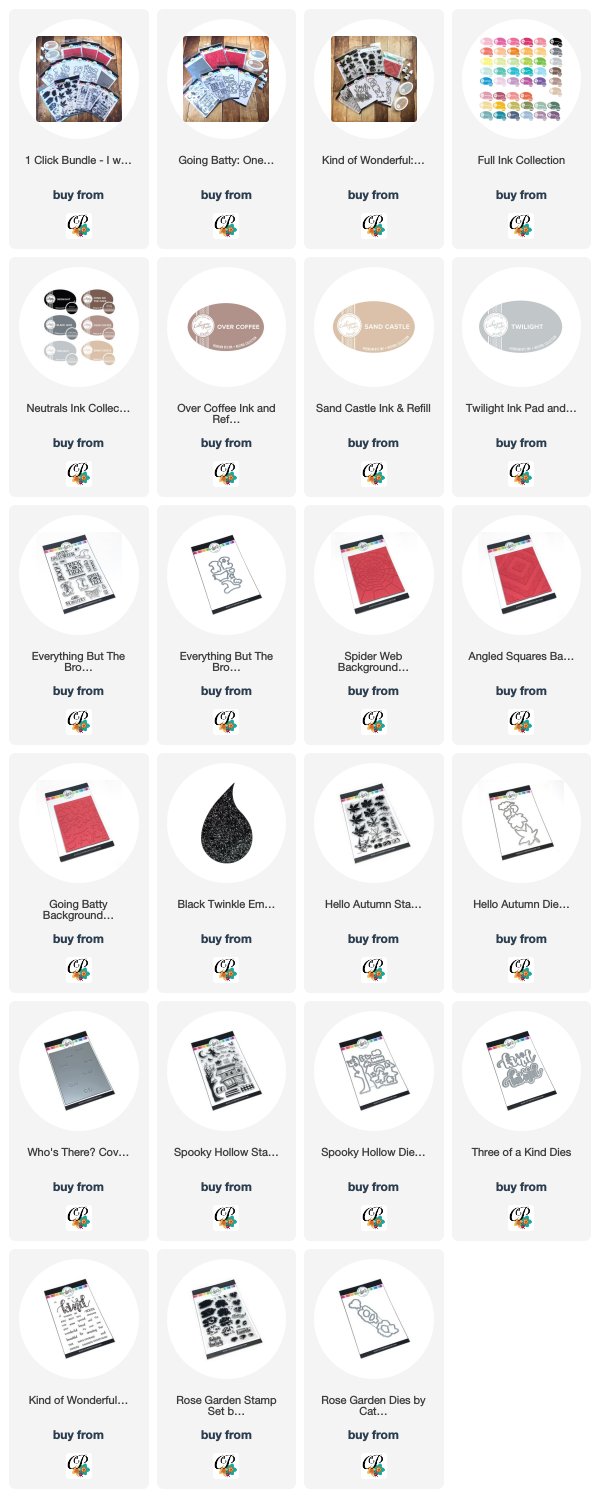
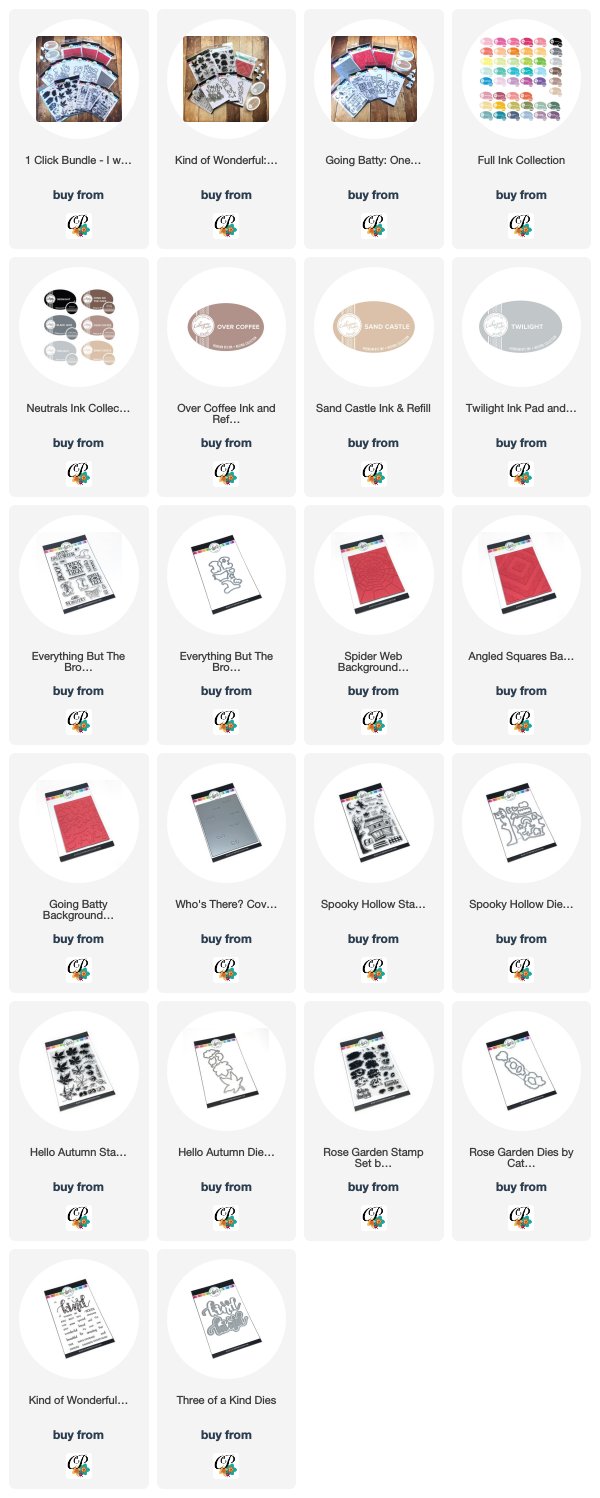
Here are the new products being released today. It’s live in the shop now – click here to get yours before they sell out!
I’m creating with two of the background stamps, the fall Hello Autumn multi step stamp set, and the super fun Everything but the Broom Halloween set.
Project No. One – Boo!
I love the unexpected, and thought it would be kinda fun to flip the cobweb stamp and die from Everything but the Broom around for a Cauldron! Don’t forget to add the cobweb stamp too – it creates some fun little interest to it.
To create a stirring the pot spoon, use the small border in that set along with some Black Jack ink! The eyeballs are the bubbles and need I say more? You just have to stamp one of those super cute spiders – I’m calling him Harry, he’s too cute, and I’m not the biggest fan of spiders – you get big girlie screams from me with those…lol!
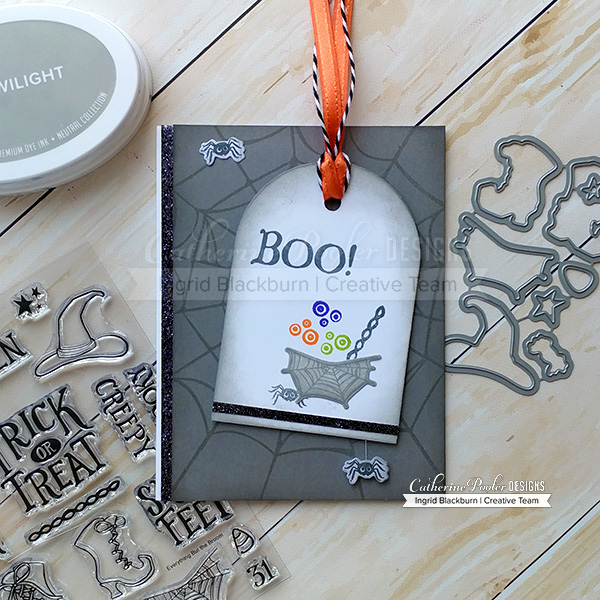
Use the tag die from Tags, Etc (kind of reminds me of a headstone – just sayin’, create your little scene, lightly sponge the edge in the new Twilight ink and Voila! For some added interest, stamp the spiderweb in the background – that’s Twilight on Catherine Pooler Smoke cardstock. It’s the perfect tone on tone look. The spiders are stamped in Black Jack.
The card needed something, so I decided to add small strips to the bottom of the tag and side of the card front. That’s Black Twinkle Embossing Glitter by WOW! It’s the coolest, sparkliest powder – you will just LOVE it.
The bottom spider is literally hanging by a thread off the raised tag. A little Orange Ribbon with some black/white twine and you’re good to go!
Project No. Two – Cobweb Stamp for Christmas?
Would you believe that these trees are made from the Cobweb Stamp? Yup, to get this look, you’ll want to mask off a section of the Spiderweb Background Stamp with some masking tape and post it notes. I placed it in the MISTI stamping tool so that I could repeat stamp it if needed in the exact same spot since it’s a large Red Rubber Background Stamp vs. a Clear Stamp Set.
First you’ll want to create a hill mask and secure that over your Sand Dunes cardstock. Next stamp your foreground tree in Eucalyptus Ink and then create a mask and stencil from copy paper. Cut your mask out – just inside the line. You’ll also want to create a stencil by cutting the middle part of the image out, so that you can ink blend lightly to fill your tree in later. The two rear trees, are a different section of the web. Mask your stamped three and stamp those in Icing on the Cake.
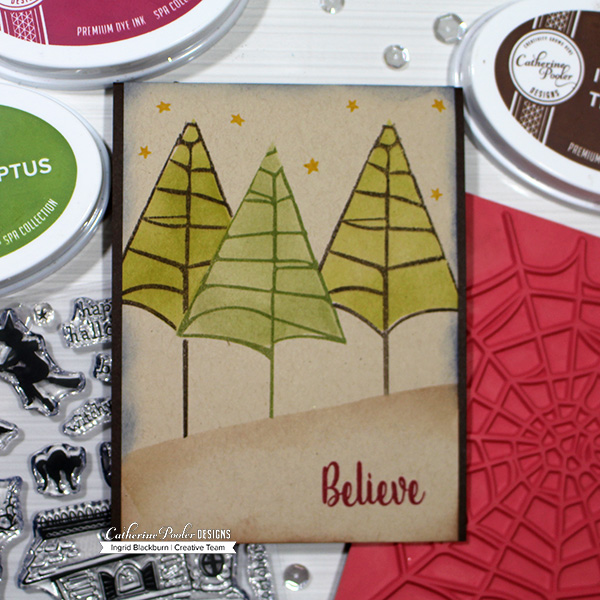
The spa colors really work well on the Sand Dunes cardstock. Ink up the Believe in Peppermint Stick from the sentiment Believe in Yourself in the Rose Garden Stamp Set and stamp in the lower right corner. Use the revers side of your hill, and lightly sponge the hillside in the new ink Sand Castle. You’ll also want to do the edges on the bottom. The remaining edge of the project is lightly sponged in Juniper Breeze for a night sky.
Stamp a few of the wonky stars in Sauna ink from the new Spooky Hollow stamp set. I’ll have more with that set on Friday in the hop!! So check back.
Who would have thunk Christmas right? I LOVE these trees – and although I really really wanted to hang the spider from one….it didn’t read Christmas to me (I would have needed a tiny Santa’s cap for Harry…lol! You should see what this tree looks like embossed in Metallic Gold Sparkle glitter – it’s GORGEOUS!
Project No. Three – Hello Autumn
Now for a more traditional feel. I LOVE the fall. When I lived in New York, I was always mesmerized by the fall foliage. So I thought I’d pay a little homage to that today. No spiderweb stamp needed for this one, but you’ll want to break out the new Angled Square Background stamp from the brilliant mind of Shawna Clingerman. Seriously – this background stamp is striped vertical and horizontal triangles that make up squares that are ultimately offset – how cool is that?!
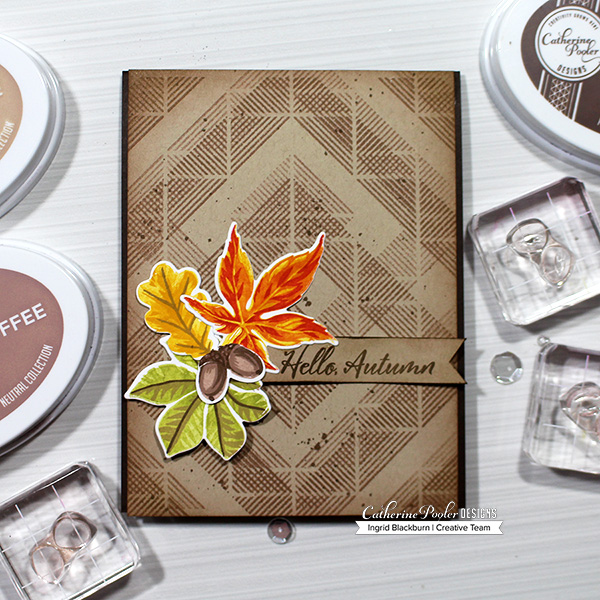
Ink up your Stamp in a Misti – you’ll need to have exact placement of this one. I tucked mine into the bottom corner and stamped onto my scrap paper so I could see where the lines were. That’s key! Ink up your Angled Square Background Stamp with the new Sand Castle ink and stamp once. Flip your card front, lining up the center line with the scrap piece stamped image. Ink up your stamp again in Sand Castle and stamp. The cool part about that, where they overlap it creates a tiny grid line pattern because the stripes are going different directions (the stripes that make up the triangles!!).
Next, layer stamp the leaves and acorns onto some white dies from the Hello Autumn Stamp Set. I used colors from the Spa line of ink with Rockin’ Red as a pop on the large leaf. I’m in awe at how beautiful the contrasting pop of color on the neutral background is.
Create a banner that’s 9/16 ths wide and stamp Hello Autumn in Icing on the Cake. Edge your banner and card front lightly in Sand Castle Ink and the banner with a slight edging of Icing on the Cake ink.
Adhere with glue, pop up the tails and under the hello for a wavy look and you’re good to go!
Pretty cool projects, huh? Just wait till Friday!!
Be sure to comment all along the hop. Catherine is giving away Three $25 gift certificates to those who comment! Winners will be announced Monday Evening the 20th.
If you’re interested in any of the new items or other things I used today, check out the supply list below. Thanks for stopping by!
- Catherine Pooler Hop HERE next!
- Ilina Crouse
- Tracie Pond
- Ashlea Cornell
- Karen Baker
- Jen Carter
- Jenny Colacicco
- Kristie Goulet
- Maureen Merritt
- Josefine Fouarge
- Melissa Miller
- Ingrid Blackburn – You are HERE!
Thanks for stopping by today! Keep those fingers inky –

Supplies
To make finding the supplies I used in these projects a bit easier for you, here are a few clickable links. Compensated Affiliate Links are used when possible. Click here for disclosure. Happy Shopping!