Spring Fling Blog Hop

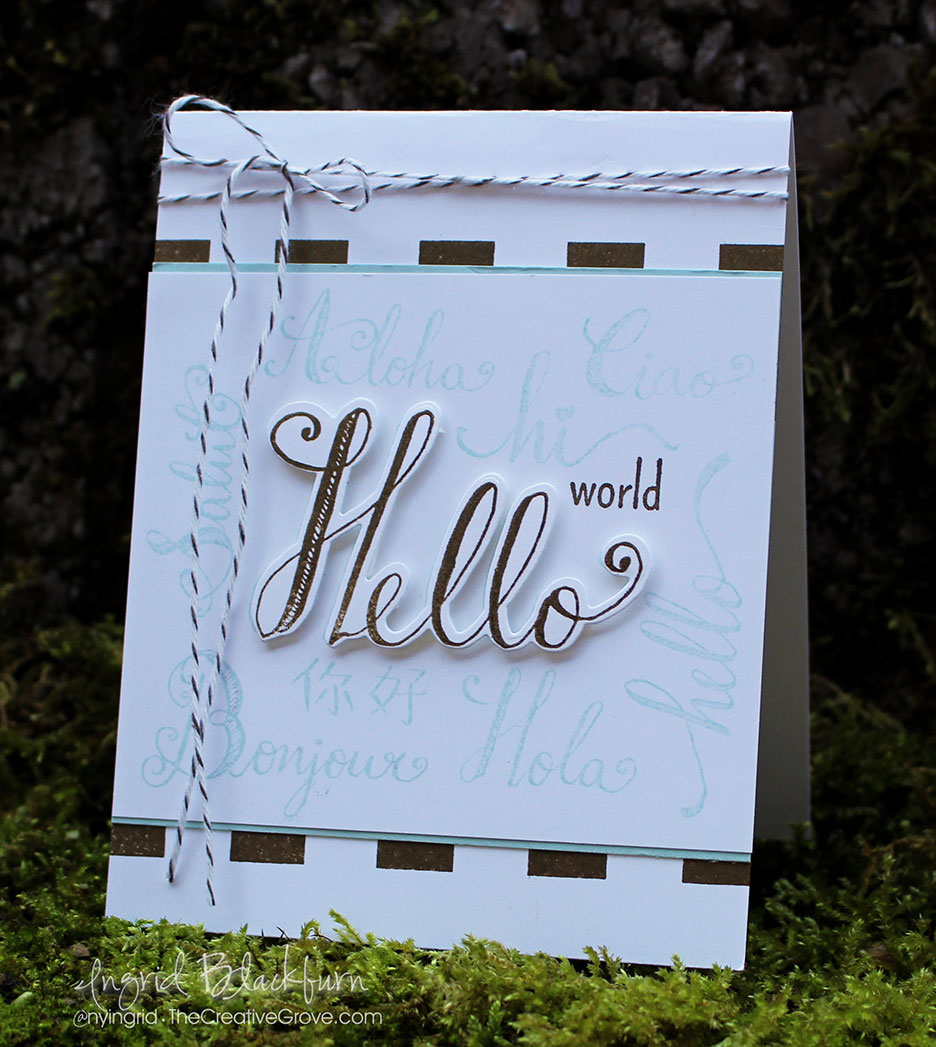
It’s release day over at Catherine Pooler Designs, and we’re kicking it off with a creative packed Blog Hop – it’s the Spring Fling Release!

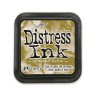
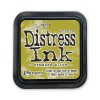
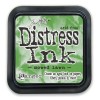
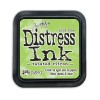
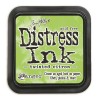
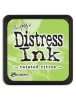
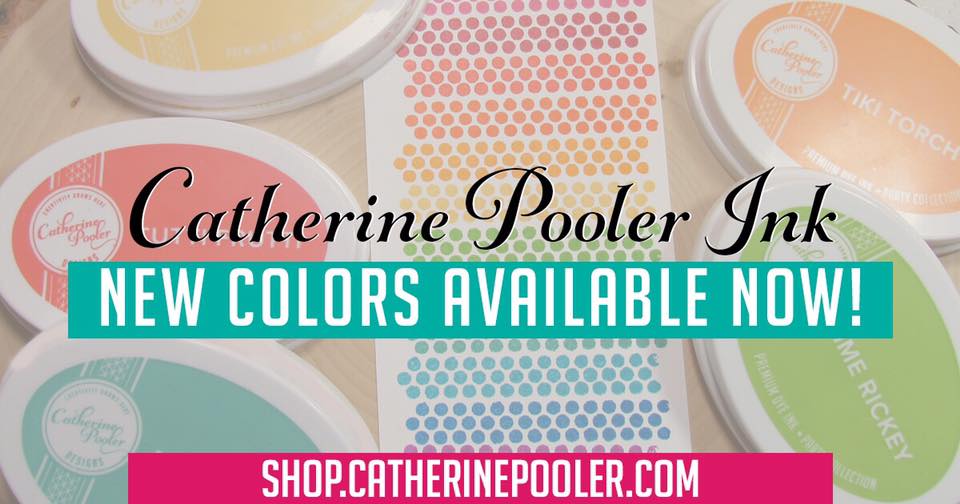
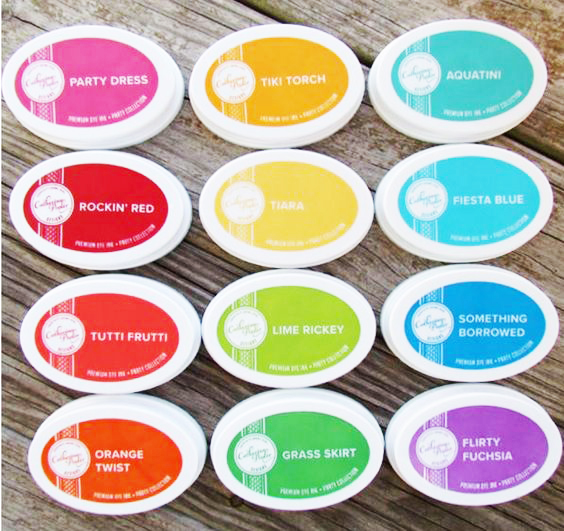
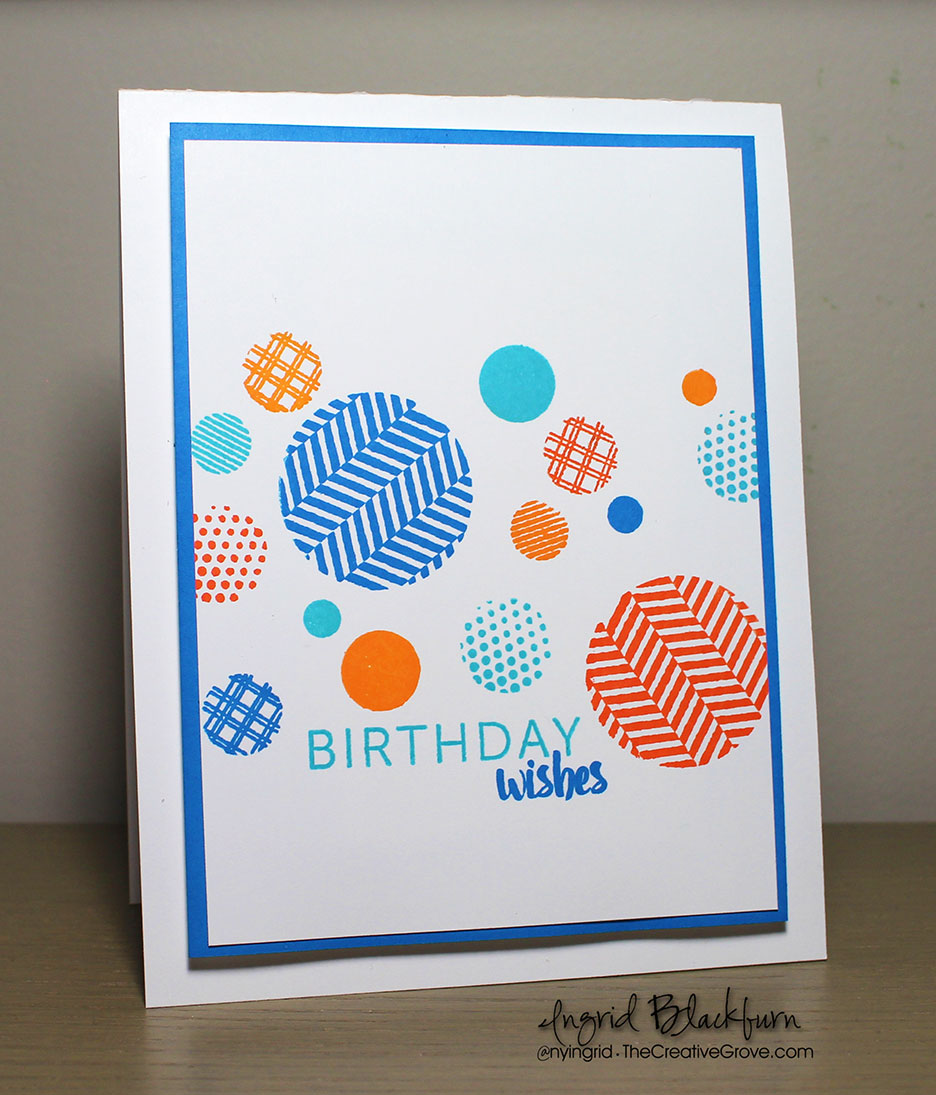
Today, the shop has some brand spanking new Inks! Yes, the Party Collection just got 8 new colors…and I even managed to use them all on one project below.

In addition to the new ink pads & refills – there is a great floral stamp set – Beautiful You, a fun sentiment set – Simply Stated, my favorite new background stamp – Modern Damask and that’s just the stamps! Catherine also released two circle die sets – one with embossed dots (Dotted Circles), a go to regular set (Circles) – that matches many stamps, and three word dies – Spot on Sentiments.

I have to say, the Party Collection of Catherine Pooler Inks is quickly becoming a necessary go to for me. I’m in love with the vibrant fully saturated colors, and although today’s release looks more on the pastel side…let me tell you – they really pack a punch! Just take a look at all this color goodness:

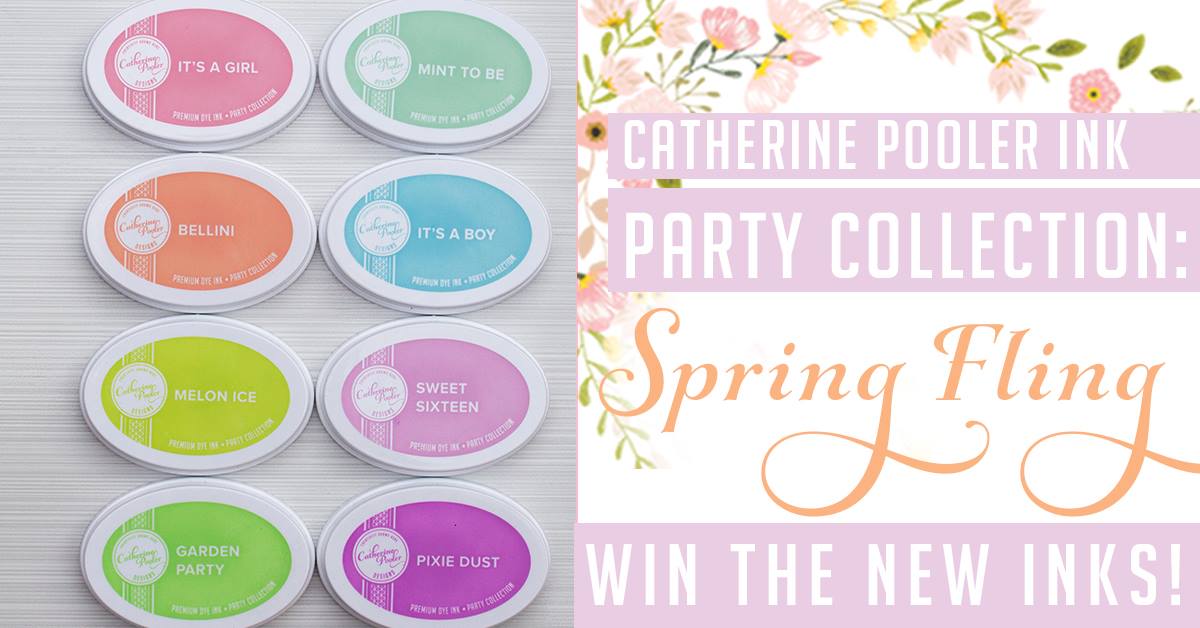
I found it interesting that the colors I wouldn’t normally gravitate toward, I keep reaching for – they are just that cool! Check them out yourself in the store here.

Now for the creative fun, as I mentioned this is a Blog Hop, so after you check out my projects, be sure to see the amazing projects the rest of the Dream Team made!

Beautiful You

I thought I’d keep this one simple for you – three slightly masked flowers from the Beautiful You stamp set – I LOVE this set, and can’t wait to show you SO much more with this (yes, you’ll have to keep coming back…lol).

You’ll want to use Sweet Sixteen and Pixie Dust to color the smaller flowers, and then layered both colors using an Aqua Brush for a little more depth in the larger flower.

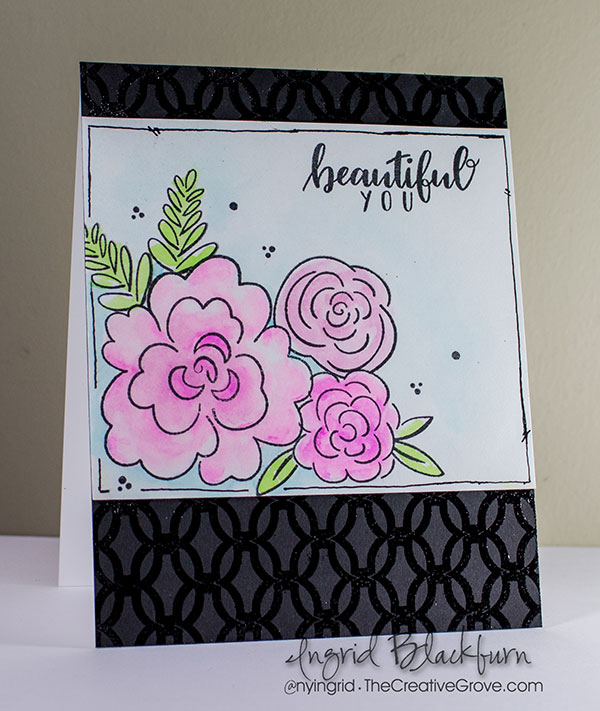
The leaves are colored with Garden Party, and for a little background interest – use It’s a Boy – it’s PERFECT for sky, and around flowers. I kept it quite diluted the further out I went, but stronger right up against the flowers.

Stamp a few of the filler images (can’t have enough of those), add your sentiment and draw a border to tie it all together with a micron pen.

To use the ink pads – just smoosh them on an acrylic block and you have a quick watercolor palette.

To give this set an elegant garden look – pair it with the Lovely Lattice background stamp – it’s perfect for this card. I love it black on black, don’t you? So simple, yet it really finishes the card off.

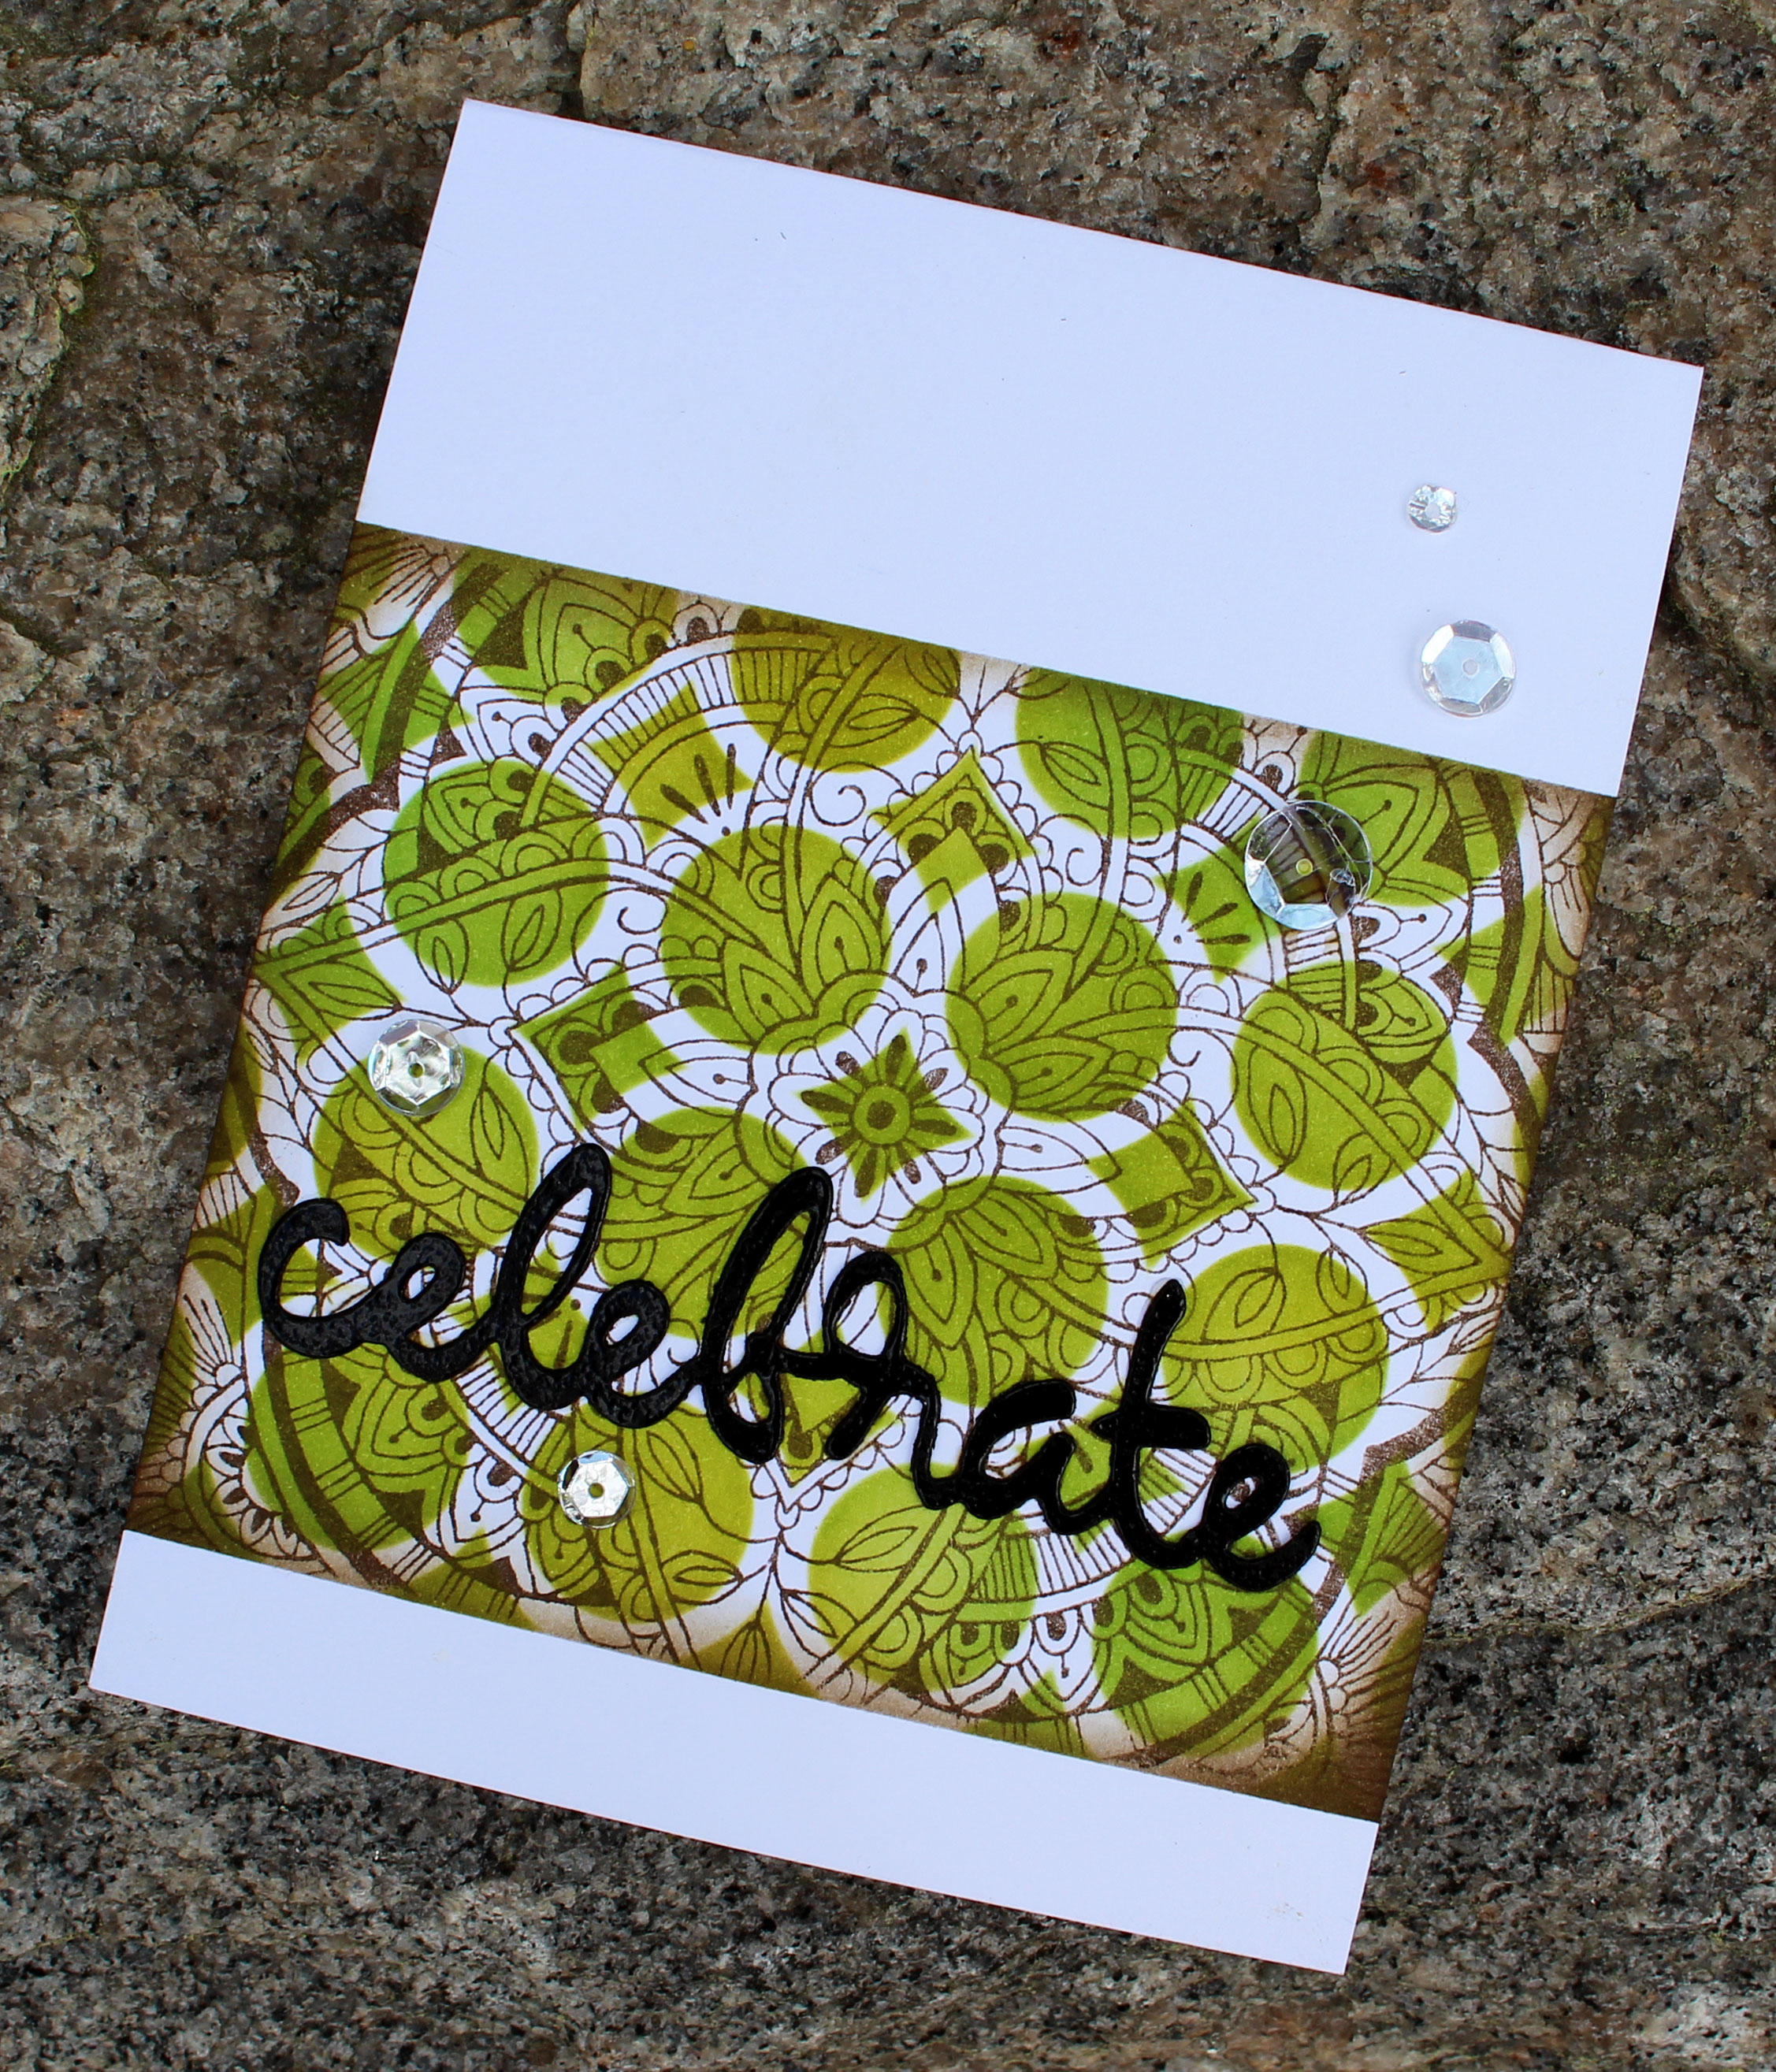
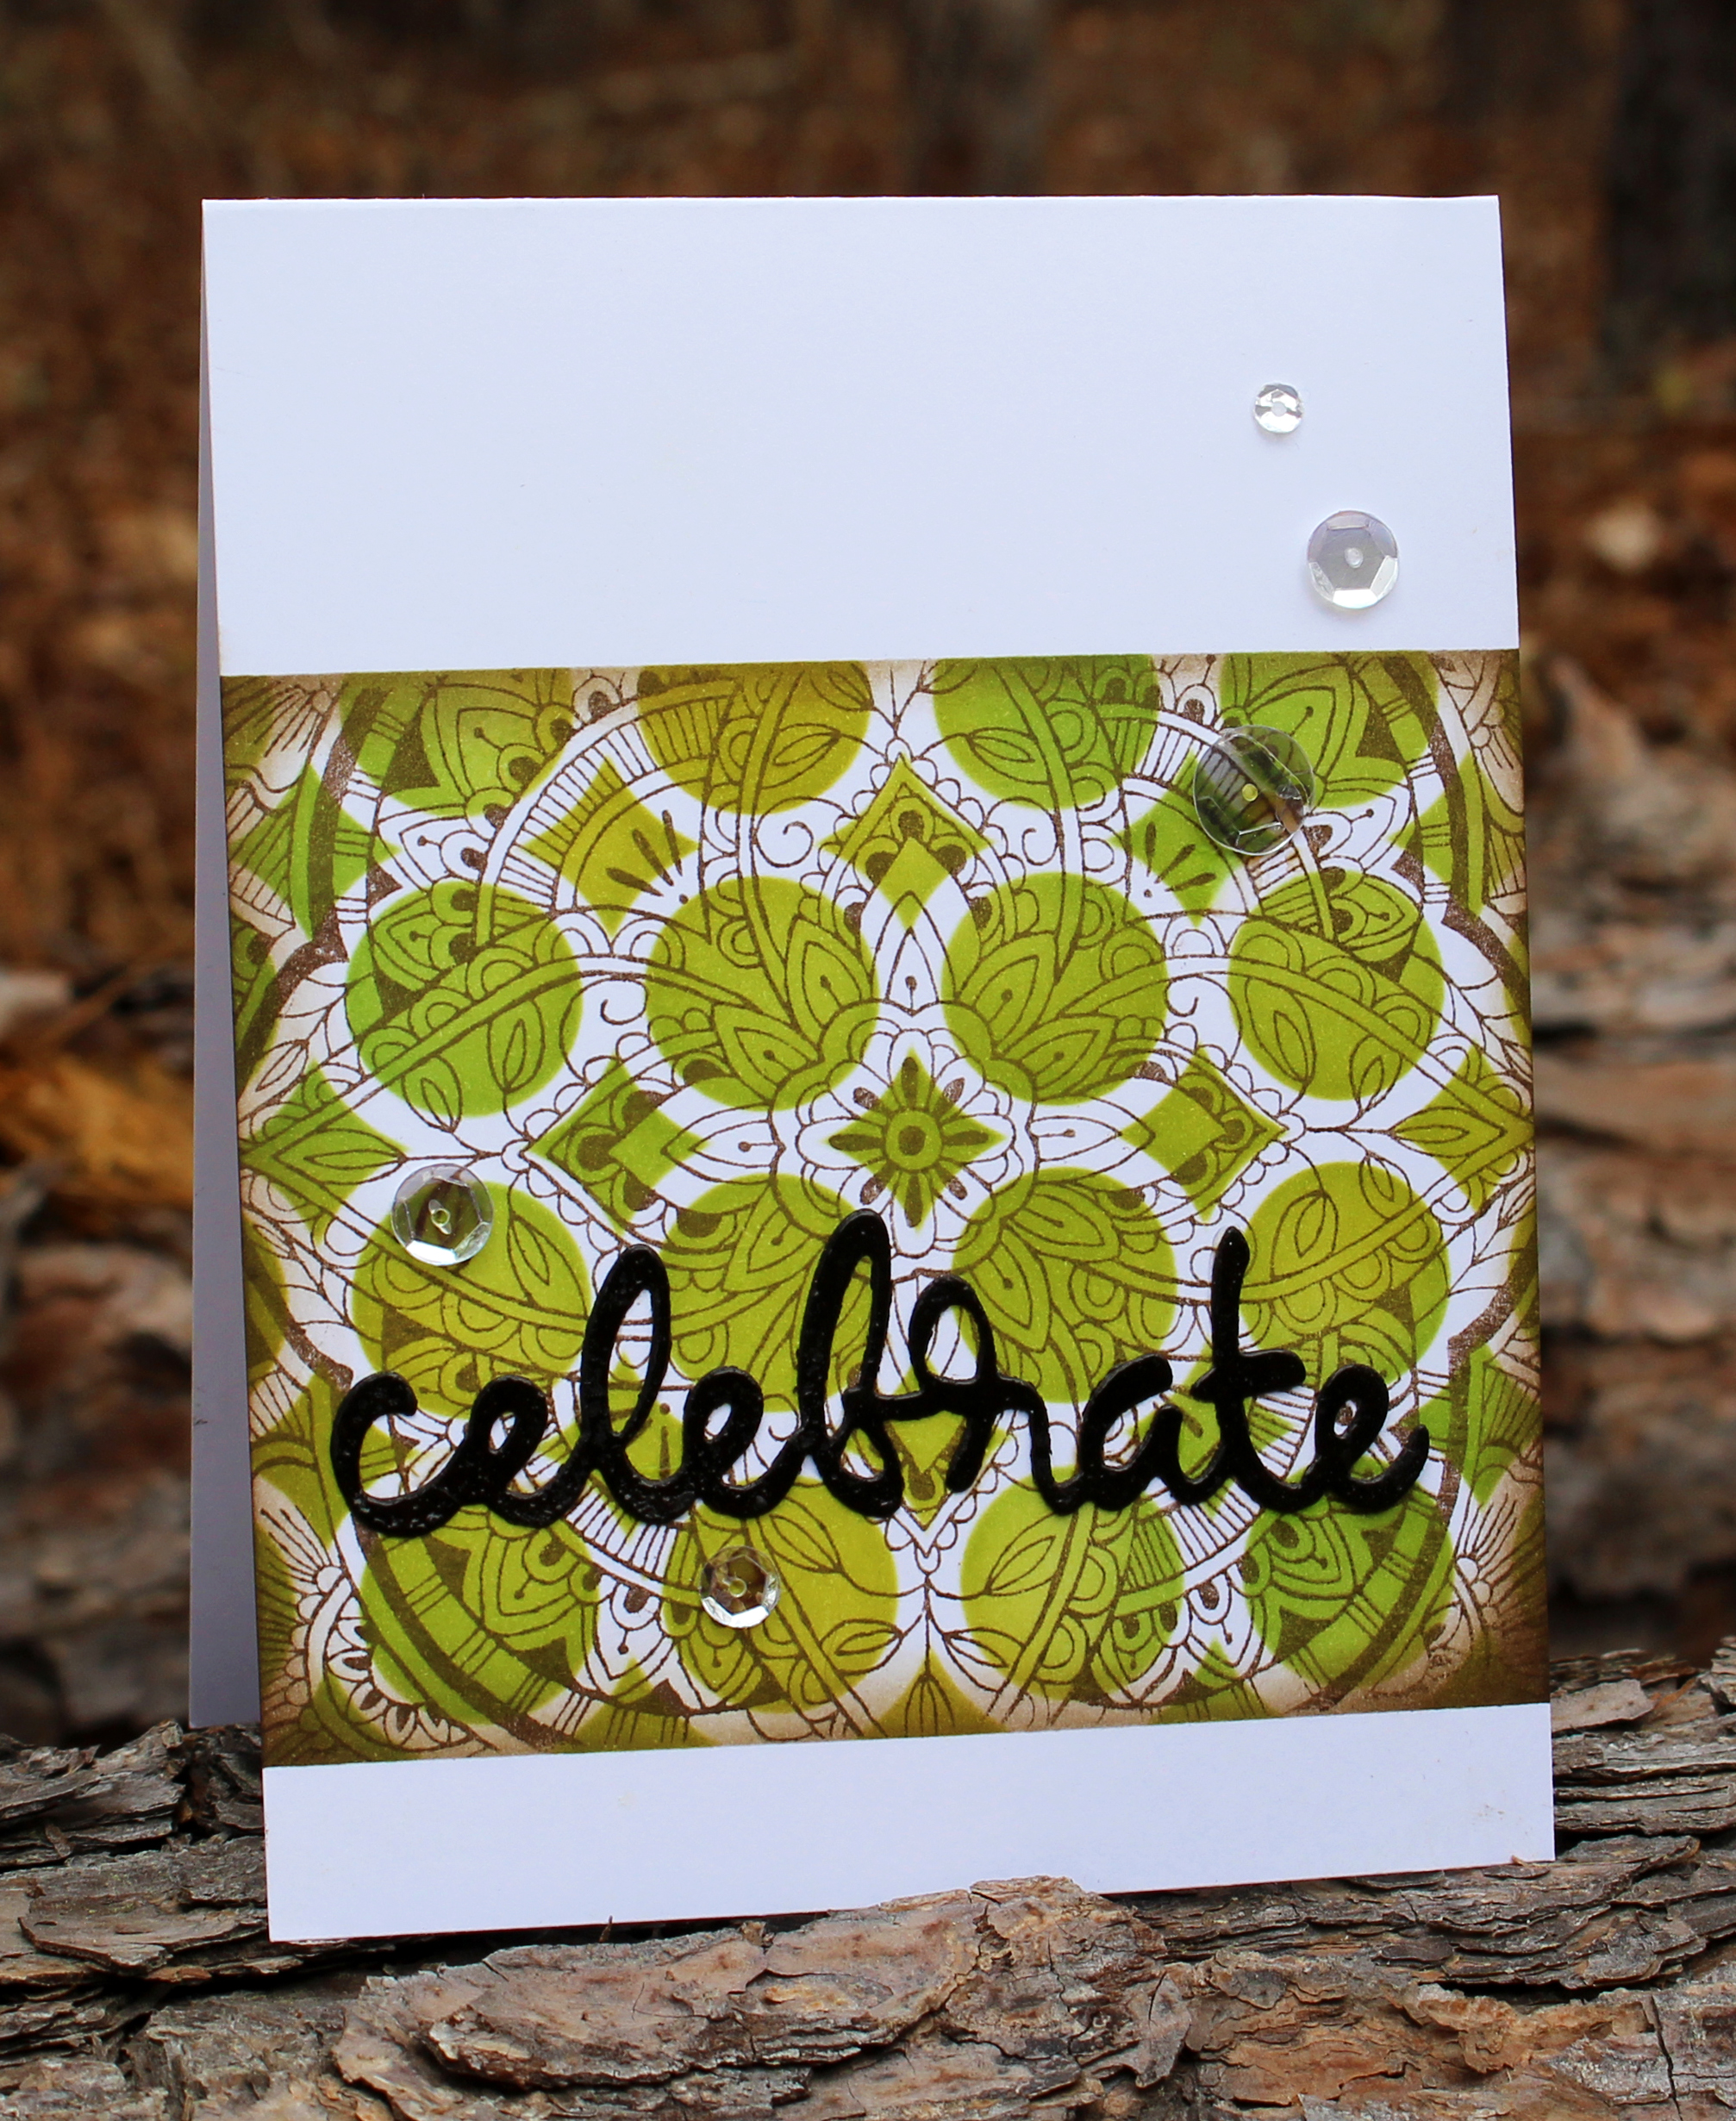
Spring Fling Rainbow Congrats

I wanted to really see what these new colors could do, so I created a Wrinkle Free Distress technique piece with each one. Let me tell you, they didn’t disappoint. I was actually quite surprised at how vibrant they actually were. And here they are all together – how could you not love these?

I am going to use the majority of these pieces for a few projects coming up in the next few days, but for today – I wanted to see what all 8 would look like on one card. How fun is this card – it’s happy, colorful and just fun.

Once you have your technique pieces – click here for a video on how to do the wrinkle free distress technique that I used to create those, trim off a 3/8 or 1/2″ strip of each. Overlap them onto a card base and adhere your sentiment right over.

To add a little bling – run a Spectrum Noir Sparkle Pen over your sentiment and add a few Sequins.

That’s it! You can see how quickly you can make several of these.

Thanks for hanging with me for a bit – now you’re off to the VERY talented Lydia Evans – I know you’re jaw will drop when you see what she’s created for you!

Be sure to comment along the way too. Catherine is going to draw three winners from the blogs – you may just find yourself with an ink collection of your own! 🙂

Blog Hop List:

And stop by in the next few days for more creative fun with this collection! Happy Hopping!!

[optin_box style=”31″ alignment=”center” email_field=”email” email_default=”Enter your email address” integration_type=”aweber” double_optin=”Y” list=”3846012″ name_field=”name” name_default=”Enter your first name” name_required=”Y” opm_packages=””][optin_box_field name=”headline”]LEARN MORE WITH OUR EXCLUSIVE FREE VIDEO SERIES[/optin_box_field][optin_box_field name=”paragraph”]PHA+TG9yZW0gaXBzdW0gZG9sb3Igc2l0IGFtZXQsIGNvbnNlY3RldHVyIGFkaXBpc2NpbmcgZWxpdC4gRG9uZWMgdmVsIG51bmMgbm9uIGxhY3VzIHZlbmVuYXRpcyBjb21tb2RvLjwvcD4K[/optin_box_field][optin_box_field name=”privacy”][/optin_box_field][optin_box_field name=”top_color”]undefined[/optin_box_field][optin_box_button type=”0″ button_below=”Y”]Get Instant Access![/optin_box_button] [/optin_box]


Combining Stencils & Background Stamps

Don’t you just love taking things that you already have and using them in new ways? Today I thought it would be fun to show you how to combine stencils & background stamps for an unexpected look! So dust them off, and let today’s video inspire you to create something fun.

I’m honored to be participating in a video hop today to celebrate my friend Justine Hovey’s 1 Million views on her YouTube channel! WOW – she’s worked hard over the years to create something special, and I’m so excited to celebrate alongside her and some good friends.

Justine will be posting new videos all month long and giving away tons of prizes too. So definitely check her blog out here for all the details. She’s doing something fun with the video hop – each video along the hop has a secret word somewhere in it. Make sure to collect all of them to enter! And I think you’ll find plenty of fun YouTube channels to subscribe to along the way.

Combining Stencils & Background Stamps Tutorial

The theme for the video hop today is Celebrate, so my mind instantly went to putting on a party and getting out my fun colorful serving dishes. Michael and I love to entertain! I have several in the color Olive, and the Spice Market stamp design reminded me of fun entertaining dishes – so I just HAD to combine the two in some way for you over on my YouTube Channel. And inspiration struck.

Here are all the details and exactly how you can create this fun project:

Click here to view in HD on YouTube

I used the Pattern of Rings stencil designed by Winnie & Walter for the Friendship Stamp of Approval Collection and combined it with one of my favorite background stamps – Spice Market by Hero Arts. And you can see – it’s a totally new look!

When combining stencils & background stamps yourself, look at recurring patterns. I chose the Pattern of Rings stencil because it was circles and there were lots of circular designs in the Spice Market stamp, so I thought they’d play well together.

Combining Stencils & Background Stamps

So now it’s your turn – raid your stash of stencils and background stamps and start to create some amazing patterns!

Till next time –

[optin_box style=”31″ alignment=”center” email_field=”email” email_default=”Enter your email address” email_order=”0″ integration_type=”aweber” double_optin=”Y” list=”3846012″ name_field=”name” name_default=”Enter your first name” name_order=”0″ name_required=”Y” opm_packages=””][optin_box_field name=”headline”]Learn more with our exclusive FREE video series[/optin_box_field][optin_box_field name=”paragraph”]PHA+TG9yZW0gaXBzdW0gZG9sb3Igc2l0IGFtZXQsIGNvbnNlY3RldHVyIGFkaXBpc2NpbmcgZWxpdC4gRG9uZWMgdmVsIG51bmMgbm9uIGxhY3VzIHZlbmVuYXRpcyBjb21tb2RvLjwvcD4K[/optin_box_field][optin_box_field name=”privacy”][/optin_box_field][optin_box_field name=”top_color”]undefined[/optin_box_field][optin_box_button type=”0″ button_below=”Y”]Get Instant Access![/optin_box_button] [/optin_box]


Supplies

To make finding the supplies I used in this project a bit easier for you, here are a few clickable links. Those that have multiple shopping options are indicated with letters – EH – Ellen Hutson, SSS – Simon Says Stamp. Compensated Affiliate Links are used when possible. Click here for disclosure. Happy Shopping!


Catherine Pooler Ink Party Collection Release – Blog Hop

How cool were Lydia’s projects? You’re probably arriving from Lydia Evans blog….well, it’s finally here – the long awaited Party Collection of inks! I have to say – I have been really excited about this new ink release and I’m just bursting ready to continue to show you how great these inks are – and the colors – I’m in love with the vibrant new – Catherine Pooler Designs Premium Dye Ink – the Party Collection.

Catherine Pooler Ink Blog Hop - Party Collection

Catherine’s inks initially debuted in November with a small release in the Foundations Box – exclusive stamp sets, card stock, acrylic block & just five little ink pads – everything you need to get stamping…they sold out in under 24 hours. Up until today, you could only get your hands on these beauties that way – well now you can get the entire collection + refills in the Catherine Pooler Store!

This is the first line of colors to be released, and they are bright, vibrant, cover amazingly and watercolor like a dream. Along with some of the best card stock I’ve worked with (and that’s saying a lot – I’ve been stamping for over 15+ years), you will not be disappointed.

catherine-pooler-designs-ink-party-collection

The inks are foam pads – and that’s to your advantage. It’s different than most brands available today – one of the pluses to that is that the coverage is so much better than felt pads. You just need a little love tap and your coverage is incredible.

Well, today the Design Team has a blog hop filled with colorful creativity for you. There are prizes too – so comment along the way!

I have three projects, so let’s dive right in:

#1 – Birthday Wishes

I thought I would have some fun with the Spot On stamp set that is exclusive to the Foundations Box – you’ll also get the Fiesta Blue and Twisted Orange ink pads in there. Pair them up with Tiki Torch and Something Borrowed and you’re all set.

party-collection-ingrid-blackburn-002

The thought behind this card was to use complimentary colors – blue and orange. The colors just pop and those awesome graphic circles give a ton of interest.

But my favorite is mixing the many greetings in this set – how awesome is it to use print and script together? LOVE that!

party-collection-ingrid-blackburn-001

Notice how perfect that Something Borrowed mat is for my card front? I just ran the ink pad down a the sides of my white card stock and created my own perfectly matching card stock….think outside the box when you need perfect color co-ordination next time.

#2 Thank You Watercolor Dream

Okay – you had to know that I would do a little watercoloring today…lol! I’m OBSESSED with the new Aquatini ink pad from the Party Collection. Let’s just start with the name – brilliant! All the names are fun actually. To get this watercolor abstract look, use the Wrinkle Free Distress Technique – only with these amazing inks – yup….distress move on over – there’s a new watercolor ink in town.

party-collection-ingrid-blackburn-005

I mean look at this watercolor dream – I LOVE…just LOVE how these inks sponge, watercolor and react with water afterward. Everything I’m looking for in Mixed Media, watercolor and many more techniques.

This project has a blend of Aquatini, Lime Ricky and a hint of Tiara underneath (seriously – those names rock!). I really worked the Lime Rickey and Aquatini to get just the right look. Flick a little clean water and you’re all set.

party-collection-ingrid-blackburn-006

Once dry, emboss a greeting and add some sequins. Here I added the new Still Smiling Thank You…I’ve been in desperate need of a great thank you card for a dear friend…as our personal belongings are still en route from Europe to our new home! So I’m a crafter without any cards….go figure – Still Smiling and simple amazing techniques to the rescue!

#3 CAS Thanks

I fell in love with project #2 – so I took my scraps from my trimmed down watercolor piece and stretched that technique piece into a great Clean and Simple card. The leaves are stamped and embossed in white from the Still Smiling stamp set and the greeting is stamped in what else – Aquatini!

party-collection-ingrid-blackburn-007

The greetings in this set are just priceless. You’ll have to check them out here. Isn’t that texture in the watercolor piece just awesome. I love how bright and vibrant it is…even after being diluted with the spritzed water/heat repeat!

party-collection-ingrid-blackburn-003

Well there you have it – just a quick little glimpse into the Party Collection at Catherine Pooler Designs. Now hop on next to Allison Copes blog for more colorful creativity!

I hope you had fun – see you VERY soon! 🙂

Signature

[optin_box style=”12″ alignment=”center” email_field=”email” email_default=”Enter your email address” integration_type=”aweber” double_optin=”Y” list=”3846012″ name_field=”name” name_default=”Enter your first name” name_required=”Y” opm_packages=””][optin_box_field name=”headline”]Learn more with our exclusive FREE video series:[/optin_box_field][optin_box_field name=”paragraph”]PHA+UGx1cyB5b3UnbGwgYmUgYWRkZWQgdG8gbXk8c3Ryb25nPiBGUkVFPC9zdHJvbmc+IENyZWF0aXZlIFRpcHMgRS1sZXR0ZXIgd2hlcmUgSSBzaGFyZSBleGNsdXNpdmUgcHJvamVjdHMsIHZpZGVvcyAmYW1wOyB0aGUgMTIgRGF5cyBvZiBDaHJpc3RtYXM8L3A+Cg==[/optin_box_field][optin_box_field name=”privacy”][/optin_box_field][optin_box_field name=”top_color”]undefined[/optin_box_field][optin_box_button type=”0″ button_below=”Y”]Get Instant Access![/optin_box_button] [/optin_box]

World Card Making Day Blog Hop

Hello World! Today is World Card Making Day, and what better way to kick off the day than with the Hello World Blog Hop with 22 designers all coming together for one purpose – to inspire you by creating cards using a brand new special stamp & die set designed for a great cause! The best part is that we have a little giving back going on this entire week. AND…guess what – you can participate too!

helloword-bloghop-1-1

My good friend Catherine Pooler, Founder of StampNation – a world wide community of crafters & Catherine Pooler Designs, has been wanting to give back from her business for a while now. But there are so many great organizations and causes – where do you start?

Well, one day this past August, one of her crafty friends (who happens to be a rockin’ stamp designer – that would be Chaitali Narla) contacted her to come together and do a little good in the world. The very next day Catherine saw another crafty friend, Jennifer Ingle,  post about a little cause she and her husband Sean were trying to raise funds for….and the idea for Hello World was born!

Sean Ingle teaches Civics & Government, Geography and Debate to kids in grades 6-8 in the Boston area. Their school does not have the funds for computers, a computer lab or in a library. So these kids, who don’t have computers at home either (they are all on a free or reduced lunch program), don’t get to learn the way most kids do today. Let’s be honest – most kids are exposed to computers from a very young age. Can you imagine not having that exposure for basic life skills as a young teen?

Sean’s goals are to raise enough money to have Chrome notebooks for the classroom so two students can share and get the exposure they need in the classroom setting. Wouldn’t it be great if we could raise enough so that all students had one?!!

So Catherine and the team at Catherine Pooler Designs put their heads together and came up with the stamp set Hello World. Chaitali’s favorite sentiment is Hello or Hi, so this set is illustrated by her, and says Hello or Hi in various languages from around the world. It has great sentiments to go along with that making it a more versatile set. All the profits from this stamp and matching die set from today October 1st through Friday October 7th will be donated to purchase Computers and other supplies in Sean’s classroom in Boston. Now that’s a worthy cause!

Here are the two sets that are giving back:

Be sure to stop by Catherine’s Blog at the beginning of the hop (link below) to get her full story, and if you’d like to donate directly to Click Here for the Go Fund me page – Chromebooks for Urban Education.

Now for a little creative inspiration using the Hello World Stamps & Dies….

Hello World Project Tutorials: 

#1 – Wordy Hello

This clean and simple card is pretty easy to put together. You’ll want to line up several of the sentiments from the Hello World Stamp set. I first lined them up with the hello, then removed it to ink and stamp it separately. I wanted to have an ombre feel to it, do I inked it up in light from the middle outward in the following colors: Soft Sky, Baja Breeze, Not Quite Navy – all by Stampin’ Up!.

For a darker result, ink up the hello in versamark first, then directly into Midnight Muse by Stampin’ Up!.  Heat set it with clear embossing powder for an added effect. Matte your card front with your darkest shade – here in Midnight Muse.

hello-world-ingrid-blackburn-word-play-001

I wanted the background to show all the fun dots from the new CP Designs stamp set YAY Stripes! For a fun look, ink up the bottom of the dotted stripe in a lighter shade, and the top in a darker one. That way when you stack them – you have dark/light contrasts in color. It helps to make it stand out a little more. I layered mine three times.

A few fun little orange hearts from the Lovely Flowers Stamp Set and some white twine up top and you’re all set!

#2 Elegant Hello

For my second project today, I wanted to do another clean and simple card, but a little elegant – enter embossing! Start out by embossing the solid stripe from YAY Stripes in Black on Black card stock. I LOVE that look!

For a complete contrast, emboss the butterfly from Butterfly Notes by Catherine Pooler Designs in Gilded Gold by Brutus Monroe. I love this butterfly – the detail on the wing and the outline are different and unique. It looks so pretty embossed – almost foiled!

hello-world-stamp-set-ingrid-blackburn-001

Continue to add some golden touches by dragging your Versamark pad along the edges of your card front and emboss in Guilded Gold. Emboss the Hello greeting from Hello World in gold on black and cut out using the Hello World dies. Adhere to your card front, put your card together and add some sequins – that’s it!

#3 Hello World Word Cluster

This last project is my favorite. I love word clusters, and this set is PERFECT for this technique. Word clusters is simply that – clusters of words. Arrange them first, then drop your acrylic block or Misti on them to secure them.

Here’s the biggest TIP to help you with word clusters – stamp them first on a piece of copy paper and keep as a guide. This way, if you mess anything up, you can easily and quickly re-assemble them and move on.

hello-world-ingrid-blackburn-word-cluster-003

To create this cluster, I removed the large hello, stamped the cluster in Soft Sky by Stampin’ Up!, added the Hello, stamped in Soft Suede, cut out with the Hello World Dies & popped it up for drama. The little word world never made my master – my master was always just the hello greetings. I stamped that in the open space after.

Matte your white card front so you have a 1/16″ border of Soft Sky on the top and bottom. Stamp the bold stripe stamp from YAY Stripes top and bottom so that you have a little peeking out. Adhere together and add a little Brown Bakers Twine up top with a bow – super simple and easy! This is a GREAT mass produced card. Just stamp all your pieces out at once and assemble factory line style.

So what did you think? I know they are easy for me, I was in a Clean and Simple mood the past few days. I have more coming this week with this stamp set, so be sure to stop back by!

Here’s the list of all 22 Hello World Designers to inspire you today. Be sure to stop by everyone’s blog. If you would like to purchase the Hello World Stamp Set & Hello World Die set, please visit the Store over at Catherine Pooler Designs. Here’s a link. Remember that all the profits from this stamp and dies set this entire week are going to fund this classroom – wouldn’t it be great if we could blast through the goal!  And if you want to directly donate, please click here.

Happy Hopping!!

Have a great creative World Card Making Day!!!

Signature

[optin_box style=”12″ alignment=”center” email_field=”email” email_default=”Enter your email address” integration_type=”aweber” double_optin=”Y” list=”3846012″ name_field=”name” name_default=”Enter your first name” name_required=”Y” opm_packages=””][optin_box_field name=”headline”]Learn more with our exclusive FREE video series:[/optin_box_field][optin_box_field name=”paragraph”]PHA+UGx1cyB5b3XigJlsbCBiZSBhZGRlZCB0byBteSBGUkVFIENyZWF0aXZlIFRpcHMgRS1sZXR0ZXIgd2hlcmUgSSBzaGFyZSBleGNsdXNpdmUgcHJvamVjdHMsIHZpZGVvcyAmYW1wOyB0aGUgPHN0cm9uZz4xMiBEYXlzIG9mIENocmlzdG1hczwvc3Ryb25nPiBQcm9qZWN0IFNlcmllczwvcD4K[/optin_box_field][optin_box_field name=”privacy”][/optin_box_field][optin_box_field name=”top_color”]undefined[/optin_box_field][optin_box_button type=”0″ button_below=”Y”]Get Instant Access![/optin_box_button] [/optin_box]