5 Card Ideas

5 card ideas with 4 new ink colors in the Spa line of ink by Catherine Pooler. BOOM! Or as my good crafty friend Laurel Beard likes to say…BOOM BOOM!

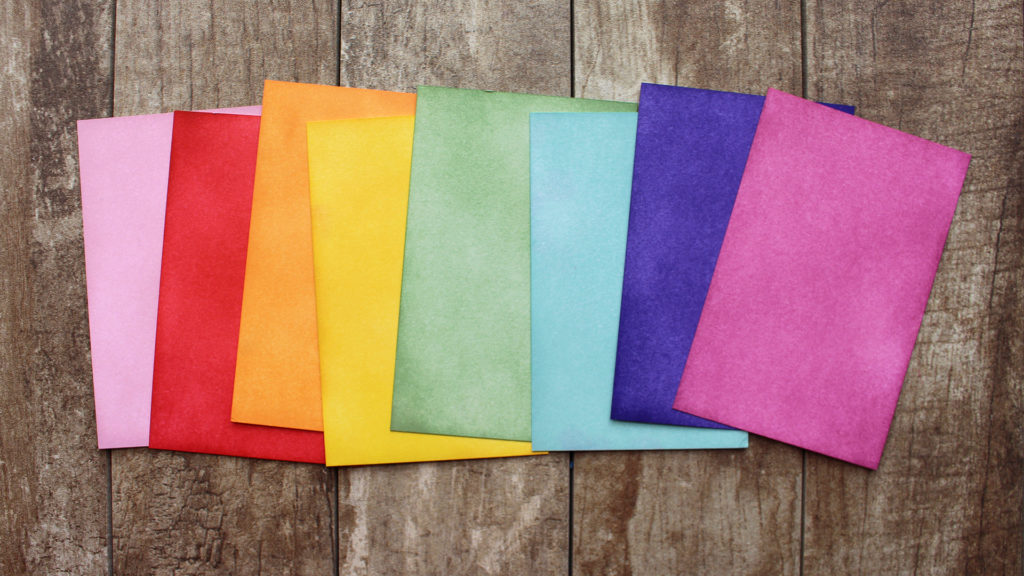
That’s right, Catherine released the final four colors to complete the Urban Oasis collection. These are spa inks, so muted colors – but boy do they pack a punch when used together – just look!
The Creative Grove Ingrid Blackburn

I love good solid card designs, and here are some fun ones for you. Because we always need go to looks that are always home runs, right?

But wait, there’s more…In addition to these 5 card ideas, I even have two videos for you. SOLD! Let’s dive right in…

Frosted Sangria Blossoms – the card that almost wasn’t. I posed this question to my newsletter subscribers first and then to my community over on YouTube. Sometimes a card just doesn’t work out the way you want it to. This first one was just that.
5 card ideas

Now, mind you… it wasn’t the stamp set – it’s a great elements set that is quite versatile. And, it most definitely was not the inks. I don’t even think it was the layout. Something just didn’t click.

I filmed my struggle for you, but was unsure of whether or not you’d want a video? The card isn’t rocket science, and my videos are more about techniques, not just making an easy card like this. (#shameless channel plug…Subscribe here lol) That’s not why you watch my videos, let’s be honest.

So what am I even talking about? It’s about the very real struggle we all sometimes go through when cardmaking – it just not working out as planned, and troubleshooting that very struggle, along the way. If you do want to see a video on THAT, leave me a comment!

And more importantly, if you don’t – me mentioning it here is enough – that’s totally fair, and I definitely want to know that too. 🙂 Let’s get to it, shall we?

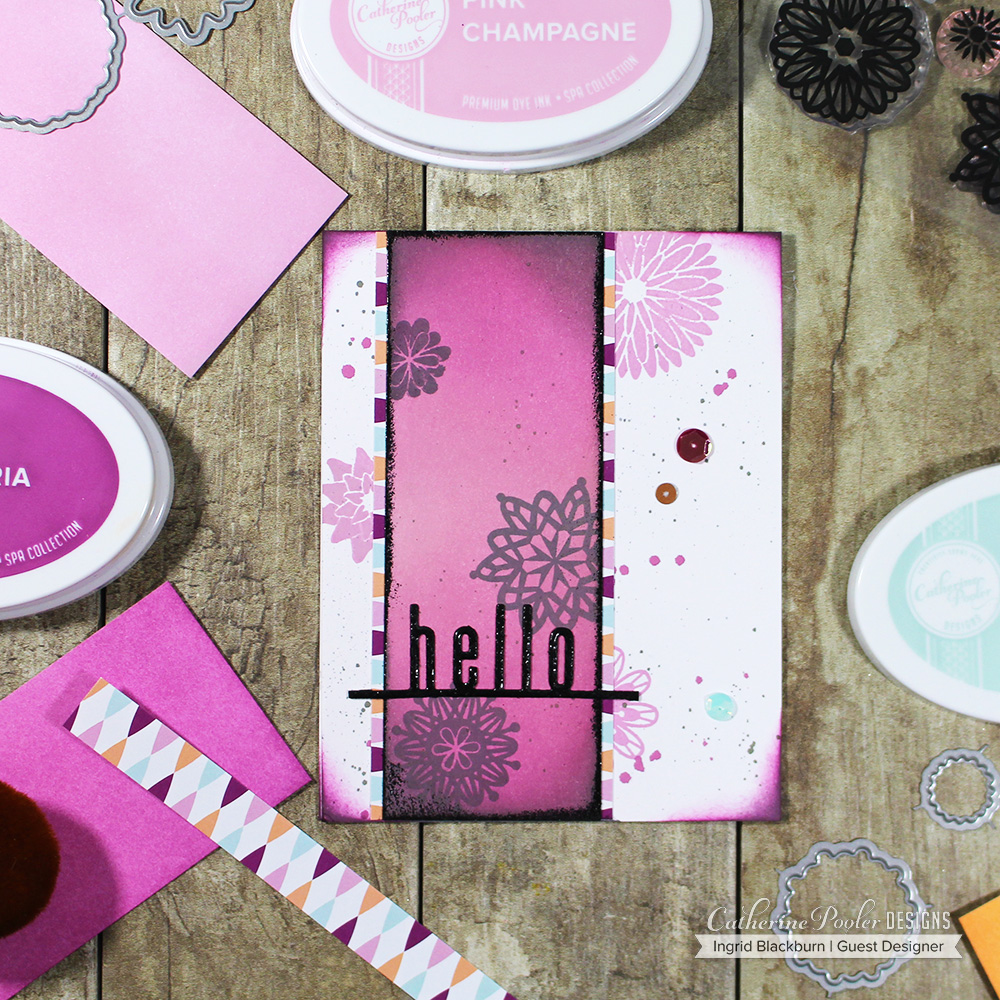
Card Idea no. 1 – Frosted Sangria Blossoms

Spoiler alert – without all the little, I like to call them ‘somethin’ ‘somethin’ techniques on this card – it just does NOT work. Do you like it?
5 card ideas

You’ve heard my little story… So, should I make the video, or pass? Would you watch? Feel free to tell me what you would be interested in seeing too, that’s always of great value to me.

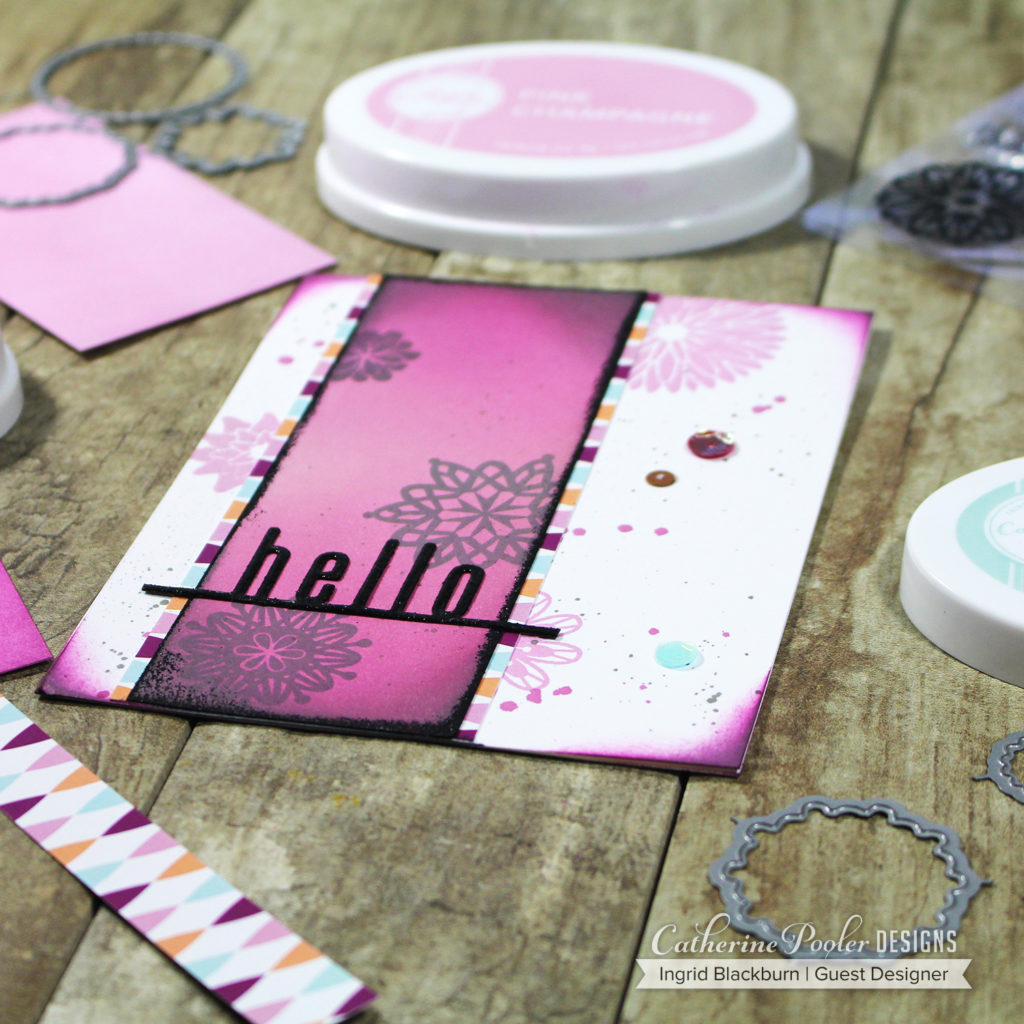
Card Idea no. 2 – The Classic Strip

You’ve seen it before, and you’ll see it again – the classic strip card. No that’s not a dirty word…seriously get your mind out of the gutter…lol!

Here’s the deal – sponge, watercolor, smoosh, however you wish to do it, and use all the colors of the rainbow. I chose to use each color of the now complete Urban Oasis spa ink collection by Catherine Pooler. These inks are muted, and SO my thing.

Next, Cut down little 3/8″ strips, assemble, lop off the edges and matte. THAT’s it. BAM! (inner Emeril Lagase). And you have a super easy card to make. Seriously, think patterned paper – theme it, white on white, embossed black on matte black – whatever you want!

You just got some great ideas, didn’t you? I see the wheels turning….

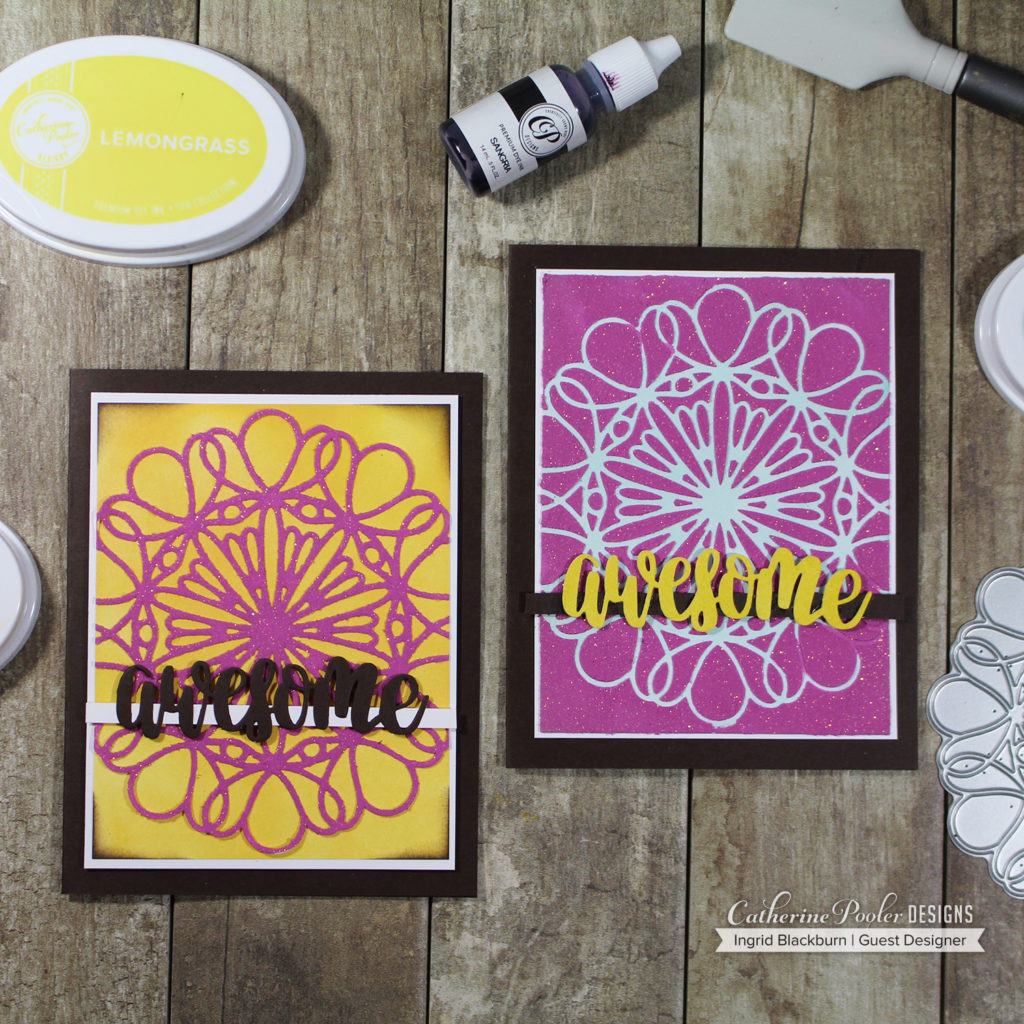
Card Idea no. 3 and no. 4 – DIY Colored Glitter Paste

Okay, the video on this one says it all. Actually it shows it all. These two cards do NOT photograph as pretty as they are. The texture, sparkle and strangely weird color combination are very cool, you’ll just have to trust me on that.

Watch on YouTube

Making your own glitter paste could not be ANY easier. Paste + Glitter = Glitter Paste. Okay – spoiler….but did you see what I did in the video to color that paste? Is it with perhaps a tool you have in your own craft room, which you forget to use all the time? Hummm…….
Card Idea no. 5 – Galaxy Card

Are you addicted to galaxy cards as much as I am?

Watch on YouTube

I can not tell you how many I have pinned, between aurora borealis cards, nebula’s, and just galaxy skies – we’re talking hundreds…if not a thousand inspiration photos. Here’s a video on just how easy it is to create your own with ink blending. Pay attention the the end, that final corner tip makes the card!! (seriously watch it, it’s only 5 minutes).

I have a killer watercolor version coming in the next few months – that’s a true painting tutorial, you interested?

Okay – so if you haven’t heard yet….Catherine Pooler released four new ink colors and a whole slew of new products – some very cool products. I just used one stamp set, a little paper and sequins…wait till you see the rest. Click here to see those.

Till next time, thanks for reading, watching and if you haven’t already (get on that…) commenting!

Ciao –

Here’s what I used…. I’d love it if you shop through my links – it keeps me making videos for you – you know, those supplies are not cheap! I appreciate you supporting my art – check out the Patron page too! 😉

New Craft Stash Blog Hop: Day One – Creating Sunbeams in Scenic Cards Video

How to create Sunbeams on a scenic card

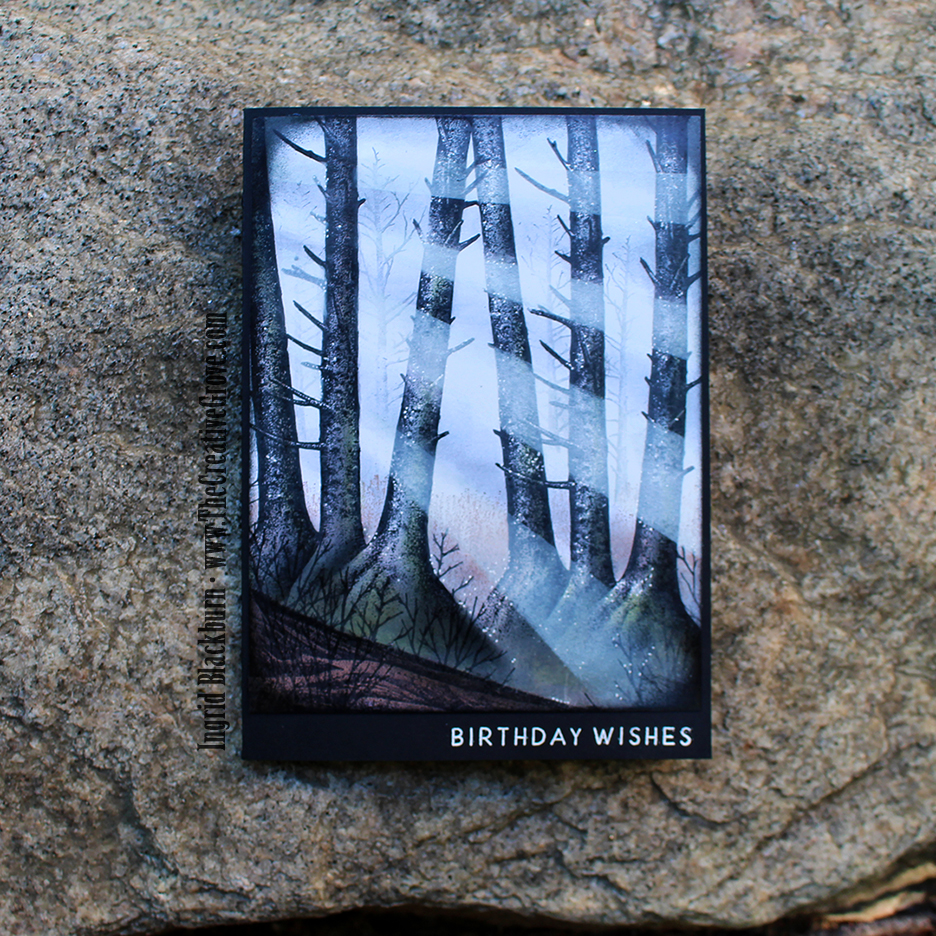
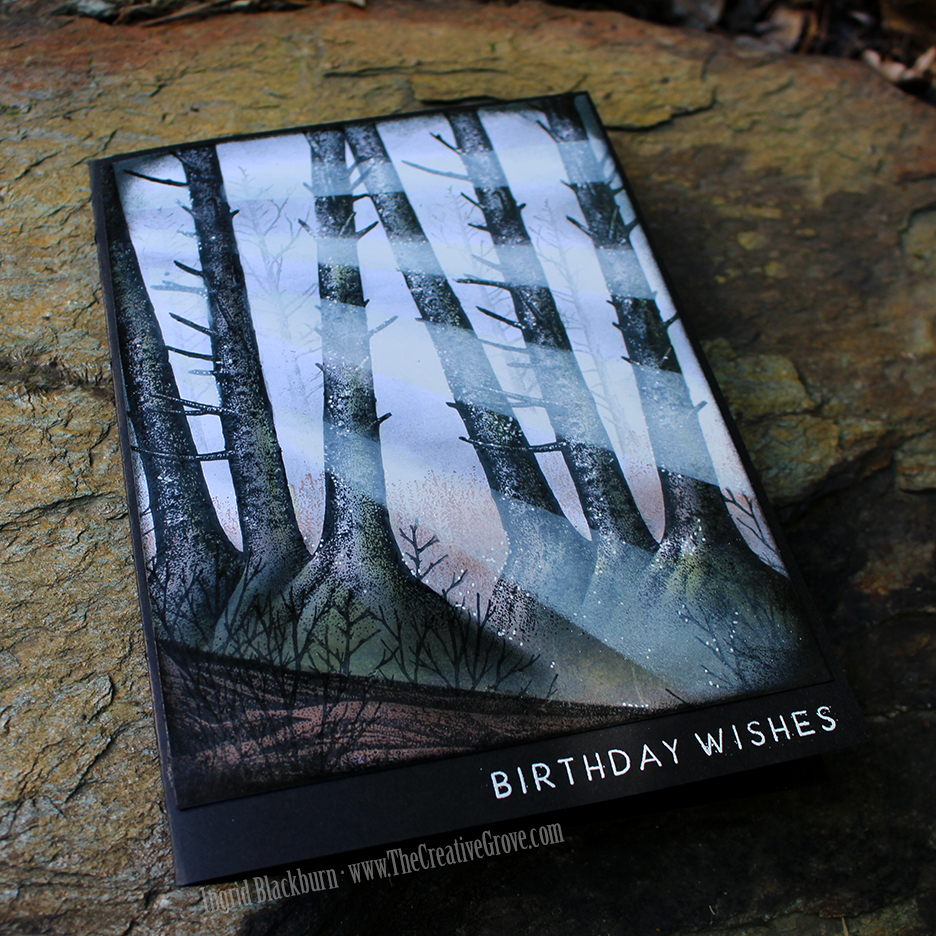
Welcome, today I’m hopping along with some crafty friends, well….just because! Several weeks ago, several of us were chatting about how we have all this “New” product just kind of sitting around, and it occurred to us to break some of that out and have a “just for fun” blog hop! So naturally I thought – I’ll create a scenic card and make Sunbeams on a foggy day with my new Mossy Tree Trunks stamp that I’ve had for eons, but have never used…so “new” to me!

Do you have any craft supplies sitting around that are “new” because you haven’t used them? Break them out!

So here we are – over the next 3 days, we have a fun filled hop each day for you. Come get inspired and be sure to comment along the way to be entered for a chance to win one of six prizes plus a few more from several of the blogs along the way!

How to Create Sunbeams on a Scenic Card Tutorial

Click Here to watch in HD on YouTube

Creating  sunbeams is actually quite easy on your project. The most important thing to remember is to pick a lightsource and have everything emminate from that spot as in the video.

Here’s a photo I took while walking in the Black Forest in Germany one morning. See how the sunbeams just pop out of the scenery, and come from one fixed point?

Sunrays in Forest

Pigment ink sits on top of paper vs. dye ink that soaks in. So when you layer your pigment  sunbeams, they’ll create a diffused ray that sits on top of your stamped image. I chose to wipe a slight ray away from my stamped image to help accentuate this beam of light, but it is not necessary.

One of the most important points to remember is that to really allow your “light” to show – you need dark as well. That contrast is what makes the scene – dark vs. light.

To help give the scene a mystical look, try to keep your background “in the fog”. I was born and raised in San Francisco, so I naturally love fog, and miss it terribly – I know I’m weird. So I thought – let’s put it into our project! To create that mystery in the background, don’t over stamp or color. Keep the light in the scene – and make sure you’re stamping any background images really light. In the video, you’ll see that I stamped the images off onto scratch paper up to 4 times before stamping on the glossy cardstock.

I use Kromecoat 12 pt. glossy cardstock for my scenic cards. It’s a nice heavy weight glossy cardstock. You’ll also want a dye ink that doesn’t dry immediately – I like to use Memento, Distress Dye and Catherine Pooler Designs inks along with the Colorbox Stylus Tool with sponge tips. This card is sized 5 x 7″.

Of course, to see all the tips and tricks along the way – you’ll have to watch the video, don’t worry, I sped a ton of it up – this project took me nearly 2 hours to complete – but is so realistic, it was worth every minute. There’s a great transition at the end of the video that showcased the evolution of the card.

If you’d like to see another fun project I created using pigment ink in a scene, be sure to check out my Harry Potter Scenic Card here. In that one you’ll learn how to use pigment ink in a circular way to create an explosion of light. There’a a video too!

I hope you enjoyed this tutorial!

Blog Hop Prizes

Comment to Win Prizes

We have some amazing sponsors & Prizes:

PLUS….

I’m giving away a prize pack to one lucky commenter from one of my blog posts! So be sure to leave comments on all the blogs – all three days for your chance to win!!

So now it’s YOUR turn to hop along and be inspired by some of my crafty friends. Thanks for taking the time to hang a bit with me today. I’ll be back in a few days with a mixed media project for you. And stop by tomorrow as well – I’ll post that hop list too!

Day One Blog Hop List:

  1. Ingrid Blackburn – You are Here
  2. Jenny Colacicco Hop here Next!
  3. Ashlea Cornell
  4. Karen Baker
  5. Ali Farmer
  6. Catherine Pooler
  7. Allison Cope  
  8. Veronica Zalis

Day Two Blog Hop List:

  1. Melissa Miller
  2. Tracey McNeely
  3. Kelly Martin
  4. Amy Seigler
  5. Michelle Wallace
  6. Ilina Crouse
  7. Maureen Merritt  
  8. Nance Salkeld
  9. Deepti Stephens

Till then – keep those fingers inky –


Supplies

To make finding the supplies I used in these projects a bit easier for you, here are a few clickable links. Compensated Affiliate Links are used when possible. Click here for disclosure. Happy Shopping!


All That Jazz: New Release from Catherine Pooler – Blog Hop

Catherine Pooler All That Jazz Ink

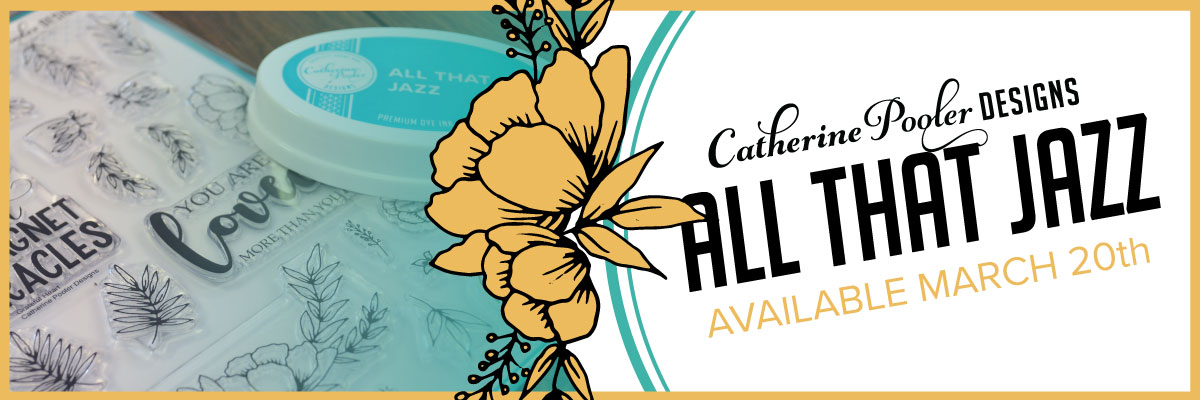
Welcome to the All That Jazz release blog hop – Day One! I’ll be honest, every time I type All That Jazz, I hear a broadway chorus sing it and see jazz hands…lol! Now you will too, sorry about that! So, it’s only fitting that we have that singing around in our heads while looking over all the gorgeous inspiration the Creative Team came up with, right?

Today marks the first day of three amazing project inspired days for the next release over at Catherine Pooler Designs. And what a release it is. It’s literally packed with new cool products (many of which I’ve used today), the previous Stamp of Approval Counting Blessings Collection (one of my all time favorites) and drumroll….you’ve been waiting….the ink color All That Jazz.

If you were lucky enough to nab a Naturally Inspired SOA last June, then you have this deep Teal that’s part of the Party Collection of Inks. If not, it’s finally here!!

Catherine Pooler All That Jazz Ink

All that Jazz Tutorial #1

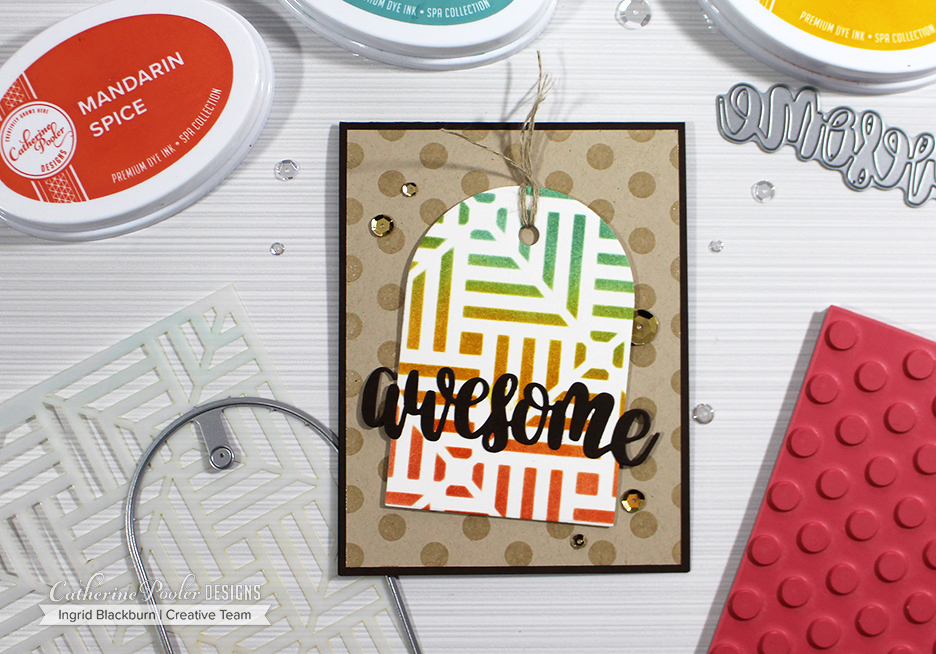
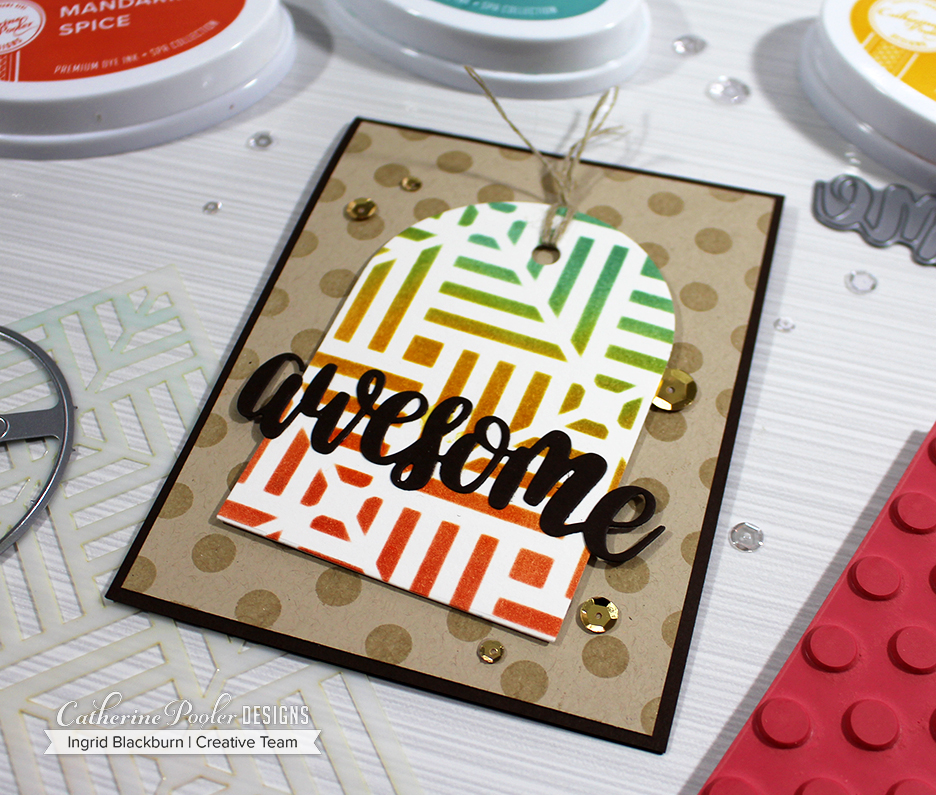
So let’s dive right in. First up is a quick, fun little project that works for just about any occasion….I was tempted to pop a have a…birthday on there, but then decided to leave it just Awesome.

Catherine Pooler Designs Stencils - All that Jazz

Isn’t that stencil pattern just WAY cool? It’s called Square Dance and you can get it on the 20th in the stencil section over at Catherine Pooler Designs. This stencil has SO many possibilities. I’m just getting started. WAIT till you see what I have up my sleeve for it later this week!

To get this look – sponge some Sauna, over lap it with Mandarin Spice and Daylight and voila! I used watercolor paper to get a smooth blend, and then cut out the tag using the Tags, Etc. Dies set. That’s an awesome collection of shapes and embellishment dies that everyone should have.

Pop it up onto a fun simple embossed in clear background using the new Doin’ the Polka Background stamp. Who doesn’t need a fabulous Polka Dot background stamp. They are just the right size – there, but not over powering, you know?

Catherine Pooler Ink - All that Jazz

To keep the muted theme going cut out the new hand lettered awesome die and you’re all set. I just LOVE that Chocolate cardstock. Oh speaking of cardstock….um…did you notice the Sand Dunes? YUP – it’s NEW. The perfect shade of sandy goodness.

All That Jazz Tutorial #2

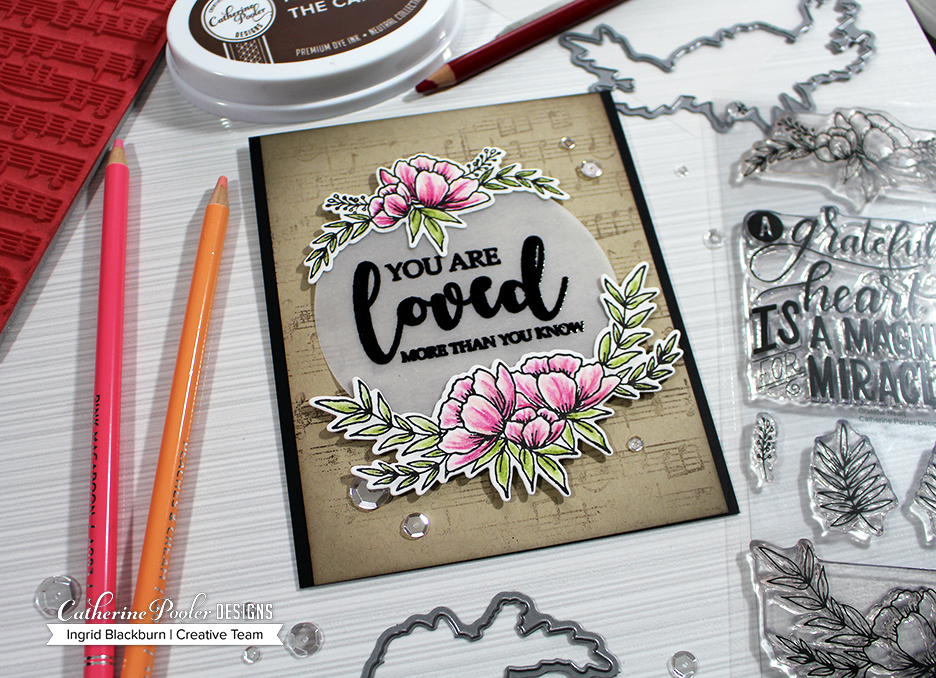
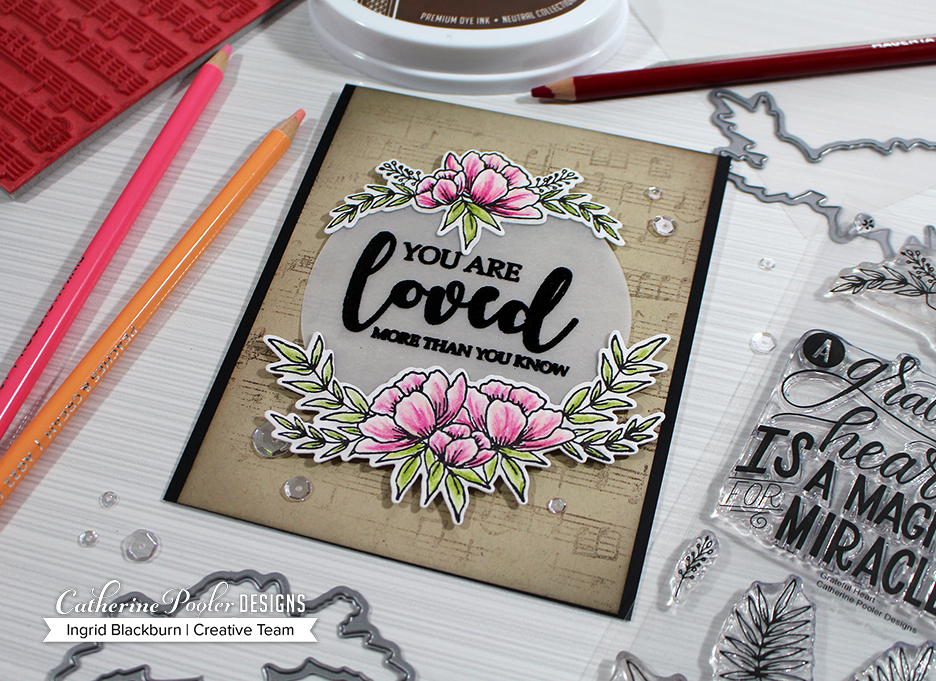
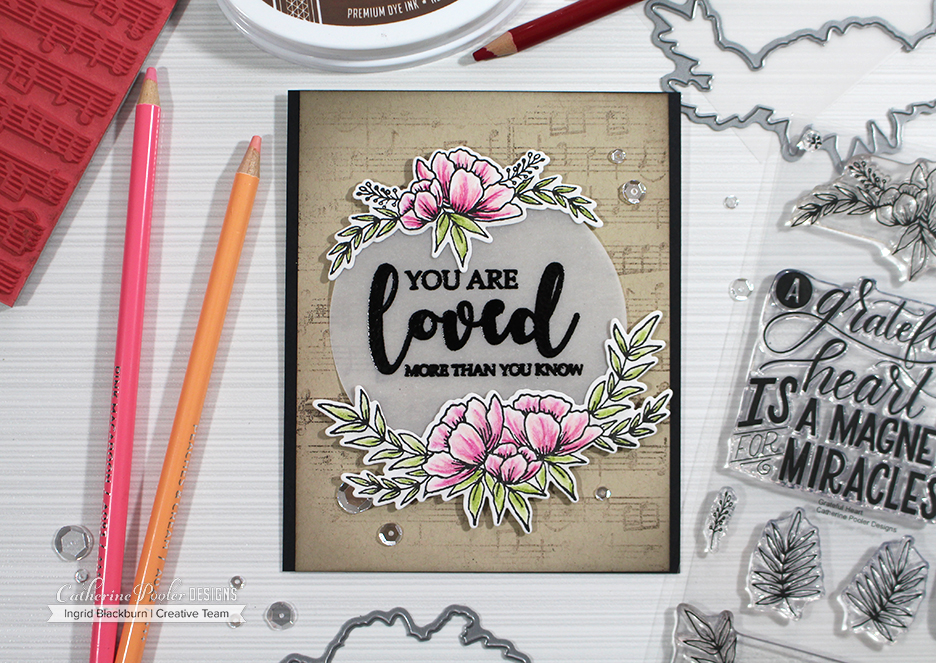
Next up, I have to admit, it’s one of my favorites. When Catherine showed me the Grateful Heart stamp set designed by our very own Creative Team member Lydia Evans, I nearly fell over. True story. This stamp set is SO unbelievably gorgeous it’s crazy! What I love about it the most is that you have all the images as singles AND two huge floral sprays. So masks your own creation, or just stamp – brilliant, right?

All That Jazz Ink Release - Grateful Heart Ingrid Blackburn

First, stamp the two floral sprays in Midnight ink and then use some pretty colored pencil shades to bring then to life. First add some green to the leaves, I used some colored pencils from Arteza, then create some shadows around the images in light grey keeping in mind where your light source is. You’re going to cut them out, so do the shading first.

Now it’s time to color. Start with your darkest shade for your petals, keeping your strokes light. Feather in some light pink and then blush. Blend your colors with some gamsol and a blending stump and you’ve got a beautiful little creation. Cut each spray out with the coordinating dies from the Grateful Heart Dies Collection. Since it’s so intricate, I used some washi tape to hold them in place.

All that Jazz - Catherine Pooler Ink

Next use the Circles Dies to cut a large circle out of the new Vellum Cardstock – YES, another new paper. I’m a sucker for Vellum cardstock. This one is 48# weight and just gorgeous. It’s heavy enough to hold up to techniques, yet you can still see through it. Emboss one of the two sentiments in the set onto your circle and glue your spray keeping them off-centered.

Using that gorgeous Sand Dunes cardstock, imperfectly ink up the new Music Notes background stamp in Icing on the Cake. Take a paper towel and dab a little away. Stamp onto scratch paper and then stamp onto your Sand Dunes cardstock. You want that stamped off look so it doesn’t overpower your card. It’s background music support, the flowers are the main show.

To give the card a soft look, try adding some super light sponging around the border with the icing on the cake. I wanted to keep it not just brown, so I used my black sponge tool. That way whatever was on there from last time, mixed with my brown Icing on the Cake and I got this gorgeous aged look.

TIP – put the pressure on your tool that is off your project, kind of angling it so that you keep the pressure SUPER light.

Grateful Heart Stamp Set and Dies - Ingrid Blackburn

Pop up your flowers and mount onto a black base. My card measures 4.5 x 5.5″. I wanted it a bit wider so it wasn’t too skinny on the sides. I’m sending this card to my mom. I know it’ll make her smile. 🙂

What did you think? I’d love to hear which one is more your style! In addition to the previously released items (counting blessings collection and all that jazz ink pad), there’s also a new hand lettered wonderful die just like the awesome die, and some fun new 6×6 patterned paper – more on that Tuesday ;).

All That Jazz Blog Hop Prizes

Here’s the full hop in case you missed any on the way here. Be sure to comment along the way. There will be five lucky winners that get two free ink pads & free shipping on their order!! 🙂

  1. Catherine Pooler   <– Go Here Next!
  2. Josefine Fouarge   
  3. Melissa Miller  
  4. Jenny Colacicco  
  5. Karen Baker 
  6. Justine Hovey  
  7. Ilina Crouse  
  8. Maureen Merritt  
  9. Allison Cope  
  10.  Ingrid Blackburn  You are here. 🙂

Thanks so much for stopping by today! I hope you loved these couple of projects. Of course if you’re a StampNation member, you’ll get to order early tomorrow – perks of membership! Everything goes on sale Tuesday March 20th over at Catherine Pooler Designs. Be sure to hop along the next two days too. Just start over on Catherine’s blog.

All That Jazz - Catherine Pooler Designs

And stop by here too. I’ll have some more creative fun for you! See you then.

Supplies

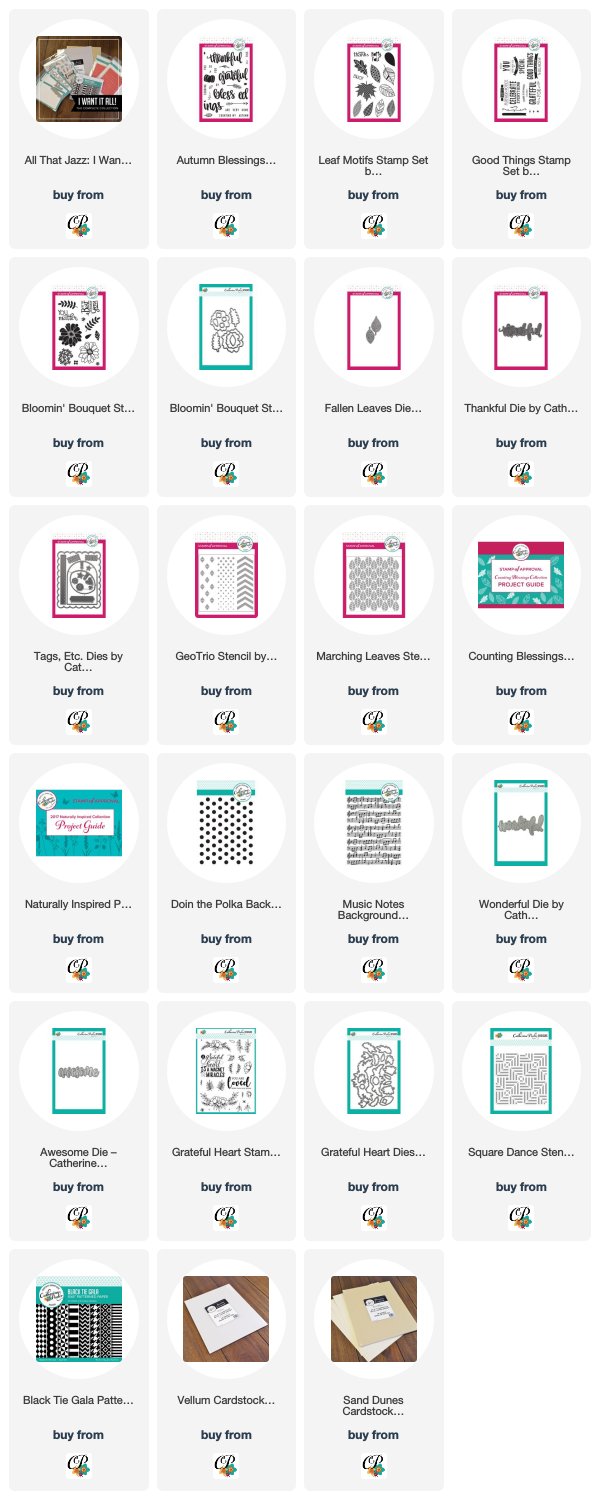
To make finding the supplies I used in these projects a bit easier for you, here are a few clickable links. Compensated Affiliate Links are used when possible. Click here for disclosure. Happy Shopping!


FULL Release – Available now!!