It’s release day over at Catherine Pooler Designs, and we’re kicking it off with a creative packed Blog Hop – it’s the Spring Fling Release!
Today, the shop has some brand spanking new Inks! Yes, the Party Collection just got 8 new colors…and I even managed to use them all on one project below.
In addition to the new ink pads & refills – there is a great floral stamp set – Beautiful You, a fun sentiment set – Simply Stated, my favorite new background stamp – Modern Damask and that’s just the stamps! Catherine also released two circle die sets – one with embossed dots (Dotted Circles), a go to regular set (Circles) – that matches many stamps, and three word dies – Spot on Sentiments.
I have to say, the Party Collection of Catherine Pooler Inks is quickly becoming a necessary go to for me. I’m in love with the vibrant fully saturated colors, and although today’s release looks more on the pastel side…let me tell you – they really pack a punch! Just take a look at all this color goodness:
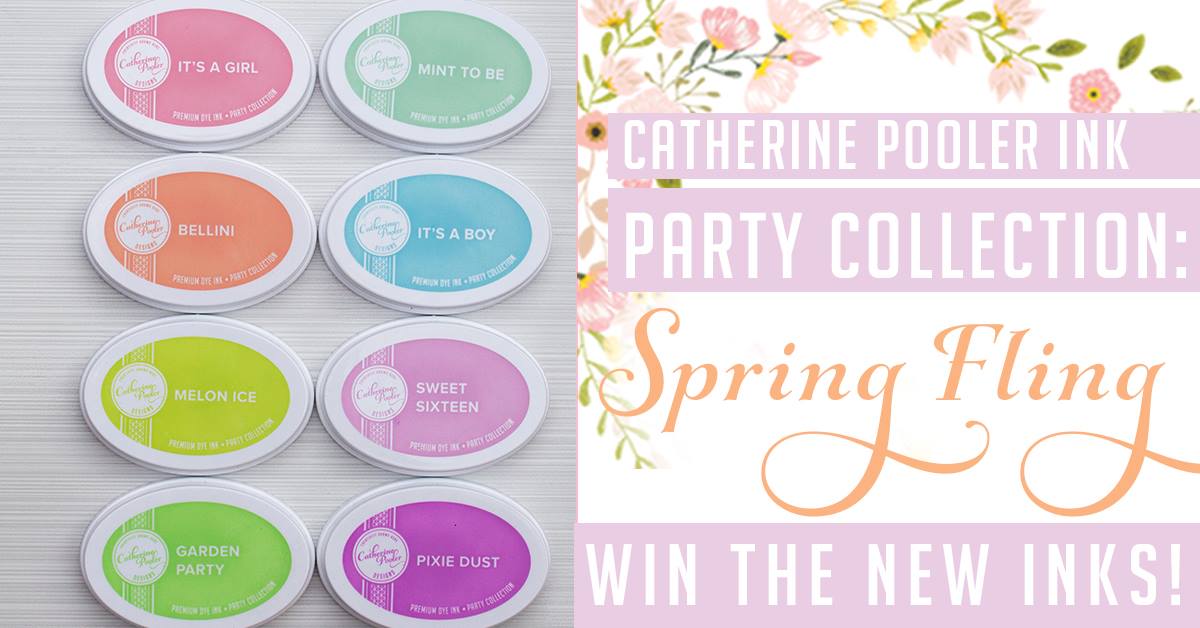
I found it interesting that the colors I wouldn’t normally gravitate toward, I keep reaching for – they are just that cool! Check them out yourself in the store here.
Now for the creative fun, as I mentioned this is a Blog Hop, so after you check out my projects, be sure to see the amazing projects the rest of the Dream Team made!
Beautiful You
I thought I’d keep this one simple for you – three slightly masked flowers from the Beautiful You stamp set – I LOVE this set, and can’t wait to show you SO much more with this (yes, you’ll have to keep coming back…lol).
You’ll want to use Sweet Sixteen and Pixie Dust to color the smaller flowers, and then layered both colors using an Aqua Brush for a little more depth in the larger flower.
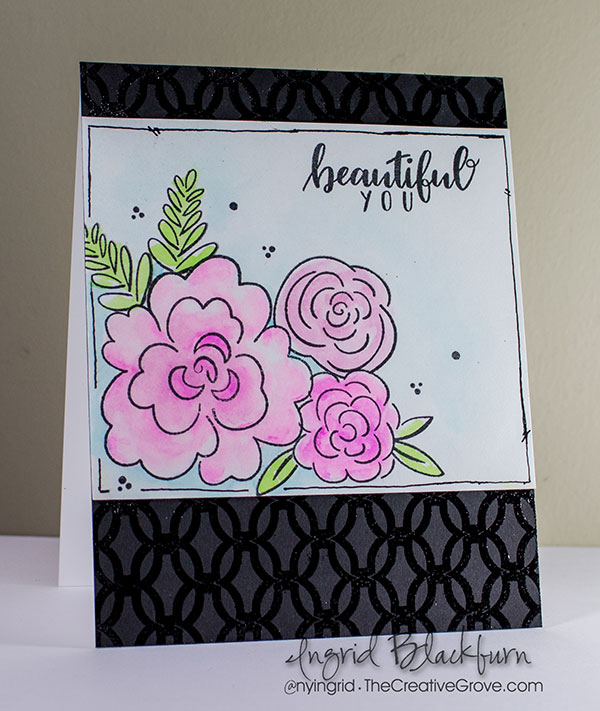
The leaves are colored with Garden Party, and for a little background interest – use It’s a Boy – it’s PERFECT for sky, and around flowers. I kept it quite diluted the further out I went, but stronger right up against the flowers.
Stamp a few of the filler images (can’t have enough of those), add your sentiment and draw a border to tie it all together with a micron pen.
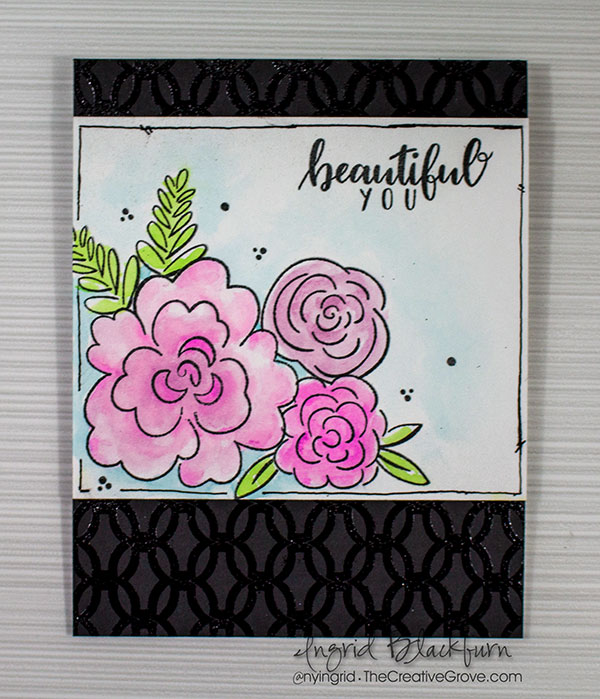
To use the ink pads – just smoosh them on an acrylic block and you have a quick watercolor palette.
To give this set an elegant garden look – pair it with the Lovely Lattice background stamp – it’s perfect for this card. I love it black on black, don’t you? So simple, yet it really finishes the card off.
Spring Fling Rainbow Congrats
I wanted to really see what these new colors could do, so I created a Wrinkle Free Distress technique piece with each one. Let me tell you, they didn’t disappoint. I was actually quite surprised at how vibrant they actually were. And here they are all together – how could you not love these?

I am going to use the majority of these pieces for a few projects coming up in the next few days, but for today – I wanted to see what all 8 would look like on one card. How fun is this card – it’s happy, colorful and just fun.
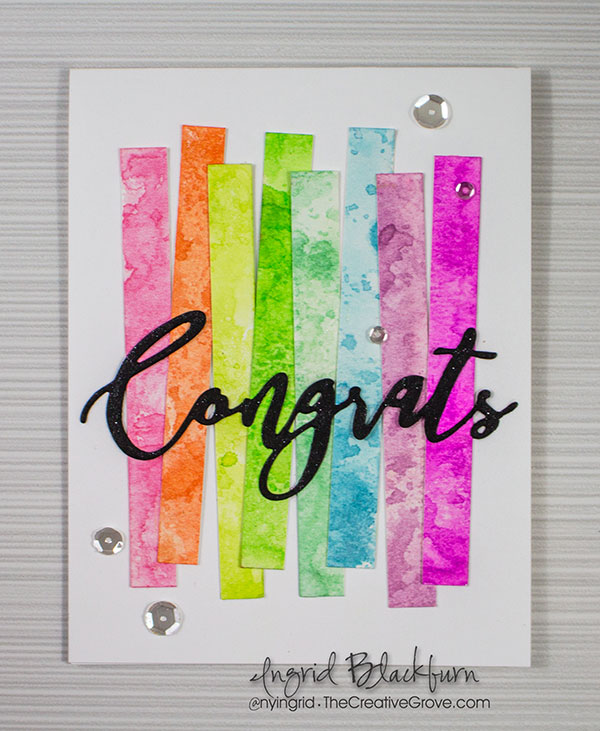
Once you have your technique pieces – click here for a video on how to do the wrinkle free distress technique that I used to create those, trim off a 3/8 or 1/2″ strip of each. Overlap them onto a card base and adhere your sentiment right over.
To add a little bling – run a Spectrum Noir Sparkle Pen over your sentiment and add a few Sequins.
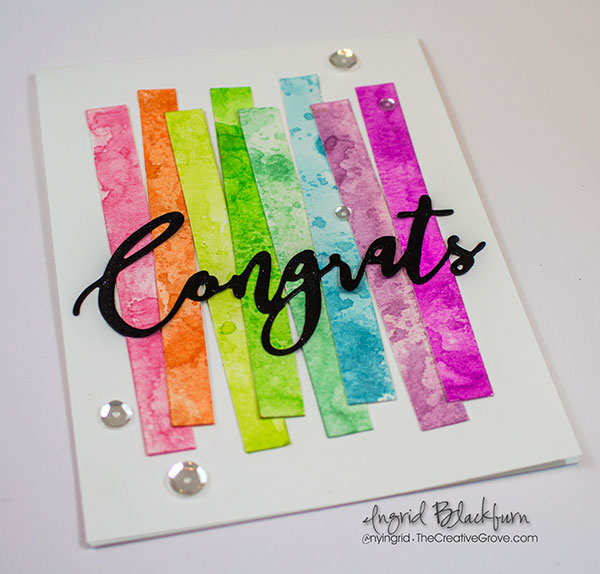
That’s it! You can see how quickly you can make several of these.
Thanks for hanging with me for a bit – now you’re off to the VERY talented Lydia Evans – I know you’re jaw will drop when you see what she’s created for you!

Be sure to comment along the way too. Catherine is going to draw three winners from the blogs – you may just find yourself with an ink collection of your own! 🙂
Blog Hop List:
- Catherine
- Lisa
- Kristie
- Laurel
- Maureen
- Taheerah
- Ingrid – You are Here
- Chrissie – Hop here Next!
- Melissa
- Deepti
- Lydia
- Heather
And stop by in the next few days for more creative fun with this collection! Happy Hopping!!

[optin_box style=”31″ alignment=”center” email_field=”email” email_default=”Enter your email address” integration_type=”aweber” double_optin=”Y” list=”3846012″ name_field=”name” name_default=”Enter your first name” name_required=”Y” opm_packages=””][optin_box_field name=”headline”]LEARN MORE WITH OUR EXCLUSIVE FREE VIDEO SERIES[/optin_box_field][optin_box_field name=”paragraph”]PHA+TG9yZW0gaXBzdW0gZG9sb3Igc2l0IGFtZXQsIGNvbnNlY3RldHVyIGFkaXBpc2NpbmcgZWxpdC4gRG9uZWMgdmVsIG51bmMgbm9uIGxhY3VzIHZlbmVuYXRpcyBjb21tb2RvLjwvcD4K[/optin_box_field][optin_box_field name=”privacy”][/optin_box_field][optin_box_field name=”top_color”]undefined[/optin_box_field][optin_box_button type=”0″ button_below=”Y”]Get Instant Access![/optin_box_button] [/optin_box]
