Welcome to Spooky Hollow today! At least that’s what I’m calling my blog for the day. I love the new Halloween collection by Catherine Pooler Designs, and today I’m going to continue showcasing just how cool it really is. That’s right – it’s a Blog Hop – Day Three in fact, and it’s loaded with great artists, creative genius and a little fright, creepy and spooky fun!!! Let’s dive right in!
If Halloween isn’t your card jam – no worries – did you know there’s cool fall and geometric goodness too! Let’s take a quick peek at the collection available:
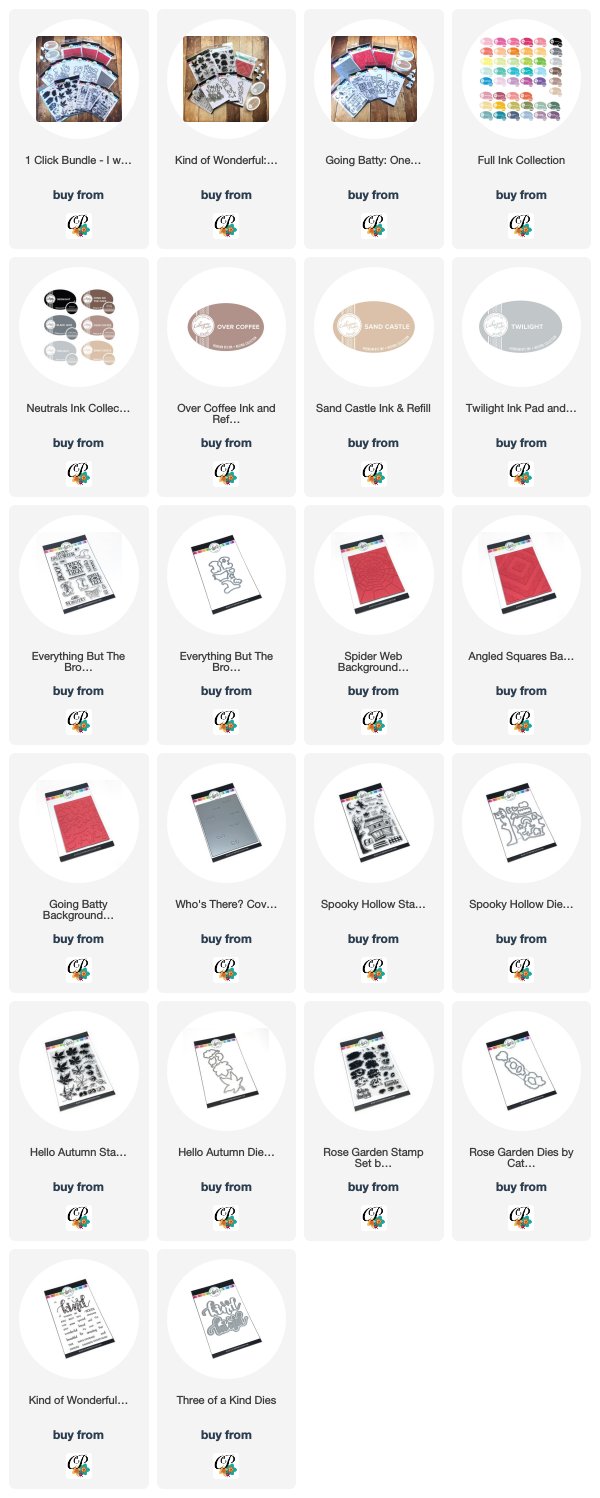
Did you see those Three of a Kind Dies and Kind of Wonderful stamp set?!! You’ll have to stop back by this weekend to see a little with those. And be sure to hit everyone’s blog (leave a comment to win prizes too) – especially Nanette Tracy at the end – she’s the illustrator behind those gorgeous two pieces.
The Halloween collection is the creative genius of our newest illustrator – Natalie Green. And let me tell you – what a debut! I’m not a big halloween person, and I seriously can’t stop creating with it. I have SO many ideas. What I love about the collection is the funky, fun vibe it has. From the Spider Web Background, Going Batty Background (they are the coolest bat stamps I’ve seen) to Spooky Hollow and so much more – they are just too much fun to stamp with. Here’s a little taste…
Project No. One – Trick or Treat
We all need a sweet little card now and then, and this one I made for my nephew Matthias. He’s 3 1/2 and loves hats. In fact – he freaks out if he doesn’t have one at any given moment…lol! What can I say, he’s got style. So I thought the witches hat from Everything but the Broom (seriously love that name), was the perfect little piece to hang off the sentiment – well, with the funky little spider of course…lol!

Don’t you just LOVE all those fun little elements? And the little pop of color behind the greeting – that is SO super simple to do. All you have to do is drag (lightly) your ink pad over some scrap white cardstock. Remember they are foam ink pads – but the beauty of them, is because they are foam, they release a crazy amount of ink. And voila! you have the perfect, and I mean PERFECT shade of cardstock to match.
To color in the super cool hat, I used a Zig Blender pen and just dabbed it into some Twilight and Lime Rickey ink. Presto – my own coordinating markers. Seriously – I need to save my dollars to buy stamps – why have to buy extra colored cardstock and markers, etc…All you need is some Catherine Pooler Bright White Cardstock and a Blender Pen!
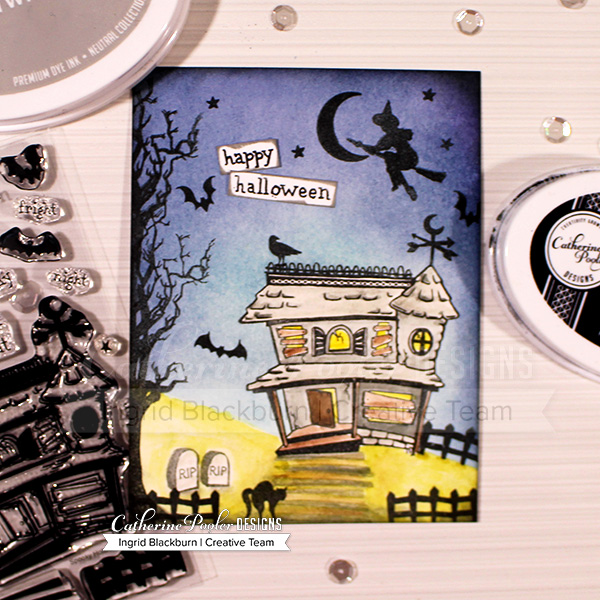
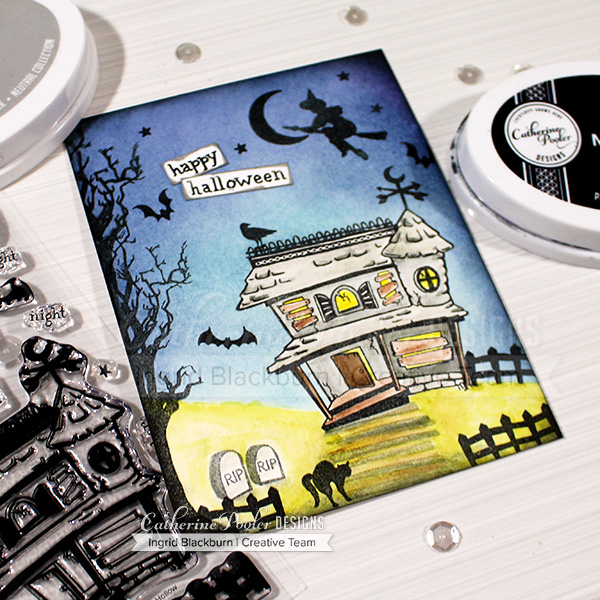
Project No. Two – Spooky Hollow
Alright, you all know I LOVE scenic cards. This stamp set SO does not disappoint, and the best part – it’s like nothing I have in my stash. AND it’s loaded with images. This haunted house is SO cool. The details are insane on it – Natalie really outdid herself.
I created a video for you too in addition to the written tutorial below:
To see it in HD on YouTube Click Here
I created a one layer card here, so I figured out where the main scene was going to go first.After you’ve figured that part out – stamp your house onto scrap paper (cut out just inside the line) and onto Watercolor Paper with Midnight Ink. Midnight is safe to watercolor with, so it’s my only choice – it’s so easy to use and always does the trick.
Create a palette on an acrylic block by smooshing your inks and watercolor your house with a water pen. Dry and cover with your mask that you made from Masking Paper. Be sure you have that little part between the wooden beam and house cut out too. You’ll want your night sky to show through there.
I used Sauna, Over Coffee, Icing on the Cake, Twilight, and Black Jack for my palette.
Mask off your hills and ink blend your sky. Because it’s watercolor paper, ink blending is much for forgiving. I used It’s a Boy, Stone Blue, Daylight, Juniper Breeze and Grape Crush. For the Hill, you’ll want to use Green Tea and a little Twilight and Over Coffee. Before you do your hills though, be sure to stamp your steps in Twilight and Headstones in Black Jack.
Use your water pen to add some detail and fill in your hill, steps, side of the hill a bit more. You can do things like ground your headstones – and I’m realizing now that I forgot to ground my house – sheesh!
Stamp your Tree and other elements in Midnight. To elongate the tree – I stamped the upper half leaving the bottom branches uninked at the top. It was rather easy to do and really makes an impact as a monstrous tree in my little Spooky Hollow scene.
To add a little balance – you’ll want to stamp your witch and moon on the other side of the tree. Don’t you just love those little wonky stars and bats. Notice that they compliment the Going Batty Background stamp! Natalie is a genius. These sets effortlessly work together. I LOVE that.
I didn’t want to weigh the card down with a massive sentiment, so the little sentiments in the Spooky Hollow Stamp Set were perfect. You’ll want to ink up your sentiments individually – Happy and Halloween so that you can get more white space around them. Trim, edge in Twilight and adhere. It’s that easy.
Edge your card in Midnight, ever so slightly going heavier in the corners. This frame pulls the viewer into the scene and is an important finishing touch.
Hope you love that one!
Project No. Three – Sparkly Creepy Little Monsters
It’s hard for me to pick a favorite, especially when there’s a scenic card in the mix. But I think this one is going to my nephew Matt’s kids – cause little Landon will just LOVE that I used Creepy on a card, and Arabella will LOVE that sparkle of the Black Twinkle embossing powder by WOW! If you wanted to see what the new Twilight Ink looks like Smooshed and done in the wrinkle free technique – that’s it at the top – isn’t it gorgeous. I think what I love about it so much is that often greys and black have a purple undertone to them and Twilight is just Twilight. Oops…Catherine did it again (sorry, now you have Brittney Spears in your head…lol)!
Once dry, emboss your Going Batty Background Stamp over it and add a little strip to your Spider Web card front also in Black Twinkle like the Bats. Spiders and Sentiment too!
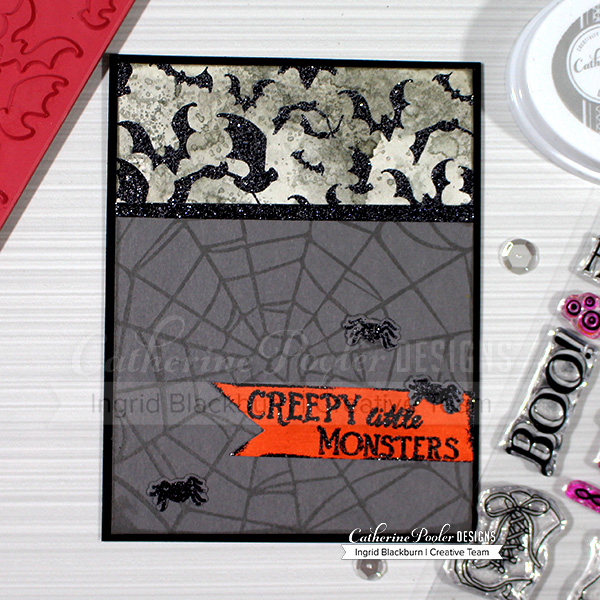
To get that gorgeous – and I mean GORGEOUS deep pumpkin color, use Mandarin Spice dragged (lightly) over white cardstock. It’s the perfect pop of color on this card. The spider web is stamped Twilight on Catherine Pooler Smoke cardstock. This card originally started as a card base, but I felt it needed a frame, so I lopped it down and matted it on CPD Midnight cardstock – voila – perfection!
That’s it, some Spooky Hollow Halloween Fun! I hope you enjoyed those….
Now….it’s your turn. Tell me which one is your favorite – and if Halloween isn’t your thing, check out my Fall card on the Day One hop by Clicking Here! But first – comment to win…and hop on along to my good friend Ardyth’s blog!!
Prizes and the Hop List
Be sure to comment all along the hop. Catherine is giving away Three $25 gift certificates to those who comment! Winners will be announced Monday Evening the 20th.
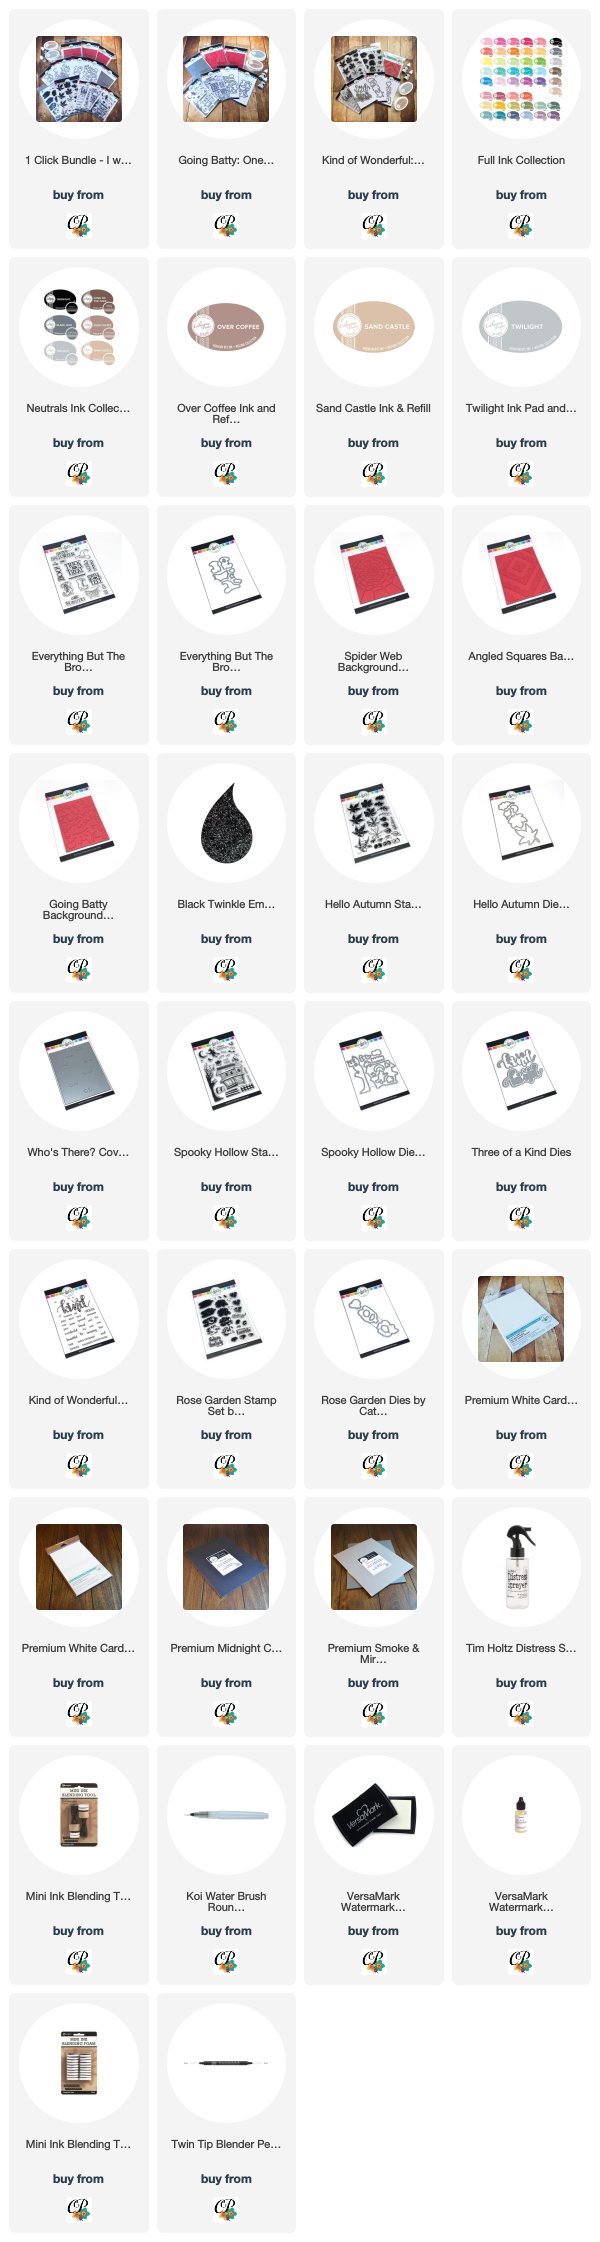
If you’re interested in any of the new items or other things I used today, check out the supply list below. Thanks for stopping by!
- Catherine Pooler
- Kelly Martin
- Tracie Pond
- Susan Powell
- Laurel Beard
- Ilina Crouse
- Ingrid Blackburn – You are Here
- Ardyth – Hop HERE next
- Nanette Tracy
Thanks for stopping by today! Keep those fingers inky –

Supplies
To make finding the supplies I used in these projects a bit easier for you, here are a few clickable links. Compensated Affiliate Links are used when possible. Click here for disclosure. Happy Shopping!
All of your cards are wonderful!
The spooky house scene is my favorite, although they are all wonderful. The candy is my second favorite. SO CUTE
Your cards are amazing as always. So fun and cute love all your Halloween cards. Such a great release! My wish list will be growing. Thanks for sharing and really love your videos also.
I really enjoyed watching you create that scene. Beautiful work.
Such fun and fresh cards! I love the lighter colors you used, really lets the images shine. Fantastic!
Hi Ingrid,
I really loved all three of your halloween cards. They are so darn cute. Thanks for sharing them with us.
Love these fun, colorful Halloween cards.
Love all three of these. So cool!
Awesome cards and I love them all.
Fun Halloween cards.
I think the haunted house one is my favorite. I love the colors you used!!
Great Halloween cards! I love the spooky Halloween house, thanks for the video. Adding the black at the end really does make a difference!
These are great cards.
Yup – you love Halloween. Your “Spooky Hallow” card 2 is spectacular. What a great scene you’ve created.
Really great cards, Ingrid!
Stunning cards Ingrid. Thanks for showing how to create the cute yet spooky Halloween scene. I love the little candy corn. I haven’t noticed it until your card. The last card just knocked my socks off.
Your first card is so much fun with these great colors. All your cards showcase your AWESOME talent!
Fun cards. Love the candy corn one.
Fun Halloween cards! I love the candy corn corner you created!
Love your sweet [and scary!] Halloween cards! They all have a touch of pizzaz or maybe it’s the colors? Super cute!
Like all the cards, but the Trick or Treat card is my favourite. Great idea to use the foam stamp pads to create the coordinating card stock behind the sentiment!
Fun projects but the hat and candy is my
favorite. the spider hanging down
and the different colored stripes
behind the sentiment is great.
thanks for sharing
txmlhl(at)yahoo(dot)com
Great Halloween cards. Absolutely love the haunted house!
Thanks for sharing…
Love your cards. So fun!
Don’t do Halloween but your cards are great! Thanks for sharing.
I don’t send out Halloween cards, but yours are so cool!!!
These are so awesome! 🙂
Cute cards! The first one is my favorite as it’s kinda bright & cheerful.
Love the candy corn! So fun!
What great inspiration for the new release. Wonderful detail and creativity!
Delightful Halloween cards! love that haunted house!
Great cards! I love how you show us how to use the little elements in the stamps – I usually overlook them or don’t know how to use them!
Your candy corn card is so clean and simple with some great detail. Spooky Hollow card was aptly named.
The first card was a look I could do. I am not a big fan of Halloween but this is a fun look,
Great cards Ingrid
Awesome cards , love the Halloween scene with the house