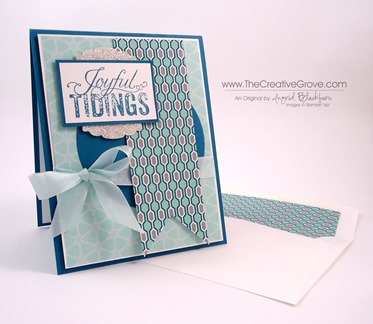
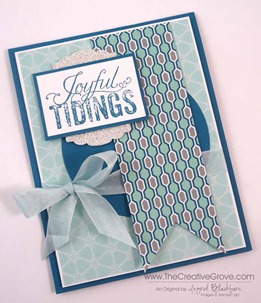
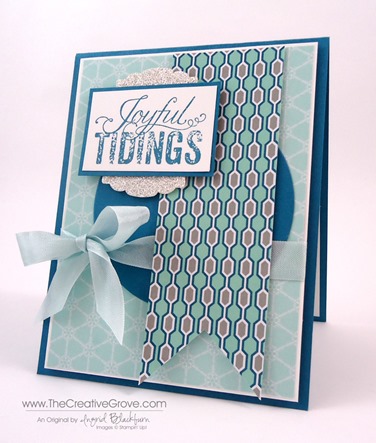
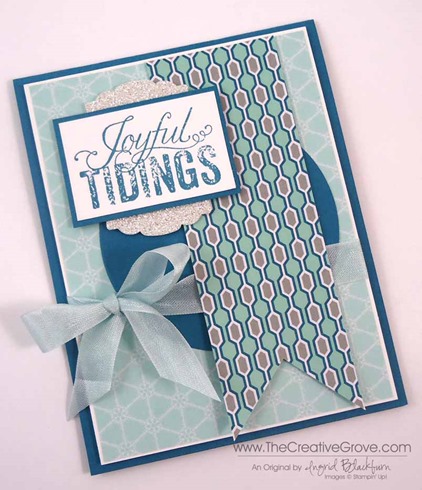
Have you ever just had that killer card that you just HAD to share with your closest friends! Well, here it is for you. This card is awesome. It looks so great in real life, I encourage you all to duplicate it – yes, walk away from the computer or take us with you to your crafting space now! Well, first be sure to read through the creative tips below, there are some great ones for little things. ![]()
Supplies –
- Stamps – Christmas Wishes (131790w, 131793c)
- Ink – Island Indigo (126986)
- Paper – Whisper White (107730), Island Indigo (122923), Winter Frost Designer Series Paper Stack (132183), Silver Glimmer Paper (124005)
- Tools – Circle Collection Framelits (130911), 1 1/4” Square Punch, Bone Folder, Artisan Label Punch (130920), Paper Snips (103579), Envelope Liner Framelits (132172), Big Shot
- Finishing Touches – Soft Sky 1/2” Seam Binding Ribbon (131210), Stamping Dimensionals
Measurements –
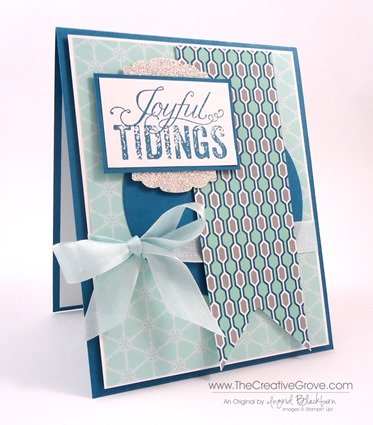
- Island Indigo – 4.25 x 11”, 1.5 x 2.25”, scrap for circle
- Whisper White – 1 3/8” x 1 1/8”, 4 x 5.25” (2)
- DSP – 3 7/8” x 5 1/8”, 5 1/4” x 1 3/4”
- Silver Glimmer Paper – Scrap
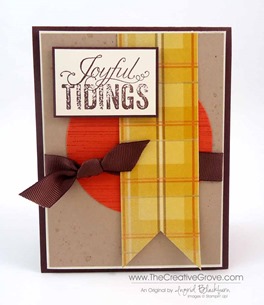
Here is a card I created for a Mojo Monday challenge (a fall card) and this Christmas version.
Creative Tips –
- Use the Soft Sky DSP as your card front to coordinate with the ribbon.
- Adhere the DSP to the Whisper White.
- Create your Banner Flag using a 1 1/4” or larger square punch. If you don’t have one, use Paper Snips. Watch this video on how to create a banner flag if you have never made one.
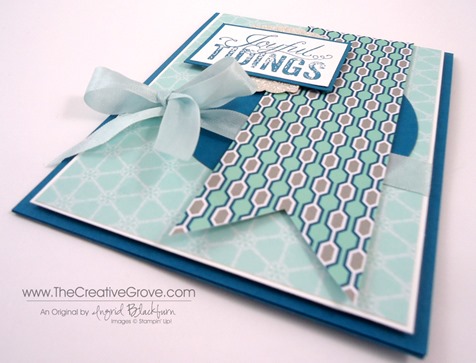
- Run your bone folder lightly on bottom half the top side of your flag curling in an upward motion. Do not do this too firmly as you will bend and overwork your flag.
- Punch the Silver Glimmer paper with the Artisan Label Punch and cut in half.
- Stamp the Joyful Tidings sentiment in Island Indigo and adhere to the matte. Attach the Artisan Label Punch to the top and bottom. Add four Stamping Dimensionals to the back.
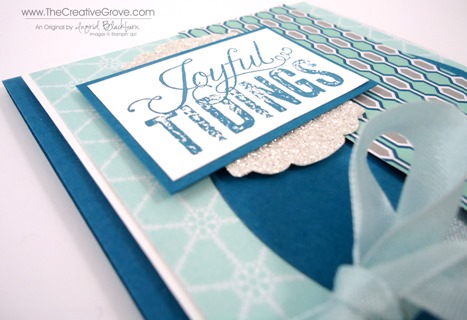
- Cut your circle with the Circles Collection Framelits using the #7 circle (7th smallest or 4th largest – depending on how you see it) out of Island Indigo card stock.
- Figure out the spacing of your pieces and adhere your circle to the card front.
- Bow – to tie a perfect bow, wrap your ribbon around your project and work with the top of the card closest to your body.
- The biggest tip I can give you to tie a perfect bow is to work with your project upside down. This way the loops with be facing to the top and the tails to the bottom.
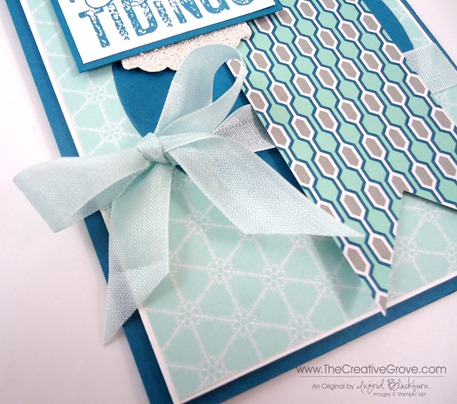
- Once you have your bow tied – if it’s not perfect, try flipping one of the loops inside out. I flipped the left one. This made it sit just perfect with the knot flat.
- Another Bow tip – tie your bow like a kindergartener would – with two loops.
- Once your bow is how you want it – snip the ends – I use the Ribbon Cutting Scissors – they rock. Add a tiny bit of snail to the front and back to secure the bow in place.

- Attach the banner using a little snail at the top and middle. Leave the tails free so that they curl a bit.
- Add your greeting to the top and you’re done!
- If you’d like a matching envelope, use the largest Envelope Liner Framelit and a width of 2.75” x 5.75” matching DSP scrap to cut a liner for the exposed part of your envelope. You could of course make it the whole length of the envelope, but if you’d like to stretch your paper, try the short measurement.
I hope you enjoyed your bonus 12 weeks of Christmas project – and it’s only week two! Aren’t you glad you’re on the Creative Tips list!

