Have you ever tried the Watercolor Smash technique? It’s a super easy one that creates amazing looks. Paired here together with the Mix Mash stamp set by Happy Little Stampers, you get a fun and quirky little scene made out of some graphic elements. Don’t you just love stretching your stamps in ways they weren’t intended?
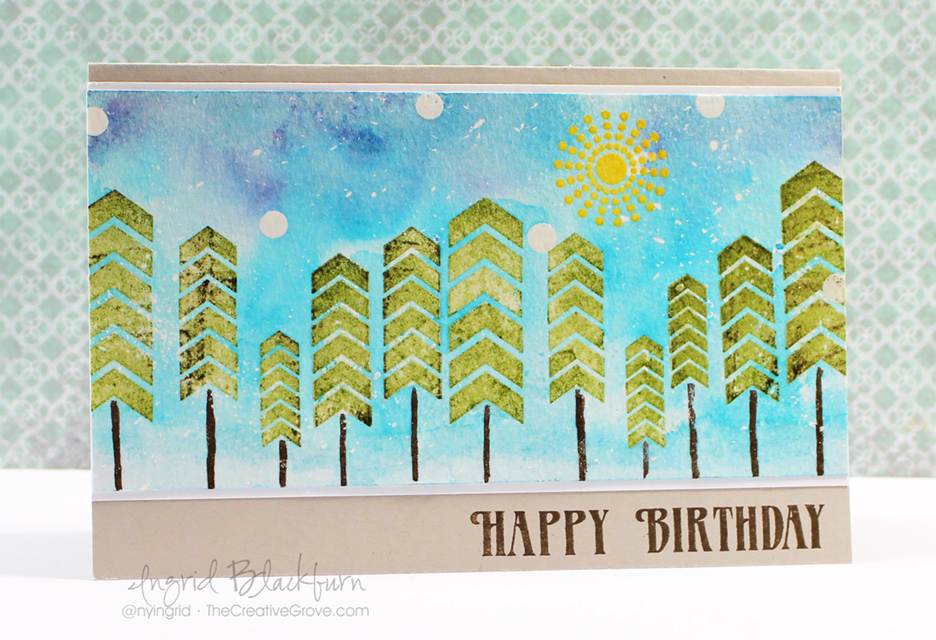
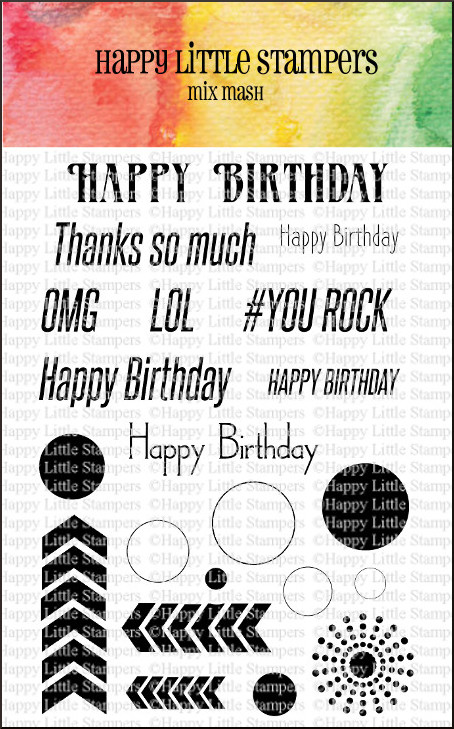
So you can fully understand all the little tips and ideas that went into creating this card, I filmed a short video tutorial for you. I don’t know how your mind works, but the first time I saw this stamp set, this card idea popped into my head! Enjoy the video:
The Watercolor Smash Technique Tutorial
- The scene was created on a 6 3/8 x 3 1/4″ piece of 140# cold pressed Hahnnenmuhle watercolor paper. The final card is 4 1/4 x 6 3/8″ folded Sahara Sand card stock by Stampin Up. You’ll also need a white – 6 3/8 x 3 7/16″.
- I had an idea to create a sunny, snowy day – I know…contradiction…so I wanted to add some flicked masking fluid first with a toothbrush. You have to set it aside to fully dry before beginning – no heat tool!
- To keep with the quirky theme, add a few of the smallest circles from Mix Mash in the sky portion of the card. Emboss in clear embossing powder.
- Add the sun by first stamping in Versamark Ink, then Mustard Seed Distress Ink (Ranger).
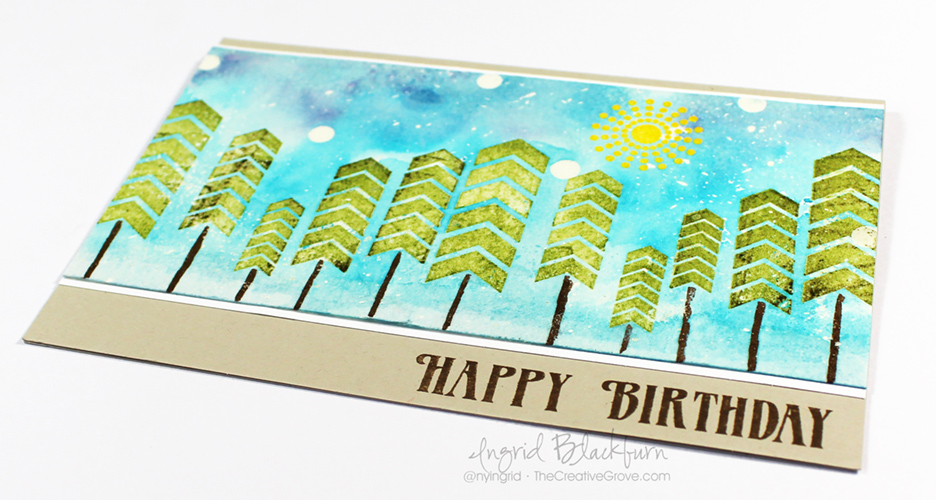
- Add the trees in the same manner as the sun, using Peeled Paint and Forest Moss Distress with Versamark. TIP – clean your stamp in between so you don’t get green in your watermark pad! I also varied the size and height of the trees so it wasn’t too uniform.
- Emboss trees in clear, add trunks using a Ground Espresso Distress Marker. Don’t do too many at once before adding the embossing powder – you don’t want the ink to soak into your watercolor paper to quickly. If it does, run over it with a Versamarker, but be sure to only get the brown!
- Lay down the colors as in the video – Tumbled Glass, Broken China, Mermaid Lagoon and Chipped Sapphire.
- Add a fair amount of water with a fine mist spritz bottle.
- Lay your project – image side to ink over your blue palette and smash, holding your card stock there so the ink and water can grab onto your project. You’ll see the sides of your paper curl up just a bit.
- Don’t worry if you didn’t get it right in one smash. That’s the beauty of this technique. Keep smashing to get the color you want in certain sections. To get a smooth look, be sure not to allow your project to dry in between.
- Use a Pentel Water brush loaded with Broken China to move color into desired spots. TIP – Be sure your brush has the same amount of water as your paper, if it is too dry, it will pull watercolor from your project.
- Once you have the look you are going for, dry your project – either naturally, or with a heat tool. I chose to use a heat tool, but don’t hover over your embossed images too much – you’ll over-emboss them! TIP – if your paper is too soaked and bent, your color and water will seep to the outside. To keep that from happening, just dry the edges a bit with a heat tool so that your project flattens out a bit, then continue to dry naturally if so desired.
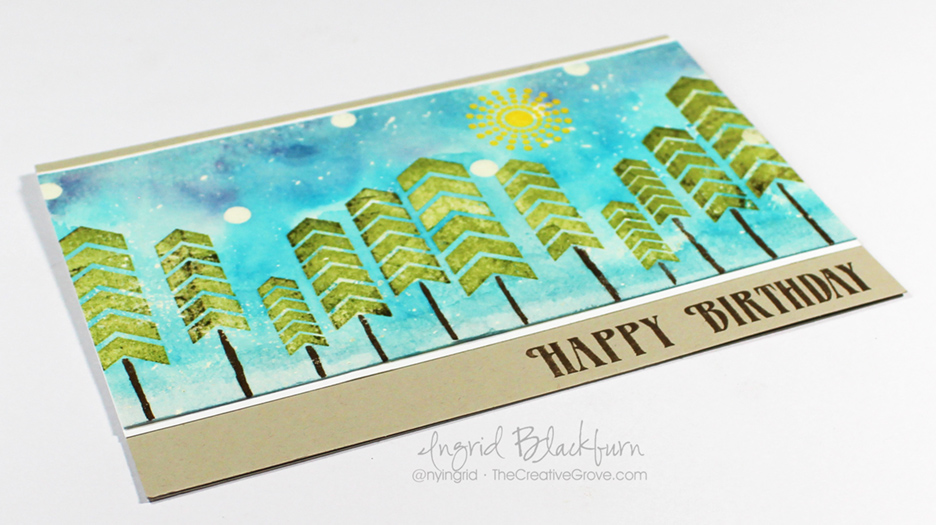
- When your project is fully dry, rub off your masking fluid.
- Place the white matte where it will be on the folded card base – do not adhere yet.
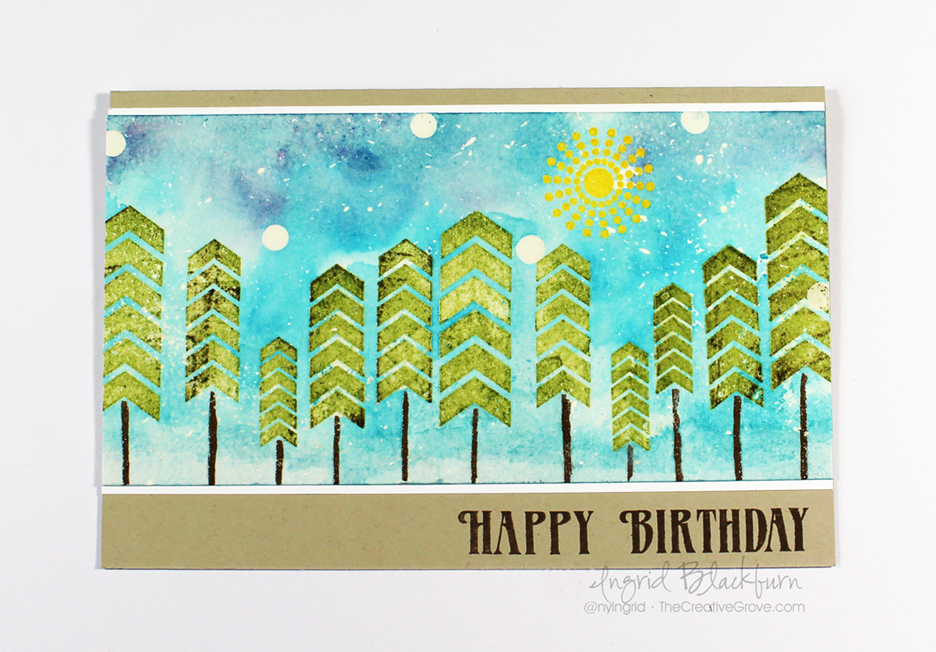
- Stamp greeting from Mix Mash set in Ground Espresso ink to match your trunks. Zap with a heat tool to set.
- Add Mono liquid glue to the back, adhere to a white matte and then to the stone folded card base.
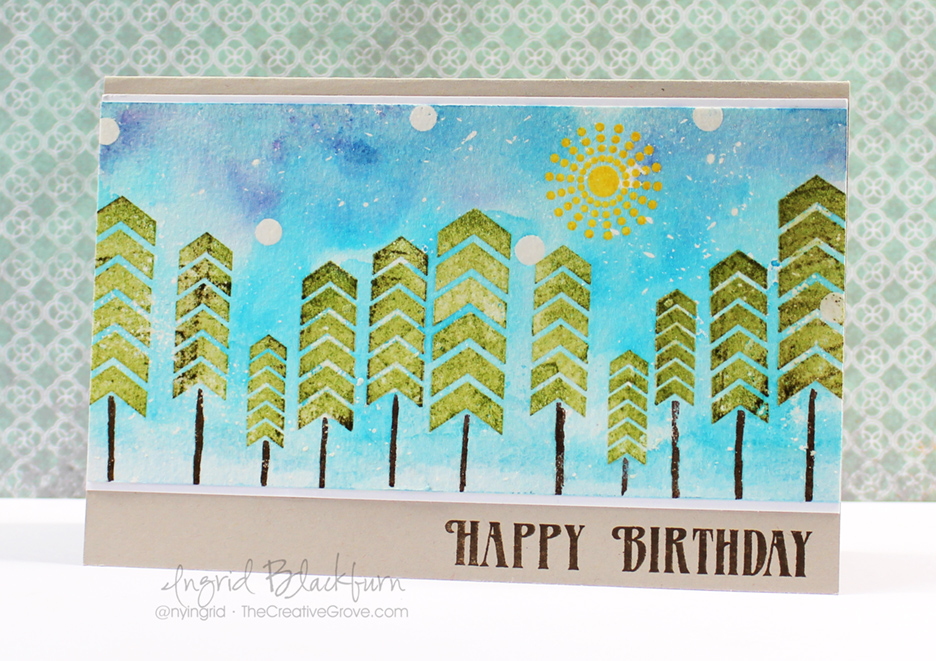
That’s it! I hope you enjoyed this tutorial. I love this card – it’s fun nature is what I love about stamping. This technique is so fun, easy and one I use frequently. Once you’ve done a few, you’ll quickly add it to your stamping toolbox. Be sure to subscribe for an exclusive video series with more techniques below!
Keep those fingers inky –

[optin_box style=”2″ alignment=”center” method=”post” email_field=”email” email_default=”Enter your email address” email_order=”2″ integration_type=”aweber” double_optin=”Y” list=”3846012″ name_field=”name” name_default=”Enter your first name” name_order=”1″ name_required=”Y” opm_packages=””][optin_box_field name=”headline”]Learn with our exclusive FREE video series[/optin_box_field][optin_box_field name=”paragraph”]PHA+R2V0IHRoZSBmcmVlIENyZWF0aXZlIFRpcHMgRS1sZXR0ZXIgYW5kIGxlYXJuIHdpdGggc3Vic2NyaWJlciBleGNsdXNpdmUgdmlkZW8gYW5kIHBpY3RvcmlhbCBjb250ZW50LiBJbmNsdWRpbmcgb3VyIHllYXJseSAxMiBEYXlzIG9mIENocmlzdG1hcyBzZXJpZXMhPC9wPgo=[/optin_box_field][optin_box_field name=”privacy”][/optin_box_field][optin_box_field name=”top_color”]undefined[/optin_box_field][optin_box_button type=”0″ button_below=”Y”]Send me exclusive tips![/optin_box_button] [/optin_box]
You are one amazing artist Ingrid….I was going to leave a comment on SN, but I wanted to view the video here. Love the balloon trees….so creative….smiles
Awe, thanks Carol! They are fun cards. 🙂
Love this technique, Ingrid, and it’s made an amazing and fun card! Thanks for your encouraging comment on CAS Mix Up! We’re looking forward to seeing your awesome creations over there.
Great idea to use the chevrons as trees. Great background and colors!
Love it, such a great idea to make this super little scene xxx
Love it! What a cute idea to use the chevrons as trees.