
Have you ever wanted a custom sized holly leaf for a project, but didn’t have a punch or die for it? Today I’m going to show you how to make your own custom sized holly leaf.
One of our readers, Eloise asked me yesterday to share the dimensions for the leaves on this project, so I took it another step today and made a Creative Tip video Tutorial for you all! Enjoy.
Creative Tip Video –
Measurements –
- Cherry Cobbler – 5.5” x 4.25”
- Whisper White – 4” x 4”
- Always Artichoke – 2.75” wide and 2” wide
- Circle Punches – 1” and 1 3/8”
- Cool Tools – Sylish Stripes Embossing Folder, Silver Embossing Powder, Versamark Ink and Heat Tool, Blender Pens with Always Artichoke and Cherry Cobbler Ink.
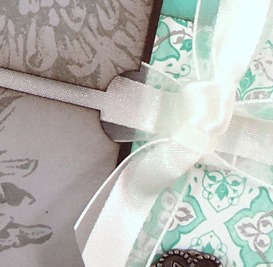
Close Up Photos:
Finished Project

Holly Leaves and Berries

Close Up


I hope you enjoyed that project! It’s quick, easy and a great one to mass produce.
If you want to learn more techniques to make great cards, try out one of our online classes here. Pictured above is a sneak peek of one of the newest projects in the Thanks Class of the Month Series. See you in the classroom!

Shop in the Creative Online Store 24/7 – click here!
Love this technique.
So glad you loved it Dawn! Thanks for stopping by today. 🙂
Thank you for the video as that is not how I thought it would be done. I do need lots of practice!
I’m so glad this was helpful for you Eloise! Thanks so much for the question and inspiration! I’m dying to see how your project turns out! 🙂
this w/e is our Canadian Thanksgiving; I’m thankful for my usual items, but I’m thankful for creative blogs across the border, as yours .Yours gives me inspiration when I have a creative block & reminds me of past tips, such as the punches & leaves…thank you & happy creating!
So glad we can inspire you Susan! I’m thankful to have great members like you stop by! Happy Thanksgiving! 🙂