A Quick Thank You

Gently Falling 004 005

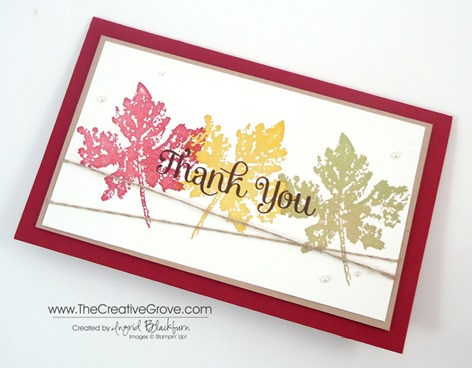
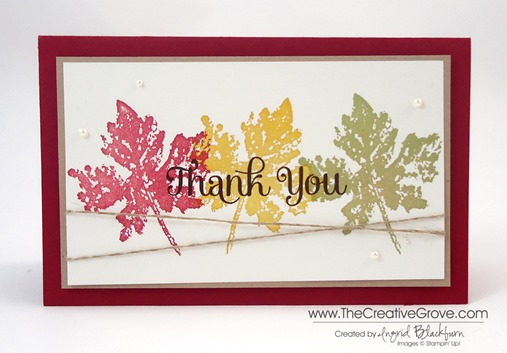
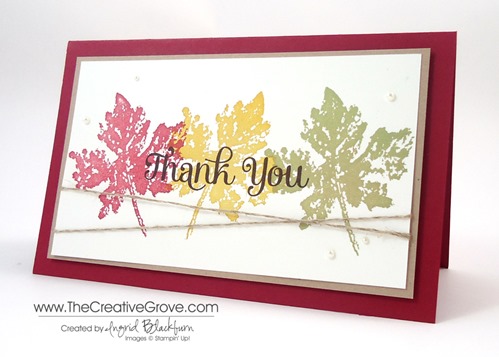
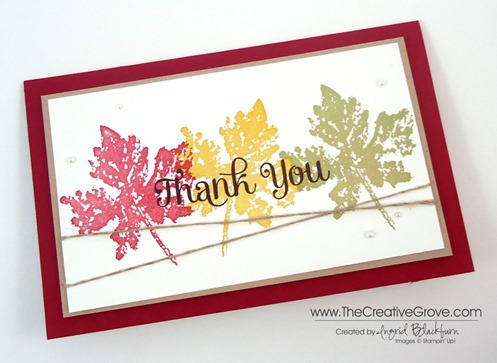
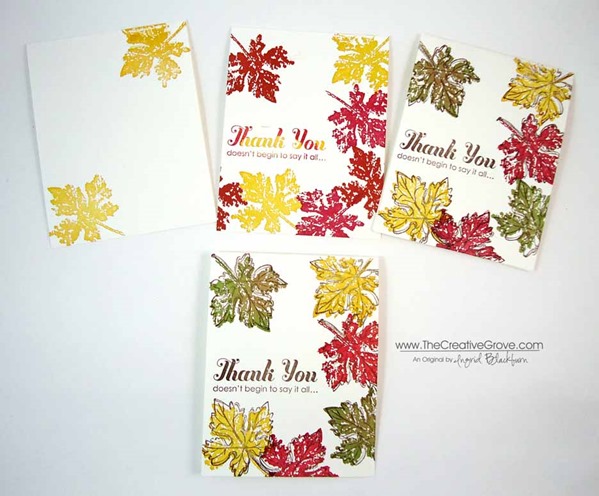
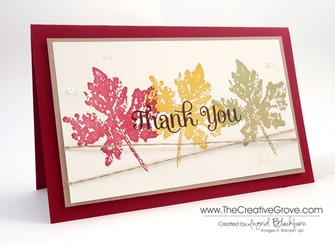
Sometimes you just need a super quick, but super cute card, right?  Well here it is.  Although I have it dressed up in Fall colors, This design would work with any color combination and any image.  So here are a few quick tips to not only save you time, but help you get those Thank You’s in the mail today.  I know I am sending one to all those who ordered this month!

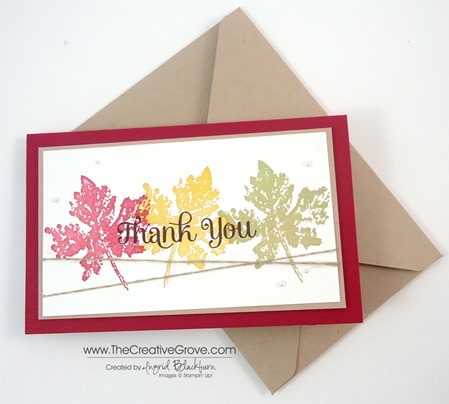
Be sure to check back tomorrow to see a video on how I made this custom sized envelope.  Read the creative tips below to see why I chose a custom sized card.

Gently Falling 004 002

Supplies:

Creative Tips –

    • Stamp your leaves beginning with the Crushed Curry in the center.  Then stamp  the other two.
    • I chose a custom size because the leaves needed the full 5.25″ width and there was too much white at the top and bottom.  With the ease of making custom envelopes with the Envelope Punch Board, I thought, why not make a custom sized card?!
    • The Whisper White measures 5.25” x 3”.
    • The Crumb Cake matte measures 5 7/16” x 3 3/16”
    • The Cherry Cobbler measures 6” x 3.75” folded, 6″ x 7.5″ unfoldedGently Falling 004 004
    • Stamp your greeting in Early Espresso over the stamped images.
    • Wrap Linen Thread in a criss cross pattern on the front of the Whisper White and secure with adhesive.  Attach to the Crumb cake.Gently Falling 004 007
    • Add Pearl Basic Jewels to the front of your card.
    • Pop up the stamped piece on Stamping Dimensionals for a little character to the card.

Gently Falling 004 006

This card is quick, easy and it’s shape and size is perfect to send a note.  Because it is a custom size, you will need a custom envelope.  I’m going to show you exactly how and why I chose to make the size that I did.   So see you tomorrow!

Free Exclusive Content

Are you on the Creative Tips list?  If so, then you are getting exclusive projects, videos, tool tips, specials, discounts and things like the 12 weeks of Christmas.  So much more happens here at The Creative Grove, but not everything is on the blog.  If you aren’t getting all the extra perks, don’t miss out! Click Here to get Creative Tips sent directly to you.

Signature Snowflake 001

Click here to Shop 24/7 in my Online Store
Gently Falling 004 003

Gently Falling One Layer Card

Gently Falling 2 001

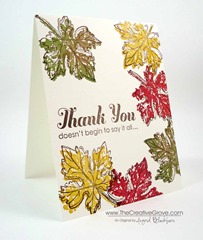
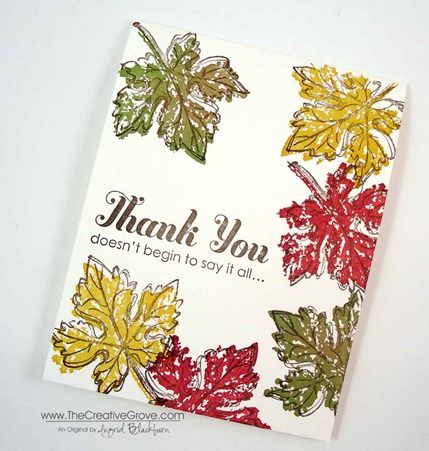
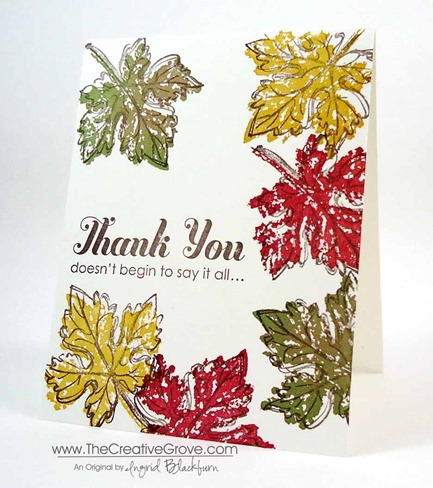
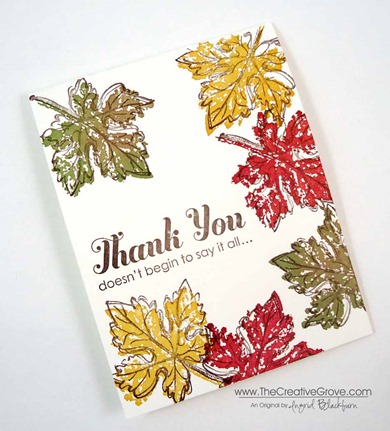
Don’t you just love one layer cards sometimes?  I was inspired this morning by a simple photo of some fall leaves.  I thought, I not create that same feeling on a simple and classic one layer card! 

Sometimes you just need a go to quick card for someone without getting all the papers out, you know? Here’s how you can achieve this exact result.

Creative Tips –

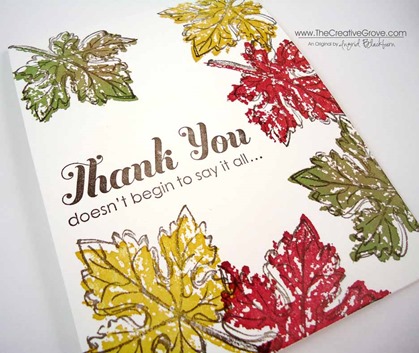
  • Bold images are great for cards like this.  Pick something that will really pop.  I chose the largest leaf from the Gently Falling stamp set.  Does anyone know what kind of leaf this is?  Let me know if the comment section below!Gently Falling 2 006
  • To keep with the falling leaves in fall theme, you can choose a trio of classic colors like Crushed Curry, Cherry Cobbler and Wild Wasabi.  For the outline, the color Early Espresso with tie it all together.
  • The colors are a bit brighter until you put the Early Espresso on it.  Then it mutes it right down.Gently Falling 2 005
  • To tie it all together, stamp your greeting in Early Espresso.
  • That’s it!  You’re done – wasn’t that fast?

And for those of you who think I knock it out of the park on the first turn, I thought I’d show you how many I had to go through before I got it just right!!  Do you appreciate this?  Let me know in the comment section, and I’ll include more of this kind of stuff in the future.  Consider it my photo form of bloopers – I’m just human too, right?

Gently Falling 2 008

Do you want to want more one layer cards?  Clean and Simple cards?  Brayer cards?  Let me know – I’m always curious what my readers want to see!  Let me know below.  Have a great day! SmileGently Falling 2 002

Are you one of my VIP’s?

If you love this card and creative tips, then be sure to sign up for my Creative Tips list!  You’ll get VIP project videos and projects, special list only sales and discounts, and stay on top of all the cool and great things not only available at Stampin’ Up!, but also here at The Creative Grove. Be in the know, first on the list!  I don’t like excess email or stuff I don’t want, so know that your email address is something sacred to me.  I would never abuse that trust!  Click here if You love creative tips and want to be one of my VIP’s! Smile

Signature Snowflake 001

To shop 24/7 for any of the above projectclick here

Gently Falling 2 004

Stamp Sets – Gently Falling Ink – Crushed Curry, Wild Wasabi, Cherry Cobbler, Early Espresso Paper – Whisper White

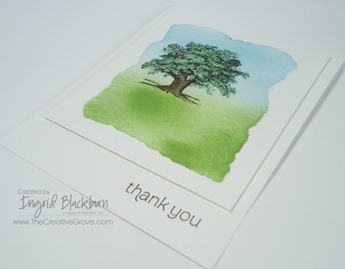
Lovely as a Tree Simplicity

Lovely as a Tree 003 Main

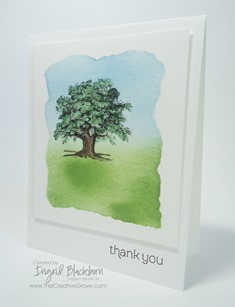
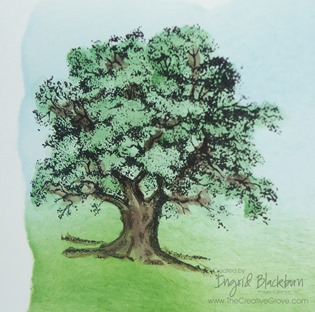
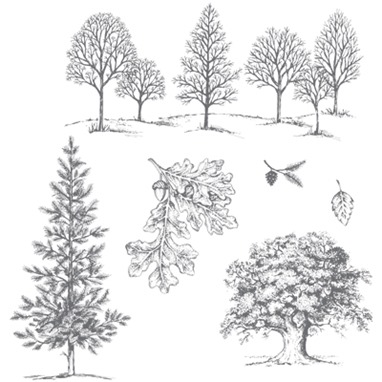
Lovely as a Tree is an institution in the Stampin’ Up! world.  No one is quite sure why it has never retired, but there is something beautiful about a consistent stamp set that you can count on.  I never ordered this stamp set for 10 years because I thought it would just retire, so last year I finally broke down and got it.  I’m sure you heard a crack in the universe that day!  And all I can say is that I deprived myself of something absolutely beautiful.

Lovely as a Tree 003 Angle

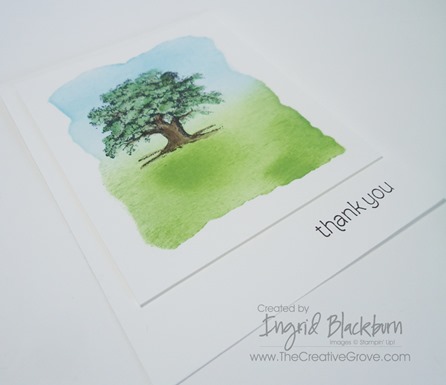
Sometimes the best idea is a simple one.  And that’s what this card is.  I can’t take credit for the idea, I saw a similar one made by Jayne Mercer online somewhere, but just HAD to make one of my own with my added flair!  So here’s my take on what I saw. 

Lovely as a Tree 003 CU

Of course if you have subscribed to my Creative Tips List on the right at the top, then you’re going to get the video (yes you read that right!) showing you just how easy it is to make something so artistic and beautiful.  The video is loaded with all the creative tips for how to make this project!  I’m putting the finishing touches on it, and will be emailing it out tomorrow, so be sure to sign up for an exclusive step by step look into my card making process!  Click here to sign up for my Creative Tips Mailing List!

I hope you love my card today.  It’s one of those cards that just makes me happy! We’re going to make 5 of these in Just Cards class tonight – I think the ladies will be shocked how quickly they can make several little pieces of artwork.  And that’s right before my Creative Cards class – can’t wait for everyone to come over and stamp with this classic stamp set and several others!

Signature Snowflake 001

To Shop 24/7 in the Creative Store – Click here!

Lovely as a Tree 003 SIde

Stamp Sets – Lovely as a Tree (115026w, 127793c), Made for You (126340w, 126342c) Paper – Whisper White (100730) Ink – Jet Black StazOn  (101406), Early Espresso (126974), Bashful Blue (126961), Garden Green (126973) Cool Tools – Paper Snips (103579), Stampin’ Sponges (101610), Aqua Painters (103954)  The Perfect Finish – Stampin’ Dimensionals (104430)

Lovely as a Tree

Neutral Poppies

Sometimes simple is better. I love the Pleasant Poppies background stamp.  I’ve never been able to get so much use from a background stamp before.  The versatility is just great.  This Clean and Simple (CAS) card is just perfect for any occasion – and gender.  Again, versatility is great!  Here are a few tips to help you achieve this great look.

Creative Tips:

  • Keep the color throughout your project.  I know poppies are normally orange, but the neutrality of this project is just fine. 
  • White space is a key component to Clean and Simple cards.  To help add depth to this project, a tiny bit of paper-piercing in the corners go a long way.
  • Keep the font of your greeting simple as well.  You’ll change the look of the card by adding a script rather than a printed font.  I love the look of the set Made for You.  Three simple greetings in lower case font that are just the right size for any project – and it’s only $8.95 for all three!

To tie my ribbon just perfect, I use the simple rule of right over left, left over right (or vice versa).  I do not wrap my ribbon around my project, instead, I tie a know with a large ring loop.  I then figure out where I want my ribbon and cut the loop directly below it.  I save on ribbon, and it’s easy to tie.

  • If I place my saying in the bottom right corner, then I add my embellishment to the left side to provide balance.
  • Think about popping your final card front up on Stampin’ Dimensionals for a finishing touch.  It adds dimension to your project – especially when you have paper-piercing on that layer.

SSF_Seasonal_Sayings_thumb1

Single Stamps – Do you love that Greeting set, but wish you could buy just the one or two stamps?  Well, now you can from these select stamp sets: Perfectly Penned, Word Play, Seasonal Sayings.  Buy some of our best Greetings Stamps individually!   Hurry, this special is good for a limited time only through Jan 2, 2013! For more details, click here.  

Signature Snowflake 001 

To Shop 24/7 in the Creative Store Click here!

Stamp Sets – Pleasant Poppies (129499), Made for You (126342) Paper – Whisper White (100730), Sahara Sand (121043) Ink – Sahara Sand (126976) Cool Tools –Essentials Paper-Piercing Pack (126187), Paper-Piercing Tool (126189), Stampin’ Pierce Mat (126119) The Perfect Finish – Stampin’ Dimensionals (104430), 3/8” Whisper White Taffeta Ribbon (109070)

Untitled-12Untitled-12