
Have you ever had a card that you just wanted to re-do? I made this card for my father for Christmas last year and I’ve been dying to re-do it for myself, but with a few changes. I hope you like it’s evolution.
This card was originally my first creative scenery brayered creation after taking amazing classes on the art of brayering. Since then, I’ve played…taught…played…taught…and played some more. What I’ve learned is that your card is only as limited as your imagination, and with the help of pinterest and you tube – I’ve learned how to be quite imaginative!

Creative Tips –
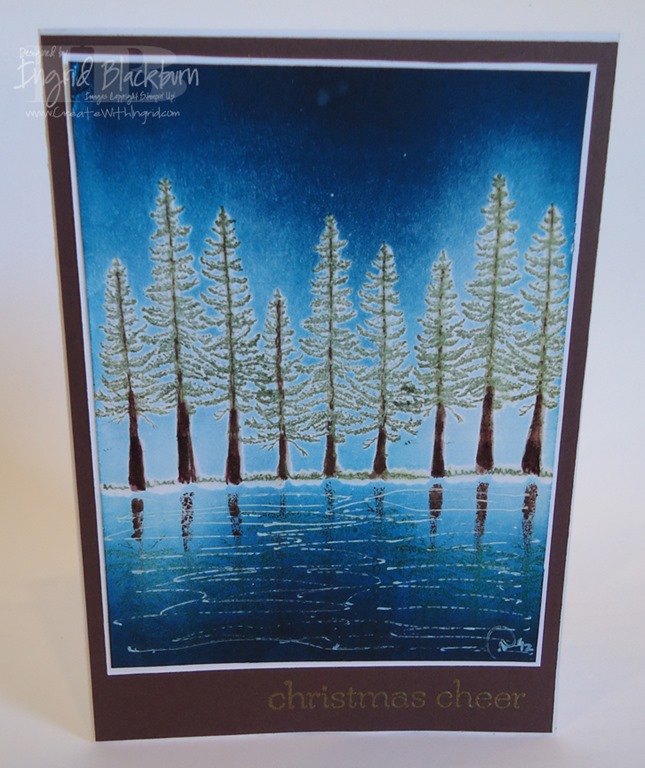
- I wanted to change up the colors a bit and add a starry sky. I kept my tree line in the center so that I could get enough sky and lake at the same time.
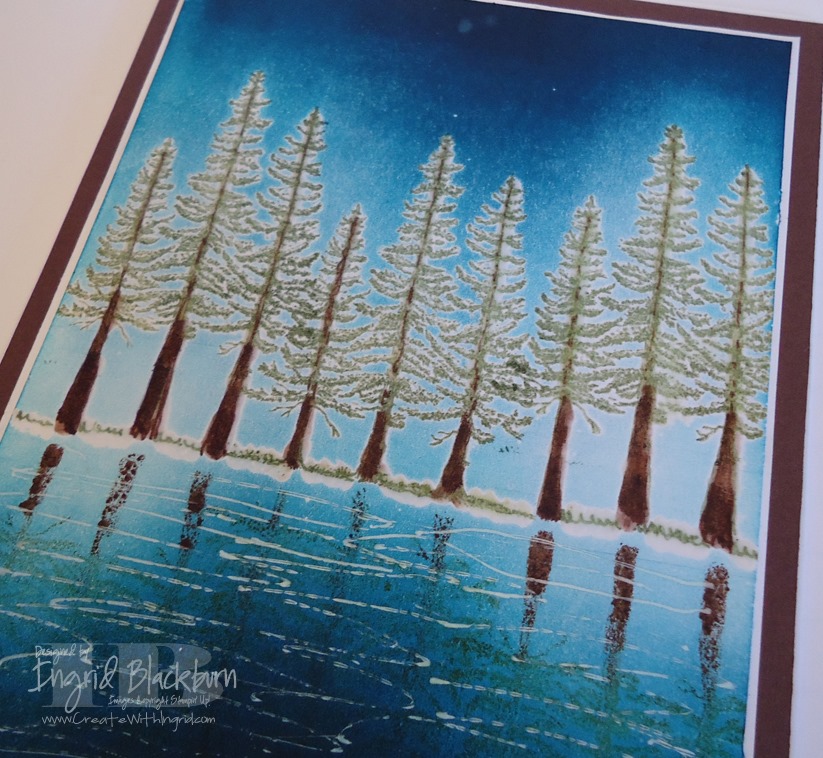
- Once I added my tree images and embossed them in Always Artichoke and Chocolate Chip, I used a base of Soft Sky around the bottom of my trees. I first masked off my lake shore line and added the light Soft Sky color. My trees have better coverage this time around because I have the new ink pads. Last year I was still using the canvas covered ones, not the awesome foam pads. Notice the difference!

- Then from the top I added Tempting Turquoise, Marina Mist and Midnight Muse. I kept the Midnight Muse to the top 1 1/2 inches.
- For that really dark night sky I added Elegant Eggplant. Adding that over the blue gives just the right Indigo color for a night sky without making it too dark.

- For the lake I brayered Tempting Turquoise, island Indigo and just a hint of Midnight Muse at the very edge. You can see this is much lighter than my original.
- I added a little earth with my Chocolate Chip marker so the shore line wasn’t too thin. This time when I embossed my shoreline I masked the bottom so that my VersaMarker wasn’t too over zealous. That way I avoided all the white from the first one.


- I added the reflection of the tree line in Midnight Muse so that it would look realistic versus the color as in the first one.
- I kept my water simple – not over done this time. I also added a little Midnight Muse for shadows in the movement. I drew a little at the water line as well, which gave it a more realistic look.

- For stars, I used my white gel pen and made them different diameters. I wanted to create a north star and another not quite as large, so I went over it with a qtip and some white pigment ink.


I love the way the night sky turned out. This card is a huge improvement over the original. I still love both, but the night sky adds some mystery and intrigue that the original one didn’t have. Of course the colors are a bit different too, but both are lovely! Which one do you love?

To Shop 24/7 in the Creative Store – Click here!

Stamp Sets – Plant Hope (retired), Sweet Essentials (128315) Paper – Whisper White (100730), Chocolate Chip (102128) Ink – New Card – Soft Sky, Tempting Turquoise, Marina Mist, Midnight Muse, Elegant Eggplant, Always Artichoke, Chocolate Chip Marker; Original Card – Midnight Muse (126860), Marina Mist (126962), Not Quite Navy (126971), Tempting Turquoise (126952), Versamark (102283), Early Espresso Stampin’ Write Marker (119680) Cool Tools –Brayer (102395), Stamp-a-Majig (101049), Heat Tool (129053), The Perfect Finish – Clear Embossing Powder (109130), Gold Embossing Powder (109129), Silver Embossing Powder


