Gold Snowflakes

Gold-Snowflakes---001

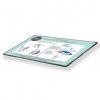
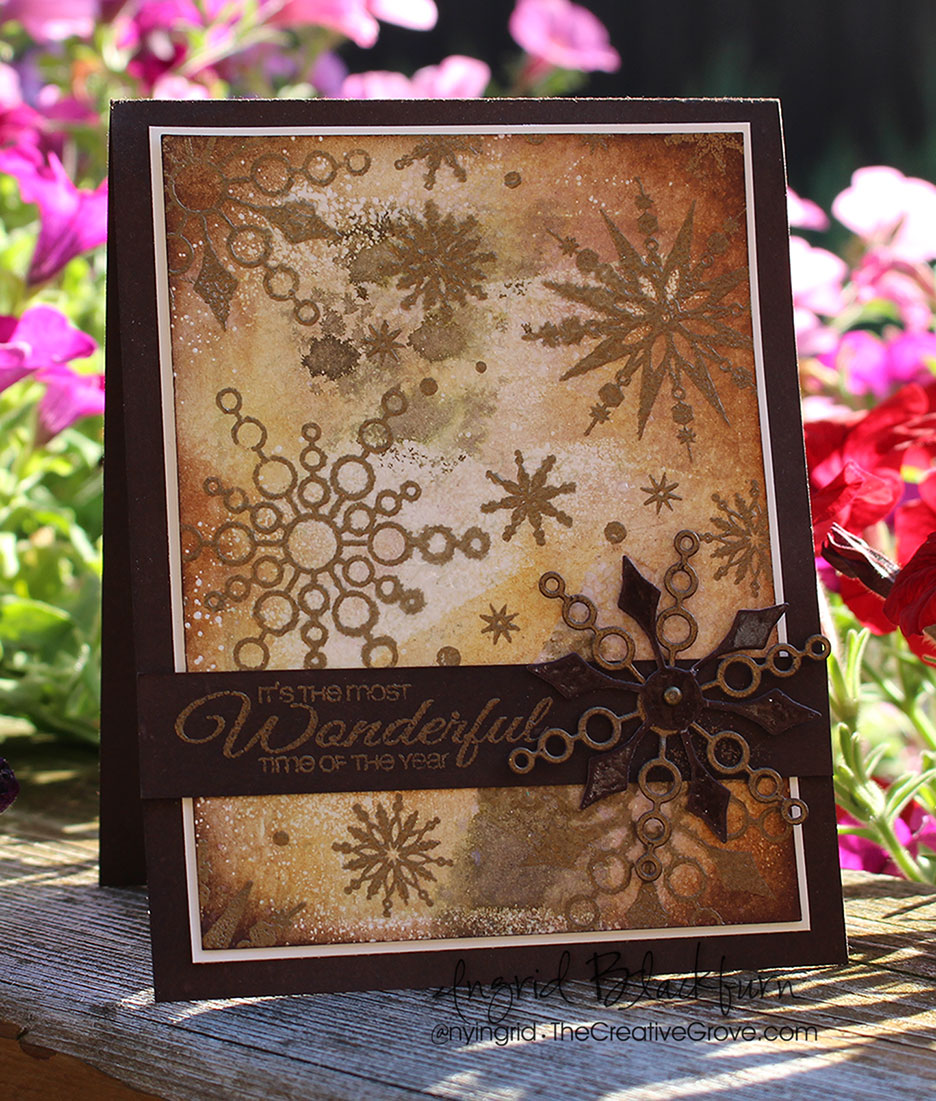
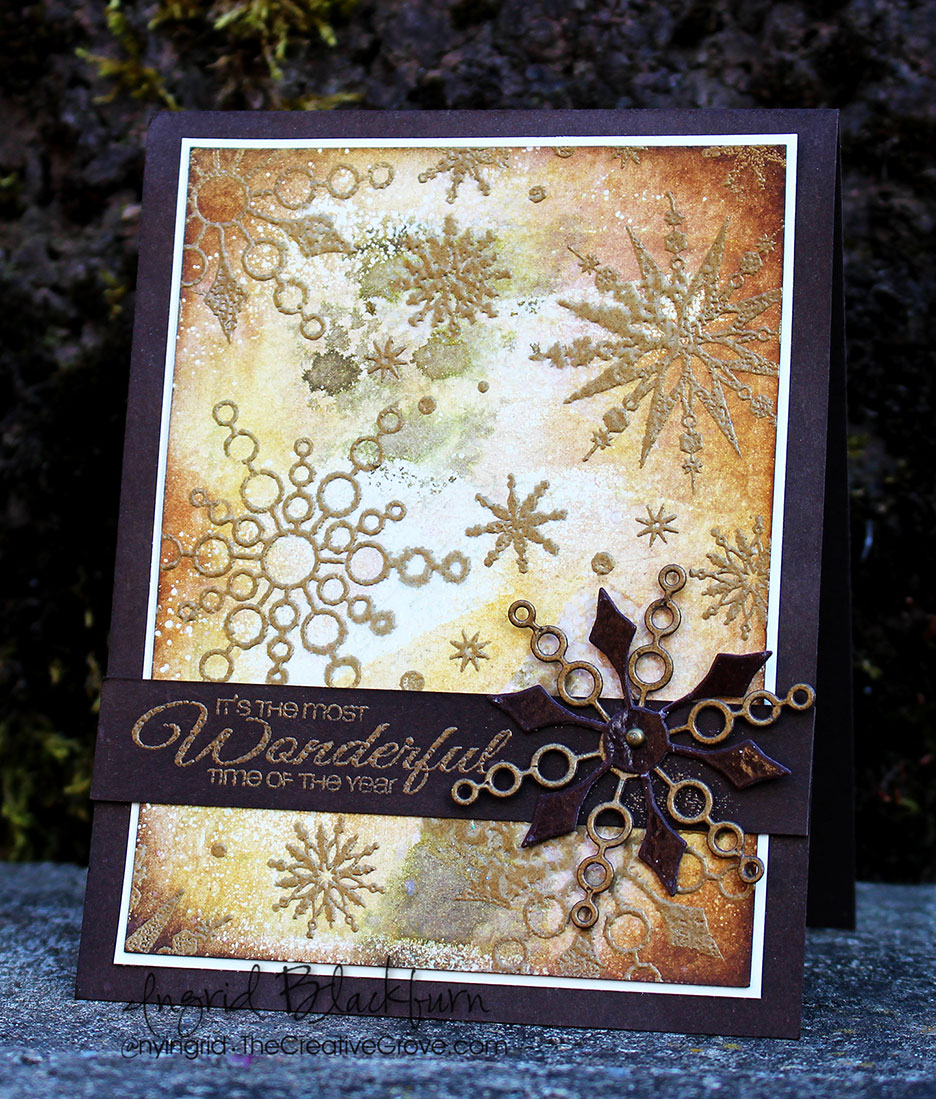
Snowflakes don’t always have to be white. Today’s project features the best in embossed snowflakes. This mixed media piece utilizes the best of emboss resist and sponging for a unique textured look with a flurry of gold snowflakes. Yup, the Christmas Challenge over at Happy Little Stampers is all about Snowflakes this month – so join us in all the fun!

HLS Christmas Challenge August 2016

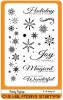
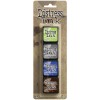
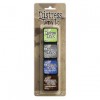
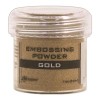
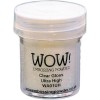
To get started, stamp and emboss several snowflakes from Bring on the Snowflakes and Snowy Sayings by CAS-ual Fridays. Emboss in gold. I love all the little pieces in the Snowy Sayings set – those little dots and snowflakes are invaluable stamps to have!

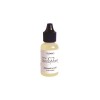
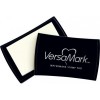
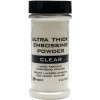
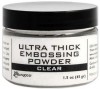
Randomly swipe your versamark pad lightly over a few spots and sprinkle some Ulta Thick Embossing Enamel onto your project. Try not to add too much or get it too heavy in spots. Brush away if too thick in areas.  Heat from underneath to get it to start melting and heat set. This will trap the white color of the card base for some light in your project as you darken your project. The UTEE will also give you a little thicker and rough texture giving it a real mixed media feel.

Gold-Snowflakes---002

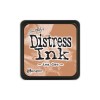
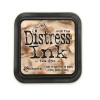
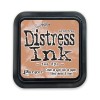
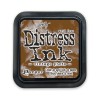
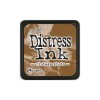
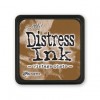
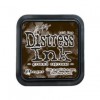
Add distress colors directly to your project and sponge them as well. Start with your lightest shade and darken on the perimeter always leaving some color exposed. I used Tea Dye, Vintage Photo, Gathered Twigs and Ground Espresso.

Matte it onto a white 1/16th wider base and onto your Espresso card base. A 3/4″ strip of espresso with one of the Snowy Sayings greetings in Gold is perfect.

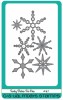
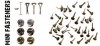
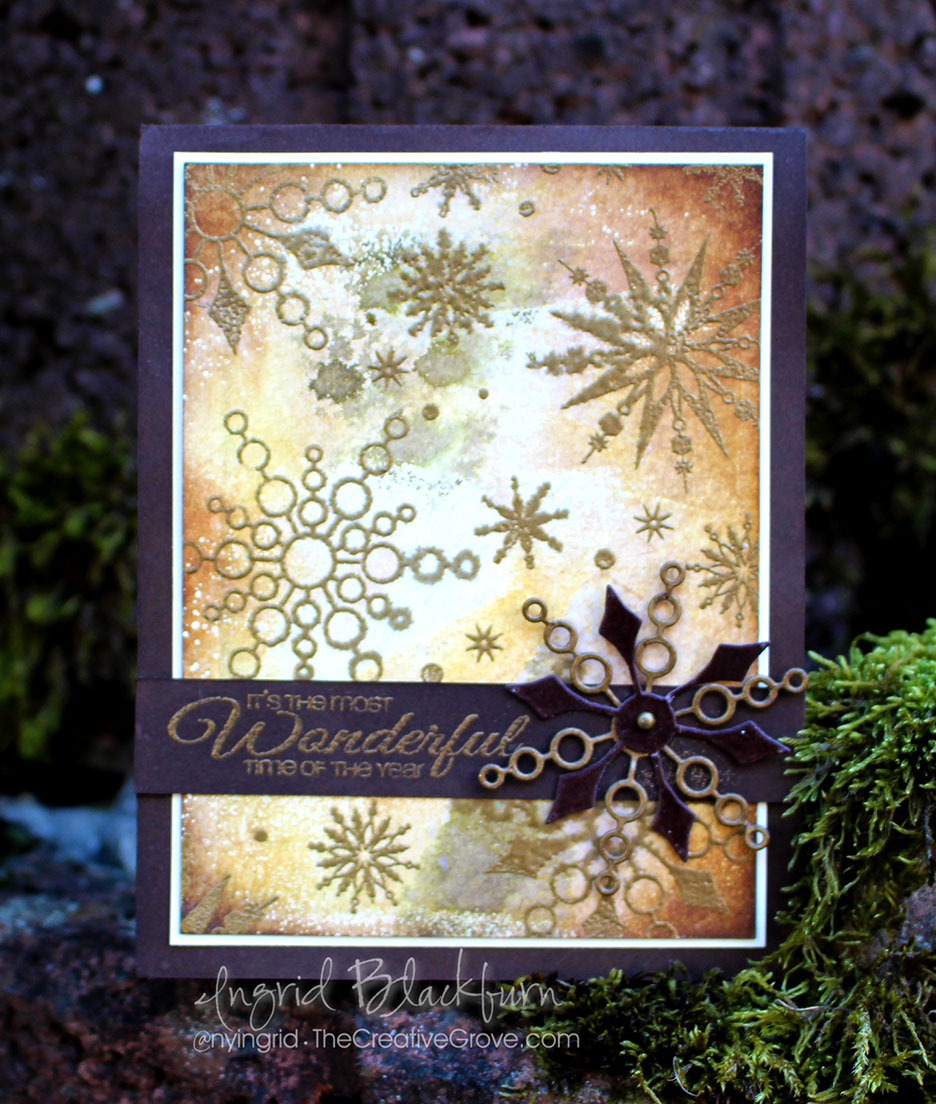
For a cool effect, I used the Funky Flakes coordinating dies and embossed both snowflakes – one in gold, the other clear on espresso and attached them with a mini brad. TIP – To get your brad to coordinate, heat it with your heat tool, dip it into your embossing powder while hot and heat again.

Gold-Snowflakes-003

See, snowflakes don’t have to be the traditional white! Now it’s your turn – I can’t wait to see what you come up with…Christmas is only 4 1/2 months away – time to get going on those cards!! Every year I put out a free 12 days of Christmas series for the Creative Tips e-letter subscribers…be sure to see that when it begins later this fall – subscribe here for free.

[optin_box style=”12″ alignment=”center” email_field=”email” email_default=”Enter your email address” integration_type=”aweber” double_optin=”Y” list=”3846012″ name_field=”name” name_default=”Enter your first name” name_required=”Y” opm_packages=””][optin_box_field name=”headline”]Learn more with our exclusive FREE video series:[/optin_box_field][optin_box_field name=”paragraph”]PHA+UGx1cyB5b3XigJlsbCBiZSBhZGRlZCB0byBteSBGUkVFIENyZWF0aXZlIFRpcHMgRS1sZXR0ZXIgd2hlcmUgSSBzaGFyZSBleGNsdXNpdmUgcHJvamVjdHMsIHZpZGVvcyAmYW1wOyB0aGUgMTIgRGF5cyBvZiBDaHJpc3RtYXMgUHJvamVjdCBTZXJpZXM8L3A+Cg==[/optin_box_field][optin_box_field name=”privacy”][/optin_box_field][optin_box_field name=”top_color”]undefined[/optin_box_field][optin_box_button type=”0″ button_below=”Y”]Get Instant Access![/optin_box_button] [/optin_box]

Till next time –

Signature


Clean and Simple Snowflake Card

What’s cuter than a clean and simple snowflake card? One in Turquoise, Lime Green and White! This week over at Merry Monday, the challenge Kristie Goulet put out there was to use Turquoise, Lime Green and White on a Christmas Card. Snowflakes immediately popped into my head when I saw it! All week I wanted to make this card, and finally on Easter morning I had a chance to quickly put this card together.

clean and simple snowflake tag card

Quick is the word as it’s a cute clean and simple snowflake card. And here in the Black Forest, snowflakes aren’t so far from my mind on this crisp Easter morning! After all, I look out my stamping studio window and I see green of all sorts of colors – mostly lime on the laws trying so hard to now be frozen, a bright blue sky over the forest mountains and puffy white clouds this morning – so Kristie…your color combination works just fine for me today! Smile

clean and simple snowflakes

And if you are a VIP Community member, then there’s a step by step video for you in the Project and Resource Library! And if you’d like a few free exclusive videos, be sure to subscribe to the free Creative Tips E-Letter list.

Clean and Simple Snowflake Tag Creative Tips

  • Cut out the Merry from Hand Lettered Holidays by WPlus 9 in Lucky Limeade card stock by Stampin Up (retired), and the tag using the Chalktalk Framelits set by Stampin Up in Tempting Turquoise.
  • You’ll want to emboss snowflakes on your card front and tag in white using a snowflake stamp set – here I used Festive Flurry

CAS snowflakes

  • On the tag, before you stamp your snowflakes, figure out where the Merry from WPlus 9’s Hand Lettered Holiday steel die is going to go, and stamp the Christmas sentiment in  Versamark followed by white embossing powder.
  • Tip – heat set your embossing powder from both the front and back with a warmed up heat gun. That will help ensure that your paper does not warp.

CAS Blue Snowflakes Tag 005clean and simple snowflake card

  • Wrap white bakers twine three times around your card base overlapping it so that it forms two x’s on opposite sides about 1/4 of the way down.
  • Adhere your white card front to a Turquoise card base
  • Pop up your tag using foam tape and hang from the string.
  • Add white sequins (mine have a slight iridescent look to them, I bought them from my local art store, but Pretty Pink Posh has GREAT sequins.

clean and simple snowflake christmas card

That’s it! It’s a quick, clean and simple snowflake tag card that you could easily mass produce for the holidays.  I love the pop of the Lucky Limeade color on the tag, so thanks for a cool color combination Krisite!

152

I hope you enjoyed this tutorial for my Clean and Simple Snowflake Tag card – have a Happy Easter with your family and friends and see you later this week for a new YouTube video!

Signature


[optin_box style=”14″ alignment=”center” disable_name=”Y” email_field=”email” email_default=”Enter your email address” email_order=”1″ integration_type=”aweber” double_optin=”Y” list=”2841626″ name_field=”name” name_default=”Enter your first name” name_required=”Y”][optin_box_field name=”headline”]If you enjoyed this tutorial…[/optin_box_field][optin_box_field name=”paragraph”]PHA+Li4ueW914oCZbGwgbG92ZSBvdXIgPHNwYW4gc3R5bGU9ImNvbG9yOiAjMjQ0YzVlOyI+PGVtPjxzdHJvbmc+ZnJlZSA8L3N0cm9uZz48L2VtPjwvc3Bhbj5zdWJzY3JpYmVyIG9ubHkgdmlkZW8gc2VyaWVzISDCoEdldCB0aGXCoDxzcGFuIHN0eWxlPSJjb2xvcjogIzI0NGM1ZTsiPjxlbT48c3Ryb25nPmV4Y2x1c2l2ZTwvc3Ryb25nPjwvZW0+PC9zcGFuPsKgQ3JlYXRpdmUgVGlwcyBlLWxldHRlciB3aGljaCB3aWxsIHRlYWNoIHlvdSBuZXcgdGVjaG5pcXVlcyB0byBhZGQgdG8geW91ciBzdGFtcGluZyBza2lsbCBzZXQuIMKgTGVhcm4gaG93IHRvIG1ha2UgcHJvamVjdHMgeW91J2xswqBsb3ZlITwvcD4K[/optin_box_field][optin_box_field name=”privacy”][/optin_box_field][optin_box_field name=”top_color”]undefined[/optin_box_field][optin_box_button type=”1″ text=”Send me exclusive tips!” text_size=”26″ text_color=”#000000″ text_bold=”Y” text_letter_spacing=”-1″ text_shadow_panel=”Y” text_shadow_vertical=”1″ text_shadow_horizontal=”0″ text_shadow_color=”#a3b640″ text_shadow_blur=”0″ styling_width=”100″ styling_height=”10″ styling_border_color=”#000000″ styling_border_size=”1″ styling_border_radius=”6″ styling_border_opacity=”100″ styling_shine=”Y” styling_gradient_start_color=”#a3b640″ styling_gradient_end_color=”#5b661e” drop_shadow_panel=”Y” drop_shadow_vertical=”1″ drop_shadow_horizontal=”0″ drop_shadow_blur=”1″ drop_shadow_spread=”0″ drop_shadow_color=”#000000″ drop_shadow_opacity=”50″ inset_shadow_panel=”Y” inset_shadow_vertical=”0″ inset_shadow_horizontal=”0″ inset_shadow_blur=”0″ inset_shadow_spread=”1″ inset_shadow_color=”#a3b640″ inset_shadow_opacity=”50″ location=”optin_box_style_14″ button_below=”Y”]Send me exclusive tips![/optin_box_button] [/optin_box]

Merry Monday Bokeh Flurry

DSC01564


Have you tried the Merry Monday Challenge?  I seem to be on a challenge kick lately, and thought I’d have a go at this one this week.

114

This week, the challenge is to add some Sparkle, Shimmer and Shine.  Sounded like fun and I needed to get started on some Christmas Cards! Smile

Here at the grove, we have an exclusive step by step video and we’re having fun with a new technique this week – Bokeh.  I promised them I’d try it with some snowflakes along with all the other samples.  Here’s the result – enjoy!

DSC01574

Signature-Blog