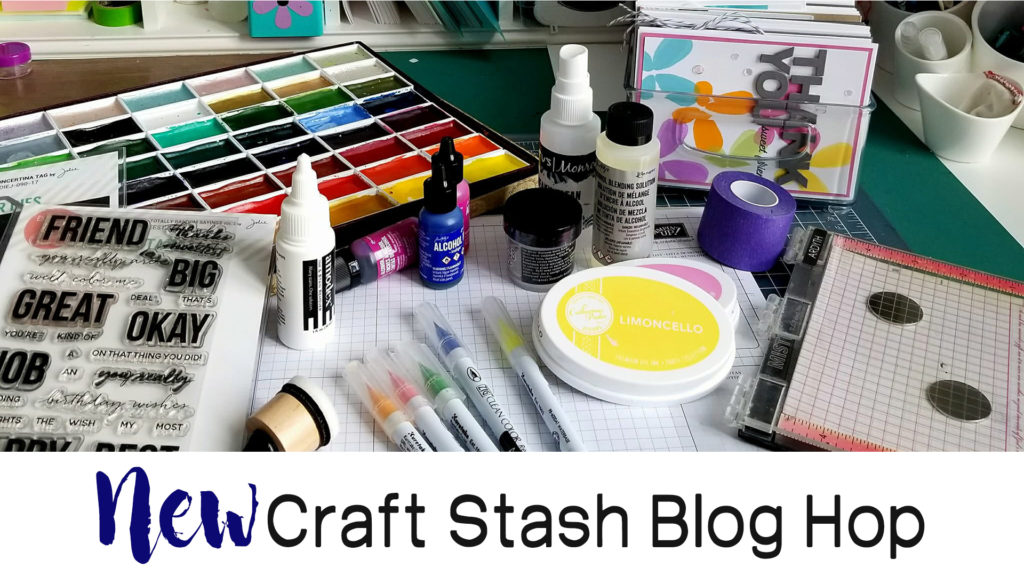
Welcome, today I’m hopping along with some crafty friends, well….just because! Several weeks ago, several of us were chatting about how we have all this “New” product just kind of sitting around, and it occurred to us to break some of that out and have a “just for fun” blog hop! So naturally I thought – I’ll create a scenic card and make Sunbeams on a foggy day with my new Mossy Tree Trunks stamp that I’ve had for eons, but have never used…so “new” to me!
Do you have any craft supplies sitting around that are “new” because you haven’t used them? Break them out!
So here we are – over the next 3 days, we have a fun filled hop each day for you. Come get inspired and be sure to comment along the way to be entered for a chance to win one of six prizes plus a few more from several of the blogs along the way!
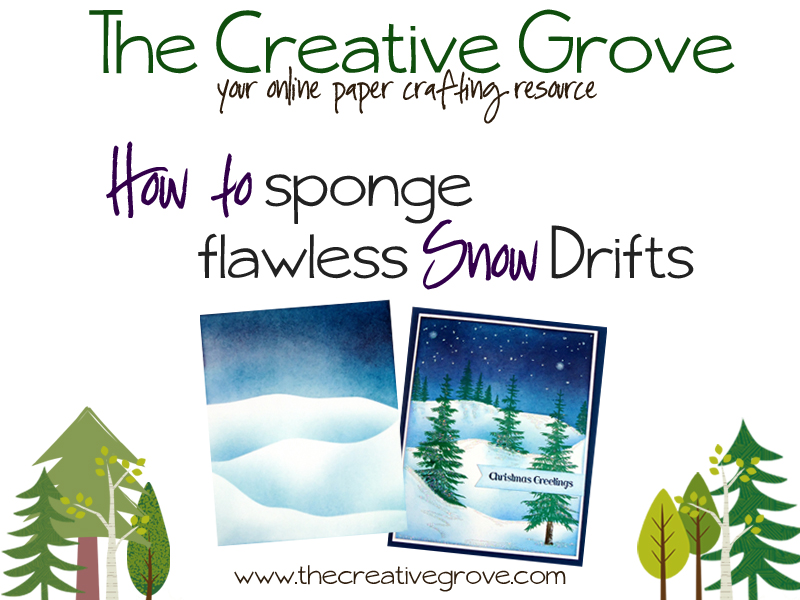
How to Create Sunbeams on a Scenic Card Tutorial
Click Here to watch in HD on YouTube
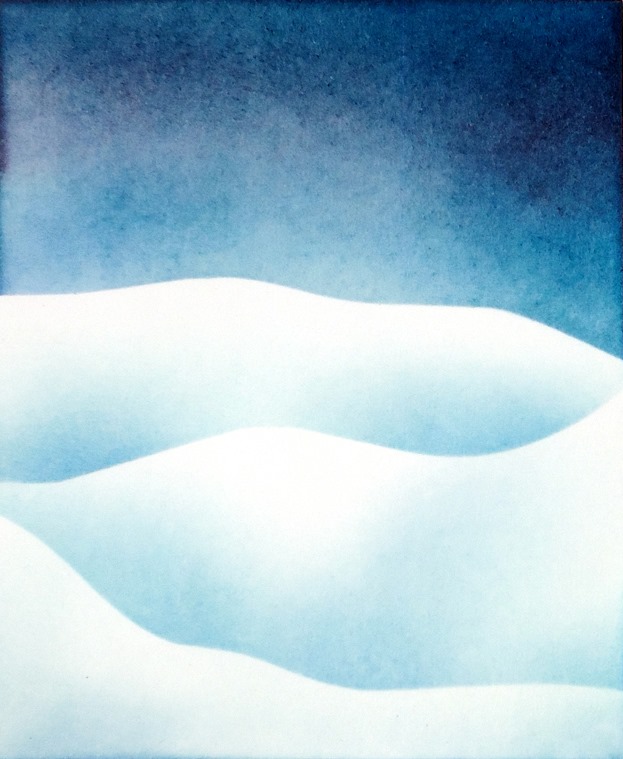
Creating sunbeams is actually quite easy on your project. The most important thing to remember is to pick a lightsource and have everything emminate from that spot as in the video.
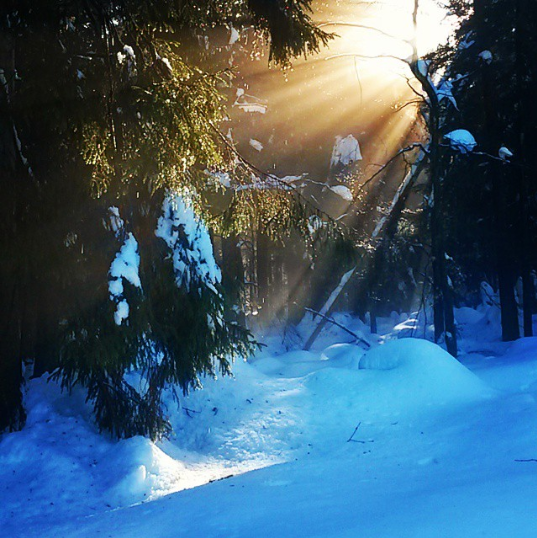
Here’s a photo I took while walking in the Black Forest in Germany one morning. See how the sunbeams just pop out of the scenery, and come from one fixed point?
Pigment ink sits on top of paper vs. dye ink that soaks in. So when you layer your pigment sunbeams, they’ll create a diffused ray that sits on top of your stamped image. I chose to wipe a slight ray away from my stamped image to help accentuate this beam of light, but it is not necessary.
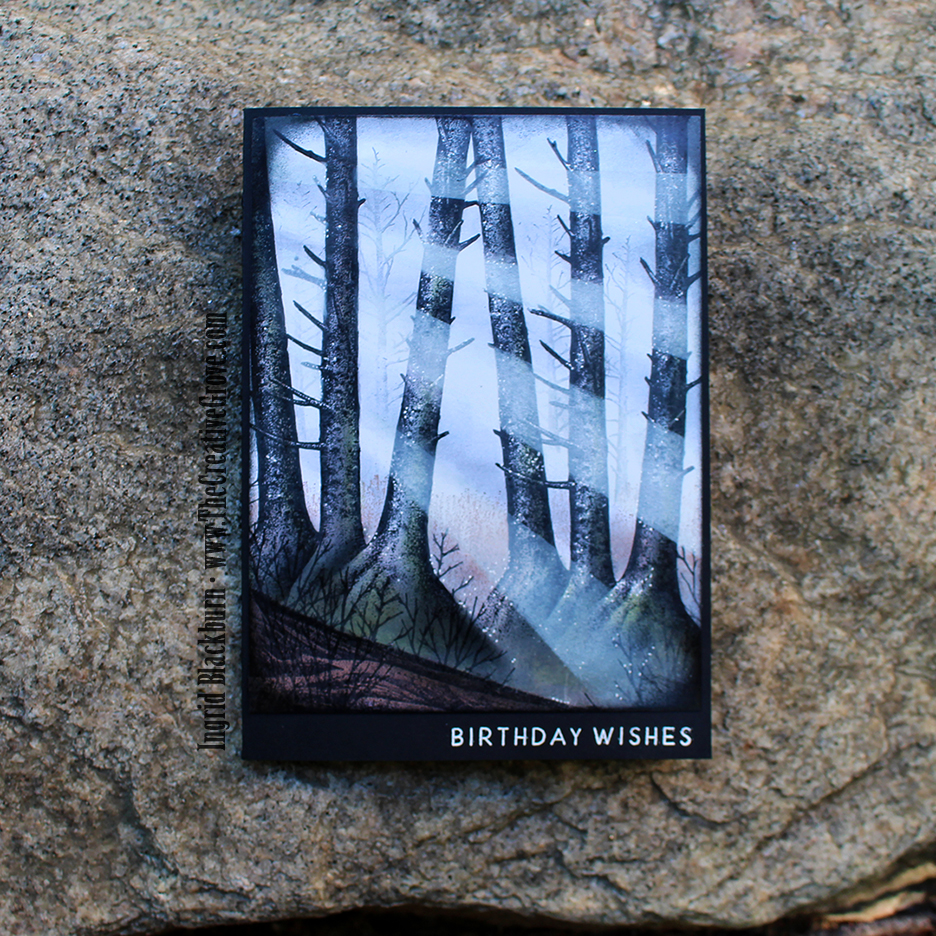
One of the most important points to remember is that to really allow your “light” to show – you need dark as well. That contrast is what makes the scene – dark vs. light.
To help give the scene a mystical look, try to keep your background “in the fog”. I was born and raised in San Francisco, so I naturally love fog, and miss it terribly – I know I’m weird. So I thought – let’s put it into our project! To create that mystery in the background, don’t over stamp or color. Keep the light in the scene – and make sure you’re stamping any background images really light. In the video, you’ll see that I stamped the images off onto scratch paper up to 4 times before stamping on the glossy cardstock.
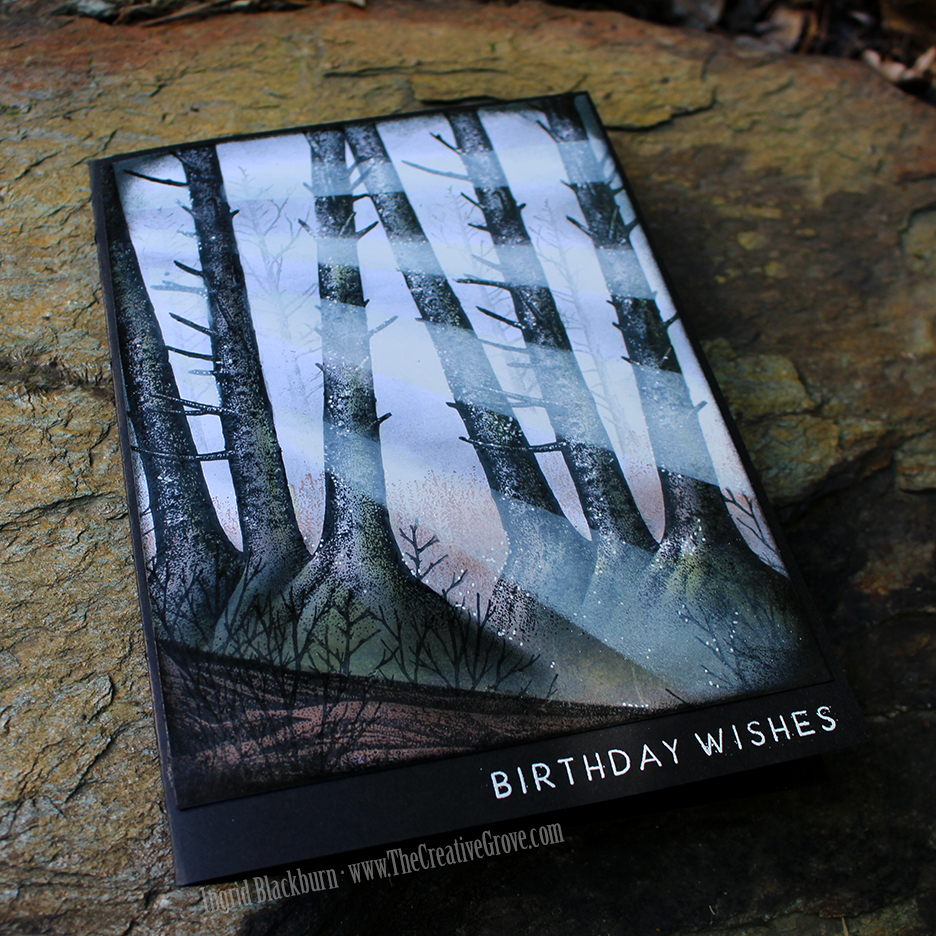
I use Kromecoat 12 pt. glossy cardstock for my scenic cards. It’s a nice heavy weight glossy cardstock. You’ll also want a dye ink that doesn’t dry immediately – I like to use Memento, Distress Dye and Catherine Pooler Designs inks along with the Colorbox Stylus Tool with sponge tips. This card is sized 5 x 7″.
Of course, to see all the tips and tricks along the way – you’ll have to watch the video, don’t worry, I sped a ton of it up – this project took me nearly 2 hours to complete – but is so realistic, it was worth every minute. There’s a great transition at the end of the video that showcased the evolution of the card.
If you’d like to see another fun project I created using pigment ink in a scene, be sure to check out my Harry Potter Scenic Card here. In that one you’ll learn how to use pigment ink in a circular way to create an explosion of light. There’a a video too!
I hope you enjoyed this tutorial!
Comment to Win Prizes
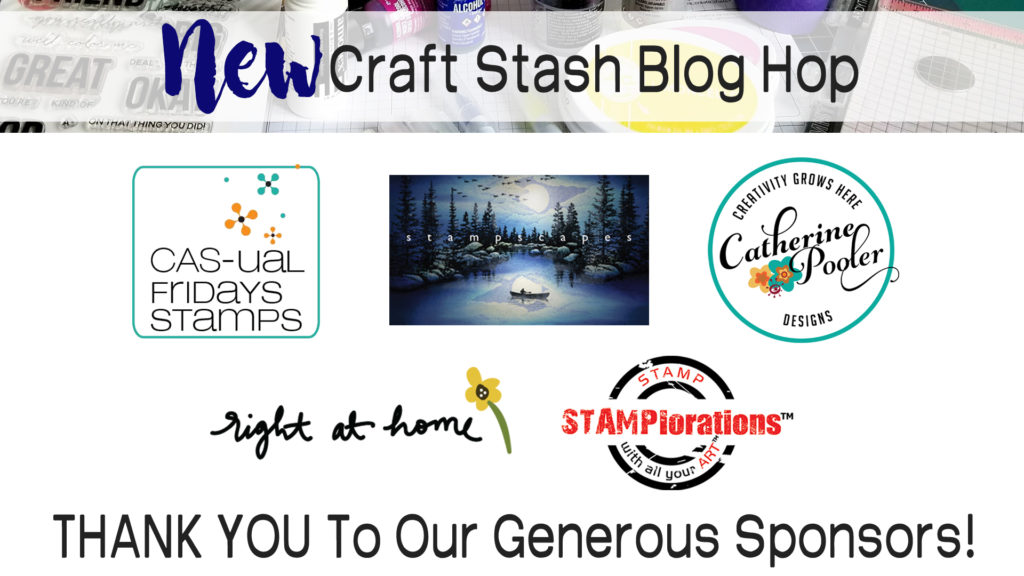
We have some amazing sponsors & Prizes:
- Stampscapes – 2 prizes – choice of Nature Sheet Stamp Set ($26.50 value)
- CAS-ual Fridays Stamps – $25 gift certificate
- Catherine Pooler Designs – $25 gift certificate
- Right at Home – $20 gift certificate
- Stamplorations – $20 gift certificate
PLUS….
I’m giving away a prize pack to one lucky commenter from one of my blog posts! So be sure to leave comments on all the blogs – all three days for your chance to win!!
So now it’s YOUR turn to hop along and be inspired by some of my crafty friends. Thanks for taking the time to hang a bit with me today. I’ll be back in a few days with a mixed media project for you. And stop by tomorrow as well – I’ll post that hop list too!
Day One Blog Hop List:
- Ingrid Blackburn – You are Here
- Jenny Colacicco – Hop here Next!
- Ashlea Cornell
- Karen Baker
- Ali Farmer
- Catherine Pooler
- Allison Cope
- Veronica Zalis
Day Two Blog Hop List:
- Melissa Miller
- Tracey McNeely
- Kelly Martin
- Amy Seigler
- Michelle Wallace
- Ilina Crouse
- Maureen Merritt
- Nance Salkeld
- Deepti Stephens
Till then – keep those fingers inky –

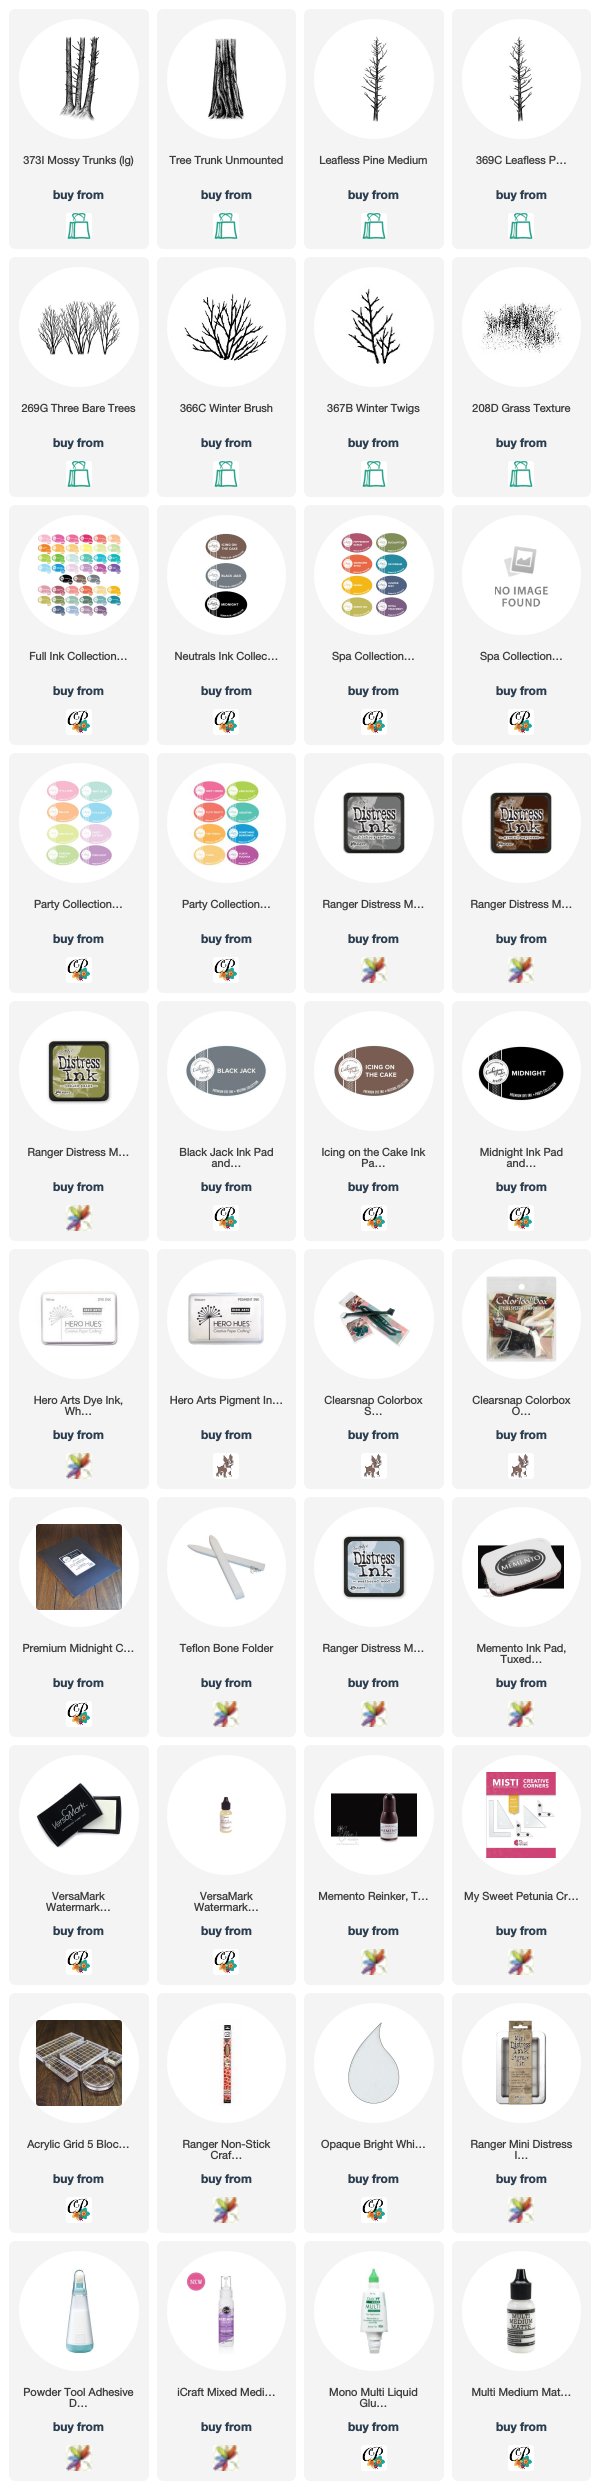
Supplies
To make finding the supplies I used in these projects a bit easier for you, here are a few clickable links. Compensated Affiliate Links are used when possible. Click here for disclosure. Happy Shopping!