Chalk Talk Birthday Wishes

Chalk Talk 003 Main R

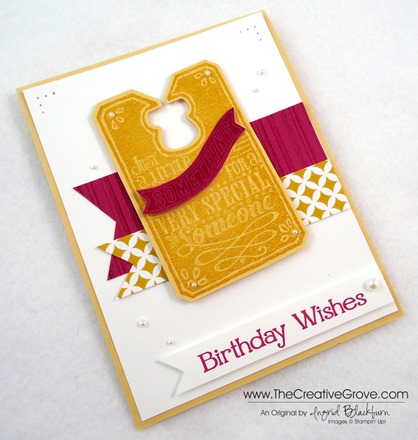
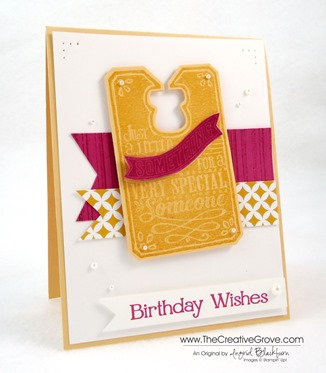
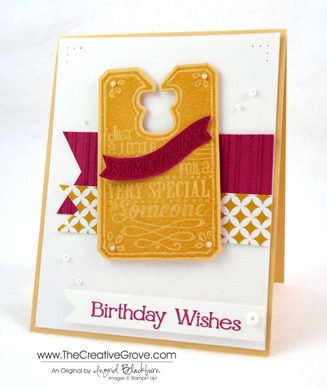
Who doesn’t love a bright and cheery Birthday card?  Today I’ve combined the new Chalk Talk stamp set and framelit collection with some of our new Eastern Elegance Designer Series Paper and the Gorgeous Grunge stamp set for a fun little Birthday for someone special.  I needed a quick and easy birthday card, I’ve been stamping, filming and editing my Brayer 101 – Introduction the Creative online video class series the last few days.  It’s almost ready – look for it tomorrow!  If you’ve taken the live class with me, you’ll love this class too – the projects are all different!

Creative Tips –

  • I stamped the large tag in So Saffron and cut it out using the Chalk Talk Collection Framelits.  If you get the stamp set and the framelits together – it’s a bundle and you save 15%!  I’m all about savings. Chalk Talk 003 CU
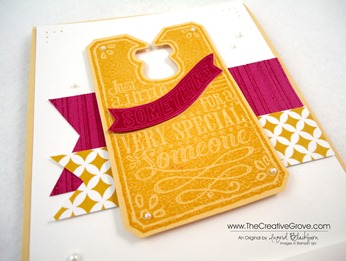
  • To give a little variety to my tag, I stamped it again in Rose Red and cut out the banner within the tag.  I tried it on white, but it didn’t look right.
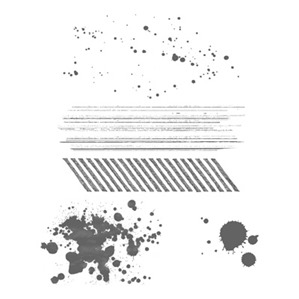
  • I wanted to add a little splash of design behind my tag, but I didn’t want to take away from it, so I picked a simple design and then created another with my stripe stamp from the gorgeous grunge set.
  • To make my banner ends I used the 1” square punch for the smaller banner and cut the large one with my paper snipsCheck out this video on how to make Banner Flags Chalk Talk 003 Side
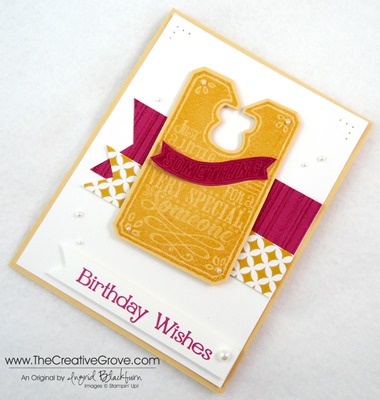
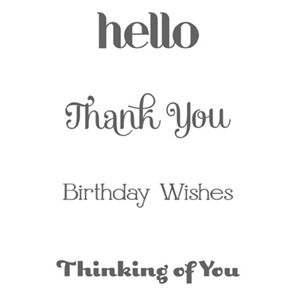
  • I used the Greeting from the new Four You stamp set, it covers all bases without breaking the bank!
  • I popped my greeting banner and Chalk Talk tag up on Stamping Dimensionals for some depth to the card.
  • For finishing touches, I added a little piercing to the extra white space at the top of the card and some Pearl Basic Jewels on the tag, banner and card.
    Chalk Talk 003 Main L

It’s a fun card that is bright, cherry and simple.  Best of all it took me under 10 minutes to make!  My kind of birthday card. Smile

Announcing a new Online Video Class

It’s coming – Saturday July 13th!!  Brayer 101 – Introduction to Creative Scenery will be available as an online class.  Be sure to stop by to check it out.  You will want to learn how to make these amazing projects.  Get step by step video instruction and access to a private blog just for this class. 


Signature-Snowflake-001_thumb1

To Shop 24/7 in the Creative Store – Click here!

Chalk Talk 003 Angle

To view the details or see close ups of any products used in the above project, just click on the green link to view it in my store 24/7. 

Stamp Sets – Chalk Talk (130634c, 130631w),  Chalk Talk Bundle (132730c, 132731w), Gorgeous Grunge (130517c, 130514w), Four You (130538c, 130535w) Ink – So Saffron, Rose Red Paper –Whisper White, So Saffron, Rose Red Cool Tools – 1” Square Punch, Chalk Talk Framelits,Stampin’ Sponges Finishing Touch – Stampin’ Dimensionals,Pearl Basic Jewels
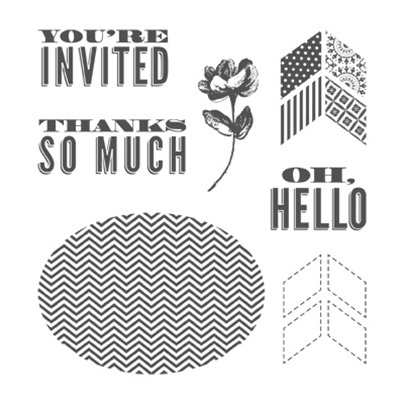
Gorgeous GrungeFour You

Chalk Talk Bundle

Beautifully Baroque Wedding Card

Beautifully Baroque Wedding Card 002 Main L

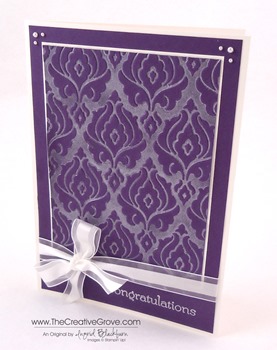
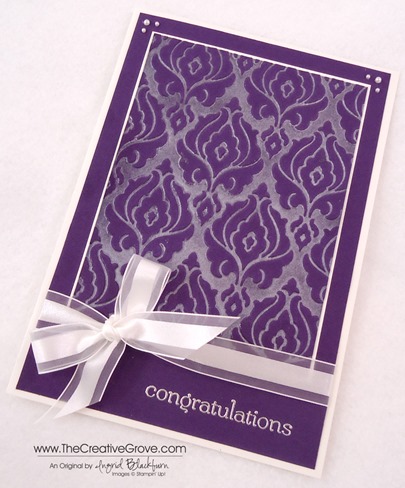
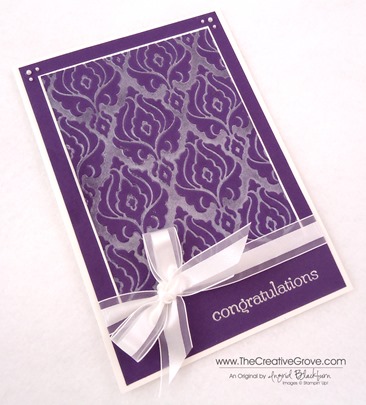
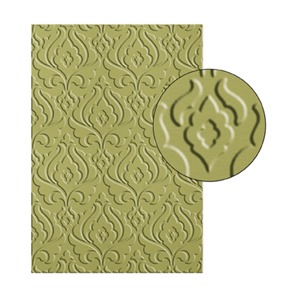
I needed an elegant wedding card this week for a family member.  The new Beautifully Baroque Embossing Folder was just perfect for such an occasion.  Paired with our rich Elegant Eggplant – the bride’s color, and our gorgeous Shimmery White card stock, this card definitely hits the mark. 

Creative Tips –

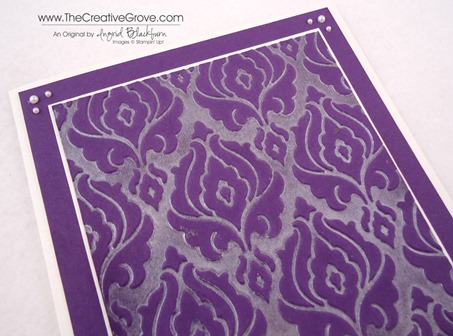
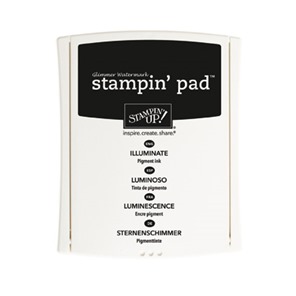
  • I created a beautiful shimmery Baroque paper using the Bisque Pottery Technique and the Illuminate Glimmer Watermark Ink Pad.Beautifully Baroque Wedding Card 002 CU
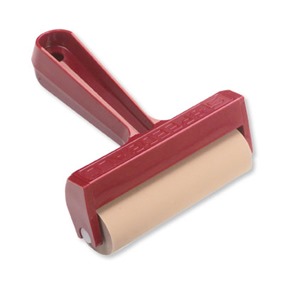
  • Use the brayer to color the top portion of your Embossing Folder with the Illuminate Pad, place your Elegant Eggplant cardstock on the lower piece of the folder, close and emboss.  The result is a gorgeous shimmery result that looks like velvet. 
  • To pair the rich embossed piece, I used our Shimmery White card stock.  It’s a wedding after all!
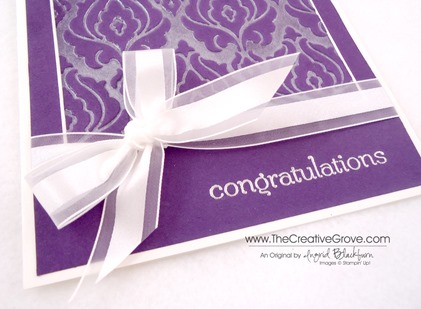
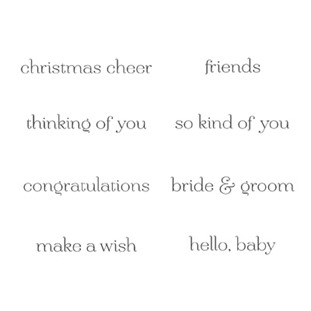
  • The greeting is embossed in Silver and I added a few Pearl Basic Jewels at the top for some added elegant finishing touches.Beautifully Baroque Wedding Card 002 Bow
  • I normally don’t do bows – they’re big and bulky, but with this being a wedding card, my go to knot isn’t going to cut it – don’t think I didn’t try…lol!  It would be cute, no – tying the knot?  Michael would have questioned it, so I went with the bow.  To get it exactly where I wanted it, I attached a piece of Ribbon first, anchored my cardstock onto the card and then used a separate piece to tie the knot.  You can also completely tie it separately and attach it with a Glue Dot.  That didn’t work for me this time, so I tied it.Beautifully Baroque Wedding Card 002 Side

The end result is a gorgeous rich textured card.  This card is 5”x7”, and since we’re sending a check along as we can’t attend this one, I wanted to send a special card.  I’m actually quite sad we can’t go to this one. Sad smile

Free DSP_edited-1

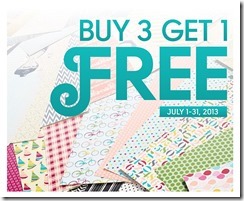
We’re celebrating this summer!!  This month – buy any three Designer Series Papers and get one free!  Take advantage of  this awesome special!

Signature Snowflake 001

To Shop 24/7 in the Creative Store – Click here!

Beautifully Baroque Wedding Card 002 Angle

To view the details or see close ups of any products used in the above project, just click on the green link to view it in my store 24/7.  

Stamp Sets – Sweet Essentials (126457c, 132085w) Ink – Illuminate Glimmer Watermark, Versamark Paper – Whisper White, Elegant Eggplant, Shimmery White Cool Tools – Beautifully Baroque TIEF, Brayer Finishing Touch – Pearl Basic Jewels, 5/8” Organza Ribbon 

Untitled-12Beautifully Baroque Embossing Folder TIEFBrayerIlluminate Ink Pad

Mojo Textures and Prints

Oh Hello 002 Main R

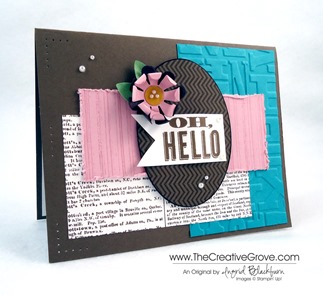
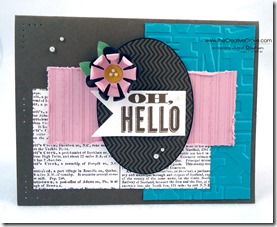
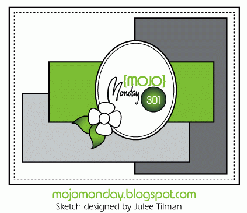
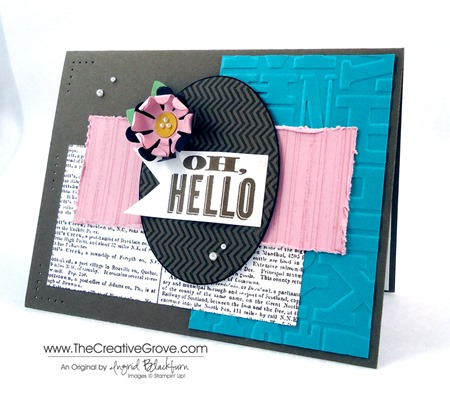
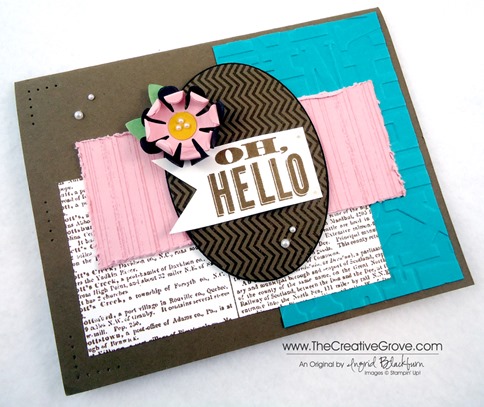
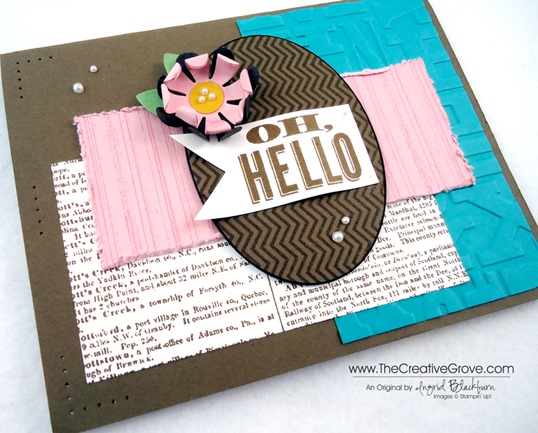
Card making can be clean and simple yet at the same time rich in texture and print.  For this weeks Mojo Monday challenge, I broke out my Oh, Hello stamp set that has this awesome Chevron oval in it.  The patter is tight, precise and really does a number on your eyes when you stare at – it’s an optical illusion – it moves!  Since this weeks sketch focused on an oval, I thought why not give it some texture, or at least the illusion of it.

      Oh Hello 002 FrontMojo301Sketch

Creative Tips –

  • I started out using my color coach and the top combination from Soft Suede – using Bermuda Bay and Blushing Bride.
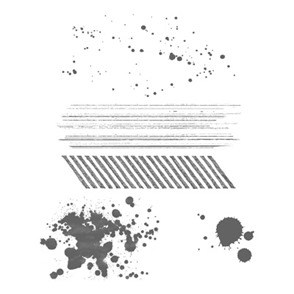
  • To go along with that great stamp, I brought in my two favorites – Gorgeous Grunge for my striped pattern and the Dictionary Background stamp for a simple print. 
  • I distressed the Blushing Bride piece for some contrast using my Distress Tool.Oh Hello 002 CU
  • To compliment the Dictionary print, I embossed my Bermuda Bay card stock to give it some texture using the new Alphabet Press Textured Impressions Embossing Folder.
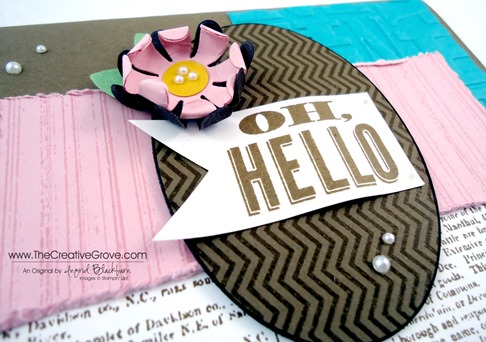
  • After stamping the Chevron oval, I cut it out using the #4 Oval in my Oval Collection Framelits.  Rather than matte it with a larger oval, I just edged it in a darker shade using Early Espresso.Oh Hello 002 Height
  • To give a little distinction to the oval, I popped it up on Stamping Dimensionals.
  • I created a banner using my 1” Square Punch and one of the three greetings in the Oh, Hello set.  I love it when stamp sets have greetings!Oh Hello 002 Banner
  • For the wave in the banner, I adhered the ends down and popped up the middle using two Stamping Dimensionals.  I curled up the ends of the banner using my Bone Folder.
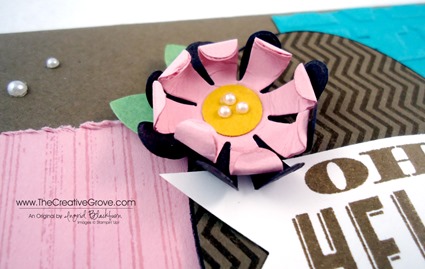
  • The flower was created with Blushing Bride and Early Espresso card stocks using the Blossom Party Originals BigZ die.  For the center I used the circle from the Itty Bitty Punch Pack and Crushed Curry card stock.  The leaves were punched out using the retired Blossom Petals Builder Punch. Oh Hello 002 Flower
  • I added a few Pearl Basic Jewels for a finishing touch to the Oval, Banner, main card and Flower center. 
  • For a final finishing touch, I added a little piercing using the Essentials Paper Piercing Pack. Oh Hello 002 Main L

It’s a fun color combination and this card is great for just any occasion.  I hope you like it and have fun making your own! 

Free DSP_edited-1

We’re celebrating this summer!!  This month – buy any three Designer Series Papers and get one free!  Here’s the scoop on this awesome special!

Signature Snowflake 001

To Shop 24/7 in the Creative Store – Click here!

Oh Hello 002 Angle

All of the supplies used to make this project are Stampin’ Up! unless I specifically note otherwise.  To view the details or see close ups of any products, just click on the green link to view it in my store 24/7. 

Stamp Sets – Oh Hello (130733c, 131931w), Dictionary (130351c, 130348w),Gorgeous Grunge (130517c, 130514w) Ink – Soft Suede, Early Espresso, Blushing Bride Paper – Whisper White, Crushed Curry, Soft Suede, Early Espresso, Bermuda Bay, Blushing Bride, Wild Wasabi Cool Tools – Itty Bitty Shapes Punch Pack, Oval Collection Framelits, Blossom Party Originals BigZ Die, Big Shot, Alphabet Press TIEF, 1” Square Punch Finishing Touch –Stampin’ Dimensionals, Pearl Basic Jewels, Paper Piercing Tool, Stampin’ Pierce Mat, Essentials Paper Piercing Pack

Gorgeous GrungeDictionary Background StampOh Hello