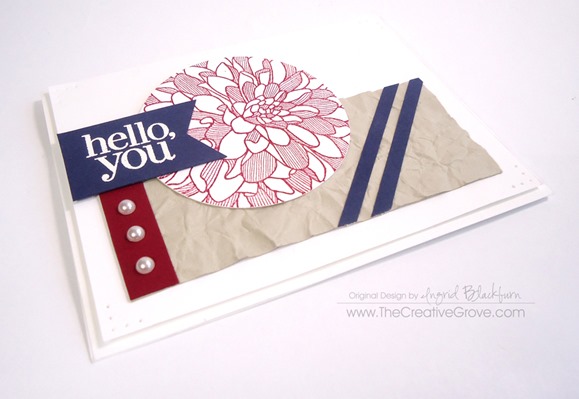
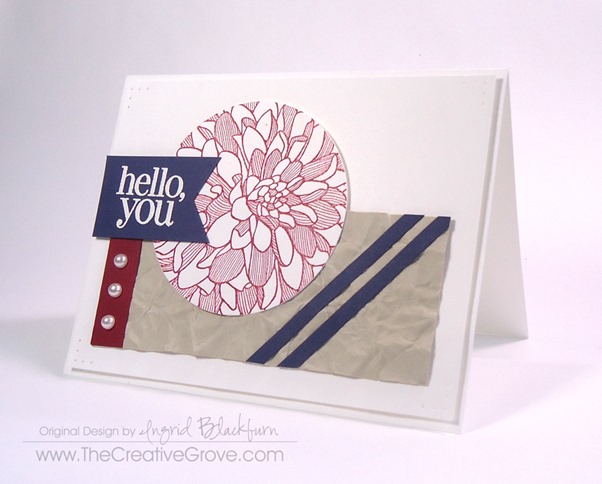
It’s been a while since I played along with the Mojo Monday challenge. I have to admit, I’ve missed it! I’ve been in a technique zone creating our new VIP Community here at the Grove (click here to find out more), so I threw a fun simple one into this project. Sometimes when you have a cool texture that you’ve created for your card, making the rest clean and simple really allows it to stand out.
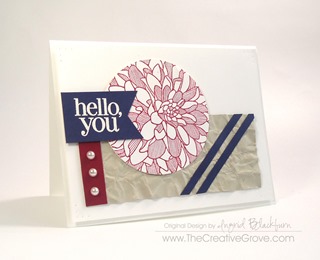
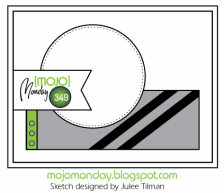
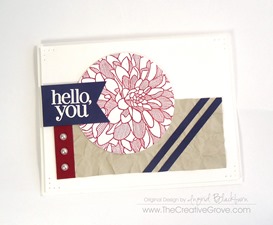
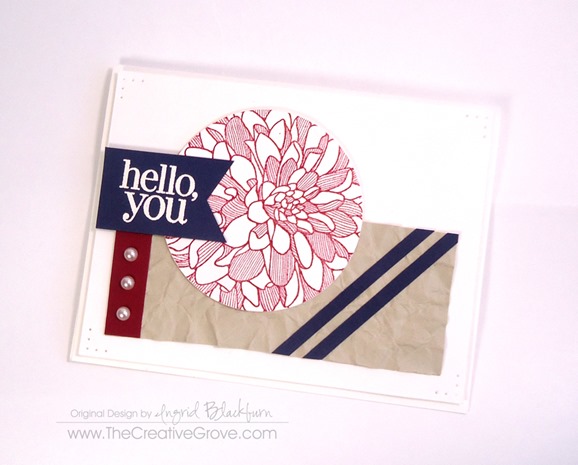
Here’s the sketch and my version. You can see, I stayed pretty true this time.
Here are some tips on how to make this card, and join our Creative Tips list (on the right) to see exclusive free videos on how to make cards just like this:
- Crumple your paper to create a faux leather look to your cardstock. If you find it’s hard to do this, spritz it lightly with water. Use the sweat from your palms to aid you in crumpling this up really well.
- Cut your solid Navy strips thin – just 3/8” wide.
- Adhere a thin strip of Cherry Cobbler and your Navy strips with Tombo Multi Liquid Glue. When you alter cardstock, as with the crumpling, it becomes hard to work with.
- Snip off the edges of all your strips and adhere your Sahara Sand cardstock to a 5 1/4” x 4” piece of white cardstock.
- When adhering your large piece down, keep the same amount of space to the right, left and bottom. It becomes an extended mat.
- Cut a 2 1/2” circle with a circle punch, framelits or nestibilities. Stamp your Dahlia image in Cherry Cobbler. Attach to your card front, leaving the same amount of space at the top as the bottom white to balance it out. Use Liquid Glue on textured cardstock, dimensionals or foam tape to attach to the white to adjust for the height variance.
- Stamp your greeting and emboss in white on Navy cardstock. Create a banner with your snips or hexagon punch (see video here on how to do that). Attach with dimensionals onto the white, glue onto other parts.
- Pierce edges of your card with a paper piercer and a template.
- Add large pearls to Cherry Cobbler cardstock to finish your card.
- Pop your card front up onto your card base.
You’re done! It’s a fun little project, isn’t it? Let me know what you think! Leave me a comment below. Happy Creating!
Interested in learning stamping techniques each month? Check out our new VIP Community!
