Clean and Simple Snowflake Card

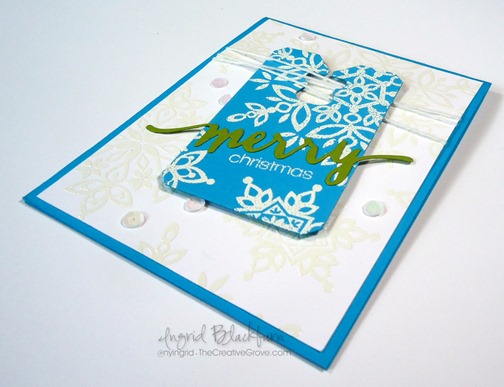
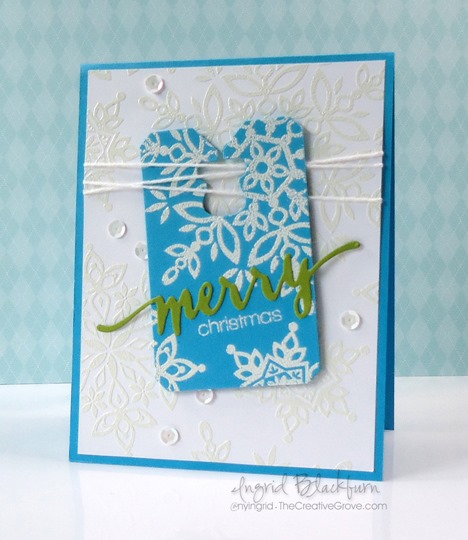
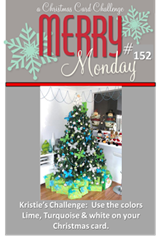
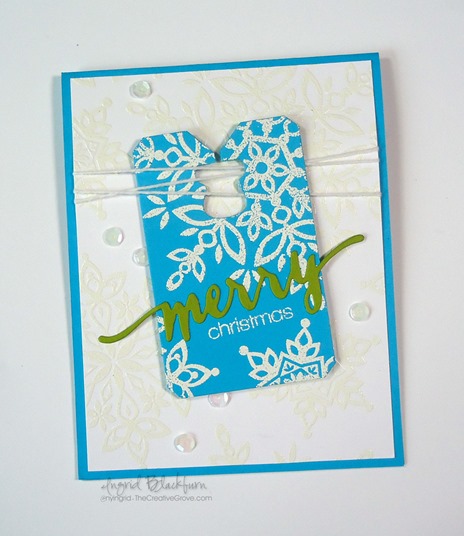
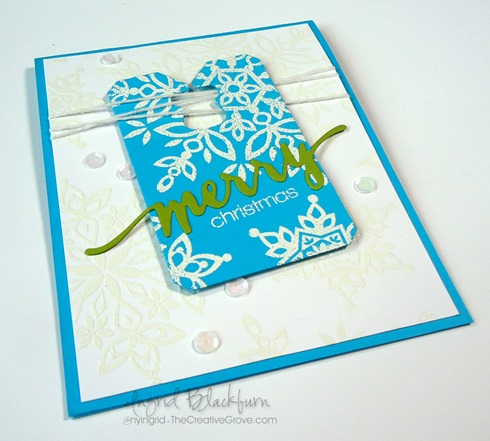
What’s cuter than a clean and simple snowflake card? One in Turquoise, Lime Green and White! This week over at Merry Monday, the challenge Kristie Goulet put out there was to use Turquoise, Lime Green and White on a Christmas Card. Snowflakes immediately popped into my head when I saw it! All week I wanted to make this card, and finally on Easter morning I had a chance to quickly put this card together.

clean and simple snowflake tag card

Quick is the word as it’s a cute clean and simple snowflake card. And here in the Black Forest, snowflakes aren’t so far from my mind on this crisp Easter morning! After all, I look out my stamping studio window and I see green of all sorts of colors – mostly lime on the laws trying so hard to now be frozen, a bright blue sky over the forest mountains and puffy white clouds this morning – so Kristie…your color combination works just fine for me today! Smile

clean and simple snowflakes

And if you are a VIP Community member, then there’s a step by step video for you in the Project and Resource Library! And if you’d like a few free exclusive videos, be sure to subscribe to the free Creative Tips E-Letter list.

Clean and Simple Snowflake Tag Creative Tips

  • Cut out the Merry from Hand Lettered Holidays by WPlus 9 in Lucky Limeade card stock by Stampin Up (retired), and the tag using the Chalktalk Framelits set by Stampin Up in Tempting Turquoise.
  • You’ll want to emboss snowflakes on your card front and tag in white using a snowflake stamp set – here I used Festive Flurry

CAS snowflakes

  • On the tag, before you stamp your snowflakes, figure out where the Merry from WPlus 9’s Hand Lettered Holiday steel die is going to go, and stamp the Christmas sentiment in  Versamark followed by white embossing powder.
  • Tip – heat set your embossing powder from both the front and back with a warmed up heat gun. That will help ensure that your paper does not warp.

CAS Blue Snowflakes Tag 005clean and simple snowflake card

  • Wrap white bakers twine three times around your card base overlapping it so that it forms two x’s on opposite sides about 1/4 of the way down.
  • Adhere your white card front to a Turquoise card base
  • Pop up your tag using foam tape and hang from the string.
  • Add white sequins (mine have a slight iridescent look to them, I bought them from my local art store, but Pretty Pink Posh has GREAT sequins.

clean and simple snowflake christmas card

That’s it! It’s a quick, clean and simple snowflake tag card that you could easily mass produce for the holidays.  I love the pop of the Lucky Limeade color on the tag, so thanks for a cool color combination Krisite!

152

I hope you enjoyed this tutorial for my Clean and Simple Snowflake Tag card – have a Happy Easter with your family and friends and see you later this week for a new YouTube video!

Signature


[optin_box style=”14″ alignment=”center” disable_name=”Y” email_field=”email” email_default=”Enter your email address” email_order=”1″ integration_type=”aweber” double_optin=”Y” list=”2841626″ name_field=”name” name_default=”Enter your first name” name_required=”Y”][optin_box_field name=”headline”]If you enjoyed this tutorial…[/optin_box_field][optin_box_field name=”paragraph”]PHA+Li4ueW914oCZbGwgbG92ZSBvdXIgPHNwYW4gc3R5bGU9ImNvbG9yOiAjMjQ0YzVlOyI+PGVtPjxzdHJvbmc+ZnJlZSA8L3N0cm9uZz48L2VtPjwvc3Bhbj5zdWJzY3JpYmVyIG9ubHkgdmlkZW8gc2VyaWVzISDCoEdldCB0aGXCoDxzcGFuIHN0eWxlPSJjb2xvcjogIzI0NGM1ZTsiPjxlbT48c3Ryb25nPmV4Y2x1c2l2ZTwvc3Ryb25nPjwvZW0+PC9zcGFuPsKgQ3JlYXRpdmUgVGlwcyBlLWxldHRlciB3aGljaCB3aWxsIHRlYWNoIHlvdSBuZXcgdGVjaG5pcXVlcyB0byBhZGQgdG8geW91ciBzdGFtcGluZyBza2lsbCBzZXQuIMKgTGVhcm4gaG93IHRvIG1ha2UgcHJvamVjdHMgeW91J2xswqBsb3ZlITwvcD4K[/optin_box_field][optin_box_field name=”privacy”][/optin_box_field][optin_box_field name=”top_color”]undefined[/optin_box_field][optin_box_button type=”1″ text=”Send me exclusive tips!” text_size=”26″ text_color=”#000000″ text_bold=”Y” text_letter_spacing=”-1″ text_shadow_panel=”Y” text_shadow_vertical=”1″ text_shadow_horizontal=”0″ text_shadow_color=”#a3b640″ text_shadow_blur=”0″ styling_width=”100″ styling_height=”10″ styling_border_color=”#000000″ styling_border_size=”1″ styling_border_radius=”6″ styling_border_opacity=”100″ styling_shine=”Y” styling_gradient_start_color=”#a3b640″ styling_gradient_end_color=”#5b661e” drop_shadow_panel=”Y” drop_shadow_vertical=”1″ drop_shadow_horizontal=”0″ drop_shadow_blur=”1″ drop_shadow_spread=”0″ drop_shadow_color=”#000000″ drop_shadow_opacity=”50″ inset_shadow_panel=”Y” inset_shadow_vertical=”0″ inset_shadow_horizontal=”0″ inset_shadow_blur=”0″ inset_shadow_spread=”1″ inset_shadow_color=”#a3b640″ inset_shadow_opacity=”50″ location=”optin_box_style_14″ button_below=”Y”]Send me exclusive tips![/optin_box_button] [/optin_box]
Clean and Simple Birthday Card for LeAnne

Clean and Simple Flower Birthday Card (2)

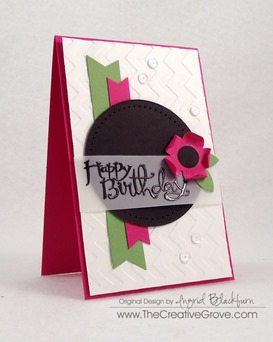
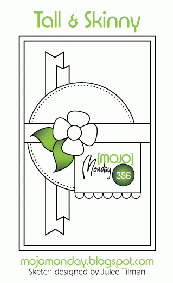
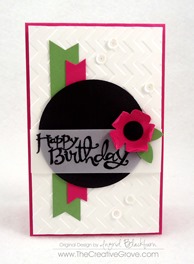
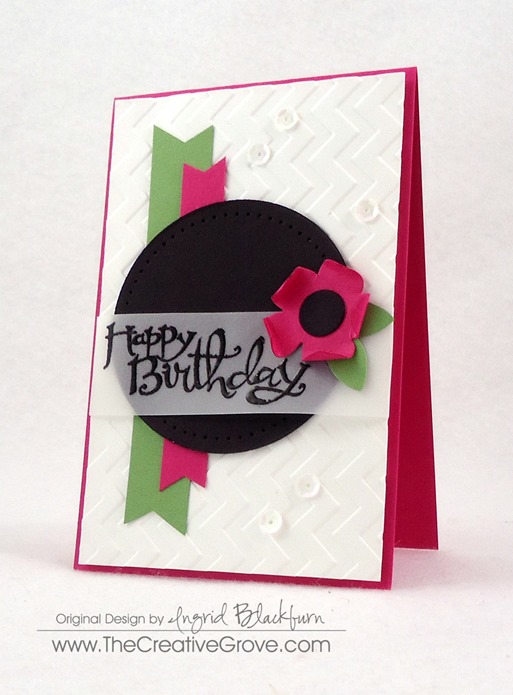
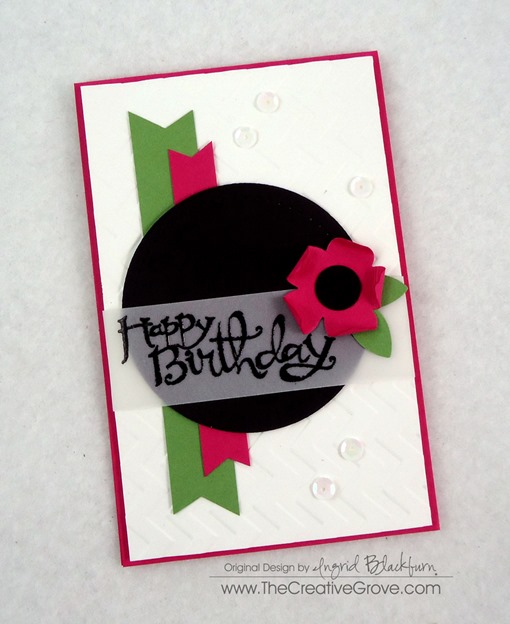
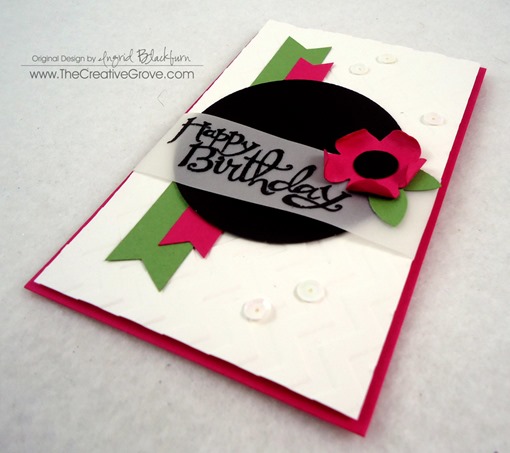
I decided to combine my Monday challenges today and when I saw the Merry Monday challenge today was a Birthday Hop – I was SO excited!  Of course, I went to Mojo Monday first thing at 5 AM East Coast Time…and fell in love with the sketch right away – I mean how could you not – the possibilities were endless!  I was already thinking up all sorts of Christmas ideas…then quickly switched gears and made a fun bright CAS birthday card instead!

Surprise Hop Graphic for LeAnnemojo356Clean and Simple Flower Birthday Card (4)

I love LeAnne Pugliese’s cards every time I see them on the Merry Monday Christmas Challenge Blog, so I decided she needed a Birthday card that was fun, sassy, and colorful with no less than my latest little addiction – sequins (thanks Deanne – I have you to blame for these).

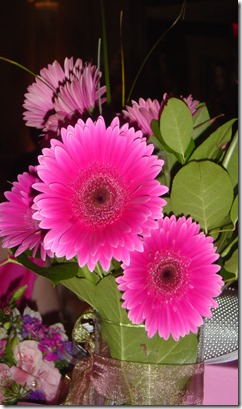
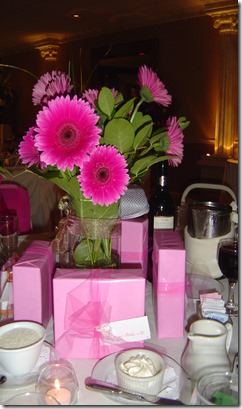
I knew I wanted to use the Sassy Salutations birthday greeting and my mind immediately went to the bright pink Gerber Daisy.  My sister-in-law Claudia had these at her wedding and I couldn’t stop taking photos of them, they were so editorial!

Claudias Wedding 015Claudias Wedding 016

Now I know the middles are mostly yellow, but I left it black so that I didn’t bring another color in.  It’s a fun little card, don’t you think?  My favorite parts – the flower, belly band and of course, I’m a convert – the sequins!  So LeAnne – this card is for you!  I hope you have a FABULOUS birthday!

Clean and Simple Flower Birthday Card (3)Clean and Simple Flower Birthday Card (1)Clean and Simple Flower Birthday Card (5)Clean and Simple Flower Birthday Card (8)

Hope you liked that!  If you’re a TCG VIP Member – you’ll see a video of this project in the Project and Resource Video library. Smile

Have a great start to the week!

Signature

CAS Christmas Trees

CAS Chistmas Cards 001 (2)

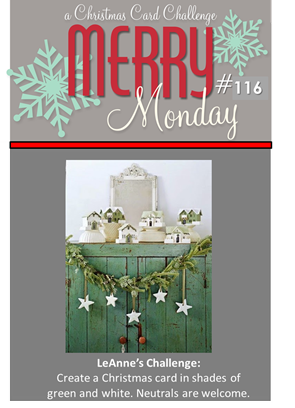
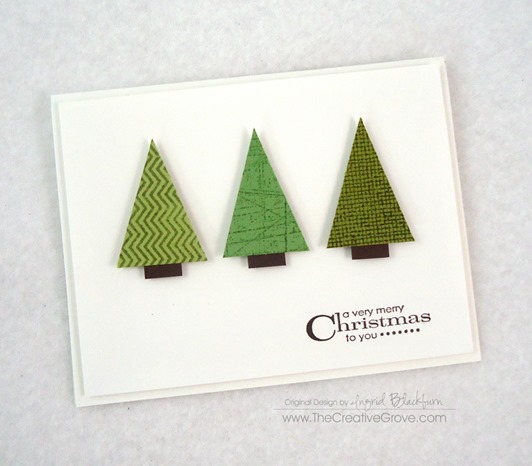
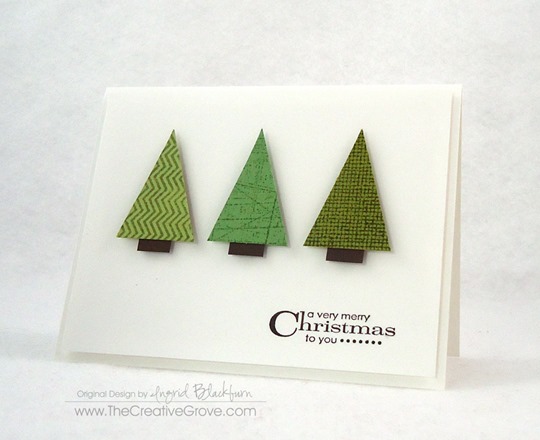
It’s only July 7th…but before you know it, the holiday season will yet once again have crept up on us.  That’s why I’ve started to religiously make a card for the Merry Monday Christmas Card Challenge.  This week the challenge was to create a green and white card.  You were able to incorporate a neutral if you chose to.

116

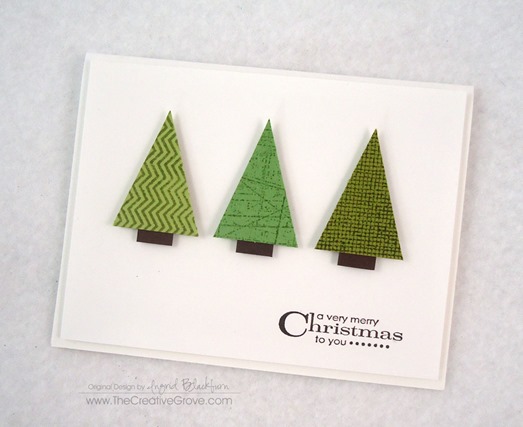
I kept it completely clean and simple (CAS) this week – just the bare minimum…which can be hard for me.  I usually reach for my paper piercer and add some corner piercing to a card like this, but I wanted to keep it really basic.  What do you think?  Let me know in the comment section – I’d love to know if you think it’s perfect as is, or you think the piercing is the perfect finishing touch.

I’m a bit excited today – this challenge really made me smile.  I enter these challenges as a creative mojo booster, and never expect to win.  It honestly is the furthest from my mind…so I nearly fell off my chair when I saw that I WON last week’s challenge! Smile  I mean…really…little ‘ol me?!!  There were some amazing cards in there!  I’m totally honored and can’t wait to be a guest designer in next weeks challenge.  Here’s the card that gave me my first ever win! Smile

MM Winner Badge Ornament Keepsakes Stamp Set (10)

Creative Tips –

  • To make the trees, stamp various background and large image stamps in tone on tone colors onto a 1 3/4” x 1 1/4” piece of coordinating card stock.  I used Pear Pizzazz, Wild Wasabi, and Old Olive.
  • Don’t have any – no problem – use a versamark pad for whatever color you have.  It’s a watermark of that color and a great muted image.

CAS Chistmas Cards 001 (5)

  • On the reverse side of your rectangle at the top – make a mark with a pencil half way across the smaller measurement.  Should be 5/8”.
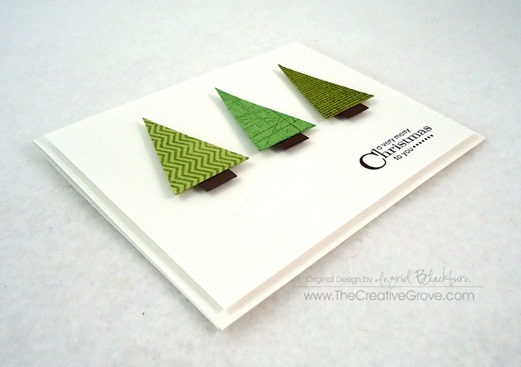
  • To make your trees, cut from the opposite corners to that middle mark.  Use a Paper Trimmer or just scissors – larger ones help here to get a straight cut.

  • Add a 1/2” piece of scrap Early Espresso for your trunk and pop them up on a  card front of white.
  • Stamp your sentiment in the corner – I used a contemporary looking greeting from More Merry Messages by Stampin’ Up!.

CAS Chistmas Cards 001 (1)CAS Chistmas Cards 001 (4)

  • Pop up your card front and you’re done!

Totally easy, right?  You could quickly make a bunch of these watching a movie.  Hope you enjoyed that this week.  If you did – be sure to sign up for our Creative Tips list.  You’ll get a video series emailed to you with several cool projects and the occasional email about exclusive projects you won’t see here on the blog!

CAS Chistmas Cards 001 (3)

Now off to make your own green and white Christmas Cards.  Join in on the fun over at the Merry Monday Challenge.

Signature

[optin_box style=”14″ alignment=”center” action=”http://www.aweber.com/scripts/addlead.pl” disable_name=”Y” method=”post” email_field=”email” email_default=”Enter your email address” email_order=”1″ integration_type=”custom” double_optin=”Y” name_default=”Enter your first name”][optin_box_hidden][/optin_box_hidden][optin_box_code]

[/optin_box_code][optin_box_field name=”headline”]If you enjoyed this tutorial…[/optin_box_field][optin_box_field name=”paragraph”]PHA+PHNwYW4gc3R5bGU9ImNvbG9yOiAjNjQ2MzVlOyI+TGV04oCZcyBzdGF5IGluIHRvdWNoISBNeSBvY2Nhc2lvbmFswqA8L3NwYW4+PHNwYW4gc3R5bGU9ImNvbG9yOiAjNjY2Njk5OyI+PHN0cm9uZz48ZW0+ZXhjbHVzaXZlPC9lbT48L3N0cm9uZz7CoDwvc3Bhbj48c3BhbiBzdHlsZT0iY29sb3I6ICM2NDYzNWU7Ij5DcmVhdGl2ZSBUaXBzIGUtbGV0dGVyIHdpbGwgdGVhY2ggeW91IHRvIG1ha2UgcHJvamVjdHMgdGhhdCB5b3UgbG92ZeKApjwvc3Bhbj48L3A+Cg==[/optin_box_field][optin_box_field name=”privacy”][/optin_box_field][optin_box_field name=”top_color”]undefined[/optin_box_field][optin_box_button type=”0″ button_below=”Y”]Send me exclusive tips![/optin_box_button] [/optin_box]
White on White Christmas Cards

Ornament Keepsakes Stamp Set (6)

Did you ever think you would look forward to Mondays?  Monday has become quite the creative day in my studio, and today it’s is on overdrive.  I love entering cards on Monday in a few challenges – Mojo Monday and probably my new favorite Merry Monday – A Christmas Card Challenge.

Merry115If you’ve been following me over the past several years you know that my all time favorite type of card to make is yup…you guessed it – Christmas!  So this challenge is perfect for me.  It gets me in the Christmas mindset and I have a new idea each and every week!  And if you just participate in this challenge each and every Monday, at the end of the year, you’ll have at the very least – 50 cards!  Not bad. Smile

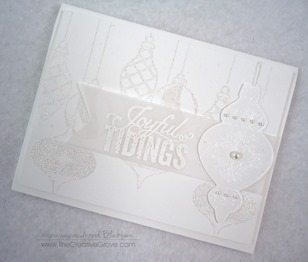
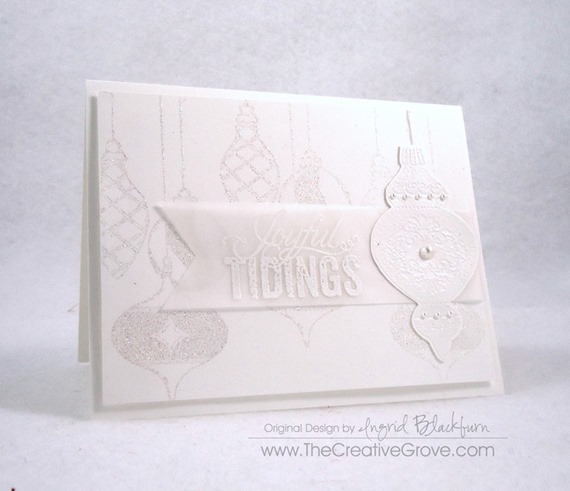
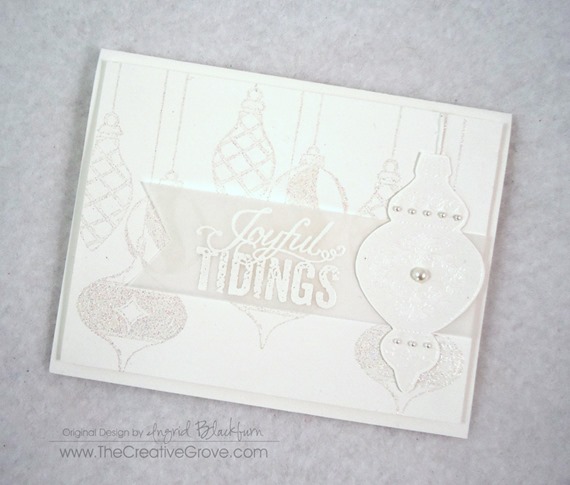
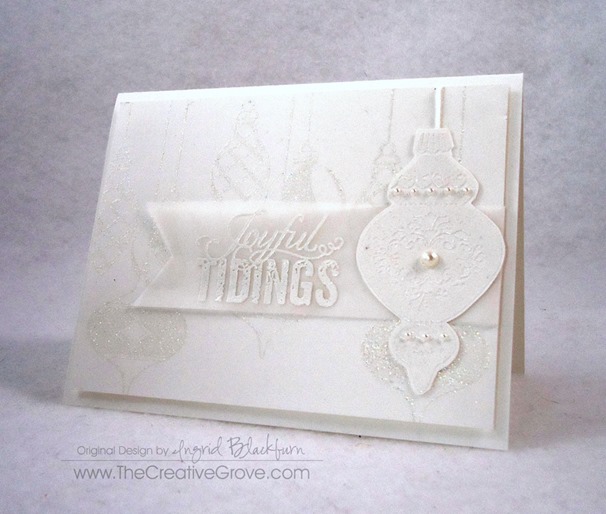
Each week the design team members pick a theme.  This week, one of my online friends whose work I just love, Kristie Goulet, chose the theme White on White.  I just LOVE this kind of a look, it’s classic and exquisite.  If you’ve never tried one, definitely do so!

Ornament Keepsakes Stamp Set (4)

This card came to me rather quickly today, and I love the end result.  I hope you do too!  Here are the details:

Creative Tips –

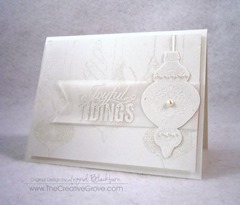
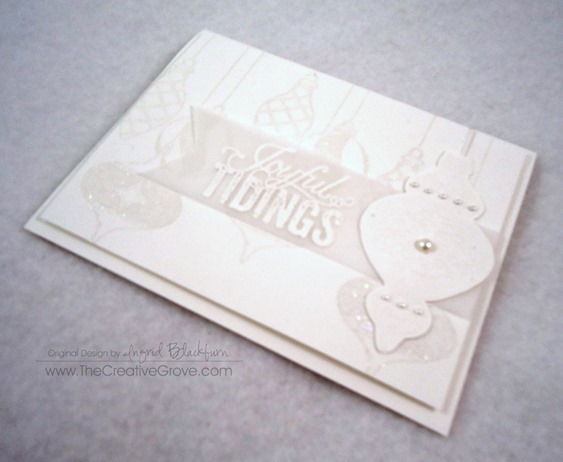
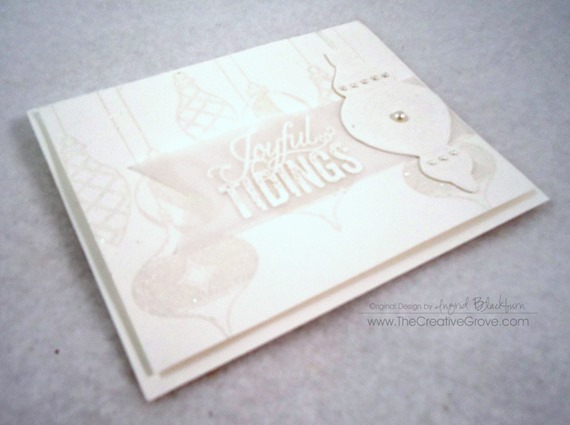
  • The ornaments in the background are ornaments embossed in Iridescent Ice.  They make the perfect background. Ornament Keepsakes Stamp Set (3)
  • The top ornament is from the stamp set Ornament Keepsakes and was cut out originally with the matching framelits.  I wanted a slimmer border, so I trimmed it down a bit.  It’s embossed White on white for a little variance from the background.Ornament Keepsakes Stamp Set (9)
  • To give it a little more elegance, you can always add a little bling, here you see pearls.
  • So that the background stands out a bit more, consider putting your greeting on a strip of vellum.  Originally I had it as a band, but chose to cut a bit away to allow the ornaments to really shine through.  Here you see regular vellum and not vellum cardstock which was a bit too thick.Ornament Keepsakes Stamp Set (7)
  • Watch this video to learn how to make the perfect banner for greetings and embellishments.

The elegance of the pearls, vellum and white on white are a winning combination.  I hope you have fun making yours too!

Ornament Keepsakes Stamp Set (6)

To see videos on how to make cards like this and much more, join us in the VIP Community!  Happy Stamping.

Signature-Blog

TCG-VIP-Community