Yesterday we talked about masking and creating a scene. But what happens when your masks or worse, sponging fails you? Today’s and tomorrow’s projects, are the result of un-recoverable mistakes. I’ll confess. The project to the left below was supposed to be project 1 and the one on the right was the second. Of course it was, I had to keep going because I wanted a one layer card as one of the projects and I kept messing up! Can you relate?
Today is all about turning failure into a winning strategy! I’m sure you can relate – we’ve all had this happen at some point, no? If you missed yesterday’s project Click Here to read all about it.
Of course, it seems like when there is a mistake, it usually happens at the very end. It’s Murphy’s Law – who is this Murphy person anyway? If you know – tell me in the comments – I’ve always wanted to know…lol!
Here you see what was supposed to be two one layer cards. I went the easy way out on one by using a few post it notes moving them around rather than putting my full mask back down which required more steps. Well, the joke was on me as now I had to think outside the box to try and save my hard work!

And the other – on my very last pass in the upper left corner, I grabbed my sponging tool too hard and my nails left three marks…argh! I couldn’t believe it! There was no saving it. So my only option was to cut. So this project ended up as #2. Here are the series details:
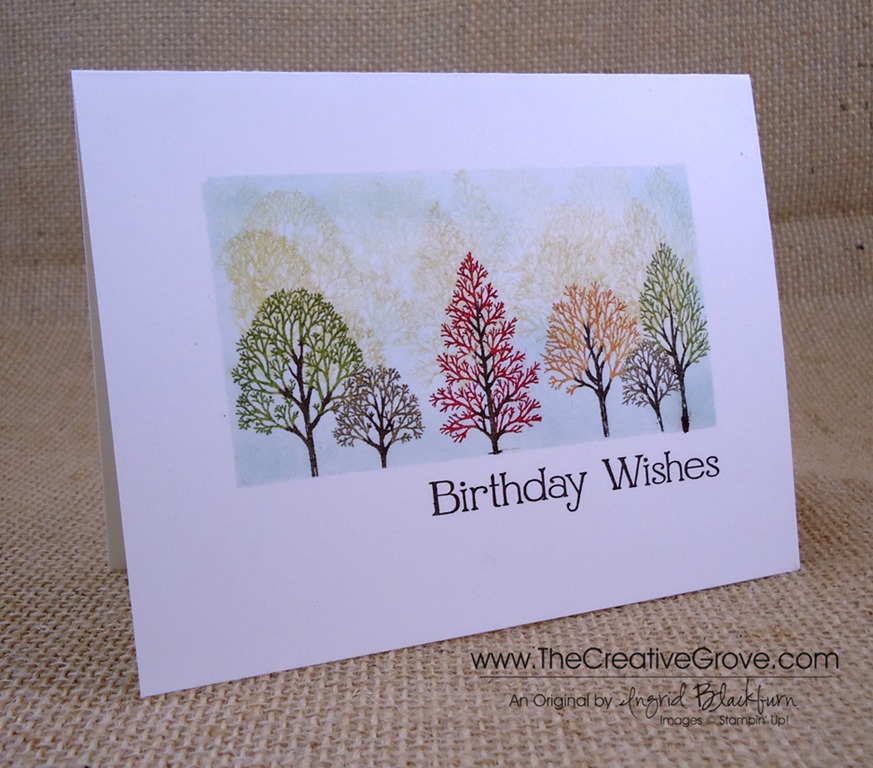
1 – Stamp – For this series I thought I’d choose a stamp set that has been available for over 20 years and is still on the market…the ever popular Stampin’ Up! set Lovely as A Tree. This works with any large tree stamp. Since there aren’t any greeting stamps in this set, I used one from the retired set Perfect Words.
2 – Colors – Two colors were used in all three projects: Sahara Sand and Soft Suede by Stampin Up. For the cardstock in later projects, I only used Soft Suede along with Whisper White.
3 – Projects – while a few are a bit similar, they are vastly different. Enjoy!

Series #001 – Project 2: In the Shadow of the Mountain
- Once I cut the top off, I re-sponged it in both Sahara Sand and Soft Suede.
- I created this one just like yesterday’s project. I even used the same mountain mask – I just shifted it to give it a different look by creating a much larger mountain.

- In this project, you see more of the trees in the distance and only two up close.
- The actual scene measures 2 5/8” x 3 1/2” with the White Matte measuring 3” x 4 1/4”. This gives a small space at the bottom where you can criss-cross some linen thread. By popping up your scene you add a little emphasis to your creation.

- Rather than leaving the white space so plain in the background, choose to add a background stamp. Here you see Canvas (retired) by Stampin’ Up!. But several companies have stamps just like this one. It’s a great go to design!
- By only using the background stamp on 2/3 of the card it doesn’t overpower the card. Leaving some pure white space on the bottom helps to keep the focal point on the scene. Use a small strip that your probably have in your scrap bin to cover up the end of the stamping leading into the white space. Or use another mask when you stamp it that’s torn for an easy blend.

Although the scene is similar to the first, the card is a completely different look. I hope you liked my turn lemons into lemonade card – tomorrow’s is even better! See you then.

[optin_box style=”14″ alignment=”center” action=”http://www.aweber.com/scripts/addlead.pl” disable_name=”Y” method=”post” email_field=”email” email_default=”Enter your email address” email_order=”1″ integration_type=”custom” double_optin=”Y” name_default=”Enter your first name”][optin_box_hidden][/optin_box_hidden][optin_box_code]
[/optin_box_code][optin_box_field name=”headline”]If you enjoyed this tutorial…[/optin_box_field][optin_box_field name=”paragraph”]PHA+PHNwYW4gc3R5bGU9ImNvbG9yOiAjNjQ2MzVlOyI+TGV04oCZcyBzdGF5IGluIHRvdWNoISBNeSBvY2Nhc2lvbmFswqA8L3NwYW4+PHNwYW4gc3R5bGU9ImNvbG9yOiAjNjY2Njk5OyI+PHN0cm9uZz48ZW0+ZXhjbHVzaXZlPC9lbT48L3N0cm9uZz7CoDwvc3Bhbj48c3BhbiBzdHlsZT0iY29sb3I6ICM2NDYzNWU7Ij5DcmVhdGl2ZSBUaXBzIGUtbGV0dGVyIHdpbGwgdGVhY2ggeW91IHRvIG1ha2UgcHJvamVjdHMgdGhhdCB5b3UgbG92ZeKApjwvc3Bhbj48L3A+Cg==[/optin_box_field][optin_box_field name=”privacy”][/optin_box_field][optin_box_field name=”top_color”]undefined[/optin_box_field][optin_box_button type=”0″ button_below=”Y”]Send me exclusive tips![/optin_box_button] [/optin_box]