Easy Gelatos techniques are something that everyone should have in their crafty toolbox. So my goal is to teach you several quick ways to punch up your backgrounds and projects with this video tutorial. Because everyone needs to know quick easy ways to create stunning and impactful backgrounds.
Justine Hovey asked me to create a fun technique video for her YouTube channel. So I thought, and thought and thought about what I wanted to teach you. Naturally, Gelatos entered my mind.
So I threw together a few ideas, grabbed some favorite supplies, and created three projects for you. And each project has my heart in different ways. Because they all are impactful, colorful, yet totally different. I can’t wait for you to see how.
Let’s get to it, shall we?
Click Here to Watch on YouTube
What did you think? I am definitely going to be making a small stack of the first one for cards I’m sending out this season – yup, definitely!
I know you all probably have Gelatos by now collecting dust somewhere, or hopefully you’ve dusted them off recently. Here are close ups and a few thoughts on the three projects for you to use as inspiration in creating your OWN backgrounds.
These easy Gelatos techniques are definitely a staple, so have fun exploring all the cool ways to use your supplies!
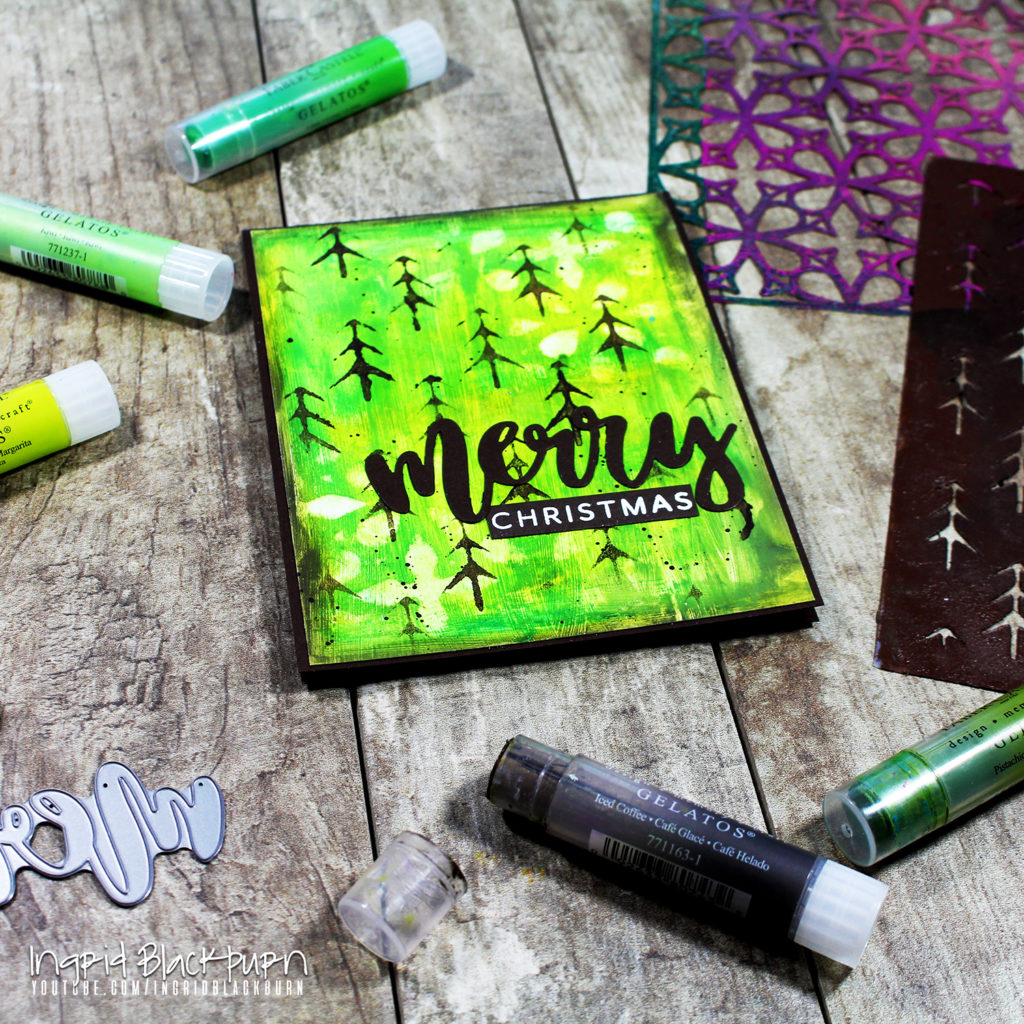
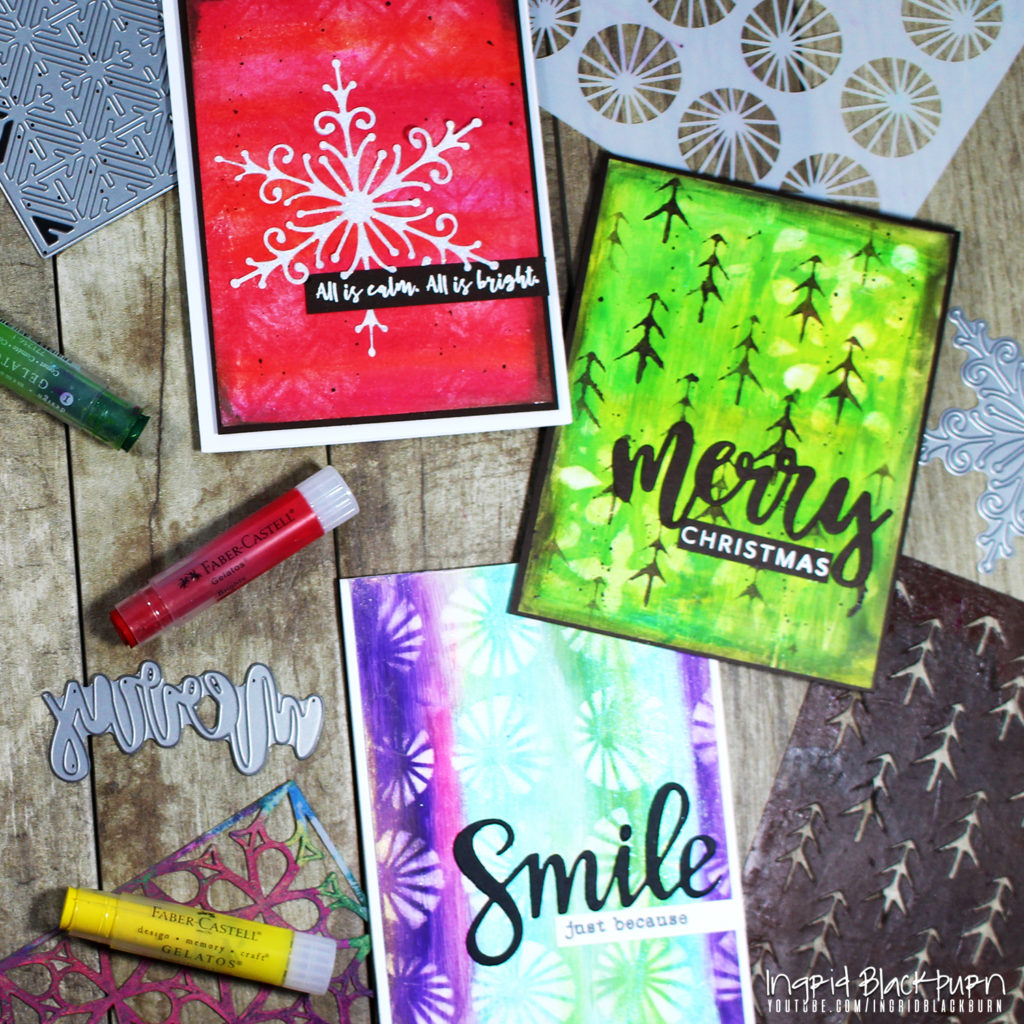
Rustic Christmas Card – Easy Gelatos Techniques
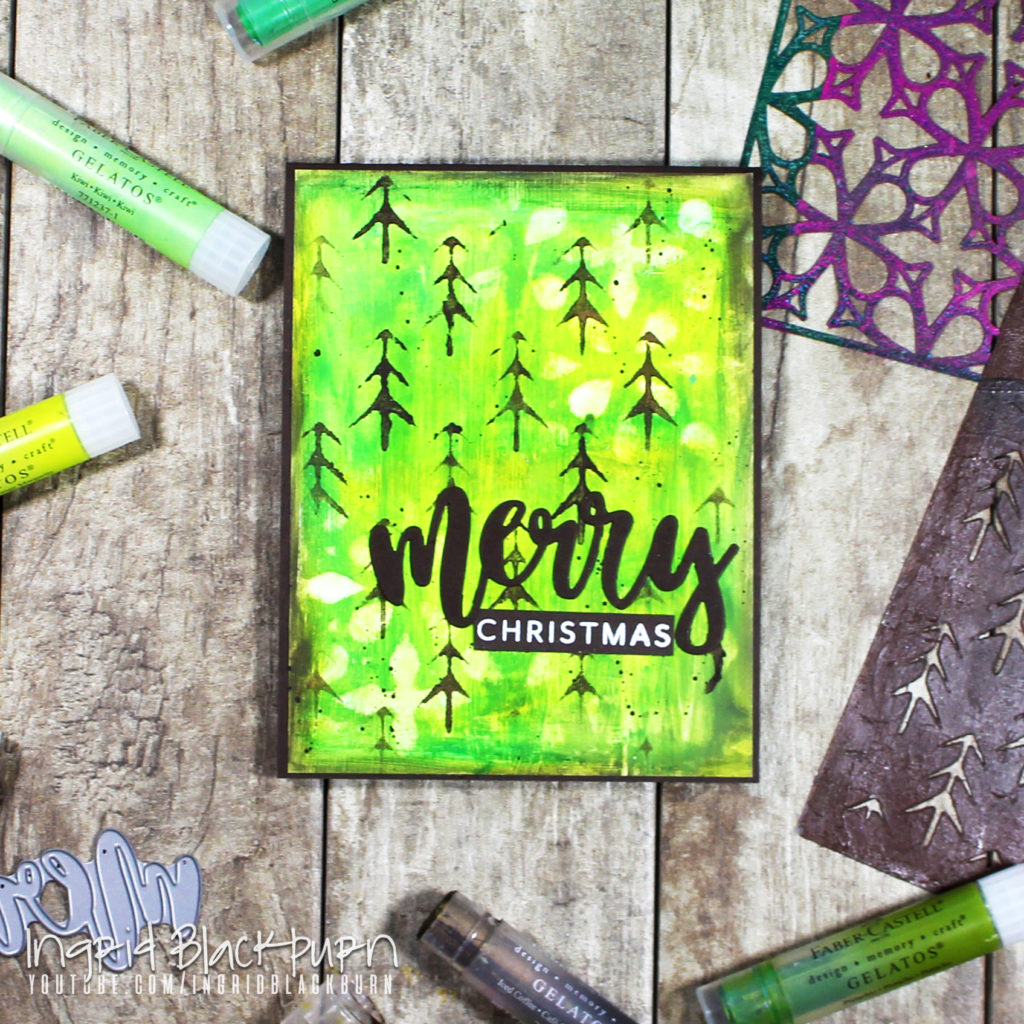
You can use several shades of green to create the perfect backdrop for rustic Christmas cards. I love that Merry Die by Concord & 9th. Yup, it’s my absolute favorite one ever!
And the trees stencil by Stamplorations – isn’t it AWESOME?!! Seriously – how could you NOT have those in your stash by now? Because I use them ALL the time…lol. PS – they’re linked below – again if you don’t have them.
So, what are YOUR favorite Gelatos colors? Because I would love to know – be sure to tell me in the comments below!!
Little Touches Make Projects
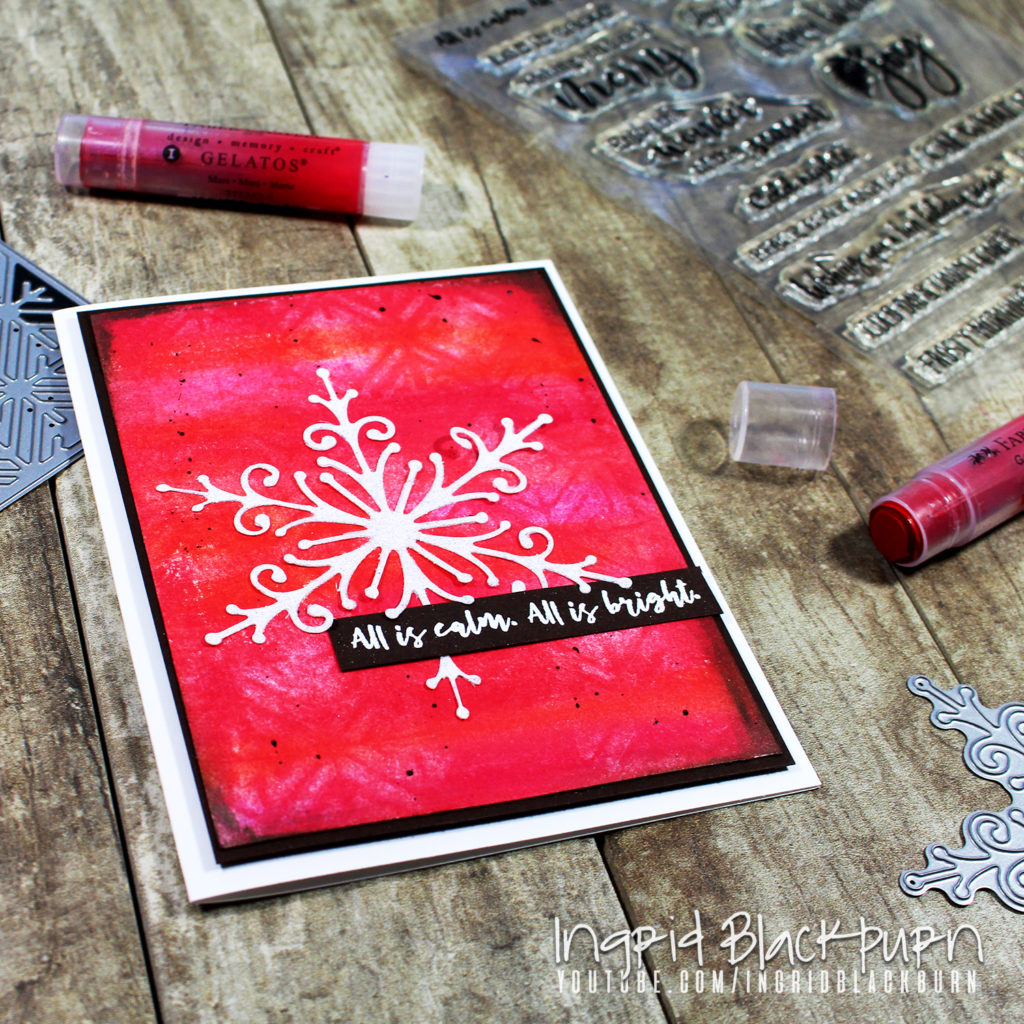
Who said snowflakes have to be blue? This red background is so iridescent it’s NUTS. And the fun snowflake vanishing technique in the background is the perfect backdrop for this uber sparkly snowflake die.
This project is a good example of how to creatively use dies. And the sentiment by Penny black is perfect. So you don’t need too much to punch up backgrounds. Think simple accents on your cards. Let the backgrounds shine.
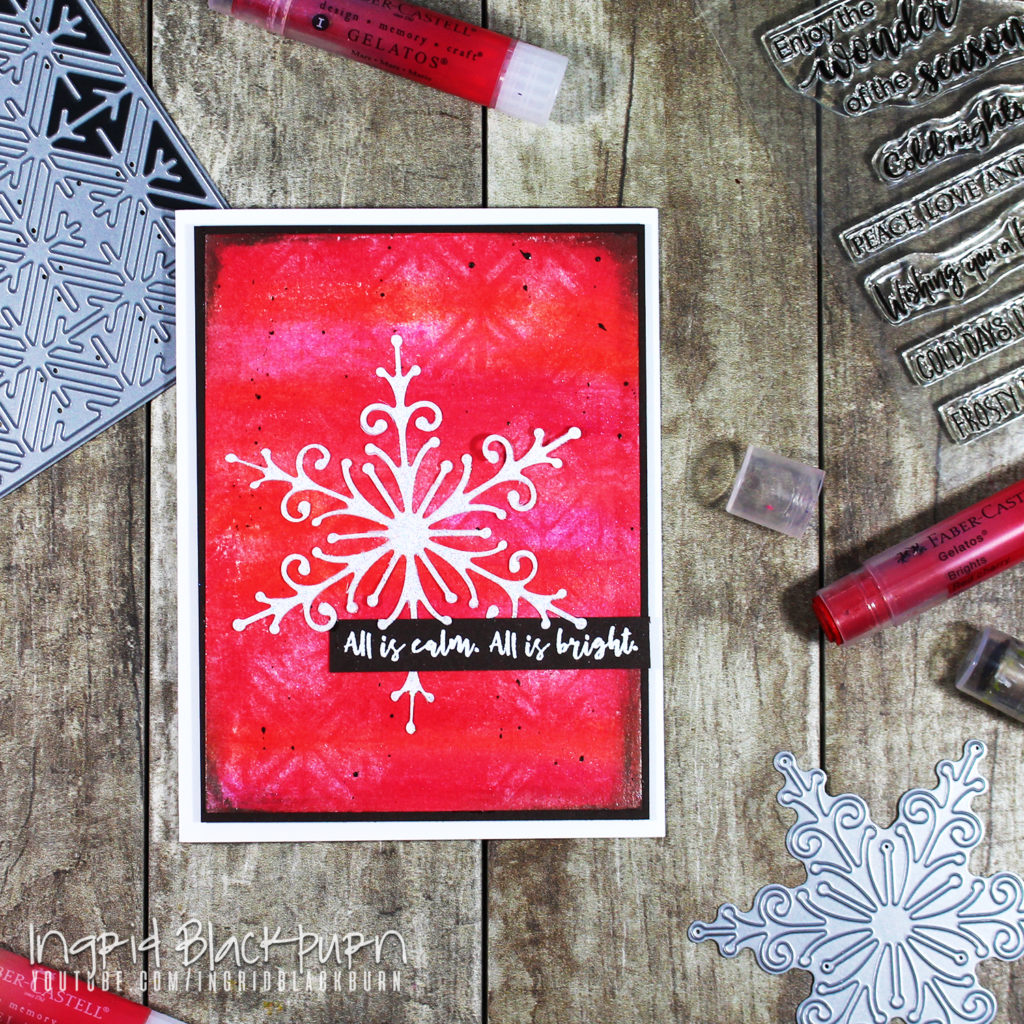
But I think my favorite accent for this one are the rustic Iced Coffee Gelatos corners, because they complete the card. Don’t you think?
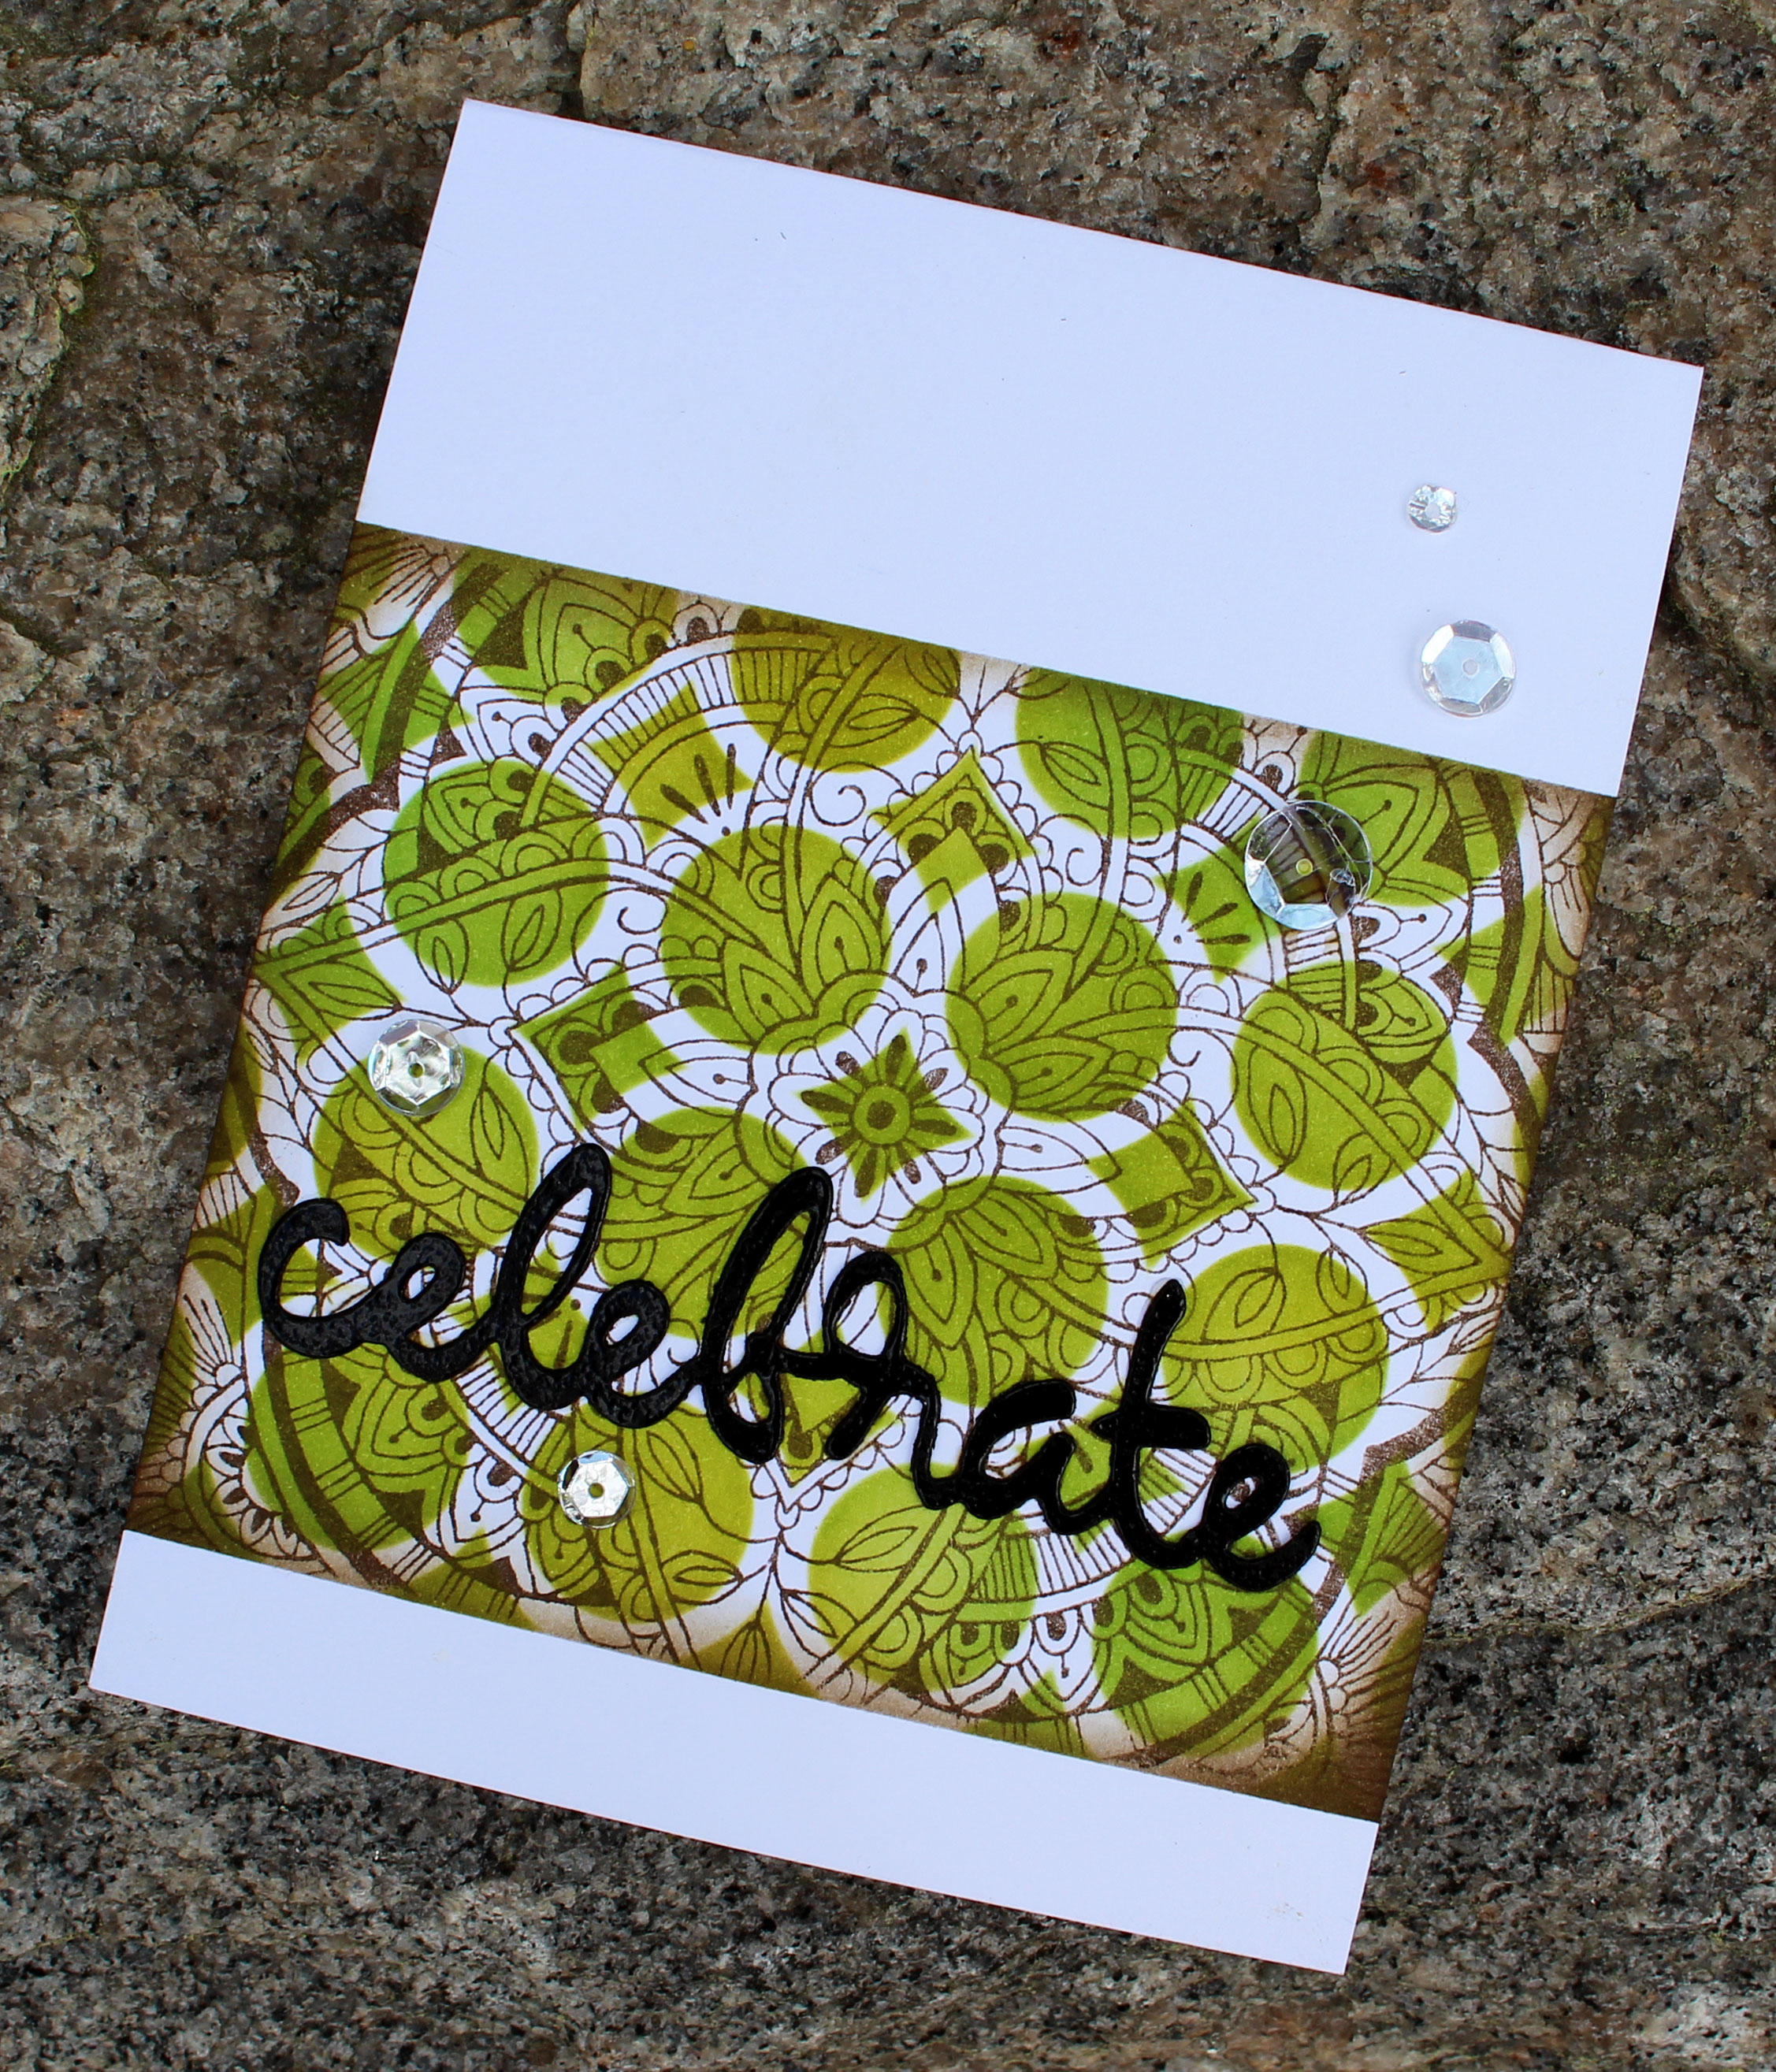
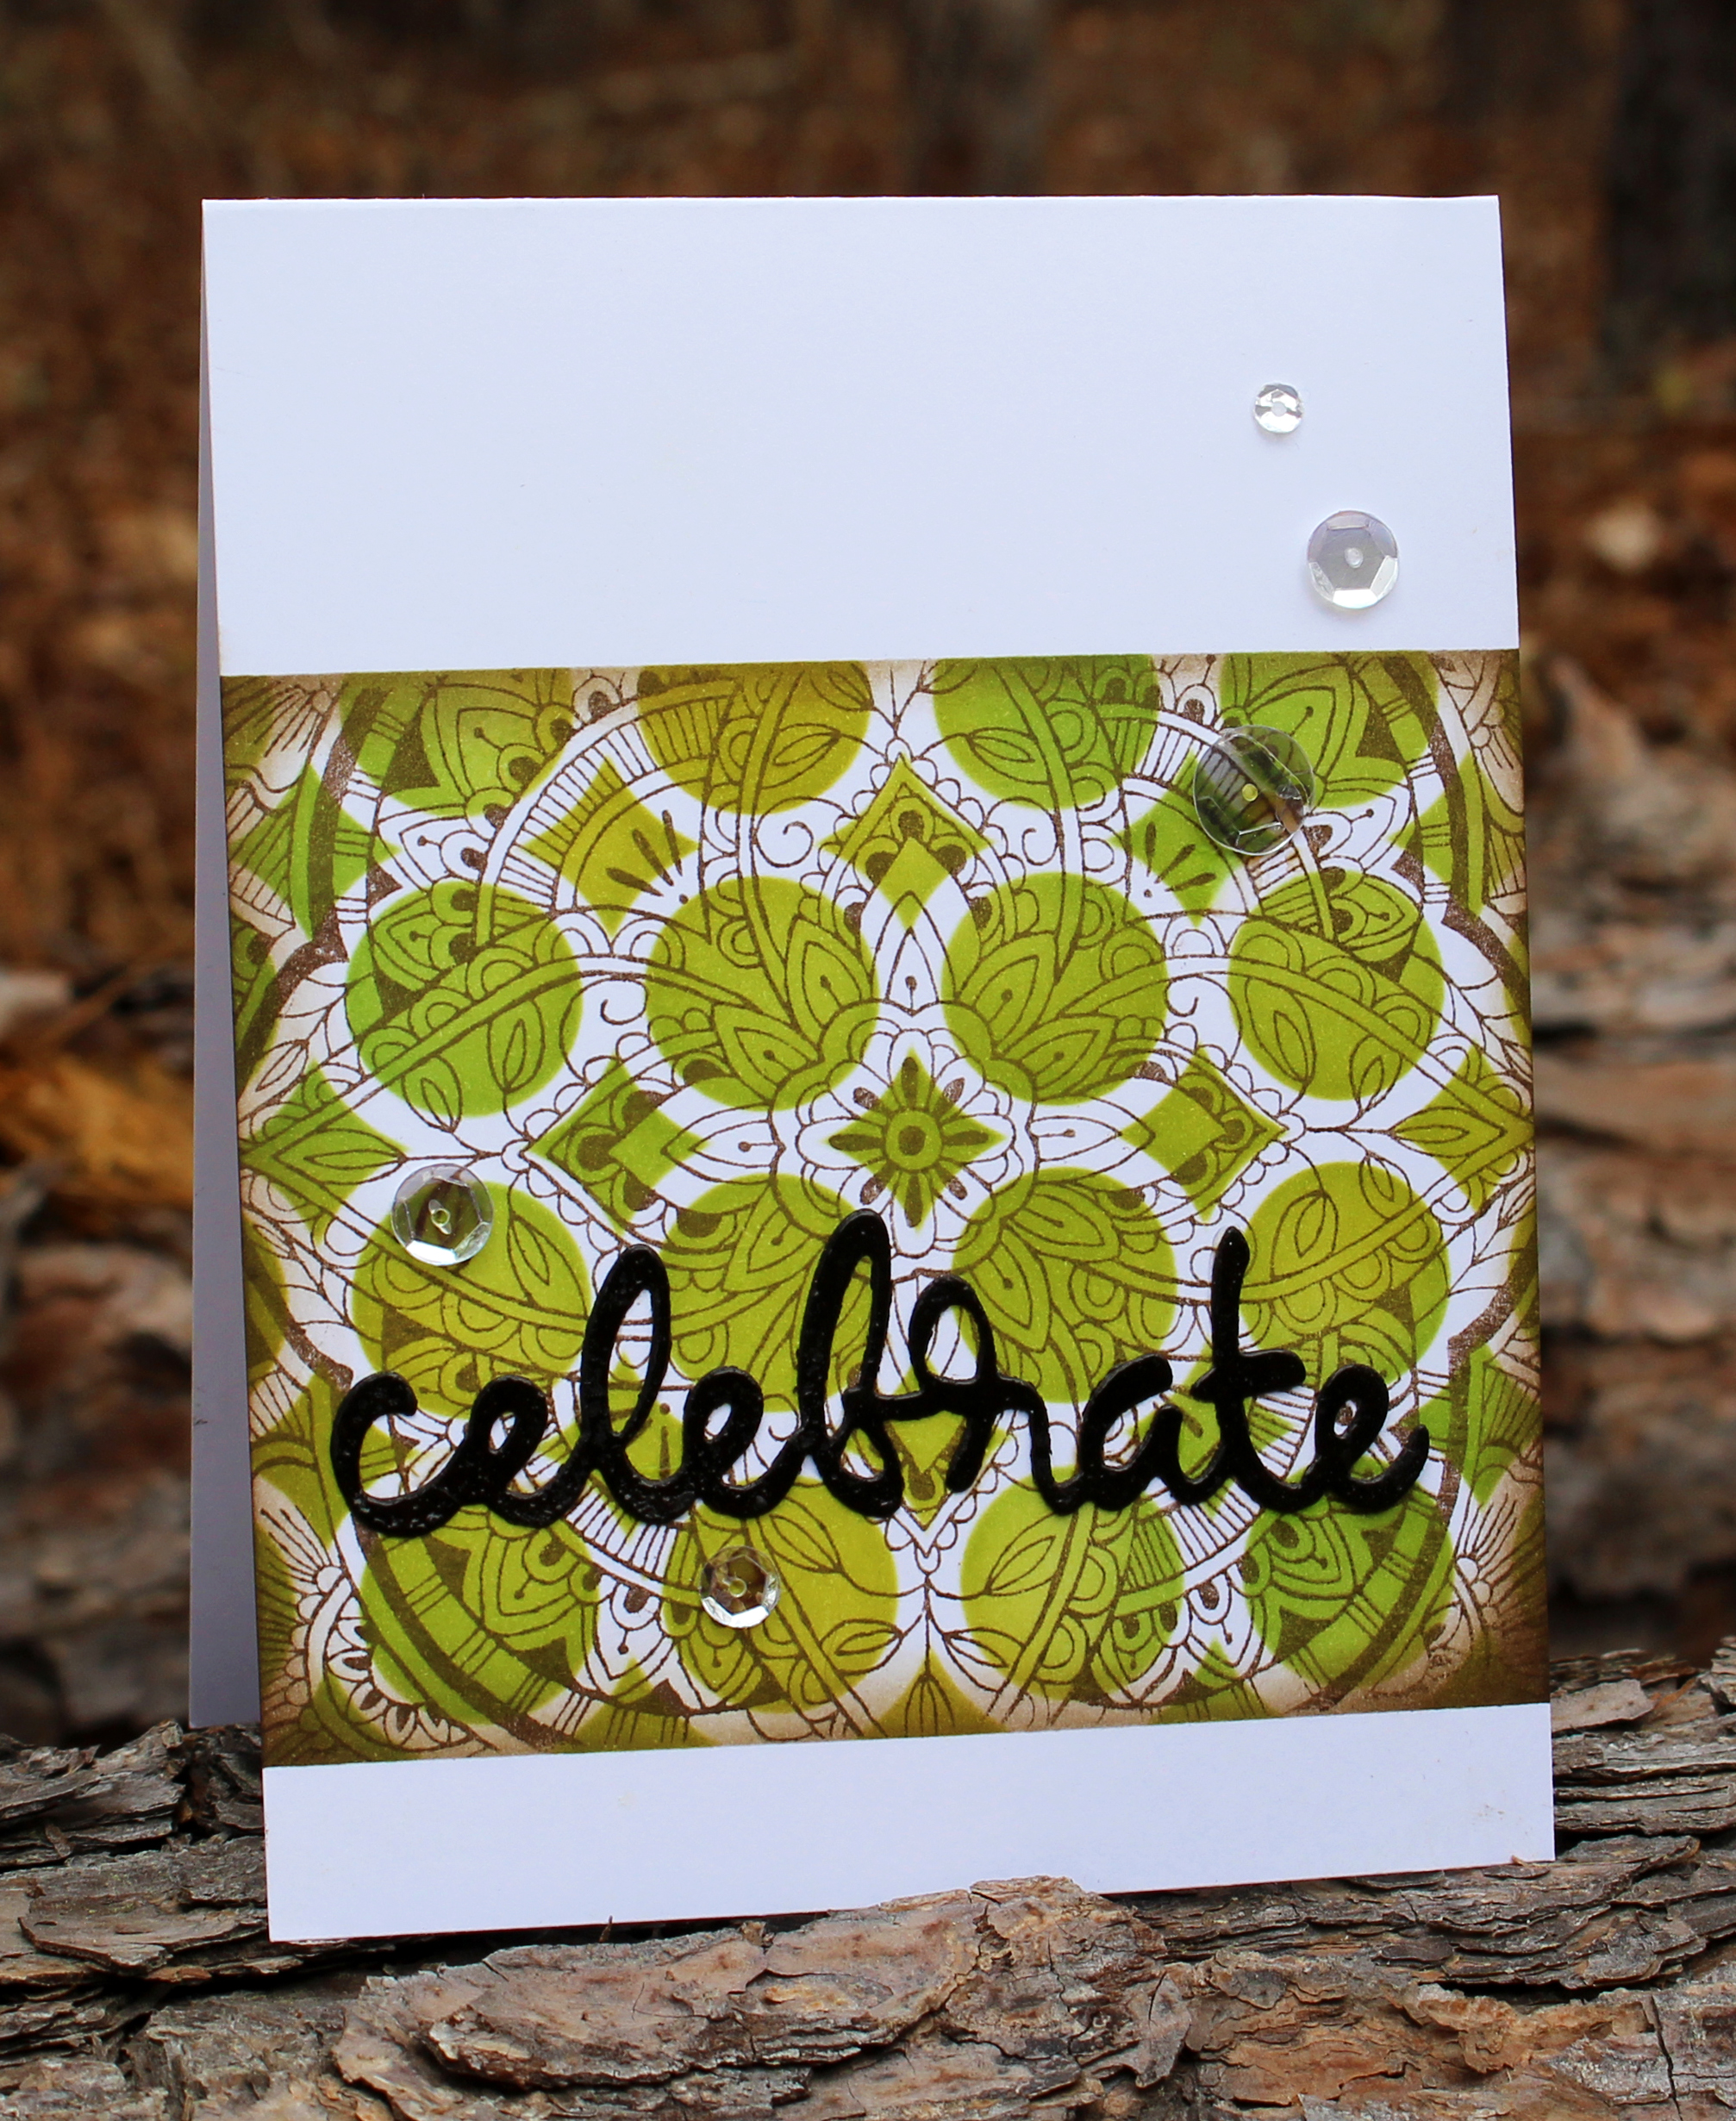
Fun and Funky Gelatos Techniques
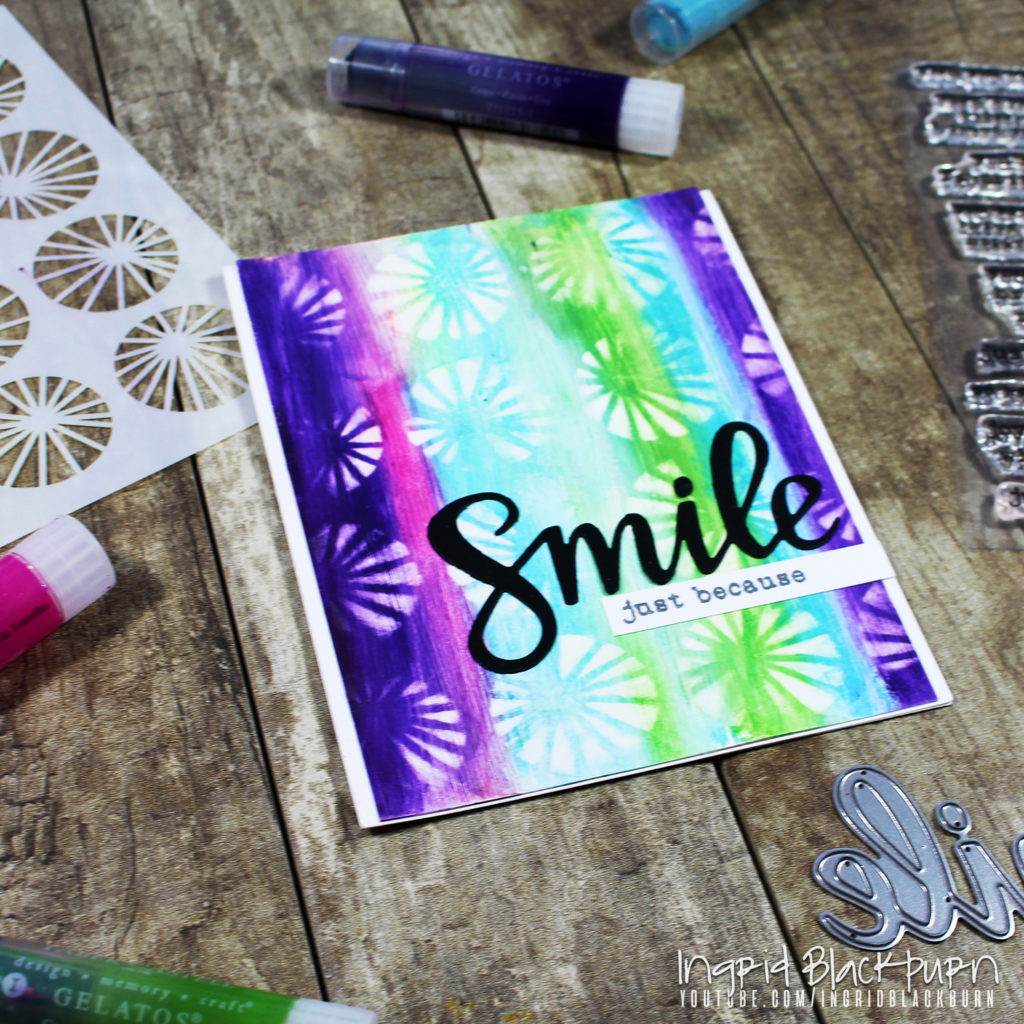
Sometimes you just have the perfect stencil and funky colors in your stash to pull off something special. You can add simple colorful stripes, overlap colors and then use one rockin’ die, and voila – you have something magical.
I love that cute little sentiment strip set by Scrapbook.com too. Because I’m a sucker for typewritter font. Simple accents make backgrounds pop. So strip it down when you spend time to create fun projects like these.
Okay, seriously…what are your favorite Gelatos colors? Have you told me yet in the comments…lol? Because, my ALL time favorite three colors – and I’m limiting myself to three which is HARD….are Iced Coffee, Margarita Mix and Stardust.
What about you?
Leave me a comment, I’m dying to know!
Now if you haven’t seen the video over on my good friend Justine’s channel yet – what are you waiting for? So be sure to subscribe too – she puts up some fun content.
And if THAT wasn’t enough content for you….check out these gelatos posts too:
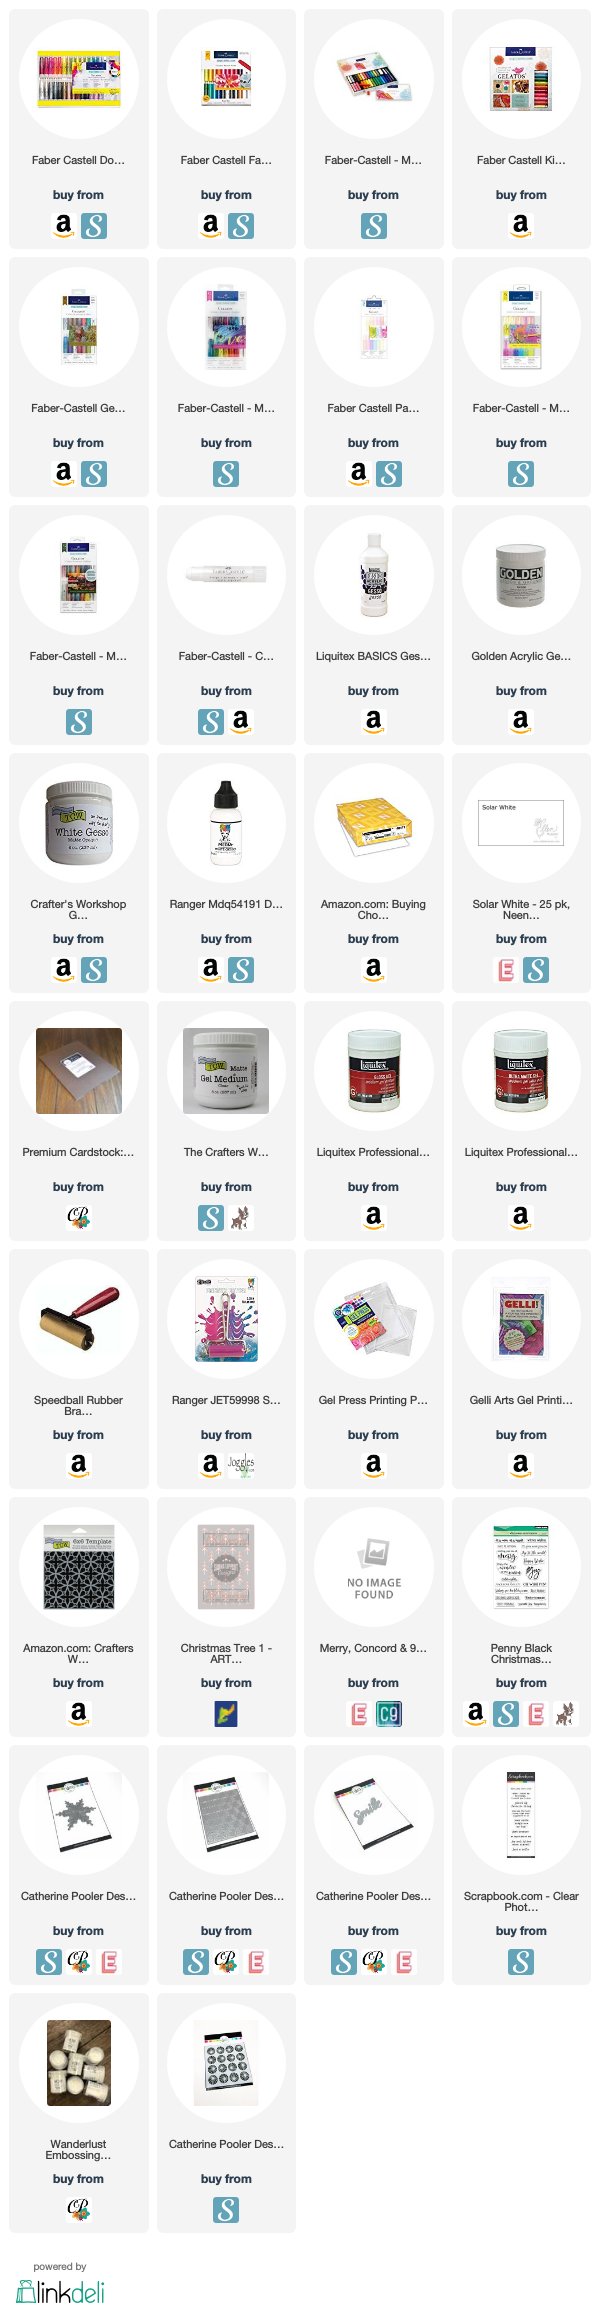
All the supplies are linked below. Happy creating!