Effortless Ink Blending + Adding Texture – Video Hop with 120 Prizes

Do you want to know just how easy effortless ink blending can be? Well, then you’re in the right place! Today I’m participating in a video hop along with 55 other crafty friends to help Save the Crafty YouTuber!

Ink Blending Tutorial and Video Hop with prizes

What does that mean? YouTube just recently changed their requirements for being able to earn on your videos and channels. That’s how many crafters earn a little extra money to help pay for all those crafty supplies you want to see us teach you about in videos. Making a video seems like such a simple thing – trust me, it’s not. The little 8 minute video I’m showing you today took me 7 hours start to finish to bring to you. And that’s just the video part.

It’s nice to be able to earn a little bit from the ads you see on the videos. Trust me, it’s nothing to retire on, it helps cover some crafty/tech costs – but not much. I do it more for the love, but it is nice!

YouTube recently changed the minimum requirements for the ability to monetize your channel (ads on videos), and it will now take a new crafter quite an effort to get to that point. I remember what it was like to be new, it’s not easy, and it’ll take a bit to get to these new minimums.

So my good friend and fellow crafty YouTuber Justine Hovey had the brilliant idea to organize a video tutorial hop to help SAVE some of the crafty YouTuber’s out there. She’s like that – always the cheerleader for every single YouTuber – big and small. Not everyone is like that, and I’m proud to call her a dear friend.

Everyone was invited to join – including some big names. The folks you see on this hop are all true champions. They don’t care about WHO is on the hop – they just wanted to help the smaller channels. And I applaud that.

So, today I, along with several of my seasoned crafty friends and companies have teamed up with many smaller channels being directly affected by this.

The goal – help us save their ability to continue like they had before. WATCH the videos (minutes watched are important), & subscribe to their channels – another key component. I want to thank you for taking the time, not just to read this, but hop along. For your time and effort – COMMENT along the way on every video. LITERALLY every video has prizes attached to it!!!

Catherine Pooler Ink is great for Effortless Ink Blending

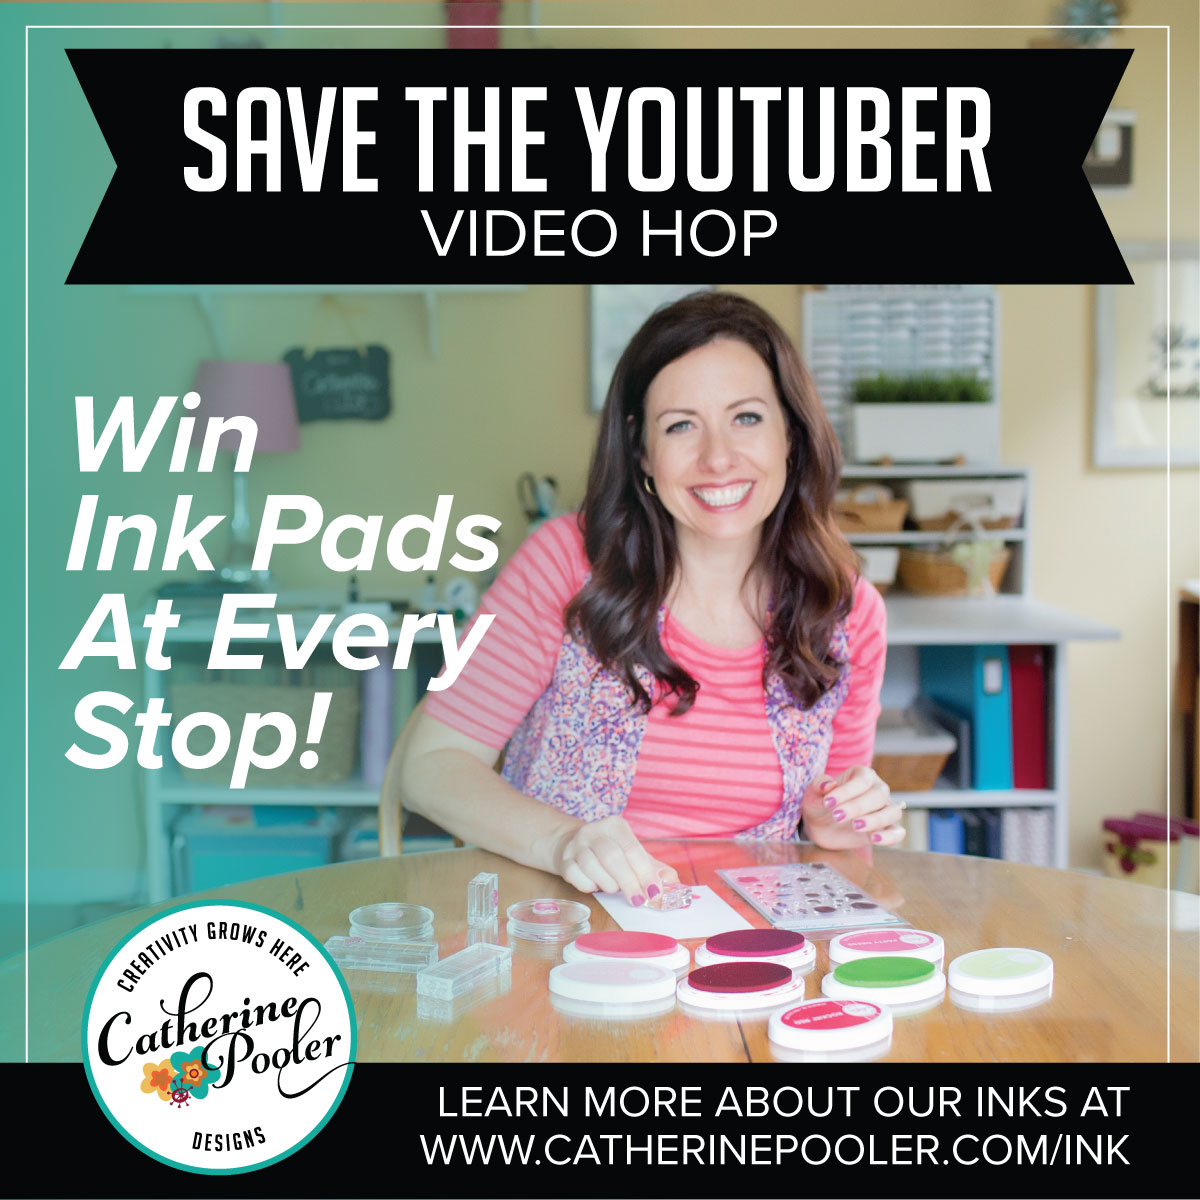
Catherine Pooler is giving away some ink pads on every single video! Simon Says Stamp is giving away a $25 gift certificate on every single video! Plus there are even more prizes from these amazing companies:

Ink Blending Video Hop Prizes

Effortless Ink Blending Tutorial & Video

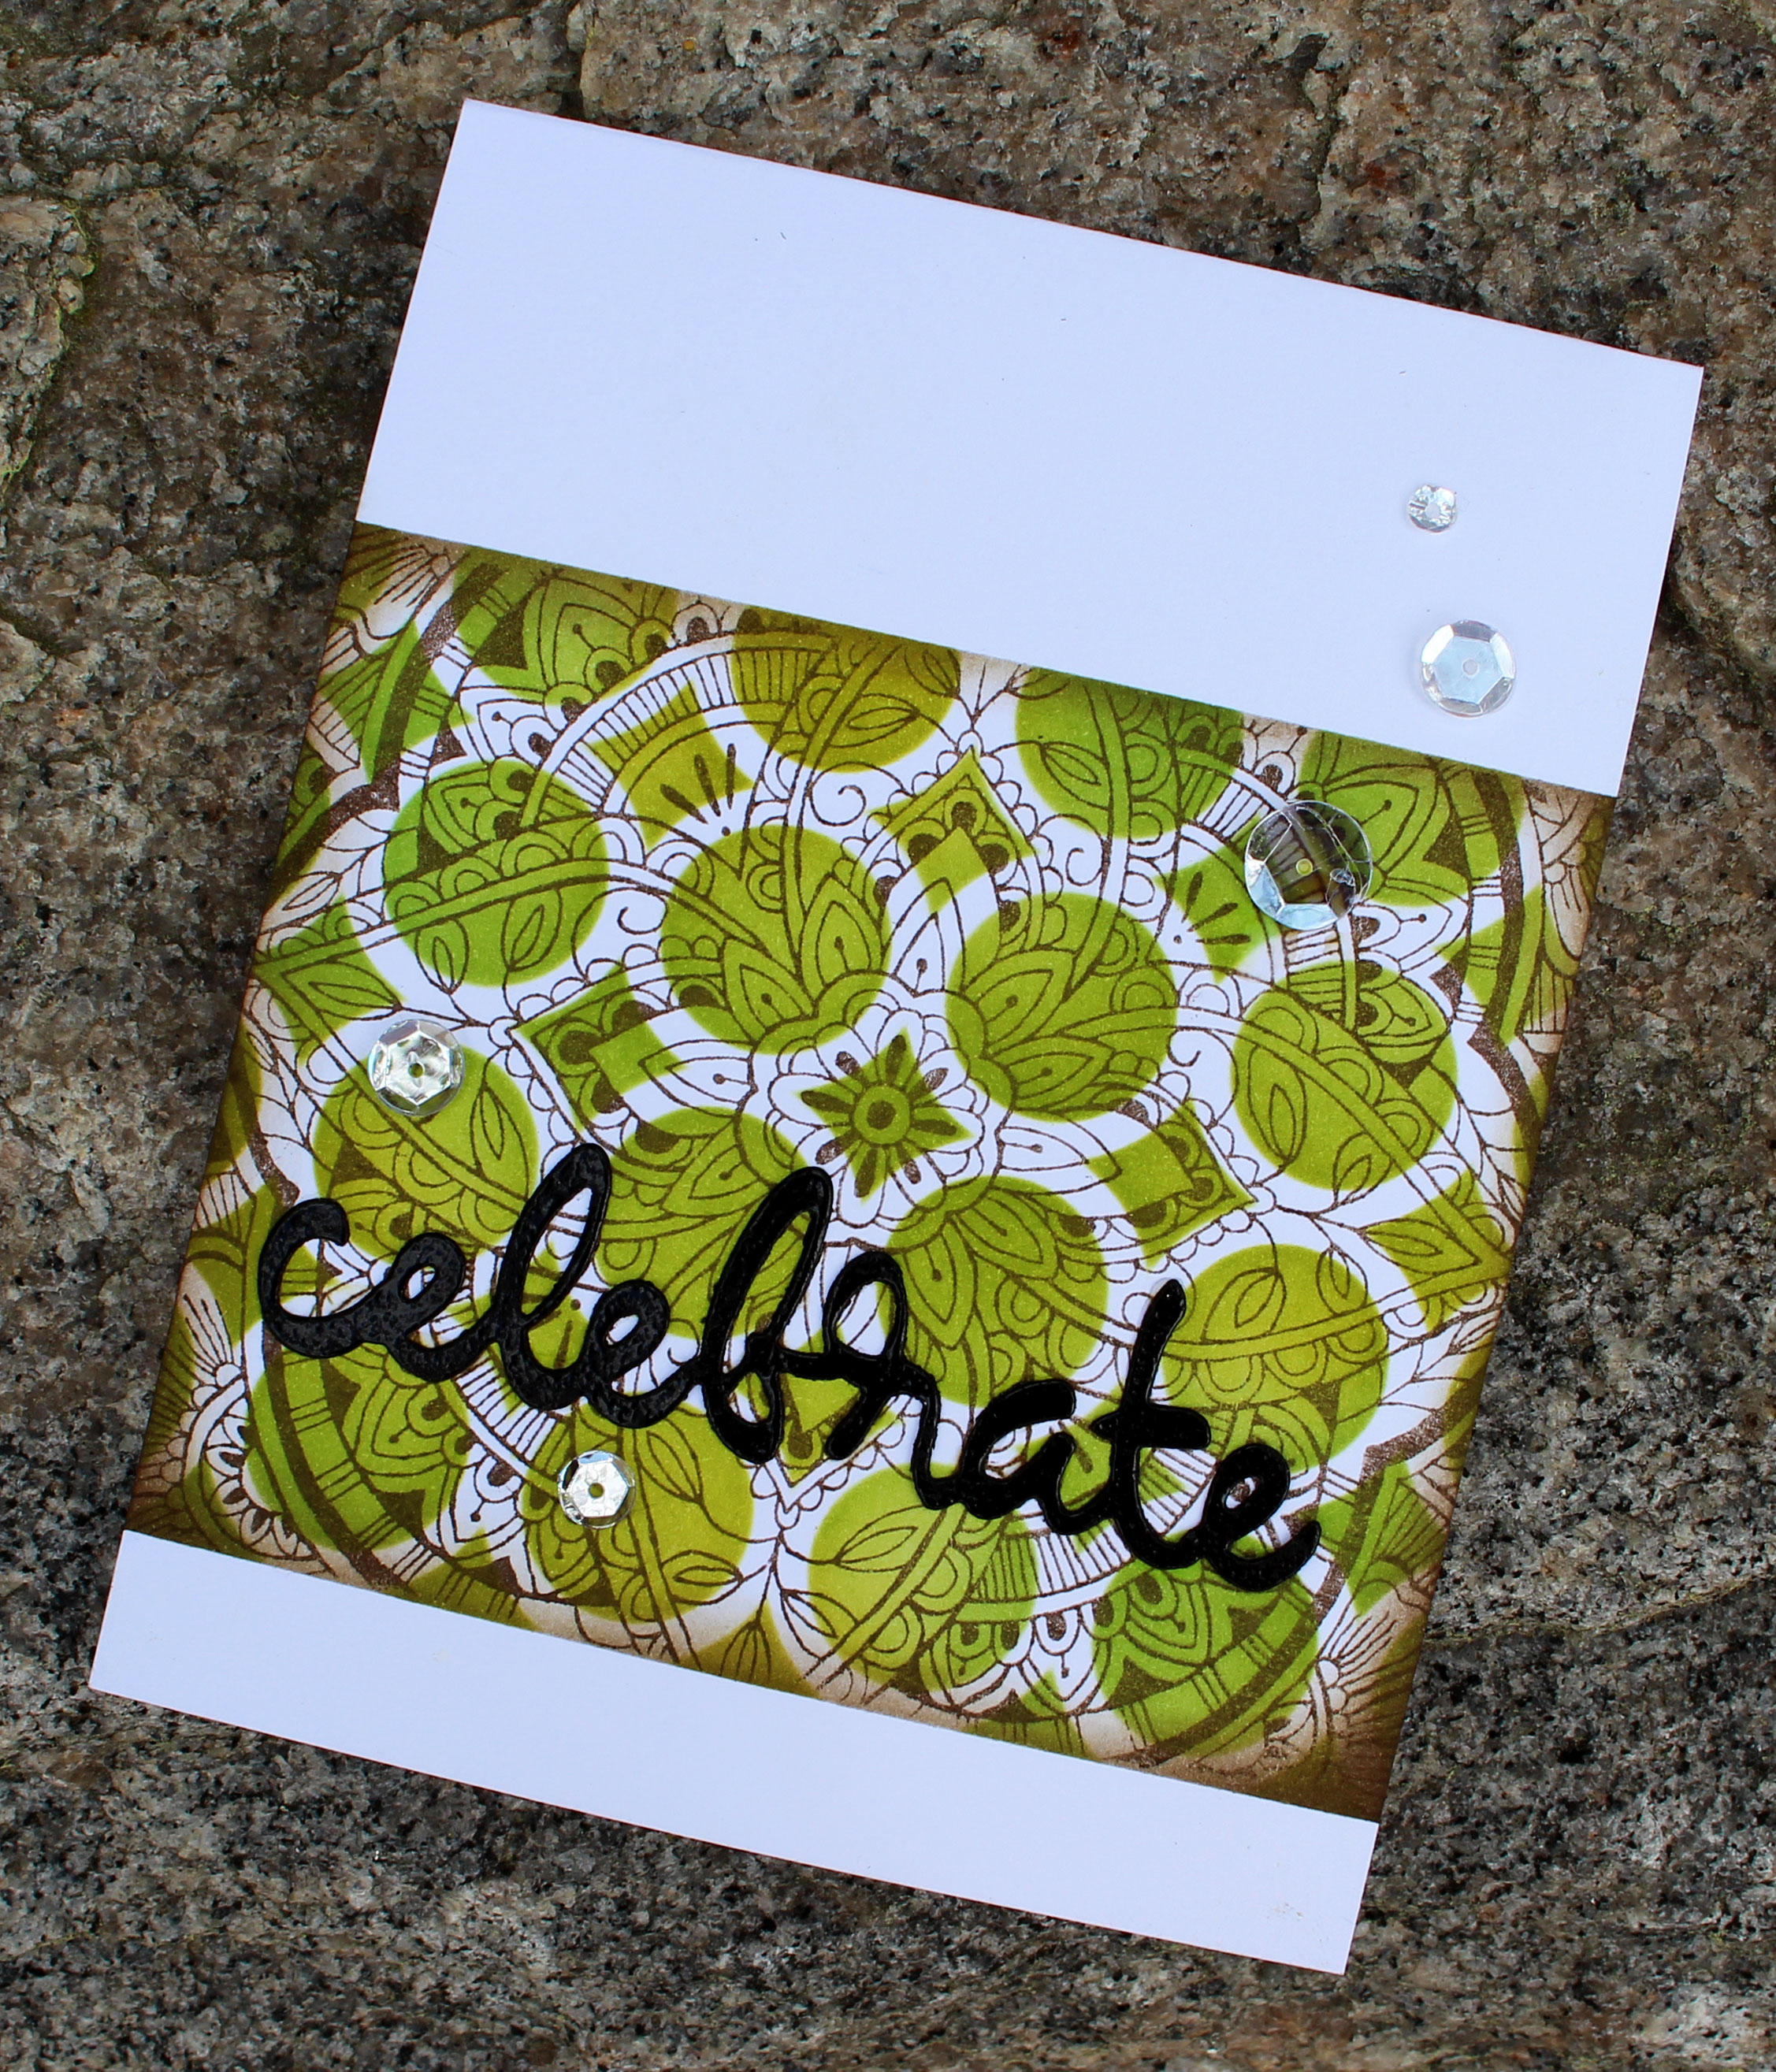
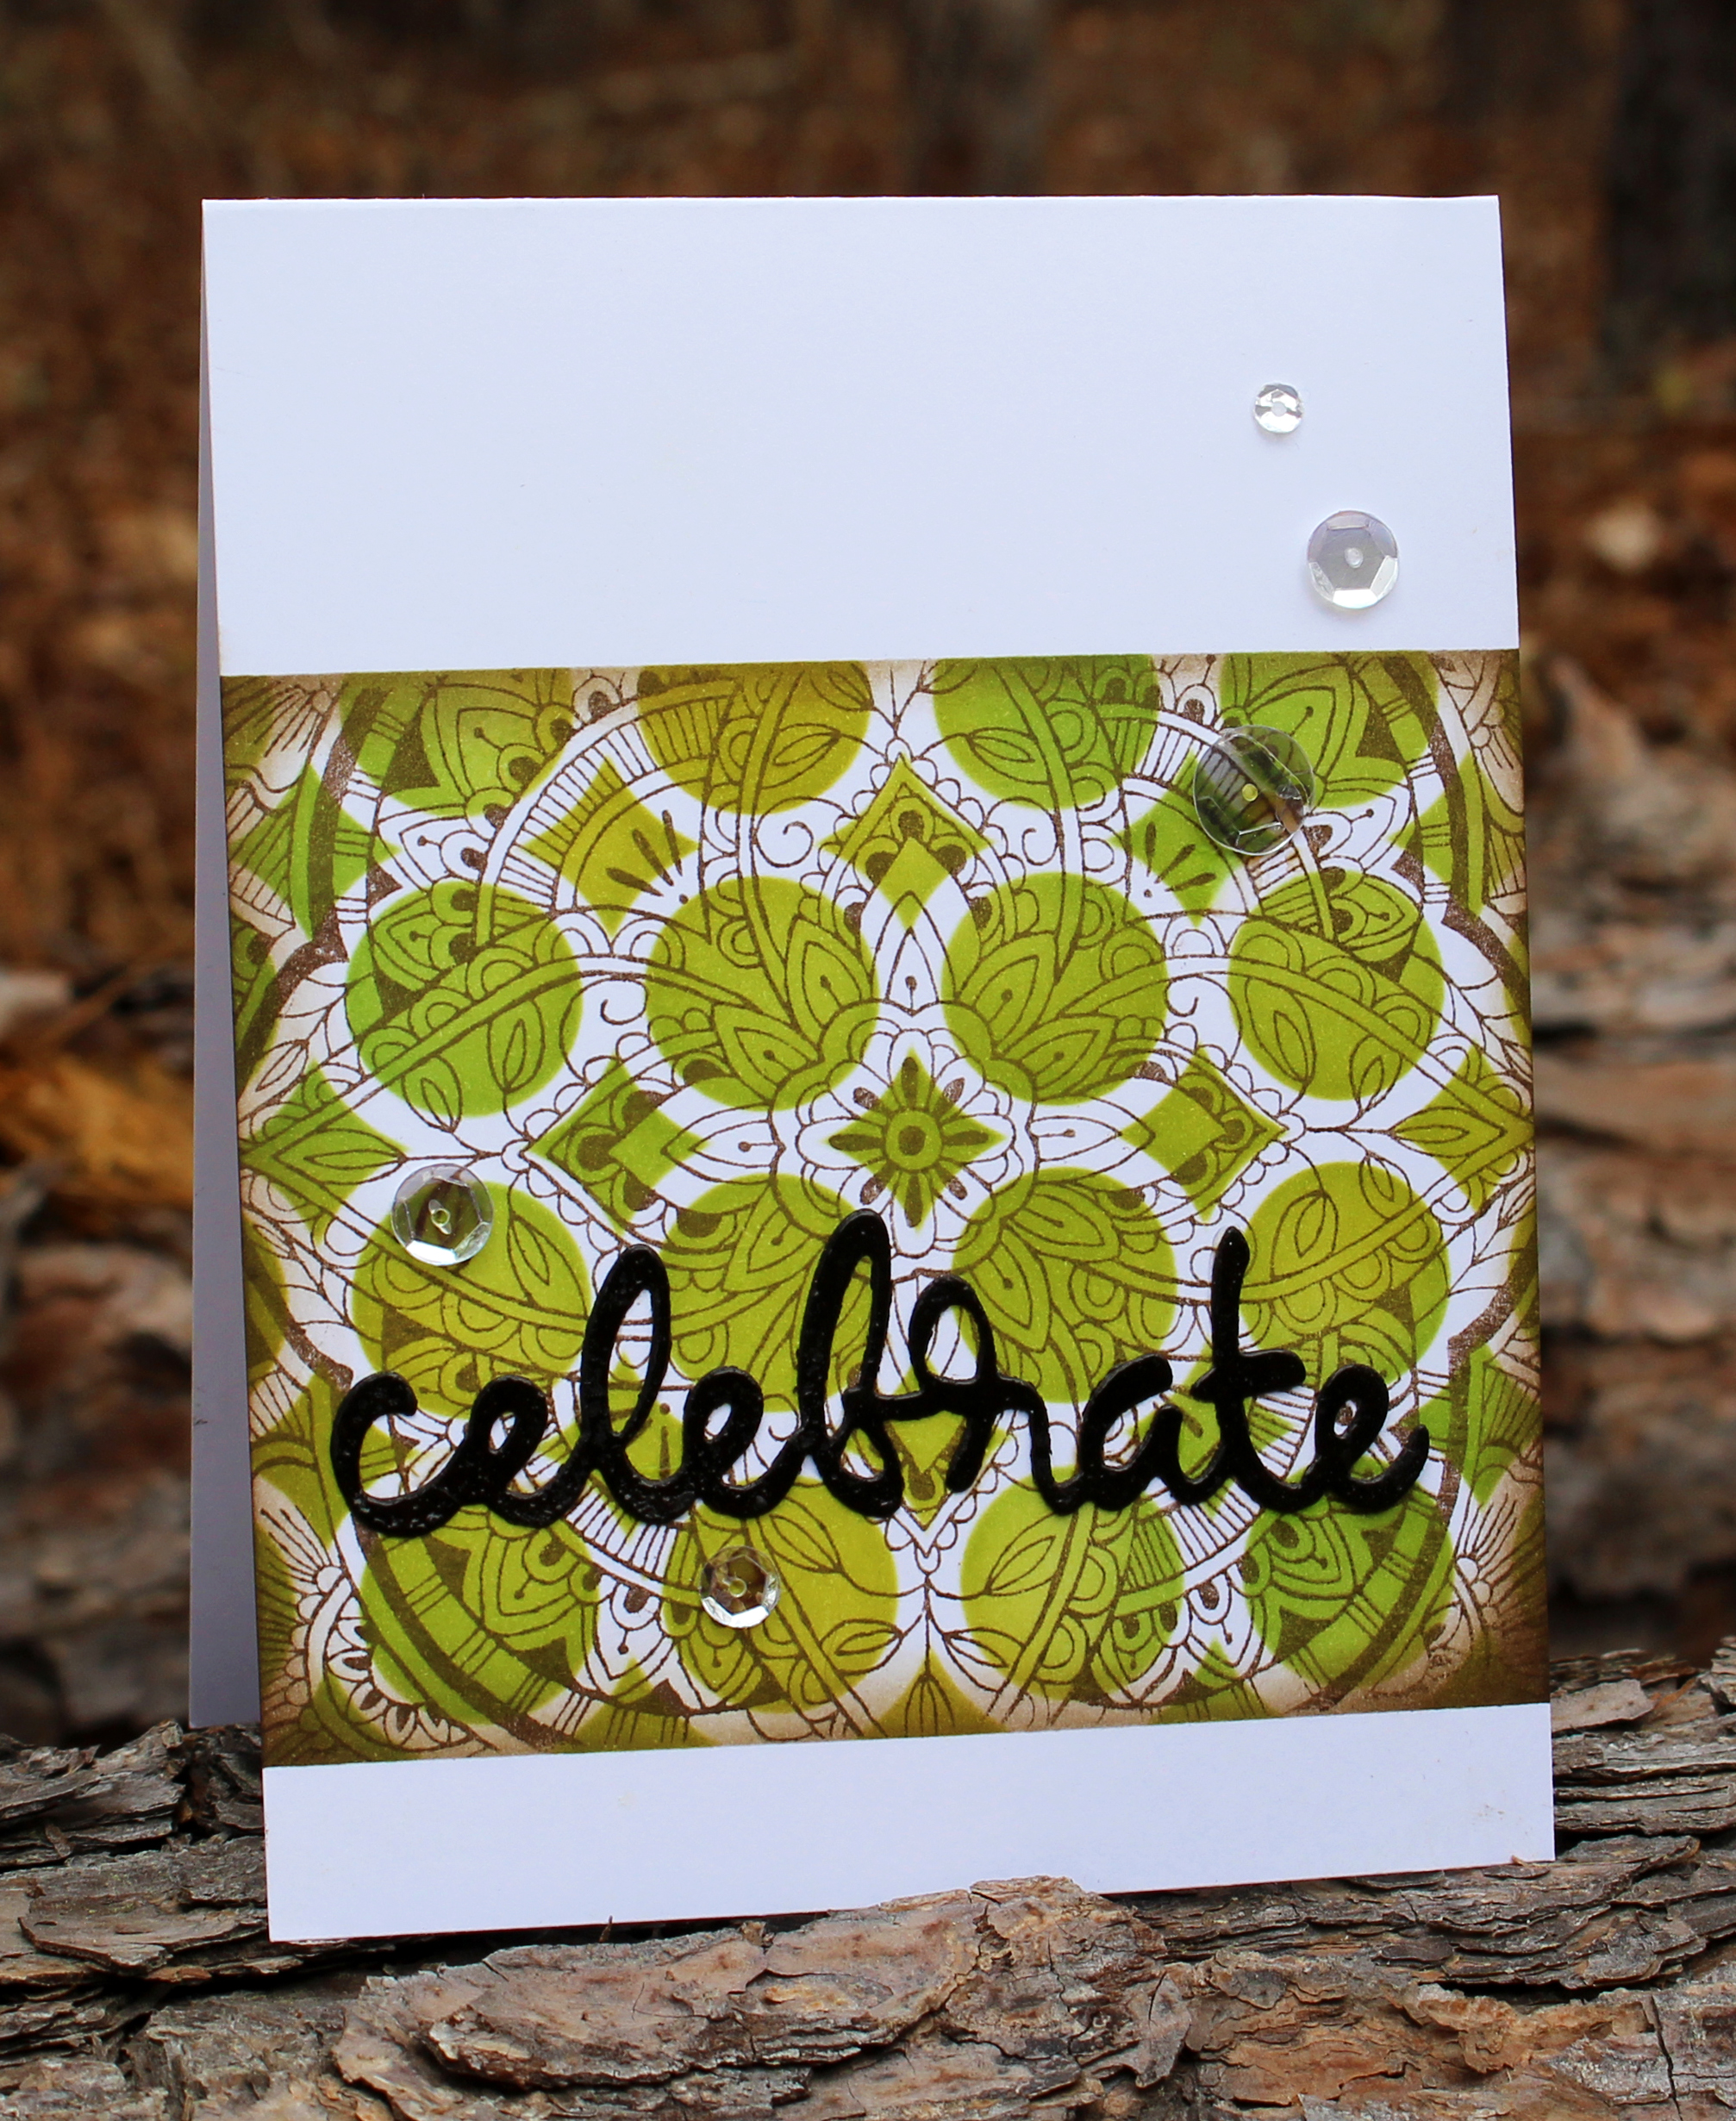
For today’s tutorial, I wanted to showcase a technique that I have perfected. Seriously, if you have any trouble with getting an absolute effortless look to your ink blending – look no further. In just a few minutes I’ll show you how YOU too can have the perfectly ink blended look to your projects:

Click HERE to watch on YouTube in HD

Here are some tips to keep in mind:

  • Your pressure is EVERYTHING
  • Seriously, watch exactly how LIGHT I hold my tool in the video (1:05)
  • Work light to dark – not the other way around
  • Bring your lighter colors back into the transitions to help blend it out – KEY

I recently read an article that said to work dark to light. I 100% disagree with that.

You can not take away color, you CAN build it up.

Trust me, I have been ink blending for years. It’s probably one of the few techniques I’m the most disciplined at. Why? Pressure is EVERYTHING.

I am a fast crafter. Meaning – I’m a bit impatient. But not with ink blending. Cue screeching brake sounds….. Yes, even I have an internal throw on the brakes – watch your pressure, Ingrid voice!

Effortless look with ink blending

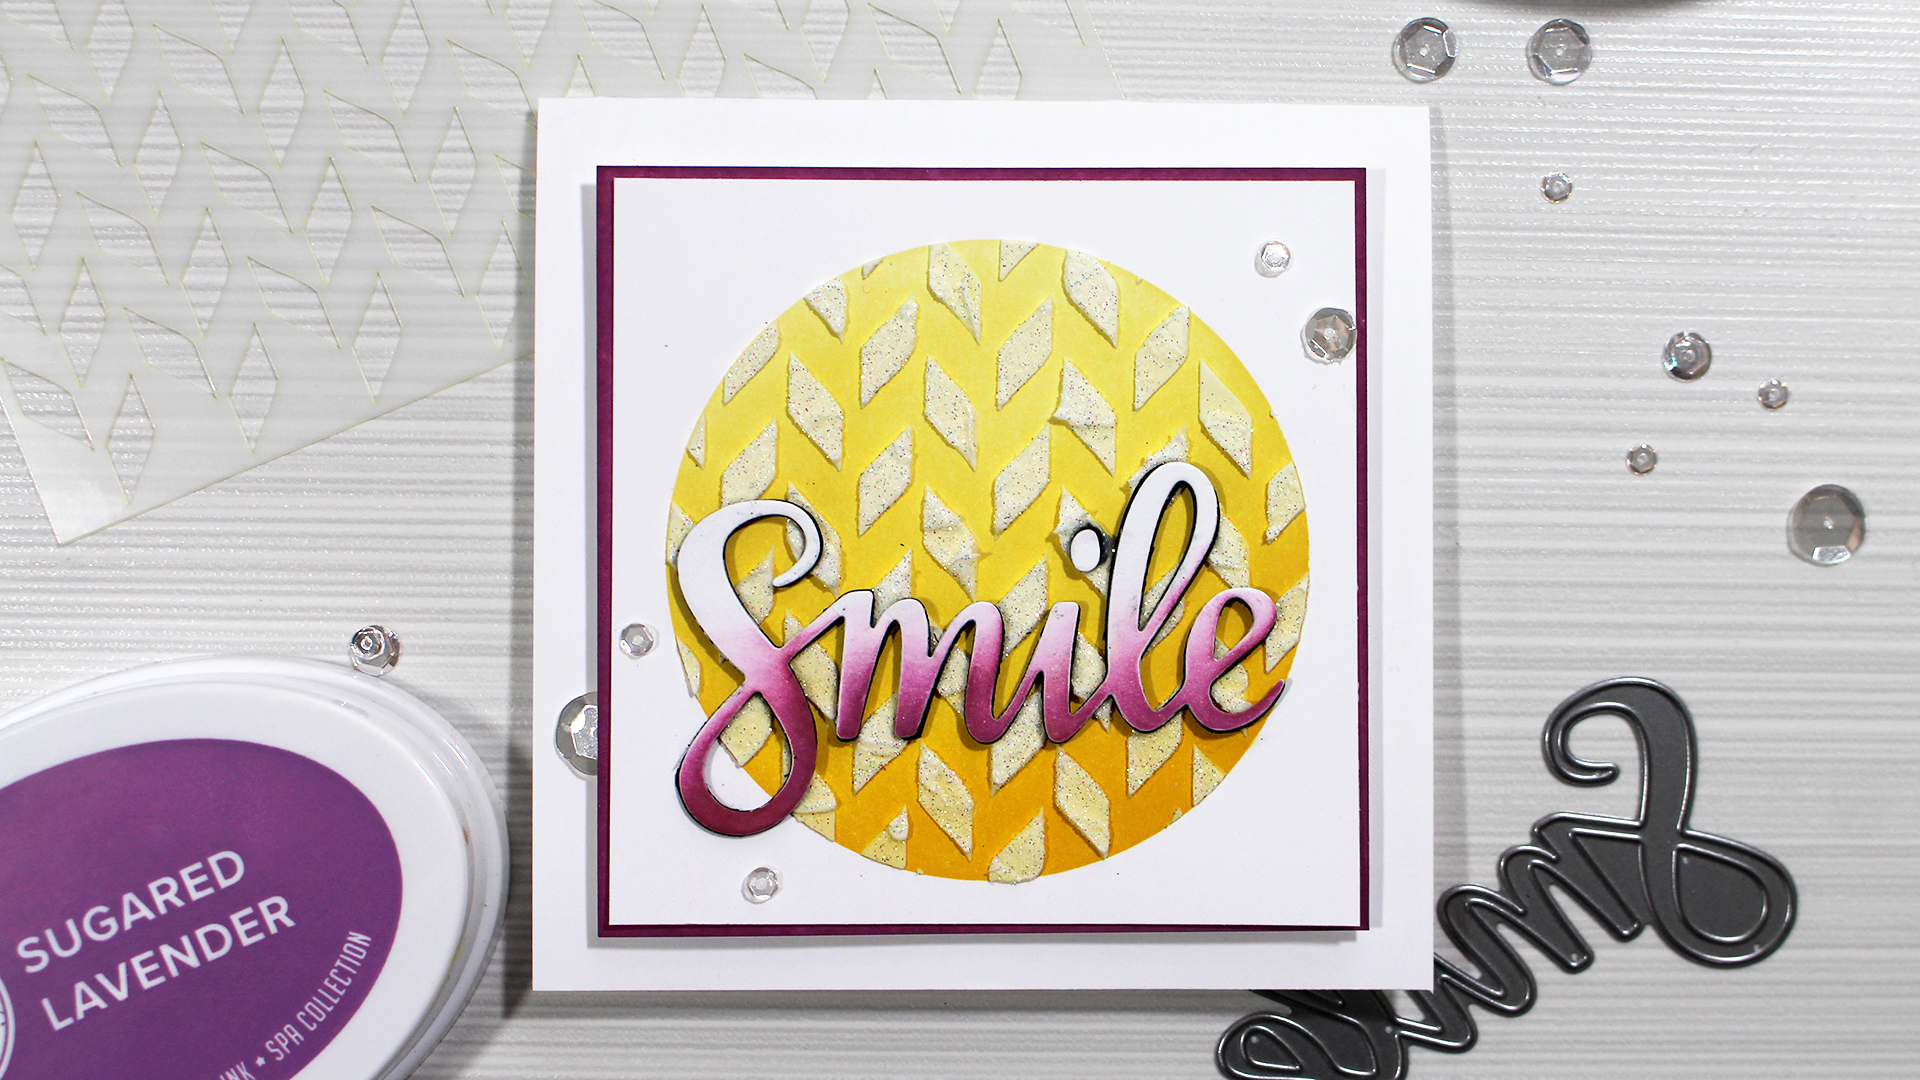
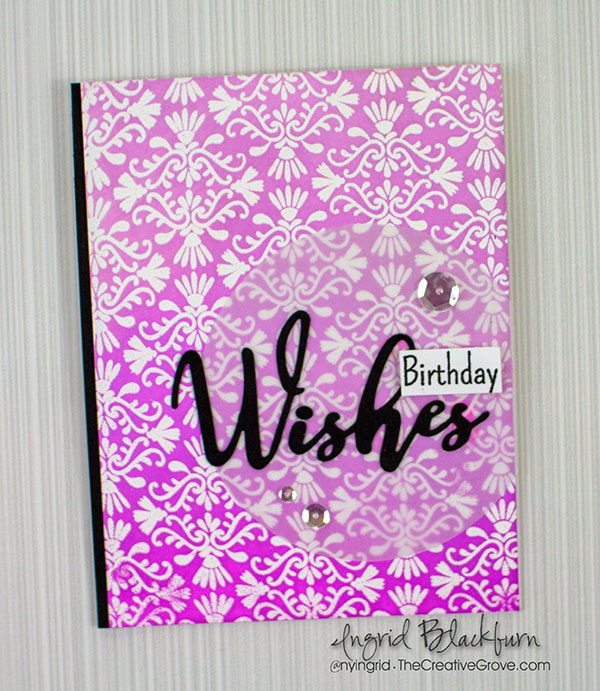
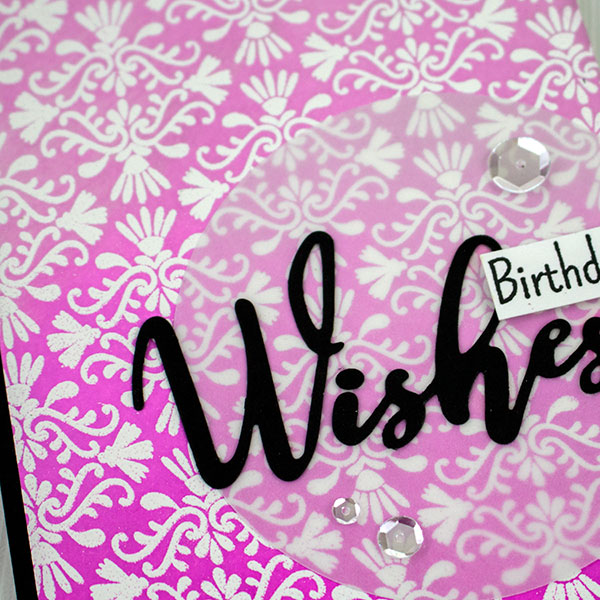
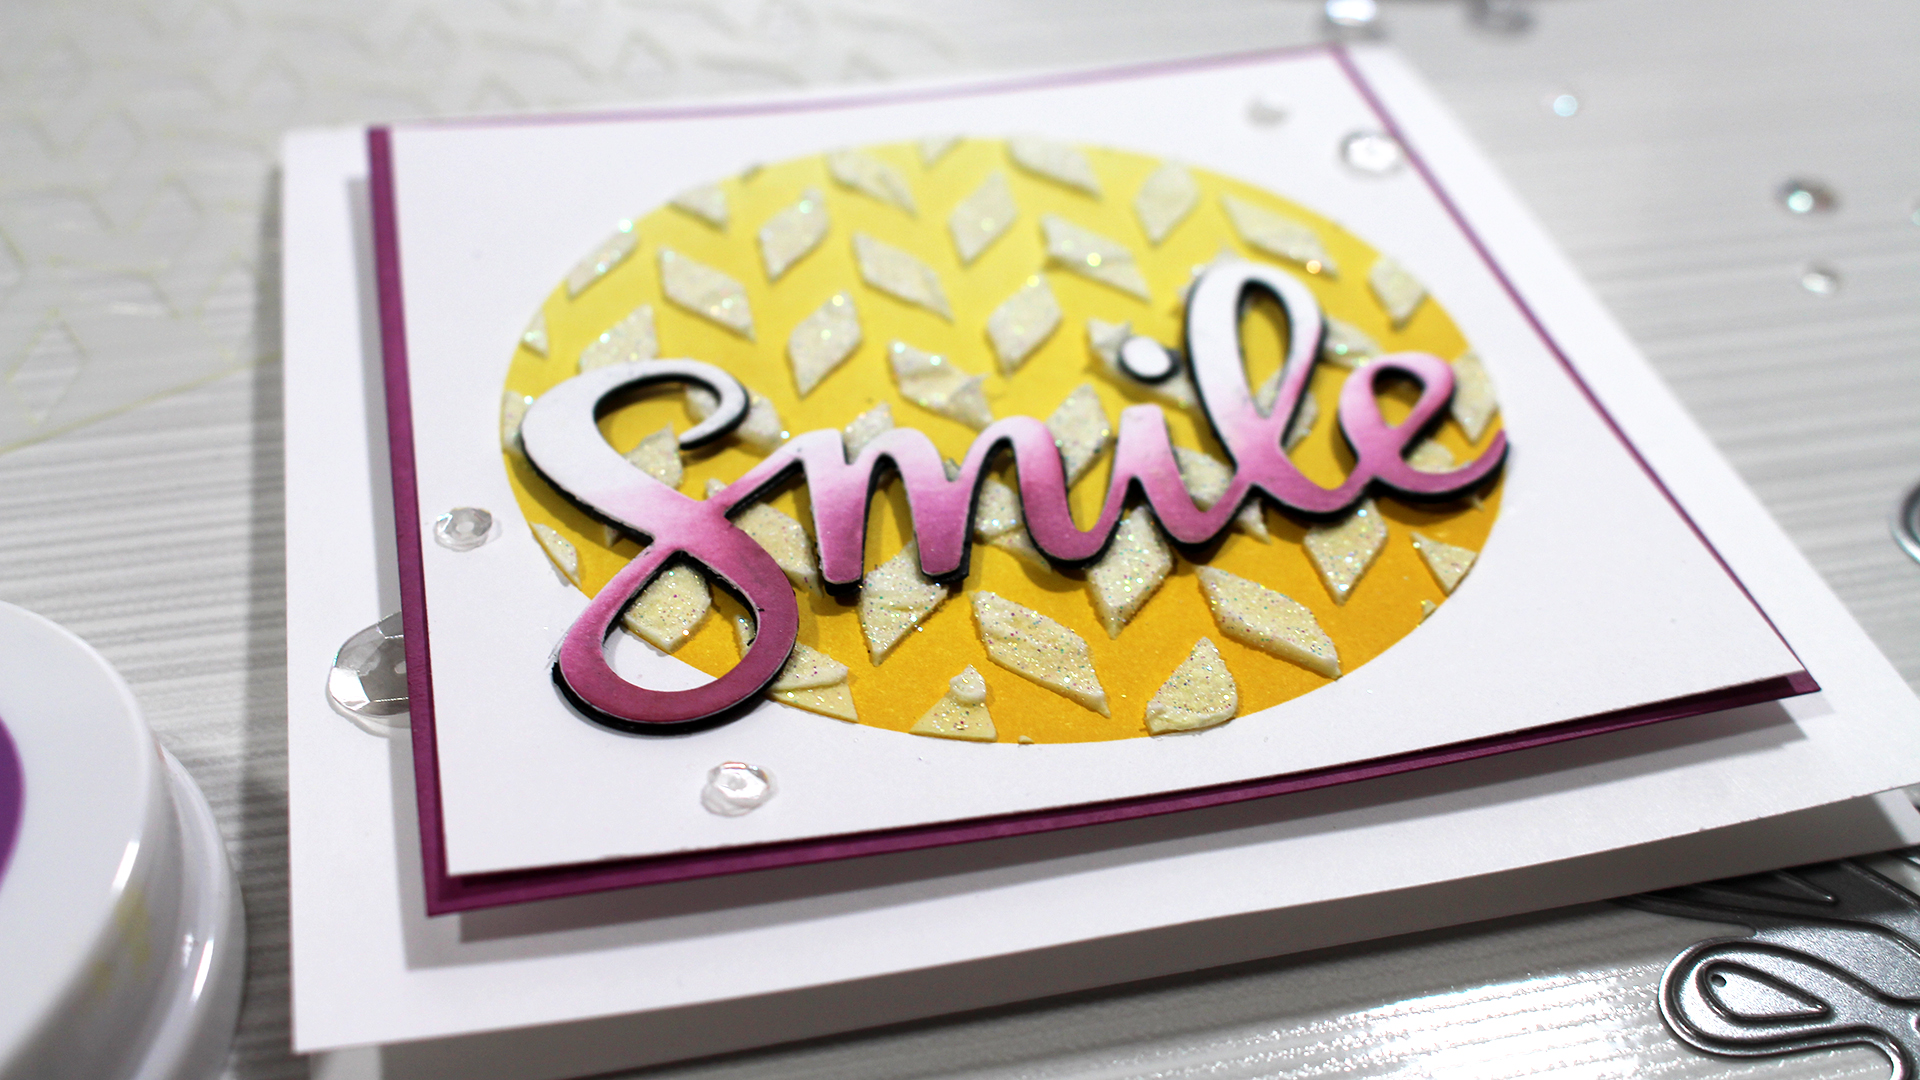
Isn’t that just gorgeous? Did you watch the video yet? Did you see how to add some fun sparkly texture to this project – oh, and did you notice the BRAND spanking new colors, word die and stencil?!!! YES, they are all being released tomorrow (2/13) over at CatherinePooler.com. Stop back by here for an awesome blog hop the next few days.

Ingrid Blackburn's Ink Blending tips

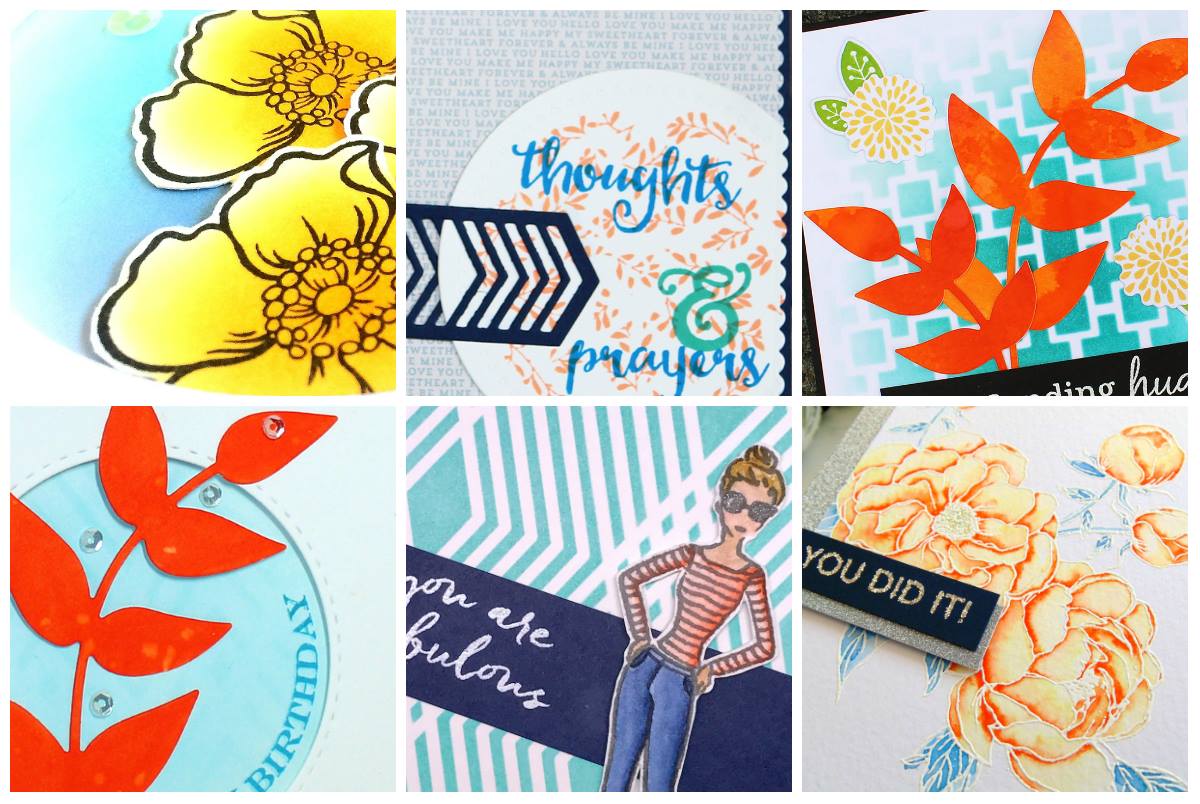
Want to learn more? Try these tutorials out:

Thanks for watching & thanks for subscribing…now go comment on everyone’s video post!!! Win those 120 prizes up for grabs!!! 🙂

Keep those fingers inky –
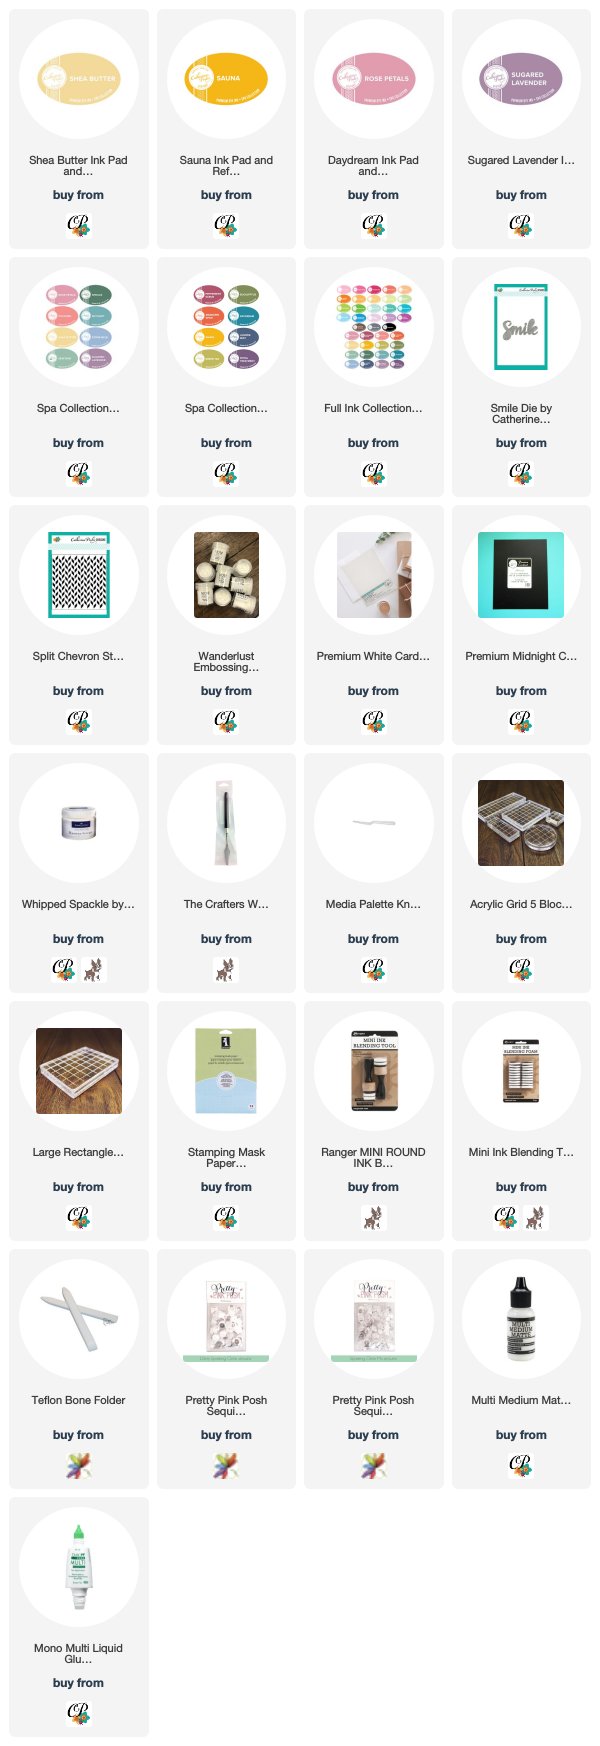
Ingrid Blackburn - The Creative Grove

Supplies

To shop all the fun items I used in today’s video visit these sites. Have any questions? Leave a comment here or on my YouTube Channel. I’ll be adding the new products on 2/13 so check back for links to those!


Spring Fling Sneak Peek

Today I have a sneak peek into the new Spring Fling release over at Catherine Pooler Designs tomorrow! Yup, you get a glimpse into some fun new products – and new ink colors!!! Gotta love that.

For the last few weeks, Catherine has been revealing the new ink colors and products on her blog. And the entire Design Team has been sneaking projects yesterday and today, getting ready for the big day tomorrow.

I thought it would be fun to see how a few of the new colors played with the old today – so here’s how to create a cool, simple ombre look for my Sneak Peek!

Spring Fling Ombre Wishes Tutorial

First you’ll want to emboss the new Modern Damask Background Stamp in white onto some Catherine Pooler Designs Bright White 100# card stock (it’s great for ink blending). Can I just say I’m in LOVE, LOVE, LOVE with this background stamp. The pattern is fabulous, and it has a lot of negative space – perfect for coloring, if you’re into that like me!

Spring Fling Inks by Catherine Pooler Designs

To get the ombre look, you’ll always want to start out with your lightest shade of ink. Here I used the new Sweet Sixteen – at the top. Use a mini sponge tool to evenly add it to the top 1/3 of your project. I went maybe a little over that, as I wanted it to blend effortlessly with my next new ink color – Pixie Pink.

Isn’t the Pixie Pink gorgeous. It’s the perfect blend heading between Sweet Sixteen and Flirty Fuchsia – my last shade, and one from the last Party Collection release.

The look is gradual, but really cool. Each color has its own unique character, and creates a beautiful background.

Spring Fling Ombre

To finish off your card, stamp Birthday from the Hello World Stamp Set. Pop it up over the new Spot on Sentiments word die – Wishes. If you want it to stand out just a bit more, add a vellum circle – cut with my new Circles Dies – they’re coming out tomorrow too!

I love adding vellum over bright backgrounds to tone them down if you need to – or just for a little accent. Some sequins are the perfect finishing touch along with a 1/8″ black edge to balance my card.

I hope you liked it – be sure to pop on by tomorrow. At 9 am, we have a Spring Fling Blog hop with the Dream Team – it should be pretty amazing. And of course…there are prizes, why not!

If you’re a StampNation member, be sure to check out today’s challenge too. My card is the upper right one – I LOVE it when Maureen Merritt puts Mood Boards together as inspiration – it’s the perfect way to jump right into a card.

StampNation

See you tomorrow!

Combining Stencils & Background Stamps

Don’t you just love taking things that you already have and using them in new ways? Today I thought it would be fun to show you how to combine stencils & background stamps for an unexpected look! So dust them off, and let today’s video inspire you to create something fun.

I’m honored to be participating in a video hop today to celebrate my friend Justine Hovey’s 1 Million views on her YouTube channel! WOW – she’s worked hard over the years to create something special, and I’m so excited to celebrate alongside her and some good friends.

Justine will be posting new videos all month long and giving away tons of prizes too. So definitely check her blog out here for all the details. She’s doing something fun with the video hop – each video along the hop has a secret word somewhere in it. Make sure to collect all of them to enter! And I think you’ll find plenty of fun YouTube channels to subscribe to along the way.

Combining Stencils & Background Stamps Tutorial

The theme for the video hop today is Celebrate, so my mind instantly went to putting on a party and getting out my fun colorful serving dishes. Michael and I love to entertain! I have several in the color Olive, and the Spice Market stamp design reminded me of fun entertaining dishes – so I just HAD to combine the two in some way for you over on my YouTube Channel. And inspiration struck.

Here are all the details and exactly how you can create this fun project:

Click here to view in HD on YouTube

I used the Pattern of Rings stencil designed by Winnie & Walter for the Friendship Stamp of Approval Collection and combined it with one of my favorite background stamps – Spice Market by Hero Arts. And you can see – it’s a totally new look!

When combining stencils & background stamps yourself, look at recurring patterns. I chose the Pattern of Rings stencil because it was circles and there were lots of circular designs in the Spice Market stamp, so I thought they’d play well together.

Combining Stencils & Background Stamps

So now it’s your turn – raid your stash of stencils and background stamps and start to create some amazing patterns!

Till next time –

[optin_box style=”31″ alignment=”center” email_field=”email” email_default=”Enter your email address” email_order=”0″ integration_type=”aweber” double_optin=”Y” list=”3846012″ name_field=”name” name_default=”Enter your first name” name_order=”0″ name_required=”Y” opm_packages=””][optin_box_field name=”headline”]Learn more with our exclusive FREE video series[/optin_box_field][optin_box_field name=”paragraph”]PHA+TG9yZW0gaXBzdW0gZG9sb3Igc2l0IGFtZXQsIGNvbnNlY3RldHVyIGFkaXBpc2NpbmcgZWxpdC4gRG9uZWMgdmVsIG51bmMgbm9uIGxhY3VzIHZlbmVuYXRpcyBjb21tb2RvLjwvcD4K[/optin_box_field][optin_box_field name=”privacy”][/optin_box_field][optin_box_field name=”top_color”]undefined[/optin_box_field][optin_box_button type=”0″ button_below=”Y”]Get Instant Access![/optin_box_button] [/optin_box]


Supplies

To make finding the supplies I used in this project a bit easier for you, here are a few clickable links. Those that have multiple shopping options are indicated with letters – EH – Ellen Hutson, SSS – Simon Says Stamp. Compensated Affiliate Links are used when possible. Click here for disclosure. Happy Shopping!