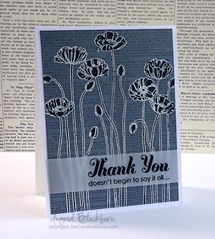
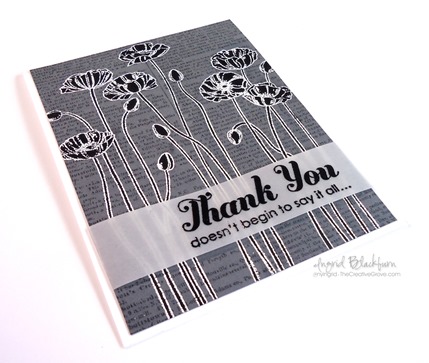
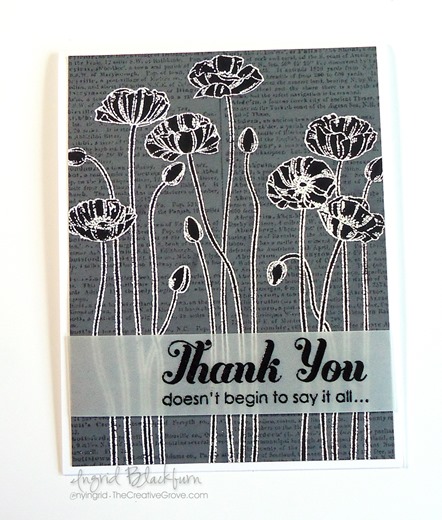
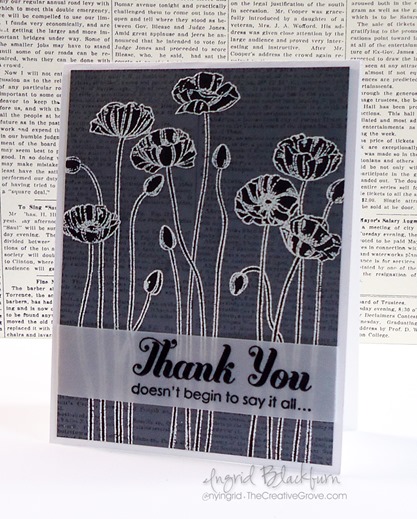
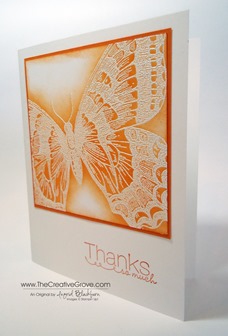
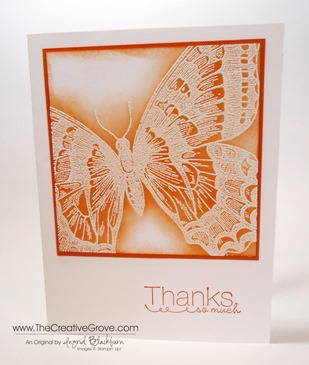
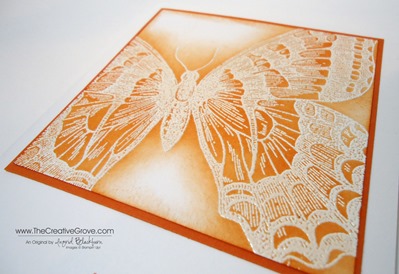
The emboss resist technique is one that you probably use in card making so often that you don’t even give it a thought. It can be used in several ways; today we’re going to feature it with a little coloring using markers and the Pleasant Poppies background stamp.
Embossing techniques are probably some of my favorites. And embossing in general was probably one of the biggest wow techniques you first saw when learning how to stamp, am I right? I’d love to know what it was for you…tell me in the comments below!
Emboss Resist + Markers Video Tutorial
This project tutorial uses emboss resist to create monochromatic poppies for a truly striking card. Like I say in the video, creating black flowers is kind of weird for me, but I have to admit, the card is gorgeous! Here’s the step by step tutorial:
Now that you’ve seen the video, I listed some instructions for this project. If you haven’t had a chance to see the video, it gives a lot more detail than the tutorial below.
Creative Tips –
- You’ll want to create your background first. Stamp the Dictionary stamp in tone on tone ink (Basic Gray). The Basic Gray card front measures 4 x 5 1/4”.
- Be sure the background is completely dry as in the video.
- Use a de-static tool like an embossing buddy on your card front.
- Emboss the Pleasant Poppies stamp using White Pigment Ink and embossing powder.
- Color your flowers in using a Basic Black marker.
- The embossed poppy outline will “resist” the dye ink – that’s the emboss resist technique! Simple, right?
- Color your images in sections.
- Lightly dampen a paper towel by spritzing it with a fine mist mini-spritzer. I can not stress lightly enough. You don’t want to add water to your project, just use it as a tool to remove the ink that the embossed image resisted.
- Wipe lightly over your emboss resisted image. I first pat it, then wipe, being careful not to push my towel into my cardstock. You want to just stay on the raised surface.
- Add a greeting embossed on Vellum card stock and adhere your card front to the white base. The card base measures 4 1/4 x 11”.
That’s it! You can try this technique with any colors, but you’ll want to make sure that your marker is darker than your background image (the dictionary stamp). Otherwise you’ll see the background image through your colored flower.
I entered this card in the following challenges: Happy Little Stampers and Virginia’s View.
So what did you think? Are the emboss resist flowers Weird or Striking for you – tell me in the comments – I’d love to know!
[optin_box style=”14″ alignment=”center” disable_name=”Y” email_field=”email” email_default=”Enter your email address” email_order=”1″ integration_type=”aweber” double_optin=”Y” list=”2841626″ name_field=”name” name_default=”Enter your first name” name_required=”Y”][optin_box_field name=”headline”]If you enjoyed this tutorial…[/optin_box_field][optin_box_field name=”paragraph”]PHA+Li4ueW914oCZbGwgbG92ZSBvdXIgPHNwYW4gc3R5bGU9ImNvbG9yOiAjMjQ0YzVlOyI+PGVtPjxzdHJvbmc+ZnJlZSA8L3N0cm9uZz48L2VtPjwvc3Bhbj5zdWJzY3JpYmVyIG9ubHkgdmlkZW8gc2VyaWVzISDCoEdldCB0aGXCoDxzcGFuIHN0eWxlPSJjb2xvcjogIzI0NGM1ZTsiPjxlbT48c3Ryb25nPmV4Y2x1c2l2ZTwvc3Ryb25nPjwvZW0+PC9zcGFuPsKgQ3JlYXRpdmUgVGlwcyBlLWxldHRlciB3aGljaCB3aWxsIHRlYWNoIHlvdSBuZXcgdGVjaG5pcXVlcyB0byBhZGQgdG8geW91ciBzdGFtcGluZyBza2lsbCBzZXQuIMKgTGVhcm4gaG93IHRvIG1ha2UgcHJvamVjdHMgeW91J2xswqBsb3ZlITwvcD4K[/optin_box_field][optin_box_field name=”privacy”][/optin_box_field][optin_box_field name=”top_color”]undefined[/optin_box_field][optin_box_button type=”1″ text=”Send me exclusive tips!” text_size=”26″ text_color=”#000000″ text_bold=”Y” text_letter_spacing=”-1″ text_shadow_panel=”Y” text_shadow_vertical=”1″ text_shadow_horizontal=”0″ text_shadow_color=”#a3b640″ text_shadow_blur=”0″ styling_width=”100″ styling_height=”10″ styling_border_color=”#000000″ styling_border_size=”1″ styling_border_radius=”6″ styling_border_opacity=”100″ styling_shine=”Y” styling_gradient_start_color=”#a3b640″ styling_gradient_end_color=”#5b661e” drop_shadow_panel=”Y” drop_shadow_vertical=”1″ drop_shadow_horizontal=”0″ drop_shadow_blur=”1″ drop_shadow_spread=”0″ drop_shadow_color=”#000000″ drop_shadow_opacity=”50″ inset_shadow_panel=”Y” inset_shadow_vertical=”0″ inset_shadow_horizontal=”0″ inset_shadow_blur=”0″ inset_shadow_spread=”1″ inset_shadow_color=”#a3b640″ inset_shadow_opacity=”50″ location=”optin_box_style_14″ button_below=”Y”]Send me exclusive tips![/optin_box_button] [/optin_box]
