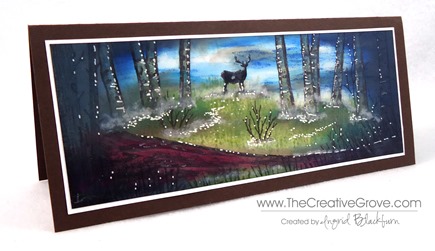
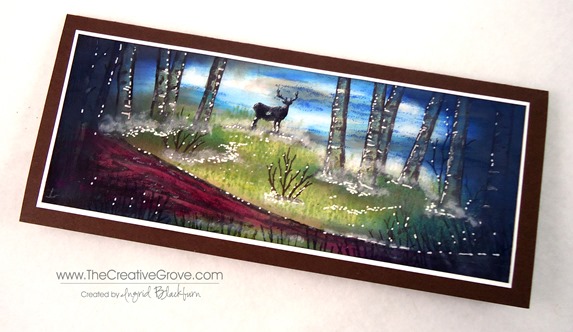
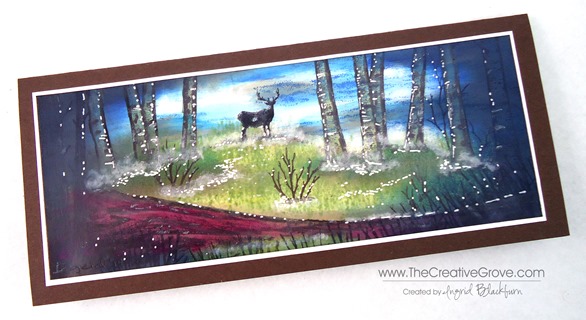
Diversity is always great in artistic supplies. Today I wanted to share a card with you that uses a variety of companies. After all, do ALL your clothes come from the same store? Probably not. So, along with that theory, here is a colorful scene that uses Stampscapes Images, Marvy and Adirondack Dye based inks and a Signo White Gel Pen. This scene is a re-creation of one done by Kevin Nakagawa from Stampscapes.
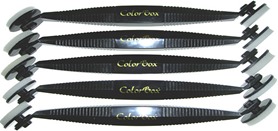
This misty forest scene makes me want to go hiking! To get the sweeping motion of the ink carried across the cardstock, you will need a Colorbox Stylus which has sponge applicators. You can find this tool in almost any craft store. It does take a little getting used to and be sure to use a light touch. But when using the stylus tool, you have to have the right inks.
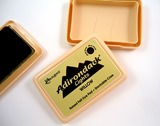
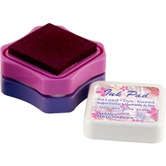
While I love my Stampin’ Up! inkpads, they tore up my sponge tips with this technique. Which, I’ll be honest – will frustrate you and you’ll need new tips! Stampin’ Up’s fast drying edge is great for clean and simple stamping, but not for this technique. What you need, is the right ink – a wetter dye based ink like the Marvy Matchables or Adirondack Ink Pads. Both of these have a wetter saturation and work better with the stylus tool and glossy cardstock.
Note – Marvy has discontinued several of their colors of ink pads here in the US (just a few months ago), so if you come across them – nab them up! Not to worry, the reinkers are not being discontinued, so you’ll have access to the full color spectrum for their markers (which let’s be honest – ROCK!) and you can always use the reinkers just like paints, which is great for this technique.
To stamp the images first, use a black that sets well without bleeding – I use Memento Tuxedo Black Ink. It’s the best non-bleed ink I’ve come across. Then create your under layer with your lighter tones first. Remember, you can always darken any scene up, you can’t however make it lighter. It’s the same theory in painting. Get your undertones first.
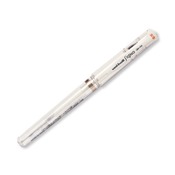
Once I have my scene set up, I can add highlights and contrasts using darker colors. I framed my scene here using darker blues, greens and browns. Leaving some light can be hard – I have to admit, one of my challenges – but I promise, you’ll love that contrast at the end – so resist, resist, resist! For finishing touches, you’ll want to use white pigment ink and a q-tip to create the fog. The highlights were made with a white gel pen.
The depth in this card captivates you. the light in the sky balances the darkness. It really seems like the beginning or end of an old movie – you know and the dark circle opens or closes the scene? I hope you enjoyed it! Now go have fun with all your supplies!
Personal Note – thanks to so many of you emailing me lately! I have to admit I haven’t been stamping too much lately due to an injury to my right thumb which affected my right wrist. Of course I’m right handed – and it’s just doesn’t work with my left hand! No matter how hard I try. ![]() This also kept me off the computer for any long sort of typing. The angle has been tough – including using a mouse. So, after a lot of trying to work my way through it, I actually had to take a real break to recover! Not so easy.
This also kept me off the computer for any long sort of typing. The angle has been tough – including using a mouse. So, after a lot of trying to work my way through it, I actually had to take a real break to recover! Not so easy.
Thankfully, I’ve been back in the studio and even trying some other artistic mediums that aren’t as much pressure on my thumb and wrist – like painting! It’s been therapeutic to be creative again! I’ve only been able to watch stuff online and make sketches and notes on projects and upcoming classes. Thanks for stopping by today, I look forward to seeing you around the grove for more.
Products Used:
