Have you ever watercolored with stencils before? Today I’m guest designing for a new watercolor challenge over at Happy Little Stampers. I don’t know of many watercolor challenges out there, so if watercolor is one of your loves, I encourage you to check it out! The design team is pretty talented over there, and I’m loving what they are creating every month.
I thought you would love a video in addition to a written tutorial, so here you have it. The watercolor challenge is always anything goes, and if you need a little structure – there’s always a little twist. You can play along or not, up to you – this month it’s dies.
Happy Little Stampers challenges are always a lot of fun, and I encourage you to enter. This month there’s a prize too, you have nothing to lose!

I have been undergoing a massive move from Germany back to the US (plus all our things out of storage up from Florida), hunting for a new home, and living in a hotel for three months – yes, it’s been interesting to say the least! So, I haven’t been able to film much the past few months…boy did it feel good to FINALLY get to film in my new stamping studio in my new home. I’m still buried under boxes and the contractor is still doing work in our home (though we’re in the home stretch….finally).
Here’s a video for you of how I created this month’s project – step by step. You’ll learn to watercolor with stencils, and create some fun vibrant die cut embellishments with Brusho Crystals – which I’m totally addicted to!
Click Here to watch the video in HD on YouTube & Subscribe to my Channel
How to Watercolor with Stencils & Brusho
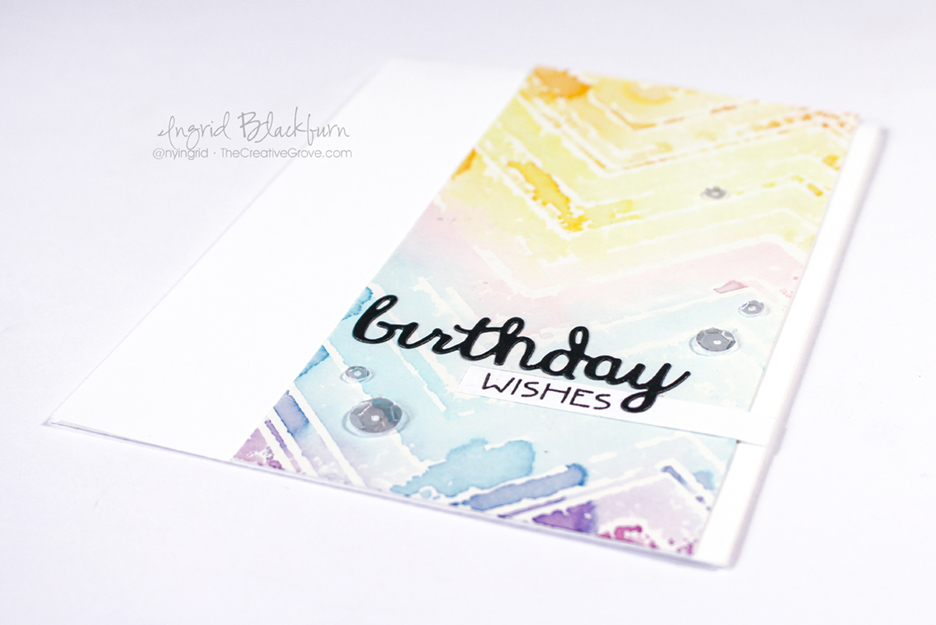
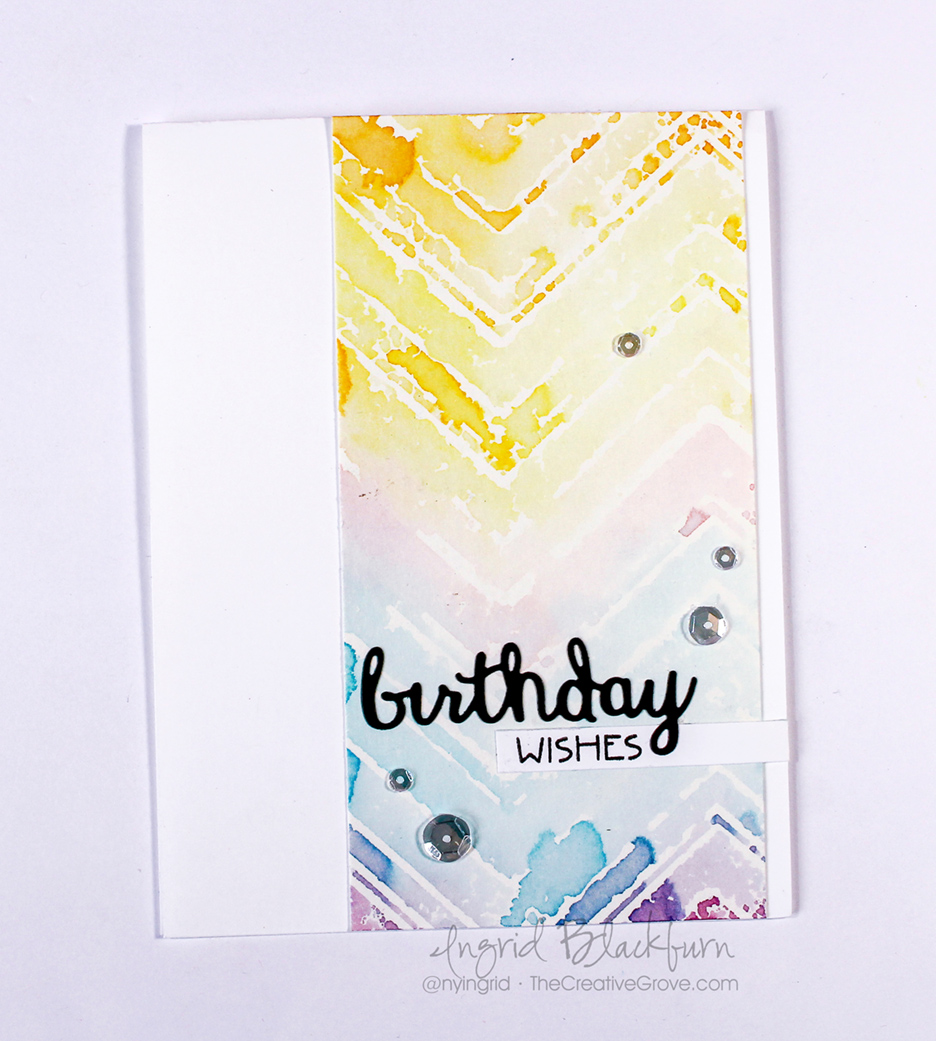
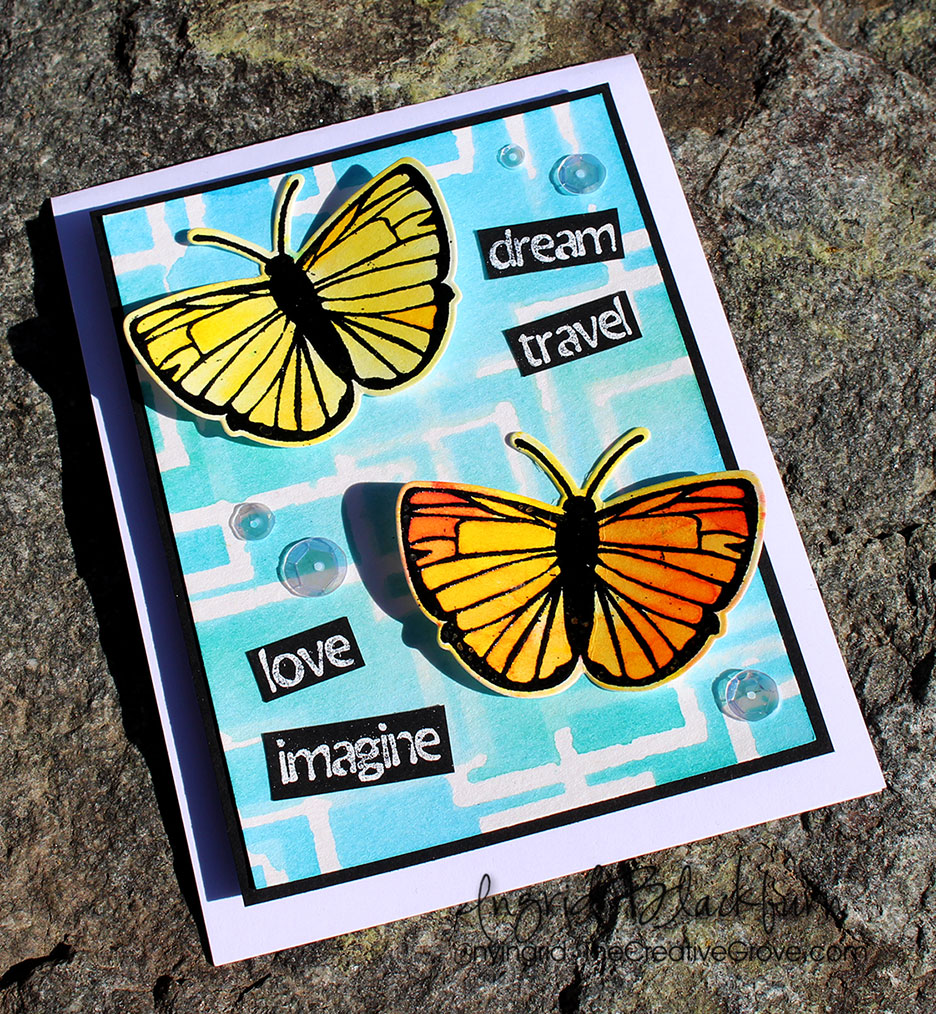
So, my original thought was to create cool watercolored die cuts – enter a little embossing and Brusho for the pop in color. It’s SO easy to watercolor with Brusho and you always look like a watercolor master.
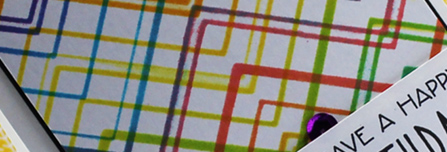
To compliment it, I thought you’d enjoy seeing how I sometimes watercolor with stencils – a not so perfect technique, but it really adds a lot to the background. My thought was to create a cool lattice for the butterflies from the Butterfly Birthday stamp set.
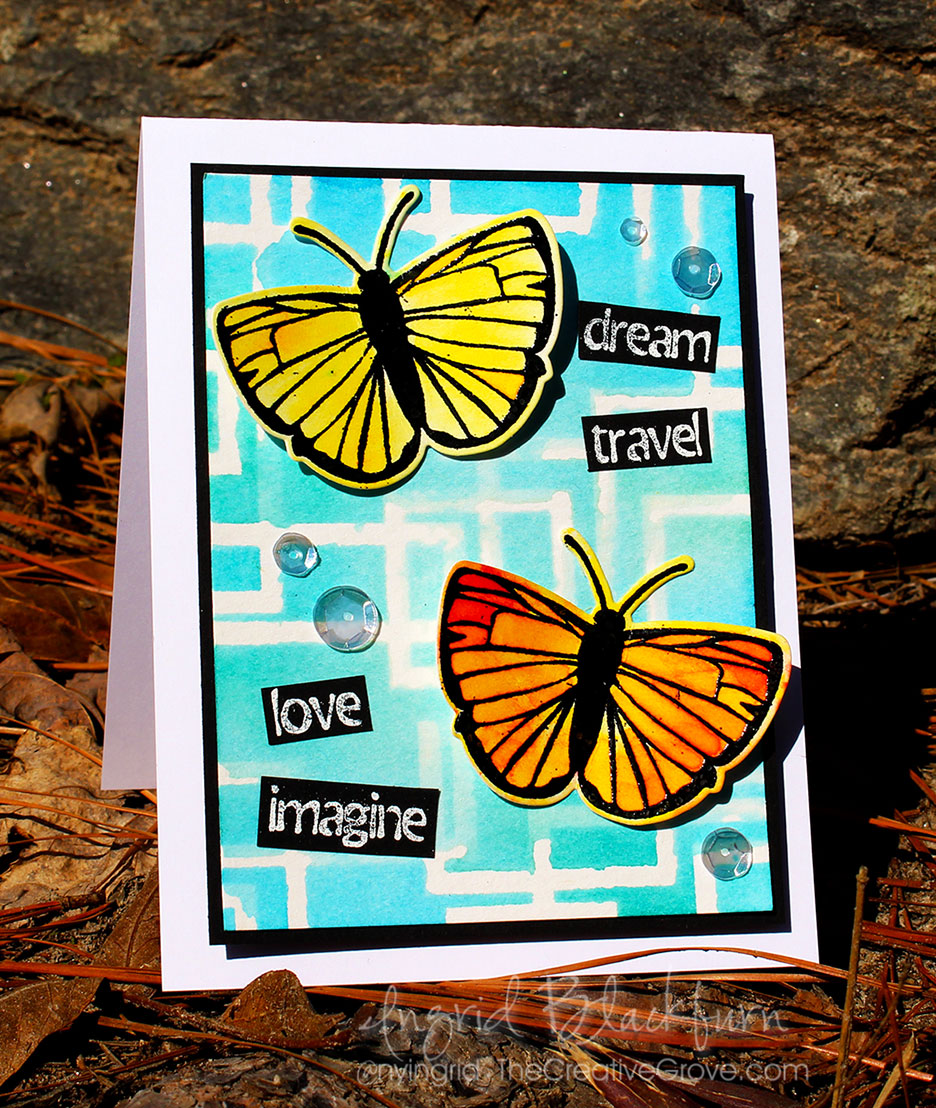
And I’ve been just dying to use my new Mixed Media Fun stamp set – I just love all the components and words – it’s the perfect card for my niece.
- First – secure your 140# Cold Pressed Watercolor paper to your work surface, and your stencil over that.
- Apply your color, I used several shades of Distress inks and created a varied Blue background
- I didn’t do this in the video, but next remove your tape securing your stencil down so you can lift it after the next step a bit easier.
- To truly get a watercolor with stencils look, spritz with a mini mister and get the water going. Be careful of adding TOO much water. If you overdo it – water will run everywhere – especially under your stencil design.
- Carefully lift up your stencil – straight up.
- You can blot off any excess water with a paper towel – but be careful to lift it from your pattern – you’ll pull all the color. I use this mostly for the sides where the water is pooling. Dry immediately with a heat tool or naturally.
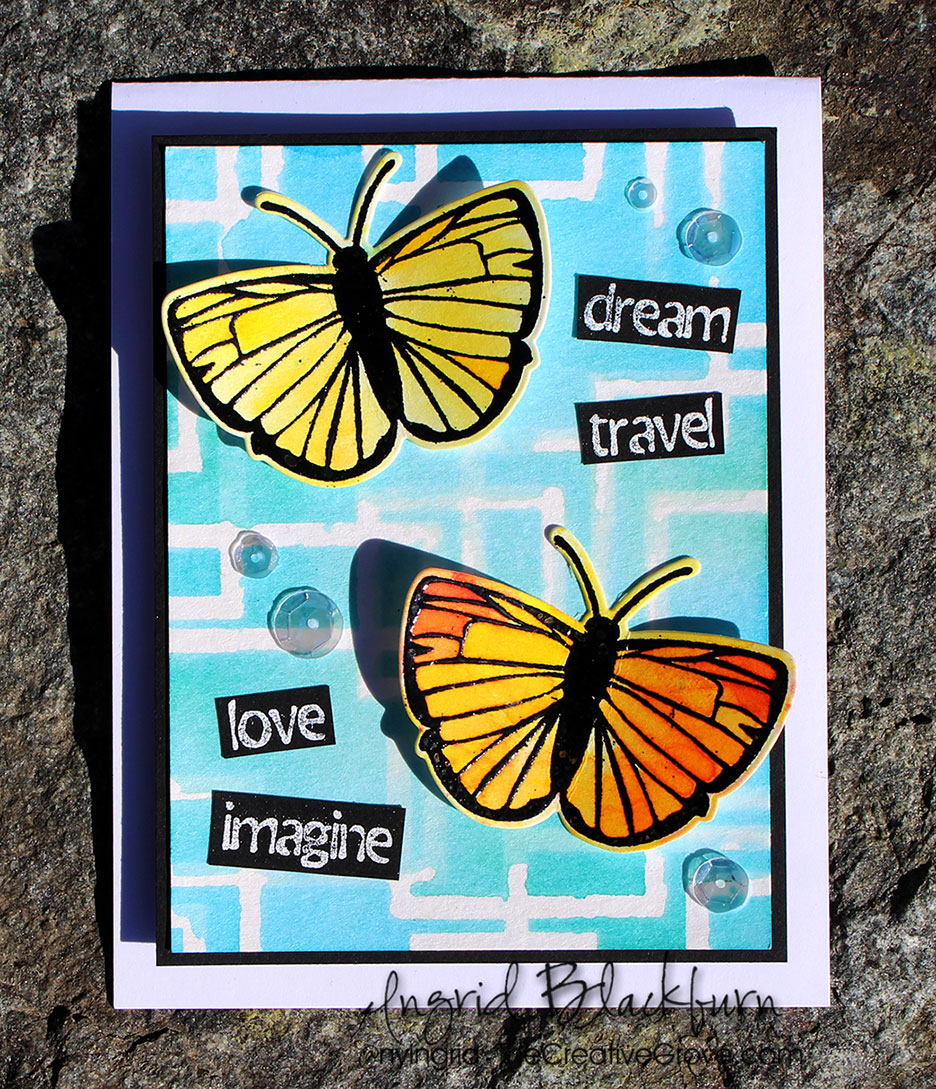
- Next, on another piece of scrap watercolor paper, stamp two butterflies from Butterfly Birthday in Versafine Onyx Black ink. I love this ink to emboss with – it’s a pigment ink and is super crisp and deep in color.
- Emboss in black and heat set.
- Sprinkle some brusho powders over your butterflies and spritz as in the video to activate the pigments.
- Dry with a heat tool or naturally
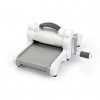
- Cut out using the co-ordinating Butterfy Dies & a Die Cut Machine
- Emboss some of the greetings from Mixed Media Fun in white on Black card stock
- Cut them out using long handled scissors – this helps to give you a straighter edge.
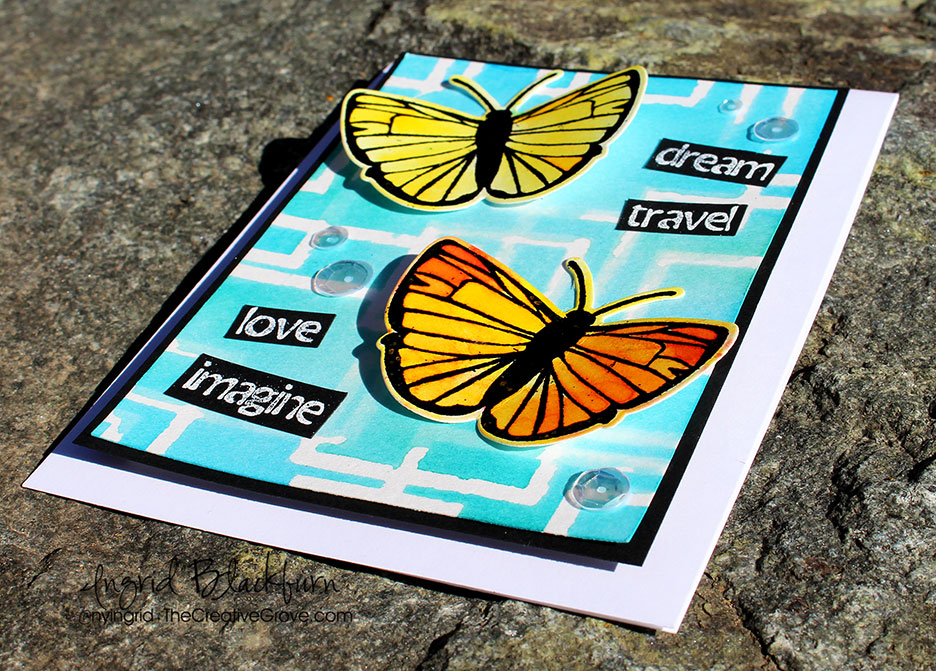
- Adhere your pieces like the card. TIP – use Mono Liquid Glue to adhere the watercolor to the black, bend straight or place something heavy on to help straighten your card stock. You may also want to pop up the main watercolor panel onto fun foam for a little drama.
- Bend up the sides of your butterflies and pop the sides up with some dimensional foam. I have the tops of the wings higher than the bottom (doubled the foam) and adhered with some glue in the center. This gives the illusion of flight.
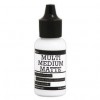
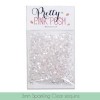
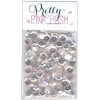
- Add some sparkling clear sequins from Pretty Pink Posh with Rangers Multi Matte Medium (dries clear).
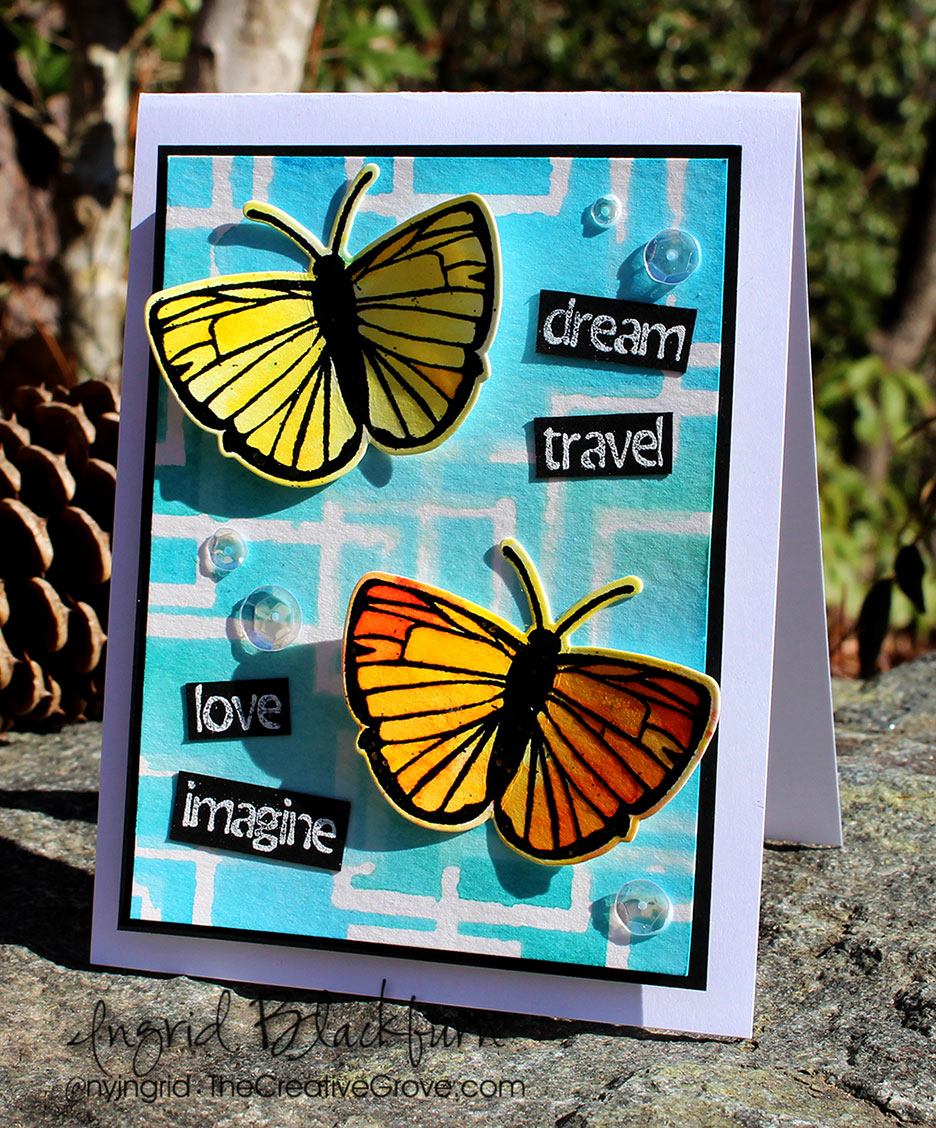
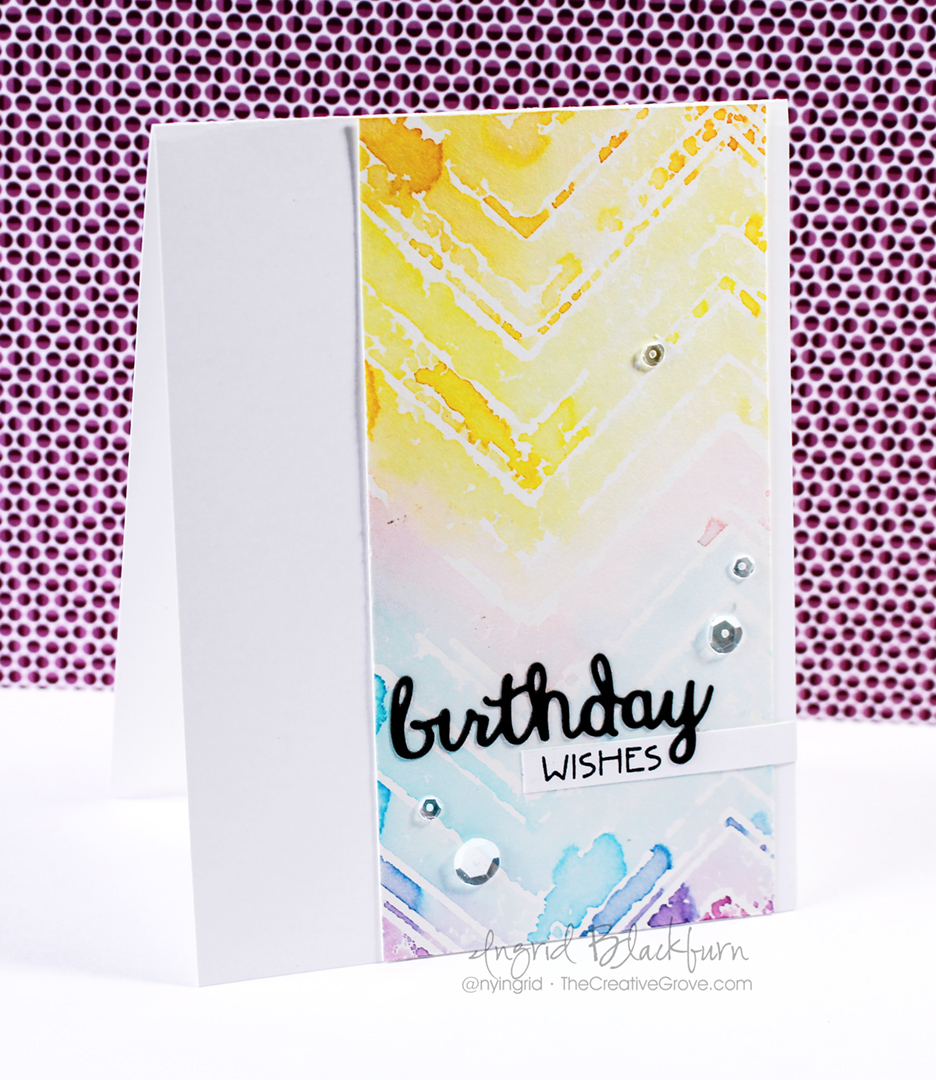
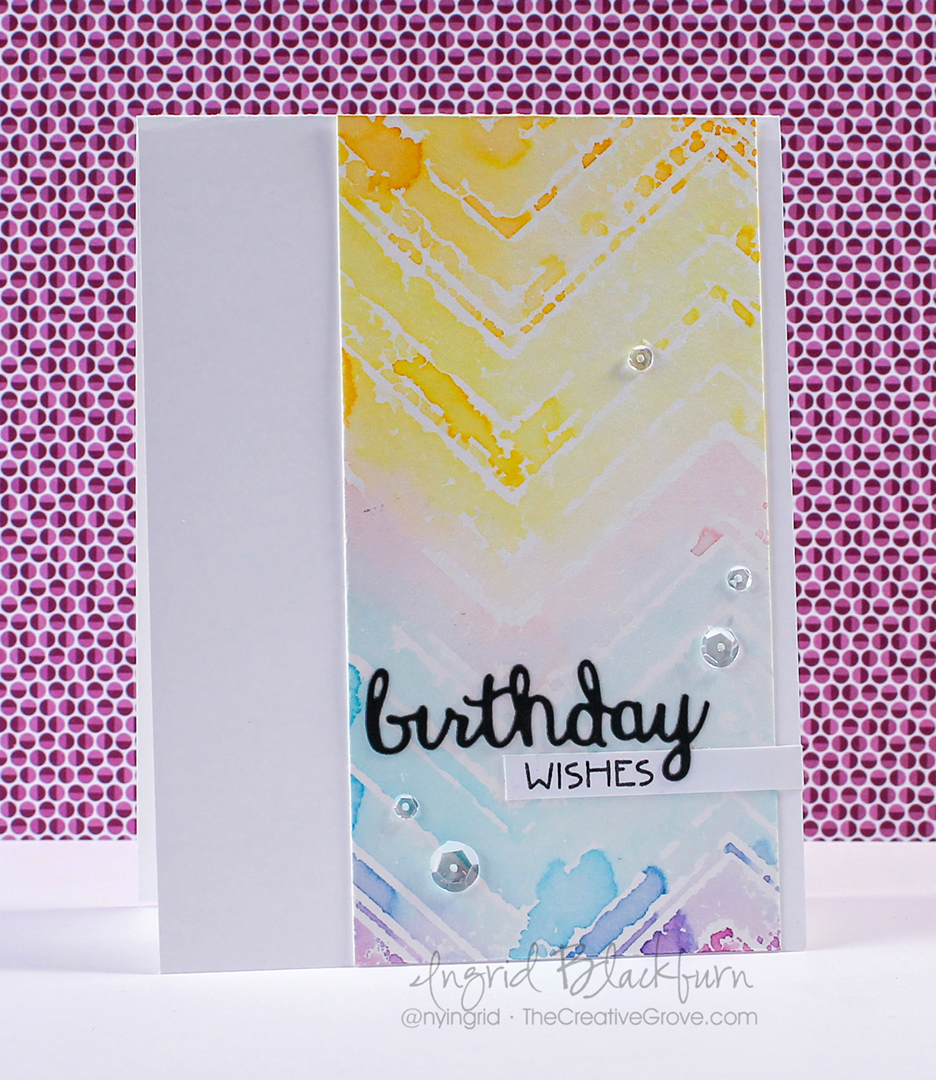
Ultimately, my watercolor got a little into the pattern, but I don’t let stuff like that get me down anymore. You can cover a lot of it up with the die cuts and words, and it gives it a more organic feel anyway. It’s art, don’t stress over it, have fun!
Let me know what you think in the comment section below. I hope now, you’ll try to watercolor with stencils yourself, and that you enjoyed this tutorial!
Now head on over to the Happy Little Stampers Watercolor Challenge to see what the Design Team whipped up for you. I can’t wait to see what you create – I’ll visit your blog and definitely check it out! 🙂

And if you liked this tutorial, subscribe to my YouTube channel and newsletter list for more exclusive tutorials. See you very soon!

[optin_box style=”28″ alignment=”center” disable_name=”Y” email_field=”email” email_default=”Enter your email address” email_order=”1″ integration_type=”aweber” double_optin=”Y” list=”3846012″ name_field=”name” name_default=”Enter your first name” name_order=”0″ name_required=”N” extra_field_1_name=”Name” extra_field_1_order=”0″ extra_field_1_required=”Y” extra_field_1_hidden=”N” extra_field_1_title=”Enter Your Name” opm_packages=””][optin_box_field name=”headline”]Learn more with exclusive video tutorials…[/optin_box_field][optin_box_field name=”paragraph”]PHA+UGx1cyB5b3UnbGwgYmUgYWRkZWQgdG8gbXk8c3Ryb25nPiBGUkVFPC9zdHJvbmc+IENyZWF0aXZlIFRpcHMgRS1sZXR0ZXIgd2hlcmUgSSBzaGFyZSBleGNsdXNpdmUgcHJvamVjdHMsIHZpZGVvcyAmYW1wOyB0aGUgMTIgRGF5cyBvZiBDaHJpc3RtYXM8L3A+Cg==[/optin_box_field][optin_box_field name=”privacy”][/optin_box_field][optin_box_field name=”top_color”]undefined[/optin_box_field][optin_box_button type=”1″ text=”Click For Immediate Access” text_size=”24″ text_color=”#ffffff” text_font=”Lato;google” text_bold=”Y” text_letter_spacing=”-1″ text_shadow_panel=”Y” text_shadow_vertical=”1″ text_shadow_horizontal=”0″ text_shadow_color=”#000000″ text_shadow_blur=”0″ styling_width=”75″ styling_height=”20″ styling_border_color=”#666666″ styling_border_size=”1″ styling_border_radius=”8″ styling_border_opacity=”99″ styling_gradient_start_color=”#86c833″ styling_gradient_end_color=”#3f8e30″ drop_shadow_panel=”Y” drop_shadow_vertical=”1″ drop_shadow_horizontal=”0″ drop_shadow_blur=”0″ drop_shadow_spread=”0″ drop_shadow_color=”#000000″ drop_shadow_opacity=”50″ inset_shadow_panel=”Y” inset_shadow_vertical=”1″ inset_shadow_horizontal=”0″ inset_shadow_blur=”0″ inset_shadow_spread=”0″ inset_shadow_color=”#c2ee80″ inset_shadow_opacity=”100″ location=”optin_box_style_28″ button_below=”Y”]Click For Immediate Access[/optin_box_button] [/optin_box]
[op_advanced_headline style=”1″ effect=”type” align=”left” accent=”#244C5E” headline_tag=”h2″ line_height=”” highlight=”” top_margin=”0″ bottom_margin=”0″]U3VwcGxpZXM=[/op_advanced_headline]
To make finding the supplies I used in this project a bit easier for you, here are a few clickable links. Those that have multiple shopping options are indicated with letters – EH – Ellen Hutson, SSS – Simon Says Stamp. Compensated Affiliate Links are used when possible. Click here for disclosure. Happy Shopping!
