Thankful…A very personal post

Germany Unity Day 001

In case you didn’t know, I’m both German and American.  We moved from the USA to the southwest corner of Germany last fall to spend some time with my father who lives here and expand my husband’s business.  We know we’ll head back to the states one day, but for now – we’re enjoying living in Europe and running our businesses virtually.

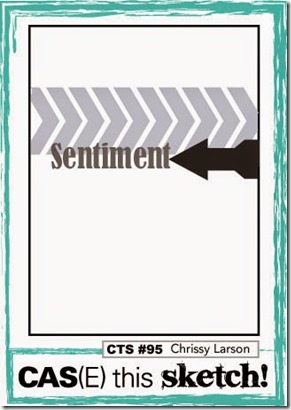
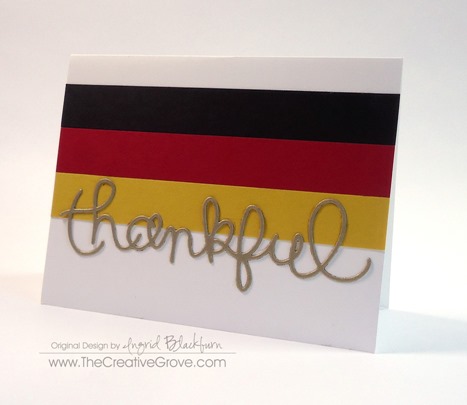
Today’s project is a clean and simple one – but quite personal.  Today, October 3rd, was the inspiration for this project, with a little guidance from the CAS(e) this Sketch challenge.

Case This Sketch BadgeCTS_95

Today is a national holiday here – it’s our July 4th.  The cold war ended on November 9th, 1989 with the fall of the Berlin Wall.  Barely a year later, the two German Countries – East and West, as I had known them growing up, were united into one.  The Unification Treaty, signed on Sept 20th called for October 3rd to be officially know as Tag der Deutschen Einheit, or Day of German Unity.

Germany Unity Day 003

Growing up, we visited Germany practically every summer.  My mother, born in Prussia (then Germany, now Poland) was relocated with her family as a refugee to Dresden after World War II – she was just eight years old and the eldest of five.  She grew up in what was then known as Russian controlled East Germany behind the Iron Curtain  – as the Wall that severed this country was known.

Each summer, we would spend about six weeks here visiting friends in the west, and as a toddler, my family in the East.  Once my parents split, we came here with my Dad, and would visit my Godmother’s family in Eisenach, just over the East German Wall (border).  It was quite an experience to cross – something that took almost a whole day.  Russian soldiers would walk up to us with machine guns and take our passports 6-8 times, we’d have to unload and re-load the car several times – and they were always suspicious as to why Americans were allowed, yet wanted to go into East Germany.

To say it was an experience was putting it mildly.  We weren’t allowed to bring books, newspapers or anything really with us.  We had to register and spend every converted dollar (having receipts to show that we were taking everything with us that we were spending) back with us.

The best way I can describe going into the east was coming from a bright colorful place (it was the 70s and 80s after all) into a black and white greyish suppressed place.  It was surreal.  I’ll never forget those trips.  The buildings were still dilapidated, the streets went from paved in the west to cobblestone in the east and while we played on playgrounds in West Germany, we playing in orchards and with farm animals in the East.

So to say that I was stunned and overcome when the wall fell that 9th day in November, 1989 is an understatement.  My grandmother, cousins, aunts and uncles could finally leave and just move around if they wanted to.  It was just the thought of possibilities and color finally making its way to the East.  It would be many decades before life was somewhat normal there, but today – just 25 years later – the world is finally their oyster.

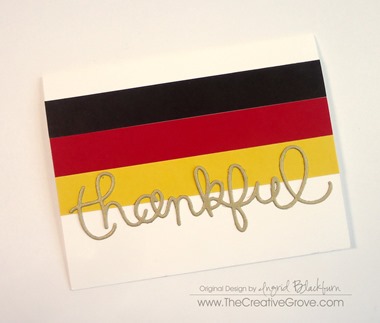
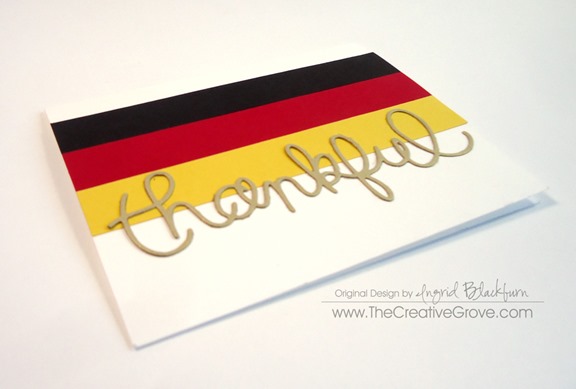
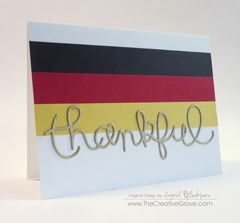
Today’s project is clean and simple, because simply put, I’m thankful for this holiday today.  I’m thankful that my family has choices.  I’m thankful that they have access to food, the bare necessities, and just all that we take for granted on a daily basis. I’m thankful that the east is finally colorful and the land of opportunity.  So this project is just that – simply the German Flag and my brushed gold heartfelt sentiment – thankful.

Germany Unity Day 005

Thank you for reading this very personal blog today, I appreciate you visiting, perusing and being a part of our virtual community.  No matter where you are in the world today, know this country glows a bit brighter on the official 24th German Unity Day.

So grab a beer and celebrate right along side us today.  The party will be big in Berlin – Germans live each day to the fullest – we know how precious freedom and liberty is.  It wasn’t a pretty history, but to be severed for so long and then unified and whole again – that’s something no German takes for granted.  Simply put – we’re thankful for today.

Signature

Germany Unity Day 002

Join me for weekly step by step video tutorials in our Online Community
Mojo inspired Floral Thanks

Neutral Floral Thanks 001

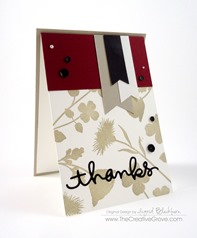
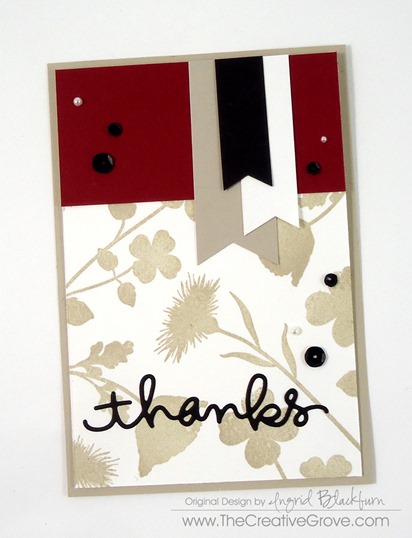
I have to admit, I’ve been needing a little Mojo lately, so what better to start off the week than a Mojo Monday inspired card?  We all go through creative slumps.  While I’ve been creating and filming for our Online Community this past month, I haven’t been able to dig deep to find extra projects for the blog, which I’ll be honest – has been frustrating.  Does that ever happen to you?
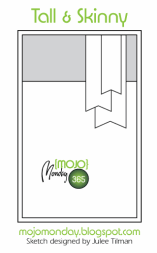
I look every week at a ton of challenges, hoping for a spark, but alas, the well was dry.  But not this week – yesterday I think I finally broke out of my slump!  I created two cards, one for today’s post – Mojo Monday and another for the Merry Monday Christmas Challenge Blog.  That one you’ll see a bit later.  So here this weeks sketch and my interpretation:

                                      Mojo365SketchNeutral Floral Thanks 006

Creative Tips –

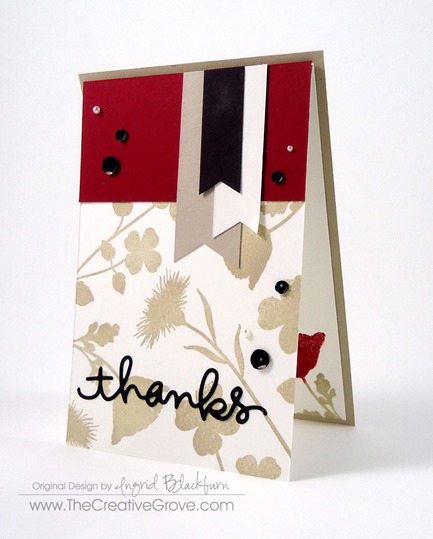
  • For this Clean and Simple card – I created a monochromatic stamped design using the My Favorite Things stamp set Grand Peaceful Wildflowers.
  • You’ll want to stamp several images to give a little variety – I used three in Sahara Sand. 
  • The neutral Sahara Sand color by Stampin’ Up! really stands alone while offering enough of a background sense to allow the greeting to really pop without getting lost.Neutral Floral Thanks 003
  • For a little pop – just like a painted accent wall, use a deep, powerful color to go along with your neutrals – here you see Cherry Cobbler, but a rich purple or deep earthy orange would also look great.
  • The script die cut Thanks is from Simon Says Stamp.
  • Staggering your banner lengths help to give a strong emphasis to that part to let them stand out without getting lost.
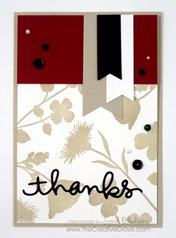
  • As seen in the video in the VIP Community (Project and Class online video Resource Library) you really see how the sequins and pearls are a needed accent.
  • Finally, something quirky about the card is that the card front, not the card base opens. Neutral Floral Thanks 002

For measurements and a great video tutorial, see the VIP Community Project Library for tips and insights among many more projects and techniques.
Let me know in the comments if you too get stumped with blocked Mojo.  What do you do?  None of my regular go to remedies were working for me!  Have a great week.

Signature

Join us for new video tutorials on techniques and projects every week, plus monthly online classes! Click image below to see more.

VIP Community
1+2=3 Black, Silver and Gold

If you joined me the other day for my Merry Monday Challenge entry, then you saw this card.  Have you ever had a stamp just get under your skin and you can’t stop working with it?  Well, seven cards later, that was me yesterday!

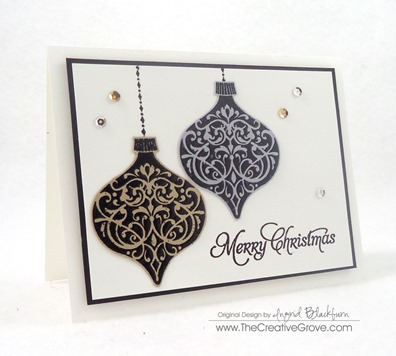
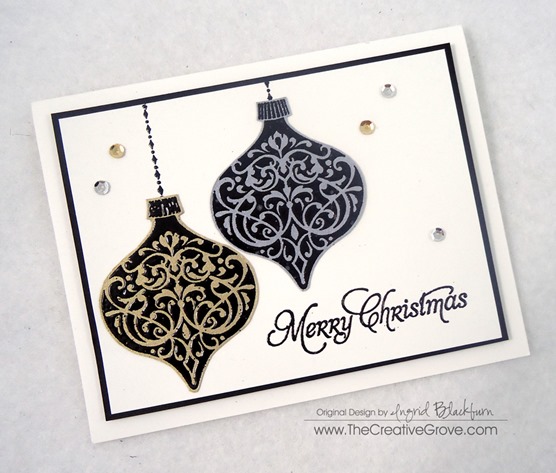
Today will be day two of this month’s 1+2=3 Series. Remember this?  Back in June I started this series with the classic stamp set Lovely as a Tree.  This month, it’s the stamp from Ornament Keepsakes (1 stamp set) + the two colors Silver and Gold (Black and White as my neutrals) = three looks (or in my case…seven…lol). 

Of course, if you’re on the Creative Tips E-letter List, then you’ll see a bonus fourth project…and VIP Community members have a video behind the embossing science of it all and how I designed all the cards.

So enough talk…here’s todays card:

Ornament Keepsakes 003

As you can see, I went for a complete Clean and Simple look.  Each item is embossed, including the string for the ornaments. 

Ornament Keepsakes 004

The most exciting part of this little experiment…I have seven more Christmas cards done.  Stay tuned tomorrow for the third in this series!

To see the first card in this series, click here.  To see the Lovely as a Tree 1+2=3 series, click here.

Happy Stamping…

Signature

To get exclusive content emailed to you – get on the Creative Tips List!

Sweet Summer Moments

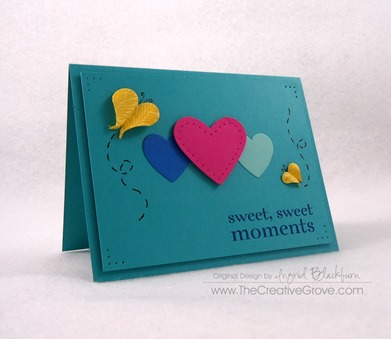
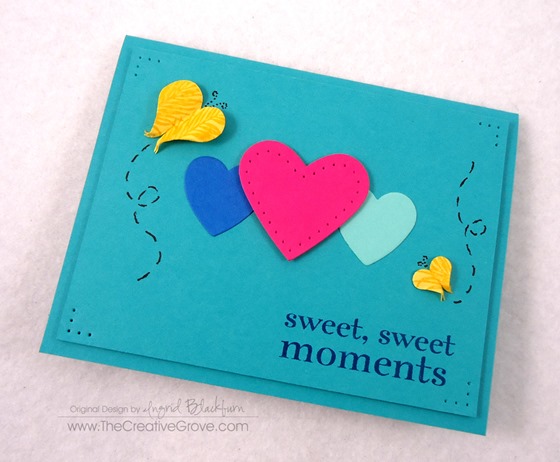
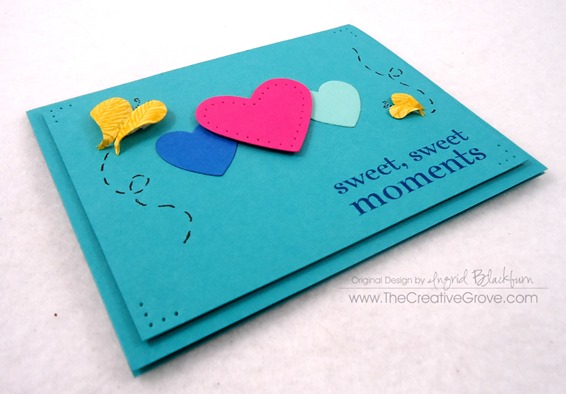
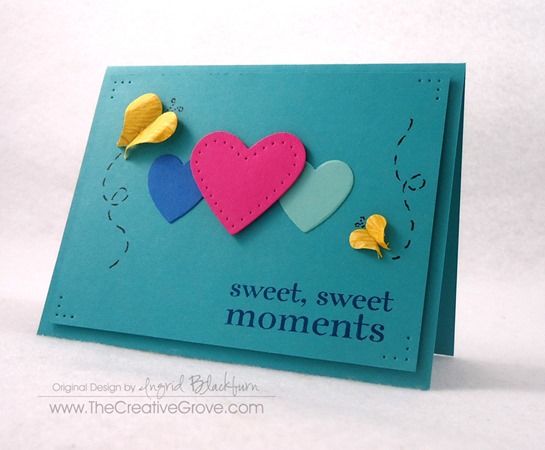
It’s summer time – whoohoo!  And what reminds you of summer better than bold, fun and bright colors.  Admit it, you LOVE summer – so naturally, this last weeks CAS-ual Fridays Challenge was to create a clean and simple (CAS) card that uses hearts and summer colors.  I mean what a great combination!

So to make a real statement – I took it to another level and made a few butterflies out of some hearts too.  What do you think?  Let me know in the comments below.

DSC01587

CAS-ualFridays133

Creative Tips –

  • I’m sure you’ve figured out that my favorite color is blue.  I mean I use it all the time and have more blues than anything in my stock.  So I used Bermuda Bay from Stampin’ Up! as a base along with Coastal Cabana, Melon Mambo, Pacific Point (another blue…shocker!), and Daffodil Delight.   Aren’t those names just yummy! DSC01593
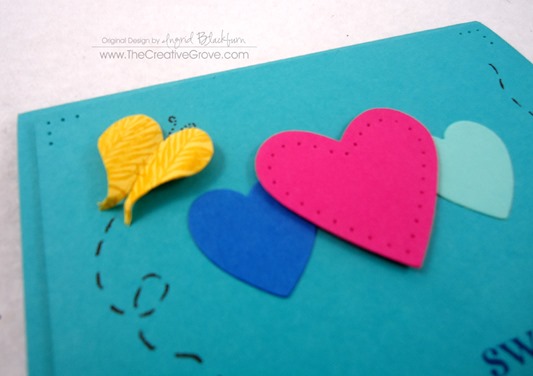
  • Cut some hearts out in two sizes with some framelit dies, another for your large butterfly, and you’ll need a smaller one too – I used a heart punch.
  • Some paper piercing adds some finishing detail, some foam tape or dimensionals for dramatic effect and stamp a fun design on the daffodil for your butterflies.  Here you see the left and right palm frawn from Stampscapes. DSC01595
  • To help define your butterflies, snip a little away from the sides to the end, make a small slit in the top and bottom and curl the edges.  Add some antennas and flight zoom (not sure what else to call it…lol) with a Pigma Micron or marker and you’re all set. DSC01597DSC01599DSC01598
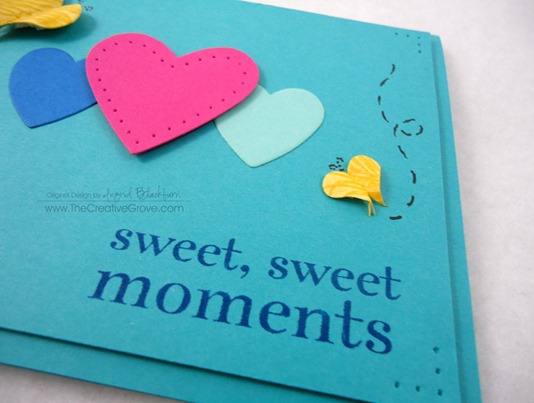
  • The sentiment is perfect – it’s from the Happy Day set by Stampin’ Up! – how appropriate.

DSC01589

It’s a fun little card, perfect for the first couple days of spring.  I like the bright colors and clean and simple nature.  Now it’s your turn.  Have fun!

Signature-Blog

Looking for a fun place to learn techniques, see project videos and join in a paper crafting community?  Check out the VIP Community here at The Creative Grove!

TCG-VIP-Community
Spring flowers are in the air

Mojo Monday Feel Goods Stamp Set

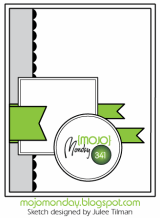
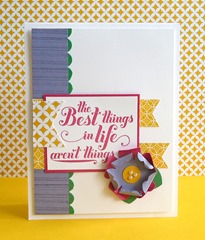
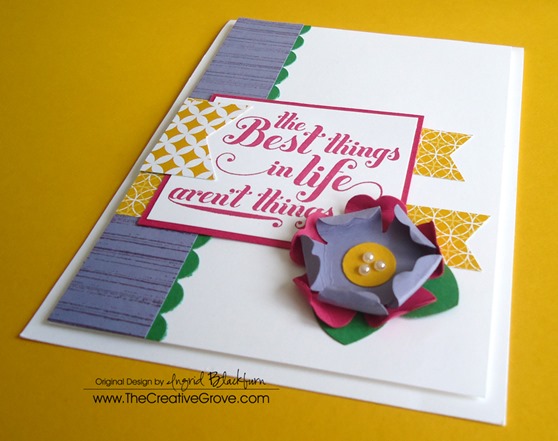
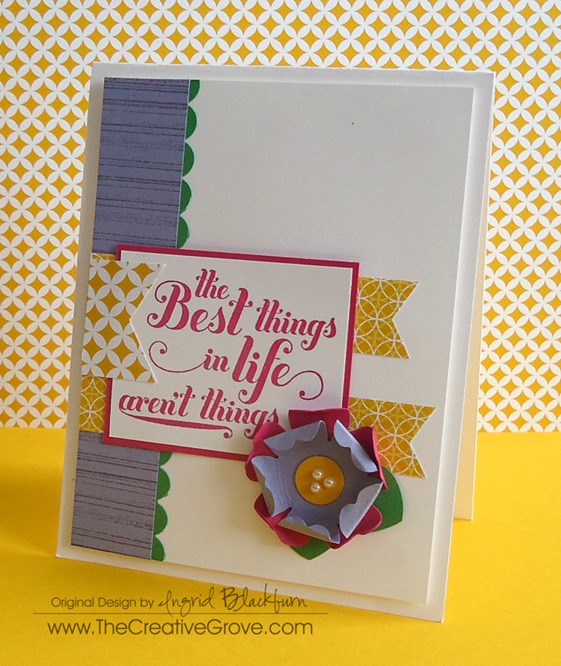
Today is Monday, so it’s another Mojo Monday card!  I was feeling in a spring mood with all the flowers out and about.  The fruit trees have blooms on them, the forest has bright spots of green mixed in with the dark evergreens, and tulips are popping up everywhere.  So for today’s card I thought I’d put my touch of spring on my card – a fun little pansy!

Mojo341SketchDSC00182

Here’s this week’s sketch and my interpretation.

Feel Goods Stamp Set Stampin UpFeel Goods stamp set

I love this little flower, I hope you do too!  I layered a few pansy’s, worked the edges and added a few pearls to the center.  Now grab your punches and try a little paper piecing yourself!

Watercolor Narrow low

The next class in our Creative Cards series is Watercolor!  Have you mastered this technique?  Learn various ways of water coloring on your card projects and save today by pre-registering for this fun Watercolor class.  Click here for more information.

Signature Snowflake 001

Tall and Skinny Really Good Greetings

Really Good Greetings Mojo 339 (5)

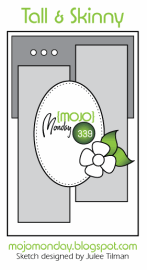
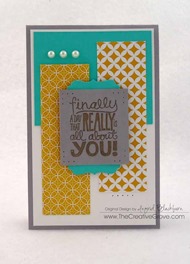
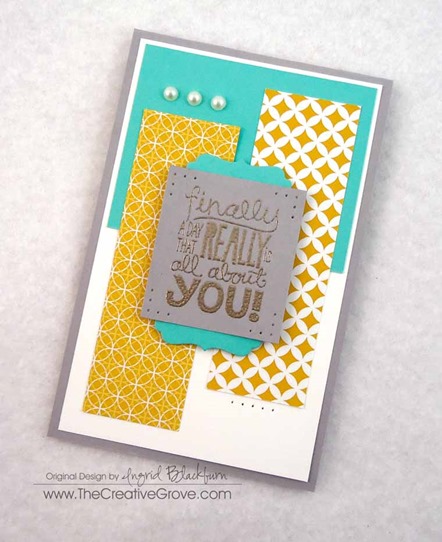
Today I’m kicking off my creative week with a Tall and Skinny card based off the Mojo Monday Card Sketch Challenge.  I’ve had the Eastern Elegance Printed Paper next to me for a week now, so it was easy to build a card around using that element when I saw the sketch this morning.  Be sure also to check out my latest video on How to use a Card Sketch

mojo339Really Good Greetings Mojo 339 (7)

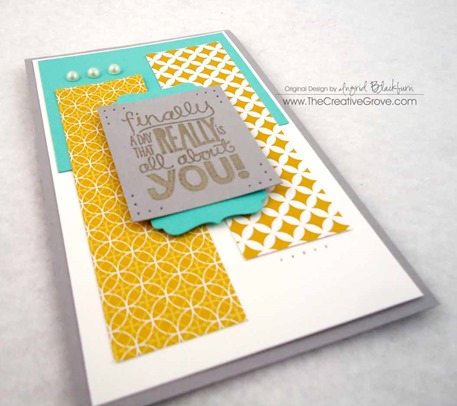
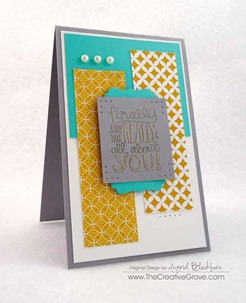
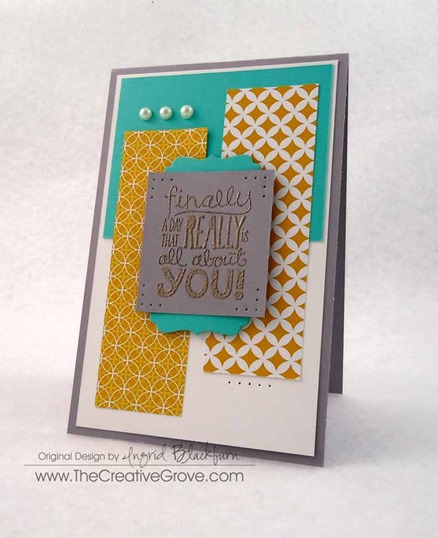
The two key elements for me are the long rectangles.  That was my pop on this card.  So I wanted everything else to be toned down.  I used the color combination from the designer series paper set of Coastal Cabana, Crushed Curry, Whisper White and Smoky Slate.  That was the easy part!  I’m not a big oval person, so I knew I wanted a tall greeting for my rectangle in the center – Really Good Greetings came to mind.  I just love this saying.

Really Good Greetings Mojo 339 (6)

To keep your card clean, keep it proportionate.  Since the main border was 1/8”, make the smaller border of white – 1/16” for contrast.  If you keep it all the same, it takes away from the card itself.  Variety keeps the eye interested.
Really Good Greetings Mojo 339 (8)
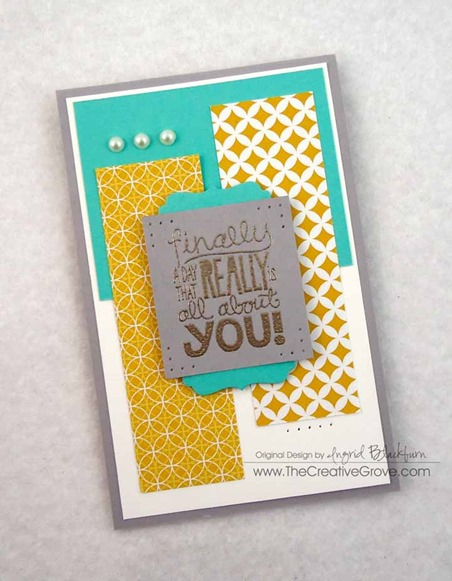
For the greeting – emboss it in Pewter rather than Silver.  It will help it to stand out a bit more and then add a little flair with some simple paper piercing.  Rather than add an embellishment onto the front of the greeting, I added a little flair behind by trimming down the smallest Deco Label Framelit in Coastal Cabana.  Pop the greeting up for a little drama and add a few pearls to the top and some simple paper piercing to the bottom.  That’s it!  I hope you enjoyed this!

Be sure to check out my latest video on YouTube – how to use a card sketch and get on The Creative Grove Newsletter List to see the video on last weeks card – that’s coming out tomorrow!

Signature Snowflake 001

Click Here for Online Card Classes

Really Good Greetings Mojo 339 (1)

A Quick Thank You

Gently Falling 004 005

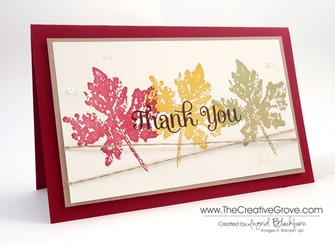
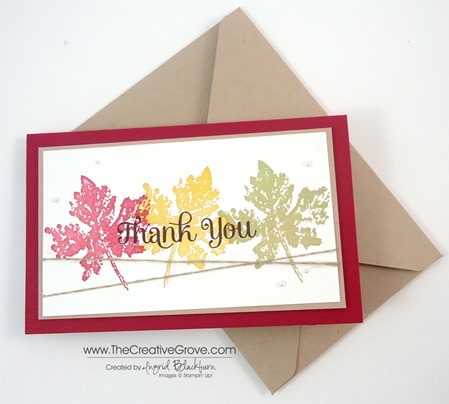
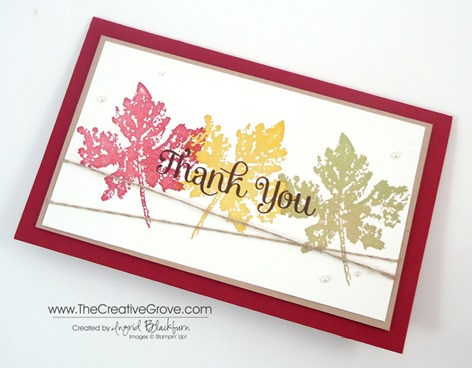
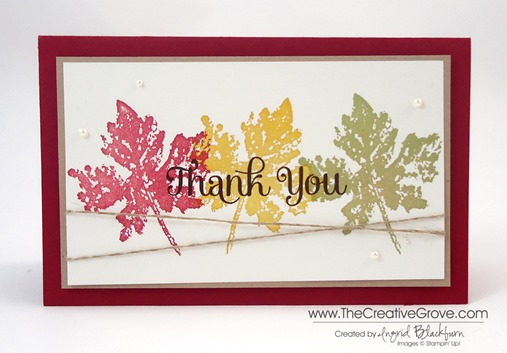
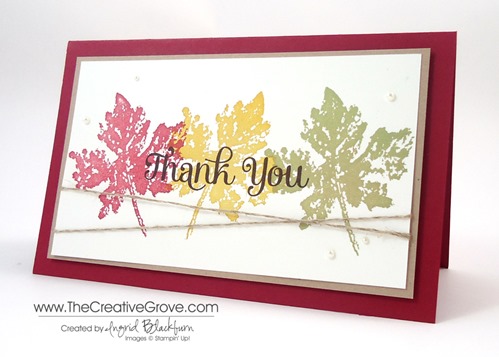
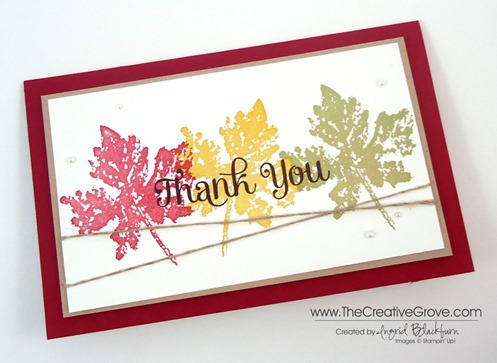
Sometimes you just need a super quick, but super cute card, right?  Well here it is.  Although I have it dressed up in Fall colors, This design would work with any color combination and any image.  So here are a few quick tips to not only save you time, but help you get those Thank You’s in the mail today.  I know I am sending one to all those who ordered this month!

Be sure to check back tomorrow to see a video on how I made this custom sized envelope.  Read the creative tips below to see why I chose a custom sized card.

Gently Falling 004 002

Supplies:

Creative Tips –

    • Stamp your leaves beginning with the Crushed Curry in the center.  Then stamp  the other two.
    • I chose a custom size because the leaves needed the full 5.25″ width and there was too much white at the top and bottom.  With the ease of making custom envelopes with the Envelope Punch Board, I thought, why not make a custom sized card?!
    • The Whisper White measures 5.25” x 3”.
    • The Crumb Cake matte measures 5 7/16” x 3 3/16”
    • The Cherry Cobbler measures 6” x 3.75” folded, 6″ x 7.5″ unfoldedGently Falling 004 004
    • Stamp your greeting in Early Espresso over the stamped images.
    • Wrap Linen Thread in a criss cross pattern on the front of the Whisper White and secure with adhesive.  Attach to the Crumb cake.Gently Falling 004 007
    • Add Pearl Basic Jewels to the front of your card.
    • Pop up the stamped piece on Stamping Dimensionals for a little character to the card.

Gently Falling 004 006

This card is quick, easy and it’s shape and size is perfect to send a note.  Because it is a custom size, you will need a custom envelope.  I’m going to show you exactly how and why I chose to make the size that I did.   So see you tomorrow!

Free Exclusive Content

Are you on the Creative Tips list?  If so, then you are getting exclusive projects, videos, tool tips, specials, discounts and things like the 12 weeks of Christmas.  So much more happens here at The Creative Grove, but not everything is on the blog.  If you aren’t getting all the extra perks, don’t miss out! Click Here to get Creative Tips sent directly to you.

Signature Snowflake 001

Click here to Shop 24/7 in my Online Store

Gently Falling 004 003

Merry Little Christmas Chalk Talk Card

Chalk Talk 004 Main R

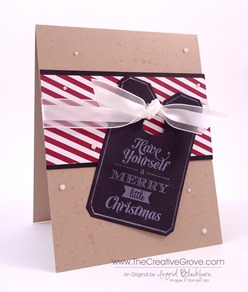
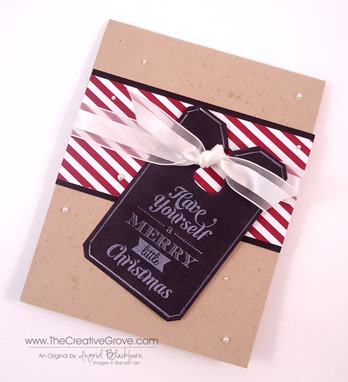
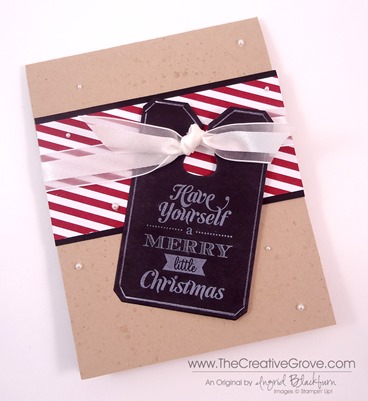
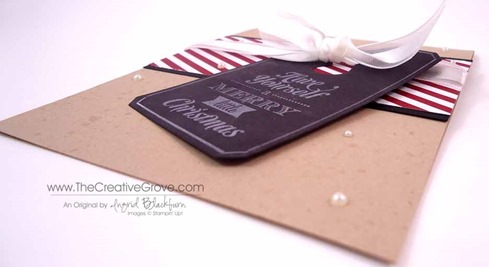
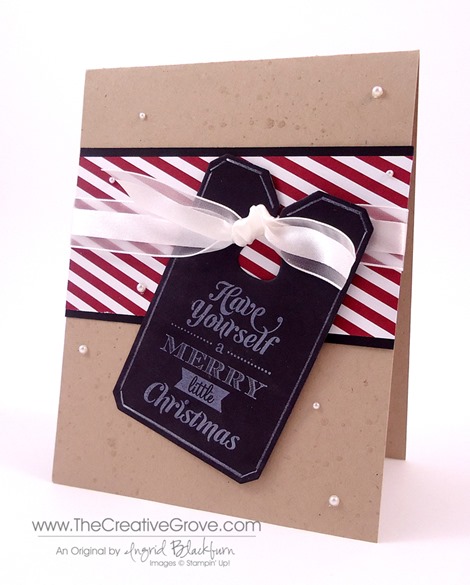
Need a super quick, simple and fun Christmas card?  Well you’ve found it!  Today’s card takes a page from the Clean and Simple rule book.  This card is colorful, packs a punch and is quite trendy!  The Chalkboard look is fun, and the stamp set Merry Little Christmas really works for this look.  Read on for all the details!

What do you think?  It’s a fun little card, right?!!  Simple, but fun.  If you love this card and are looking for great ideas to say thanks, be sure to try out the newest Class of the Month in the classroom – Thanks.  It’s on Pre-sale for 22 more hours, then will go back up to the full price, so save 20% while you can!  Click here for class detailsChalk Talk 004 Side

Creative Tips –

  • Since the black chalk board look is so striking against the Crumb Cake, the color Cherry Cobbler is the perfect compliment to bring the card together. 
  • The cute papers from the Paper Stack Season of Style really helps this particular look.  Don’t you just love the candy cane feel to the paper?Chalk Talk 004 Angle
  • Something else this card looks like is a package.  That’s one of the great ways to use the Chalk Talk Framelits
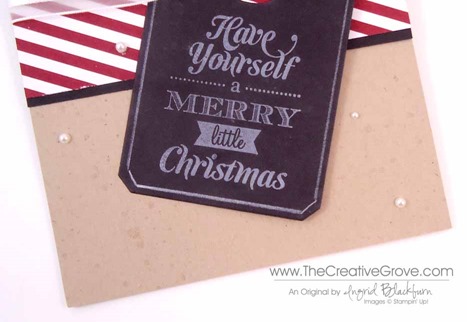
  • To give a little interest to the great amount of white space, stamp off in Crumb Cake with the splats from Gorgeous Grunge three times, once up top and once in each corner.  Chalk Talk 004 Texture
  • Tip – don’t over stamp this, it will ruin the random effect – trust me on that!  It will look forced rather than just that little interest that you were going for.
  • Your Cherry Cobbler is 2’” x 4.25” and the Basic Black is 2.25” x 4.25”
  • Cut the tag out with the Chalk Talk Framelits and stamp the greeting from Merry Little Christmas in Whisper White Craft Ink.  Draw and outline around the edge with a White Watercolor Pencil.Chalk Talk 004 CU
  • To give it that chalk board look, drop an Embossing Buddy on the tag in several places to look like chalk residue.
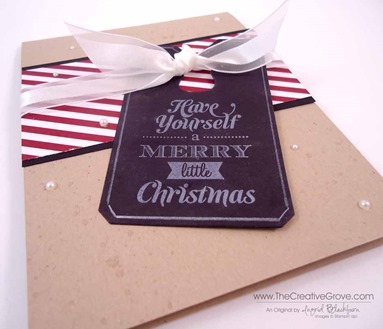
  • Wrap your ribbon around and tie a flat knot.  Bring your tag through to make sure of the placement on the card. 
  • Attach the Basic Black to your Crumb Cake base.Chalk Talk 004 Tag
  • Tip – Use Snail on the left side of your tag and two dimensionals on the right.  This will help give it the randomly attached look.
  • Add Pearl Basic Jewels in multiple sizes for a punched up look, it looks great without them too!Chalk Talk 004 Main L

Just in – the Clearance Rack has been updated!  Be sure to check it out along with the one day sale specials. 

Signature Snowflake 001 

Supplies: