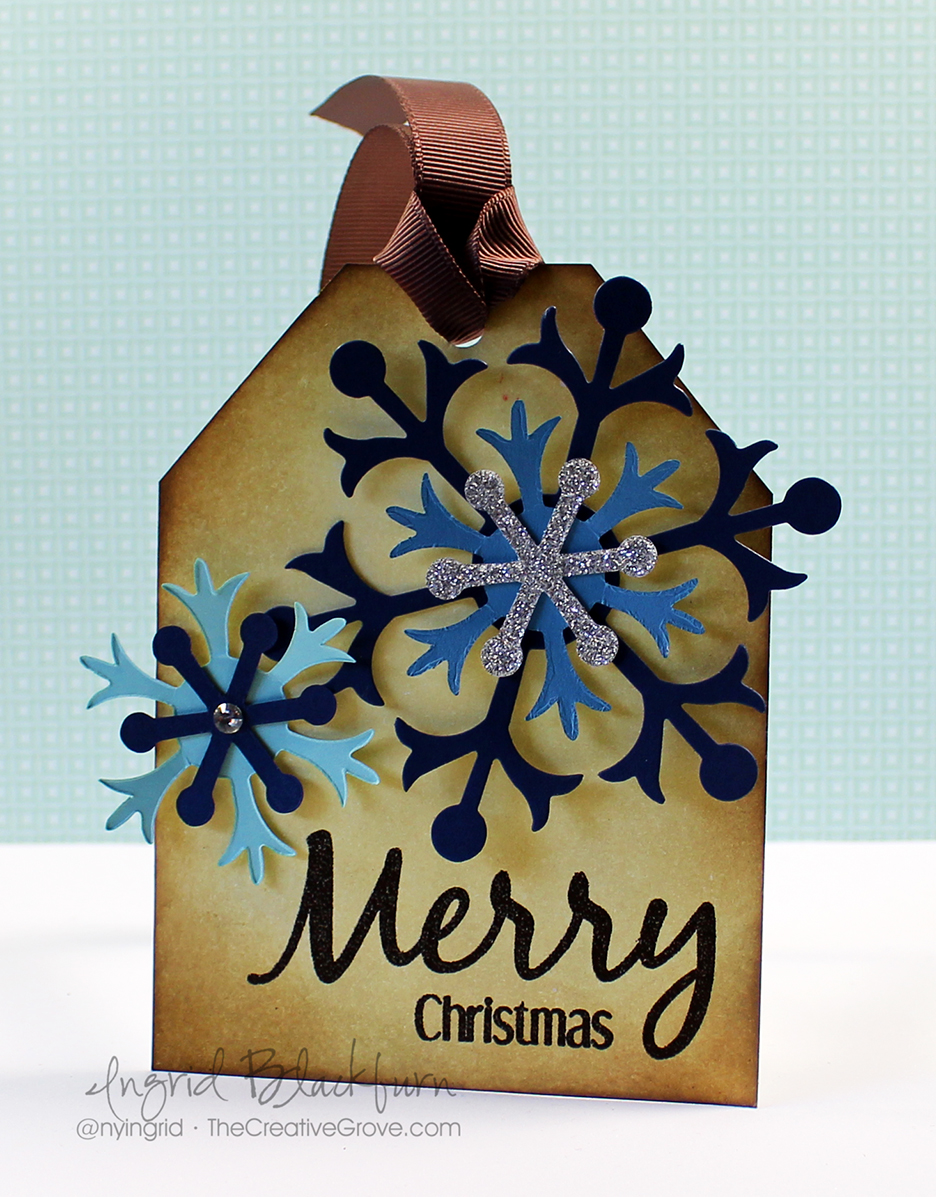
Christmas Tags is how my stamping journey began…many, many years ago. I would spend hours stamping cute large Santas and Snowmen by DJ Inkers and coloring them in with pencils and markers. I spent so much time on these tags, I would save them all and reuse them for years to come – I still even have most of them! The kids new the wrapping paper was toast – but not the tags – I know…sad, but true!
So today I have a different version of a tag for you. More of my style today – not as much coloring anymore, I’m more into backgrounds, and clean & simple designs now – well, you may just see some mixed media or watercoloring the next few months from me too! So to kick off this month, I thought I’d film a tutorial on how to create an antique or vintage background for you.
This month at Happy Little Stampers, the theme is Tags, so for today’s project, I designed a clean and simple tag that has some simple paper piecings, and a great bold font greeting – courtesy of the new Everyday Sentiments stamp set. Have fun with this tutorial! See you in a few days with another. 🙂
And be sure to check out our guest designer – Bonnie Klass’s blog for her cool project as well. I’ve been a huge fan of Bonnie’s work for a few years now – she’s a very talented stamper. 🙂
Creating a Vintage look for your Christmas Tags
- Start with a piece of white card stock. I used a scrap piece that was 3 3/4 x 4″. Sponge Distress Inks to create your background as in the video – Old Paper, Antique Linen, Scattered Straw. Be sure to go over the colors to get a smooth antique look
- Don’t worry about funky marks left initially by the sponge tools – they’ll work themselves out the more layers of distress ink you layer over them.
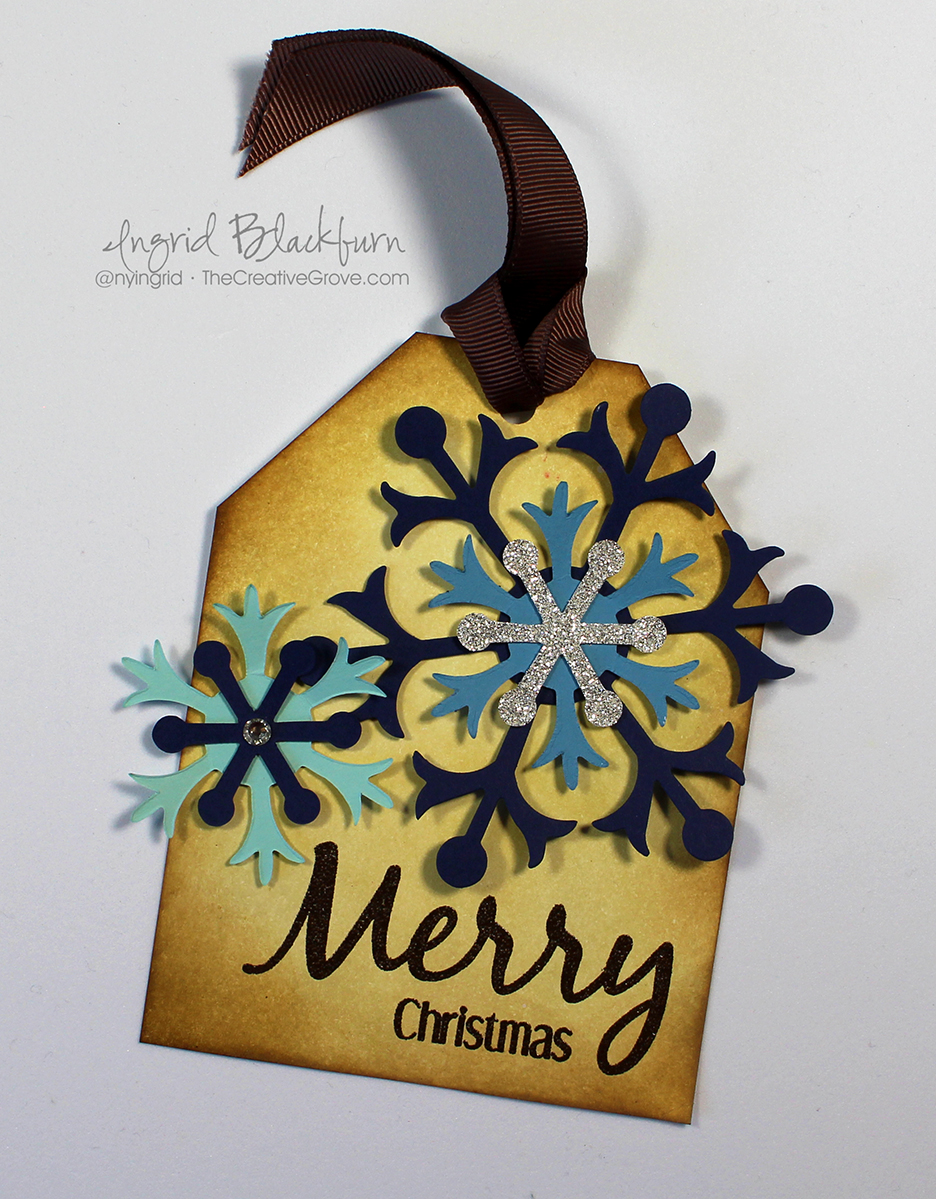
- The key to achieving the antique finish or vintage look is adding a light edging around the antique finish you’ve created. I used Vintage Photo.
- Cut your tag corners as in the video if you haven’t already.
- As in the video, the majority of your sponge tool will be off your project, not on. Light is key here.
- You can even add some of the lighter colors such as Scattered Straw or Antique Linen inside to smooth the Vintage Photo edging out.
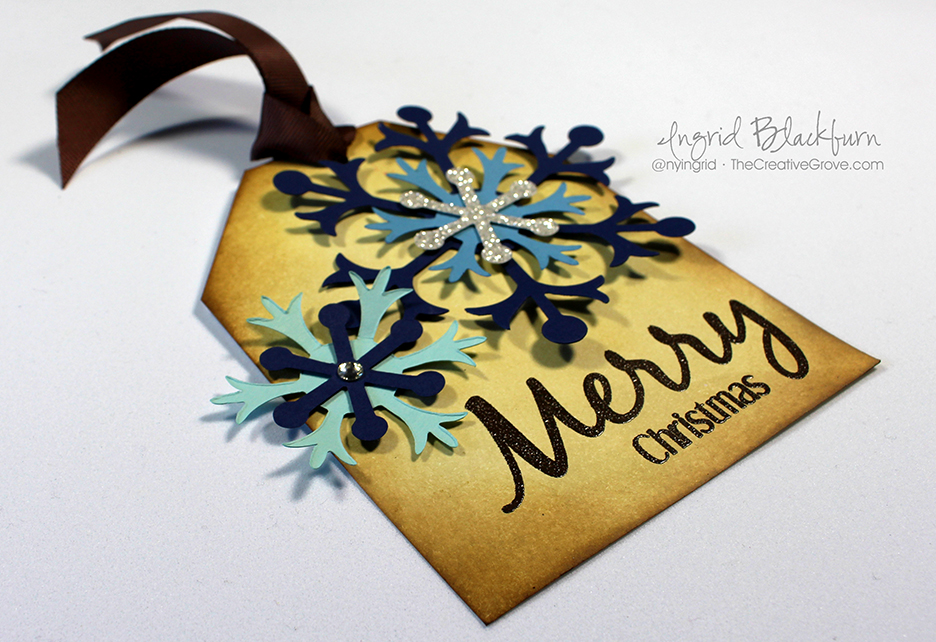
- Assemble your snowflakes and add them to your project. I used the Snowflake BigZ die by Sizzix designed for Stampin Up. Use any Snowflake dies you have. Layer to create a 3D look with different colors and sparkly embellishments.
- Make sure your vintage background is fully dry – I used a heat tool, as I”m quite impatient. But if you’re making several at a time, you can dry them naturally.
- Test the tag out as in the video to see if it’s ready to be embossed.
- Ink up the Merry & Christmas with Versamark, stamp and emboss in Espresso Powder. I used the Everyday Sentiments set by HLS – they are bold and large stamps which works well with this project. You’ll want something that can stand out from the Snowflakes.
- Attach your snowflakes with a strong adhesive as in the video.
- Punch a 1/4″ hole and add some ribbon.
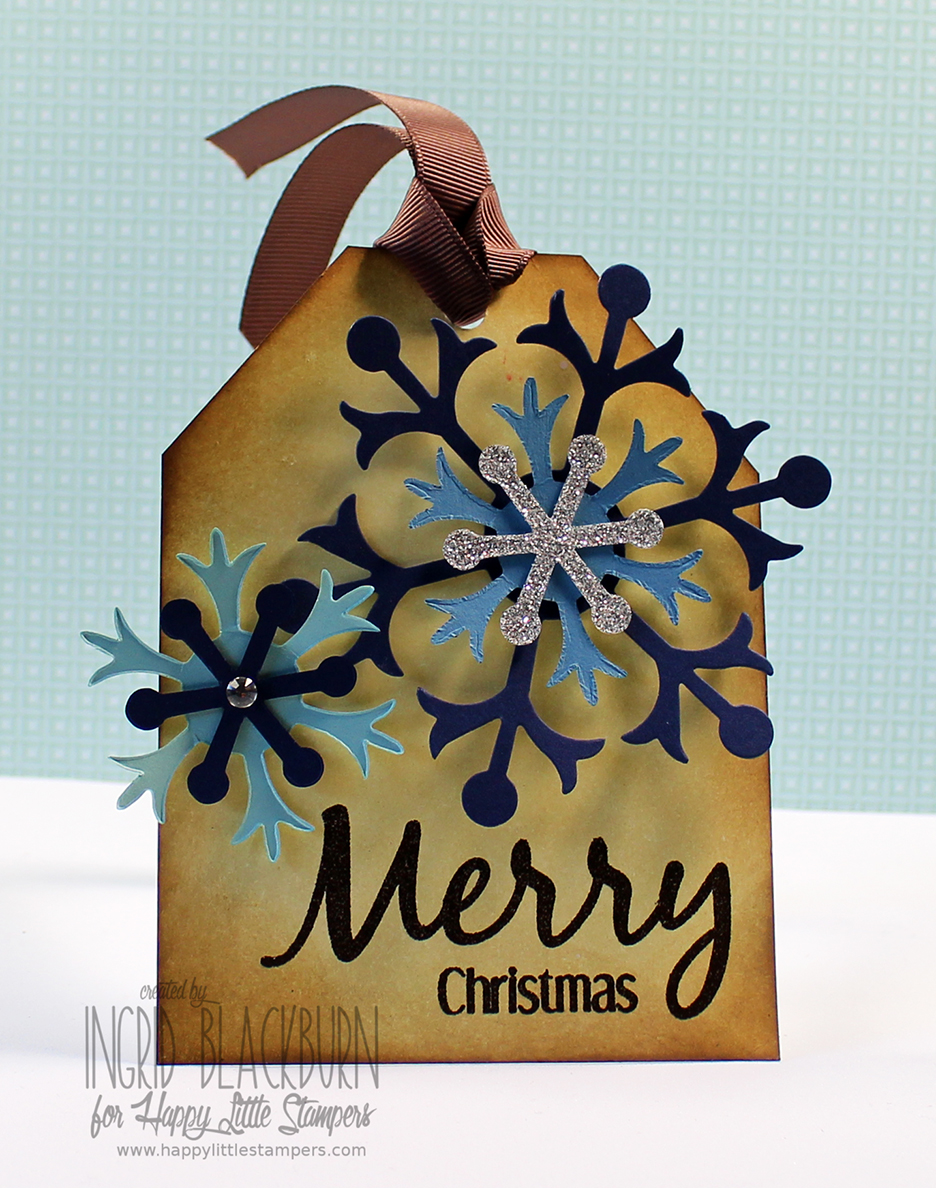
I hope you liked this tutorial! I love the end result of this tag. I’ve made several for various packages this Christmas. It’s quite easy to mass produce actually. Sponge a larger sheet, cut it down, edge and mass assemble. Work smarter – not harder! 🙂
Stay tuned in a few days for another great tag tutorial, and if you want to see more, be sure you’re on the Creative Tips E-letter! Sign up below, it’s free and has exclusive content.
I’m also entering this tag is a fun Christmas Tag event over at my good friend Loll’s blog. I encourage you to enter yours as well!

Until next time – now go get those fingers inky, make some Christmas Tags and join us for the challenge over at Happy Little Stampers!

[optin_box style=”8″ width=”500″ alignment=”center” disable_name=”Y” email_field=”email” email_default=”Enter your email address” email_order=”Enter your email address” integration_type=”aweber” double_optin=”Y” list=”3846012″ name_field=”name” name_default=”Enter your first name” name_order=”1″ name_required=”N” extra_field_1_name=”name” extra_field_1_title=”Enter your first name” extra_field_1_order=”1″ extra_field_1_required=”N”][optin_box_field name=”headline”]If you enjoyed this tutorial…[/optin_box_field][optin_box_field name=”paragraph”]PHA+4oCmeW914oCZbGwgbG92ZSBvdXIgPGVtPjxzdHJvbmc+ZnJlZSA8L3N0cm9uZz48L2VtPnN1YnNjcmliZXIgb25seSB2aWRlbyBzZXJpZXMuIMKgTGVhcm4gbmV3IHRlY2huaXF1ZXMgdGhyb3VnaCBvdXIgPGVtPjxzdHJvbmc+ZXhjbHVzaXZlPC9zdHJvbmc+PC9lbT7CoENyZWF0aXZlIFRpcHMgZS1sZXR0ZXLCoGFuZCBzdWJzY3JpYmVyIG9ubHkgdmlkZW8gYW5kIHByb2plY3QgdHV0b3JpYWxzITwvcD4K[/optin_box_field][optin_box_field name=”privacy”][/optin_box_field][optin_box_field name=”top_color”]undefined[/optin_box_field][optin_box_button type=”1″ text=”Send me exclusive tips!” text_size=”32″ text_color=”#000000″ text_bold=”Y” text_letter_spacing=”0″ text_shadow_panel=”Y” text_shadow_vertical=”1″ text_shadow_horizontal=”0″ text_shadow_color=”#ffffff” text_shadow_blur=”0″ styling_width=”40″ styling_height=”30″ styling_border_color=”#000000″ styling_border_size=”1″ styling_border_radius=”6″ styling_border_opacity=”100″ styling_shine=”Y” styling_gradient_start_color=”#a3b640″ styling_gradient_end_color=”#80902c” drop_shadow_panel=”Y” drop_shadow_vertical=”1″ drop_shadow_horizontal=”0″ drop_shadow_blur=”1″ drop_shadow_spread=”0″ drop_shadow_color=”#000000″ drop_shadow_opacity=”50″ inset_shadow_panel=”Y” inset_shadow_vertical=”0″ inset_shadow_horizontal=”0″ inset_shadow_blur=”0″ inset_shadow_spread=”1″ inset_shadow_color=”#80902c” inset_shadow_opacity=”50″ location=”optin_box_style_8″ button_below=”Y”]Send me exclusive tips![/optin_box_button] [/optin_box]