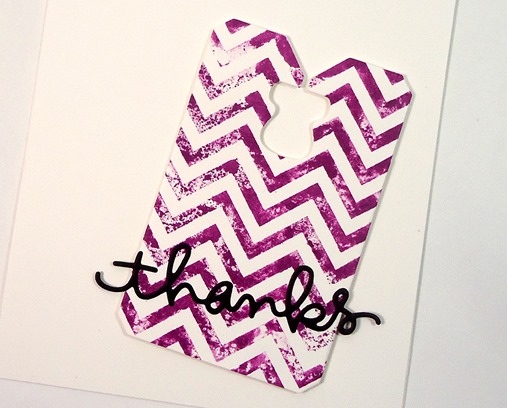
CAS Watercolor Stamped Thanks

As our three week vacation in the Mediterranean comes to an end, we spend our final day today in Rome…sigh.  I’ll miss the Cioccolato Gelato, Margarita Pizza Neapolitan, Espresso and more historical sights than I can possibly store away in my mind.  What I won’t miss is are the crowds or the street hawkers…lol! To catch a glimpse into some of my favorite sights, be sure to see the end!

20141122_140909

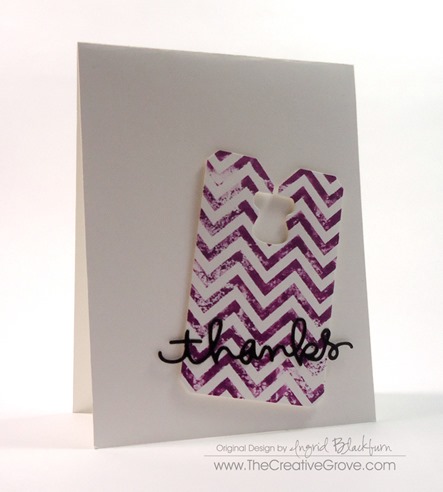
With all this historical overload, today I need a little clean and simple!  Have you tried watercolor stamping yet?  If not, what are you waiting for!?! Today’s project is actually a product of  using what’s left over from my main project.  Always a great thing.

Recently I shared an awesome Watercolor Stamped Birthday Butterfly card for the VIP Community and figured, I already had the ink on my stamp, why not keep going with a scrap?  When I cut tags with my Chalk Talk Framelits by Stampin’ Up, I always cut two or three at a time and keep them in a scrap bin on my desk.  This tag is definitely one of my favs.

CAS Watercolor Stamped Tag CUp

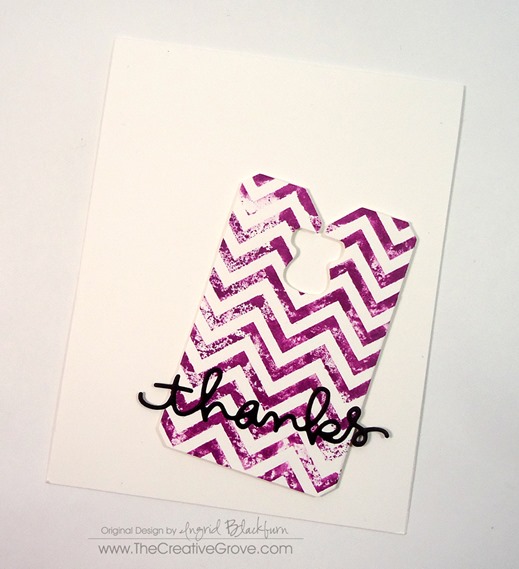
I had inked up my Chevron background stamp with Seedless Preserves Distress Ink, gave a couple spritzes with my mini mister, and then with the left over ink after my main project, threw a tag cut from Stampin Up’s Whisper White card stock on there and what you see is what was left.  Don’t you just love the grunge part of how the tag turned out?  I couldn’t do that if I intentionally tried…lol.  It was a complete product of second generation stamping.

Watercolor Stamped Tag 001

I popped it up on an angle, added a die cut thanks using my Simon Says Stamp Thanks steel die and there you have it – a card in literally minutes!  Leaving all the white gives it such a great clean and simple look – for more on that check out this article on Clean and Simple Defined.

Watercolor Stamped Tag 004

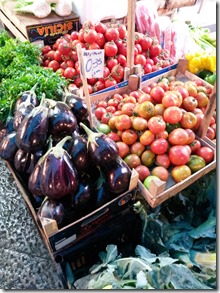
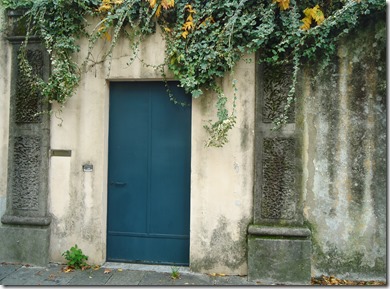
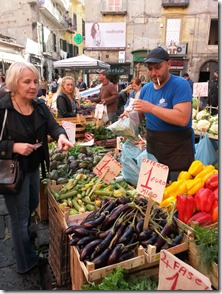
Have you tried watercolor stamping yet?  Show your projects on our Facebook page here, or tell me what inks you’ve tried it with in the comments below!  And definitely tell me what you think of all those street hawkers in places like, Athens, Rome or Paris!  I know I’m not alone…lol!  Here are a few of my favorite photos from these past few weeks…

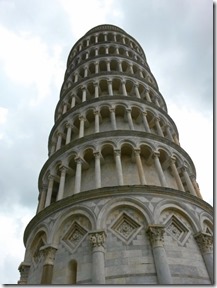
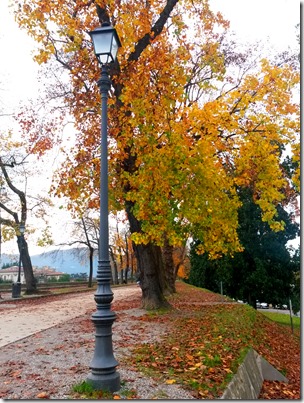
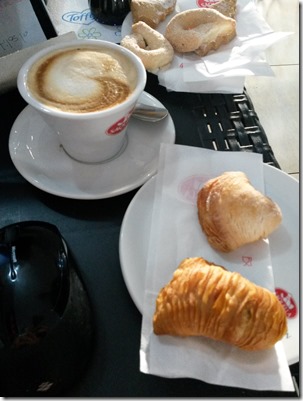
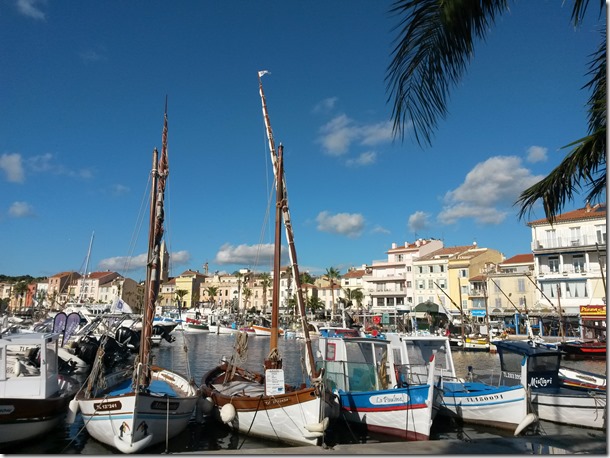
ETP Planners20141106_133333Sicila Market 001PursesLucca DoorwayPisa and CathedralTower of PisaLucca City WallCapuccinoSaranay Lunch SpotTuolon Market 001Naples Pizza 001Rome ForumRome ForumColosseumRome PantheonNaples Marketplace 001

Ciao for now –

Signature

Of course, if you’d like to see more or follow us along our Travel adventures, be sure to click right here to see and like our Travel Facebook page

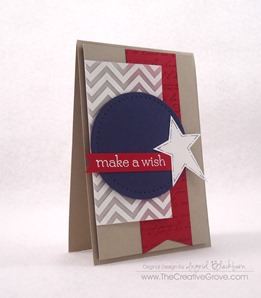
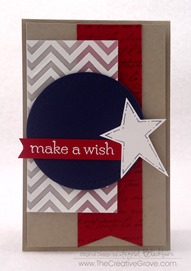
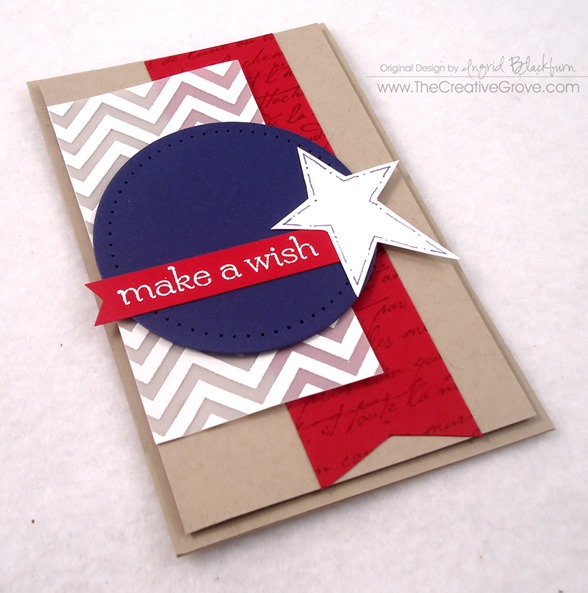
Star Spangled Mojo Birthday

Clean and Simple Birthday Cards (2)

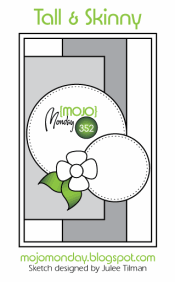
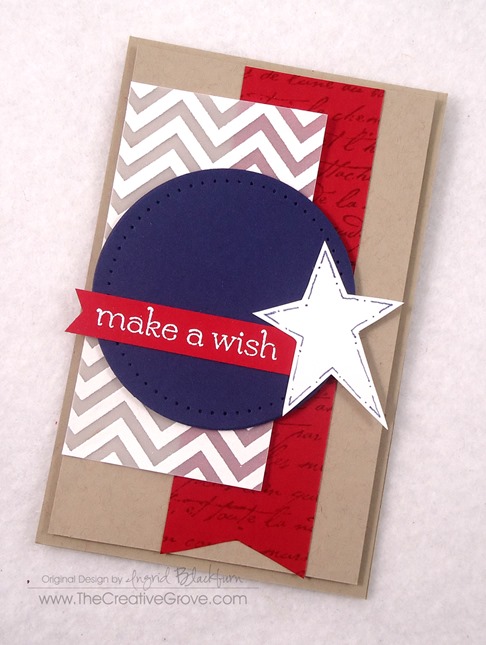
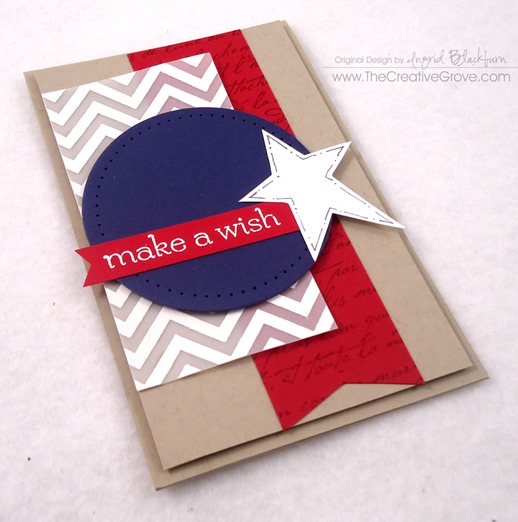
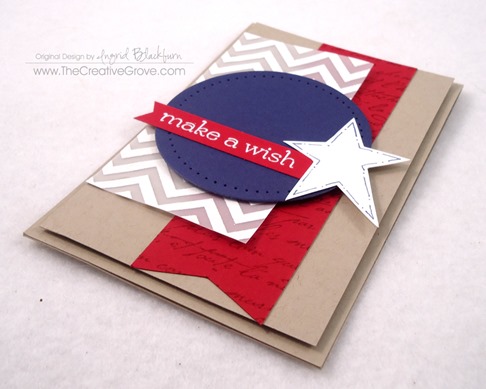
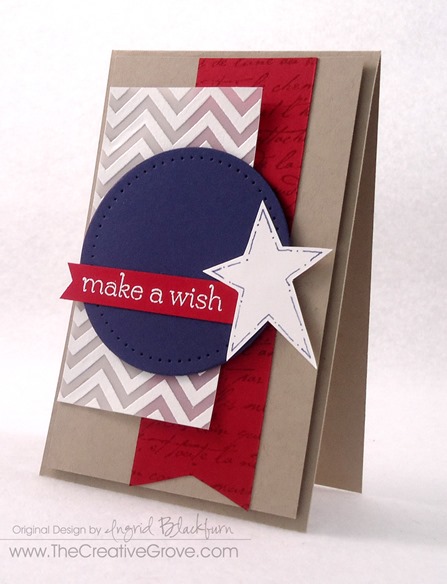
It’s Monday, and you know what that means – creative day!  Yes, here’s my Mojo Monday card for the week.  I just LOVE these sketches, they always put out a great sketch and this week is no different.  Since it’s Independence day in the States this week, I thought I’d stick with the red,white and blue and offer up a star spangled flag look to my card.  I love the way it turned out – hope you do too!

Here’s this week’s sketch, if you haven’t tried this challenge out, I encourage you to do so to get your creative juices flowing:

Mojo352SketchClean and Simple Birthday Cards (1)

I love this card so much I decided to also enter it into the Simon Says Stamp Anything Goes Challenge as well. Check it out here 

Creative Tips –

  • Instead of the long strip, I turned it into a banner to go along with the flag theme I was incorporating.  To give a nod to the constitution, I thought some script background would look great. Clean and Simple Birthday Cards (5)
  • If you are struggling with color sometimes it’s best to go the Vellum route.  Here you see the Chevron pattern embossed in white on Vellum Cardstock.  This worked great, and the first one I tried in white was just too much.  A more subtle approach was needed.
  • When thinking of the flag, you think stitching, right?  So some simple paper piercing can serve as the best accent.  I don’t know why I just can’t ever get my circles to stay in the right spot, but even a bit off centered, it works! Clean and Simple Birthday Cards (6)
  • If you want a more folksy looking star, and like me, you don’t have a punch or framelit to cut one, try sketching one and cutting it out.  I googled folk star images and just free-handed one off the screen.  Easy Peasy – much better then my true free hand cut ones…lol!
  • For a little drama, pop up your circle and card front.

Clean and Simple Birthday Cards (8)Clean and Simple Birthday Cards (7)

  • The greeting banner is perfect, could be for July 4th or a birthday.  Simple and to the point.  Just the right accent.

Clean and Simple Birthday Cards (3)

I hope you enjoyed this little tutorial and project.  Be sure to stop by later today, I have another project going live and more tomorrow.  Or better yet, join our Creative Tips list and get exclusive projects and a great video series delivered right to your inbox!  Thanks for joining me today – have a great start to your week!

Signature-Blog

Clean and Simple Birthday Cards (6)

Click here to join the Creative Tips List, and get your free exclusive projects, don’t miss out!