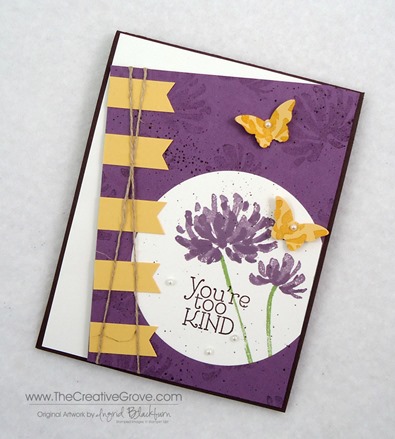
How to use a Card Sketch

Too Kind Stamp Set Mojo 338 Main L (2)

It’s Monday, and I thought you’d like to see a Mojo Monday card today.  This was an easy one.  The sketch provided was rather straightforward and I thought today I’d explain how I create cards using sketches.  Thanks for following along this tutorial, if you like what you see, be sure to sign up to learn more through The Creative Grove Newsletter list right here!

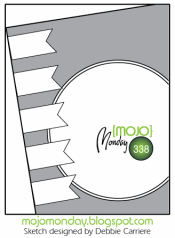
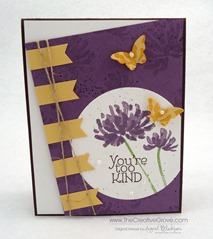
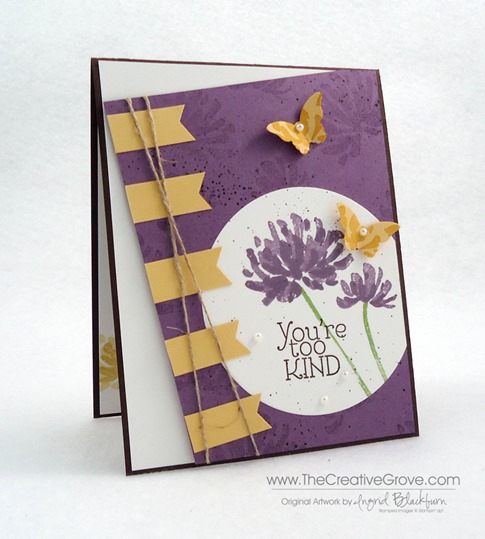
You can get card and scrapbook page sketches just about anywhere these days, Pinterest, Magazines, Challenge Blogs and Books.  I like to participate in the Mojo Monday Challenge as it gets the creative juices flowing first thing in the week.  Here’s the sketch for today and my final project.

               mojo338Too Kind Stamp Set Mojo 338 (7)

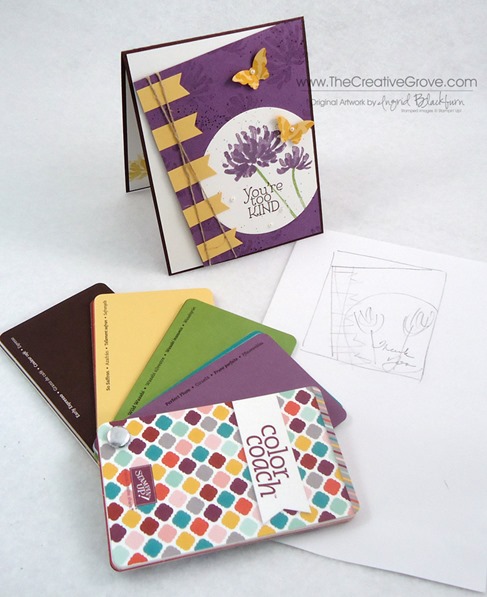
To get a clear picture of what to do, I always follow these two rules –

  1. Sketch out my idea
  2. Pick my colors

Too Kind Stamp Set Mojo 338 (2)

Once I’ve done this, the rest easily falls into place.  I don’t get too crazy with details on my own sketch, but if I think of a particular stamp set or paper that I have, I may write that down too.  I find this exercise invaluable in the time saving department.  It helps me to lock in on an idea.  You already have a starting point with a sketch, now plan a little more on paper rather than cut, cut and cut more paper trying to figure out what you’re going to do! (Believe me…I’ve done that too!)

Too Kind Stamp Set Mojo 338 (9)

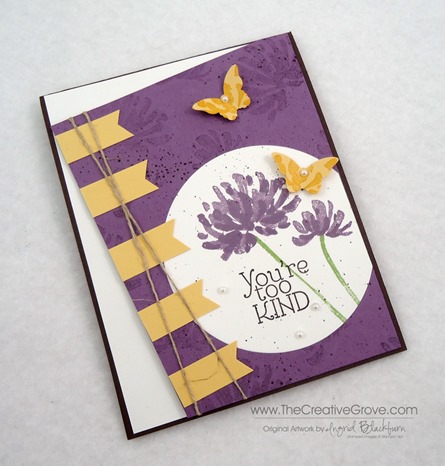
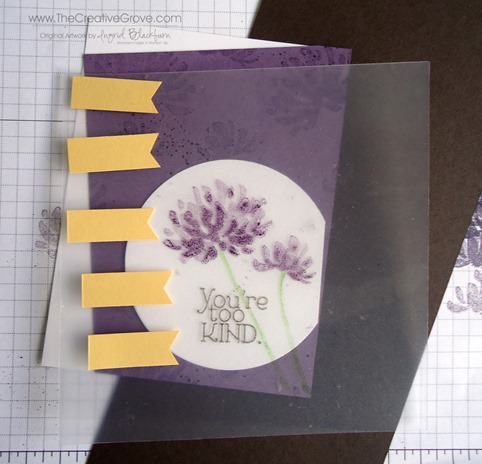
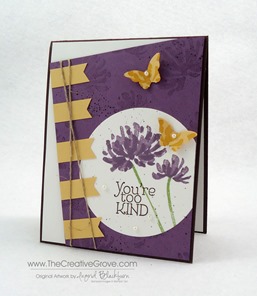
For todays card, you can use any stamp set you have, I used Too Kind by Stampin’ Up!.  I wasn’t 100% sure on the placement, so once I cut out my circle with my circle framelits, I lopped on a tiny piece from the side and stamped my flowers first on a piece of scrap paper, then transparency like a Stamp-a-Majig and then layered it on the circle.  It was much easier to make sure of my placement since this is a two-step stamping set.

Too Kind Stamp Set Mojo338 Trial

To properly get the angle right, add a little adhesive, but not too much that you can’t peel it back up.  I added a rectangle over my white, then trimmed my three sides.  This way, once I laid down my banners, I was able to place my twine in the criss-cross. before putting it down permanently.

Since there are so many little tips and techniques, I thought I’d give you a video to see  exactly how I made this card.  It’s one of the exclusive videos going out to The Creative Grove list this week, to sign up and get this step by step video tutorial plus other videos and tips… Sign up here And if you’re already on the list – watch your inbox this week!

Too Kind Stamp Set Mojo 338 HeightToo Kind Stamp Set Mojo 338 (1)Too Kind Stamp Set Mojo 338 CloseUp

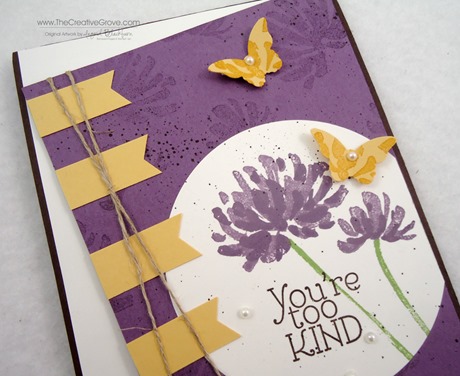
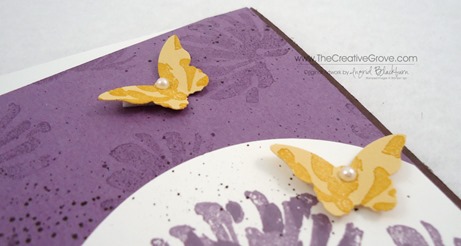
To create the little banners, use So Saffron cardstock for a color pop.  You can add even a little more with the butterflies.  To make sure the butterflies aren’t too plain, use the secondary image from the dandelions in Crushed Curry over the So Saffron.  It’s easier to do so, before you punch.  Add some Pearls and you’re all set!

Too Kind Stamp Set Mojo 338 Main R

If you’d like to learn more, check out our online classes here.  Thanks for stopping by today and if you liked this card, be sure to leave me a comment below!
Signature Snowflake 001

Too Kind Stamp Set Mojo 338 (10)

Lacy & Lovely Sketch Challenge

I made this for the SUDSOL Sketch Challenge this week. The colors Night of Navy and Lucky Limeade are nice and crisp and turned out better than I expected.  I used the stamp set Lacy & Lovely; it’s rather easy to use and quickly becoming one of my go to sets.

  • Lacy and Lovely has three sentiment stamps in it: Hello, Thank You and Miss You – along with four images.  It’s a great all around set.

One of my other favorite cards with this set I did with color blocking – you can see it here.  Here is the SUDSOL sketch I used for inspiration:

Sketch155-001

  • I used the Circles #2 Originals Die from my Big Shot for the 2 1/2” circle, but you can use our 2 1/2” circle punch too.  I layered the smaller flower with a 1 3/8” circle punch.
  • The Designer Series Paper is from the cute little Festival of Prints DSP Stack.  It’s a great way to add that little flair to your project. You get 4 sheets of each design!

I stamped more images from this set on the Night of Navy for a little pizazz.  Since the cardstock is so dark, it’s hard to see.

  • The Scallop Edge Border Punch gives just the right finishing edge to the project – keeping in line with the circular images and providing that neutral break to the colors.
  • I love adding a banner for the sentiment, it’s fun, easy to do, and can be any length of size.  I make the cute cut at the edge with a square punch.

Be sure to step out of your box and play with lots of color today!  And if you don’t have this set yet, what are you waiting for?  Take it from me – it’s super easy to use!!  Here is another sample I made coordinating this set with our Delicate Doilies Sizzlits Die and coordinating Finishing Touches Edgelits

Don’t forget – it’s the last two days of our great Spool Ribbon Promotion! Choose a FREE spool of our rich In Color 3/8” Stitched Satin Ribbon with every $40 spent.  That’s an $8.95 value!  For more details click here. 

Creatively yours –

Ingrid

To Shop 24/7 in the Creative Store – Click here!

Stamp Sets – Lacy & Lovely (122887) Paper – Very Vanilla (101650), Lucky Limeade (122926), Night of Navy (100867), Festival of Prints DSP Stack (126904) Ink – Lucky Limeade (126984), Night of Navy (126970) Cool Tools – Scallop Edge Border Punch (119882), 1 1/4” Square Punch (119865), 1 3/8” Circle Punch (119860), Circles #2 Originals (114526) The Perfect Finish – Stampin’ Dimensionals (104430)

Lacy and Lovely