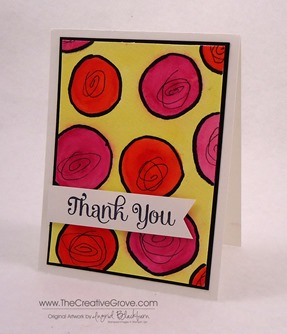
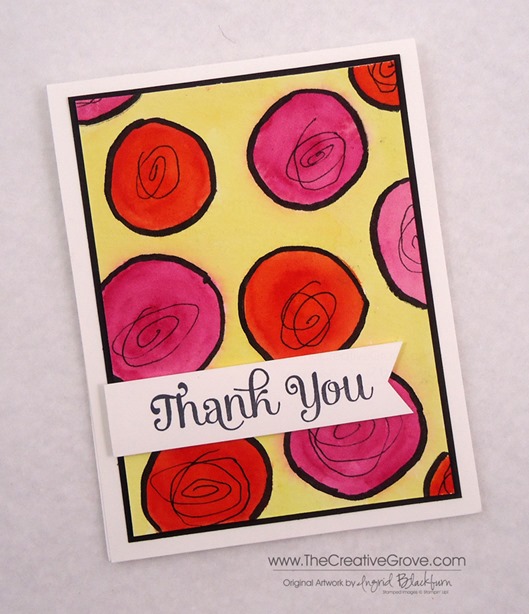
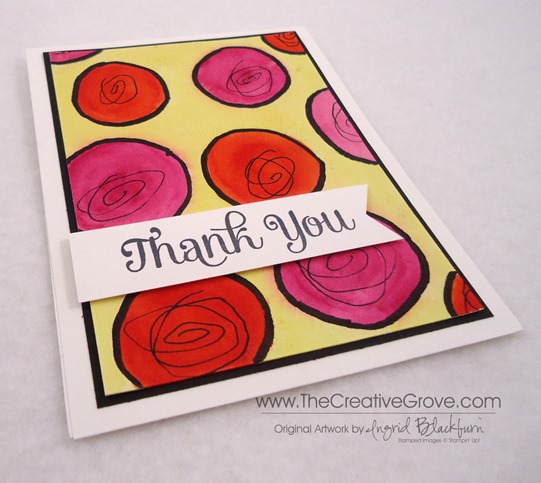
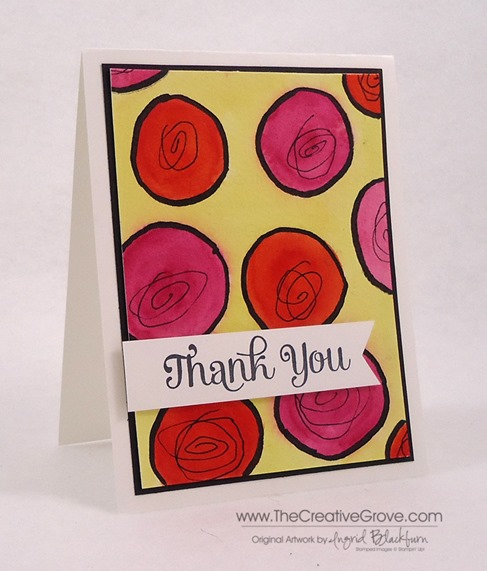
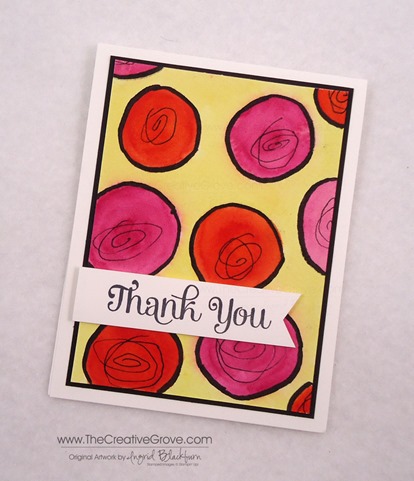
Have you just sometimes wanted a fun card? Well that’s what todays project is all about – just plain old fun. Lord knows we all need more of it in life, right? Here’s your recipe for a fun energetic card – take a few vibrant colors, paint alternating circles – don’t worry so much about the size and shape or getting it perfect. This is all about just letting go and letting your imagination take control.
Tools and Colors – I went with Schminke Hordam Aquarell Half Pans (Artists Watercolors) in Transluscent Orange and Magenta, and used my starter set made by Marie’s in Lemon Yellow. You can use whatever watercolors your have, or even Stampin’ Up! inks – just use the refills. Paint brushes – I used a Da Vinci Cosmo Top Mix B in a size 14 and a Da Vinci Kolinsky Rotmarder in size 3 and 5 for smaller touches. These are out of my painting brush supplies, but use anything you have, Aqua Painter or other ones you have lying around.
Paper – I used the Stampin’ Up! watercolor paper, which works fine for these purposes. Since I’ve been painting a bit lately, I’ve been using higher quality papers. The Stampin’ Up! paper, while 140 pound cold pressed paper, I found it to be a bit rough. For the black in the project I used the Basic Black Stampin’ Write Marker – both ends. The stamp is from the set Four You by Stampin’ Up!
Tip – I first wet my piece of Stampin’ Up! Watercolor Paper completely and then made my circles. After doing it this way, I would recommend to paint on dry paper instead. Especially if you are brand new to watercolor, as it’s very easy to be heavy handed with water. And in this case – your colors will run and expand – which is what you’re looking to achieve with wet on wet. If you look closely at mine, you’ll see some bleed beyond the black – that’s because I added the black to minimize this look, but I couldn’t get rid of it all.
I added the black also for a point of interest to help the dots stand out. This is a fun and easy way to fix your card, but also adding contrast with the ultimate dark color against the fun, vibrant bolds. For the yellow, I chose a watered down wash of Lemon Yellow, applied once my watercolor paper was dry. This is an important step – and one of the hardest to do – allow your paper to dry in between! Just make another and by the time you’re done, you should be good to go.
Tip – Don’t crop your paper first – it’s better to go larger and then have the ability to edit down in case you make any mistakes! And it goes without saying – think like wrapping paper – your design does not end before the edge. Give your project that continuous look that is more natural.
Scribbles – I didn’t have a stamp to use that I liked on the dots, so I just scribbled a continuous circle using the finer point of my Marker. Here’s the biggest tip with this – don’t try and be precise. Just be sure to cross at least one line at some point. It creates a little nest and looks a bit more whimsical. Practice on scrap paper if you’re nervous.
I wanted my print to stand out as that’s the real star here, so the banner is white with just black ink, and the color is matted on black cardstock with a wider white base. Just the banner is popped up on dimensionals.
I hope you liked this fun little project. It would be a fun birthday card for anyone! While they aren’t totally perfect, the best part – I totally let myself go and just let the art flow. Be sure to stop by again this week for more fun ways to watercolour your cards!
Shop 24/7 in my Online Store – Here
For other art supplies, check out these online resources:
Dick Blick and Jerry’s Artarama
For online card classes – be sure to check them out in the classroom under the Online Classes tab above!
