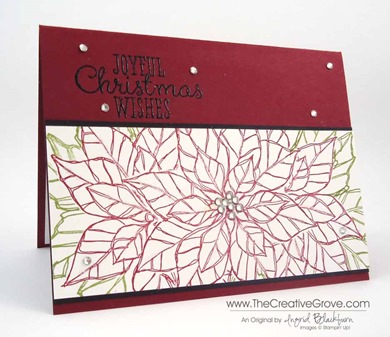
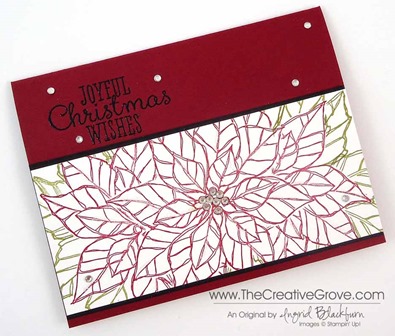
Do you need a quick but colorful Christmas card? This clean and simple card is powerful with its intense color, yet quite easy to mass produce. Let me show you how.
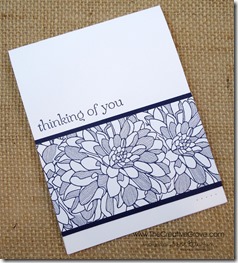
For me, when I make 100 Christmas cards, I need something that will keep me excited through the process, are you like that? One of the things that I love is the color Cherry Cobbler. I just love it – it makes me happy just to look at it. Do you have a color that just makes you happy too? I’d love to know what colors you absolutely love – tell me in the comment section. Cards like this one with interesting detail keep me fascinated as well. Last month I showed you how I made this clean and simple Regarding Dahlia’s card:
Can you tell how this card is based of that one. When you have a great idea – duplicate it! To make this one, you’ll start with a center image, use a mask to cover it and stamp outward from there.
- Tip – be sure to stamp a mask onto a piece of printer paper – not cardstock. The thickness of cardstock will give you a white space and won’t allow you to get your second image to flow into the main image.
- Tip – cut your mask on the inside of the line, not on the line and definitely not outside the line. That will give you a gap.
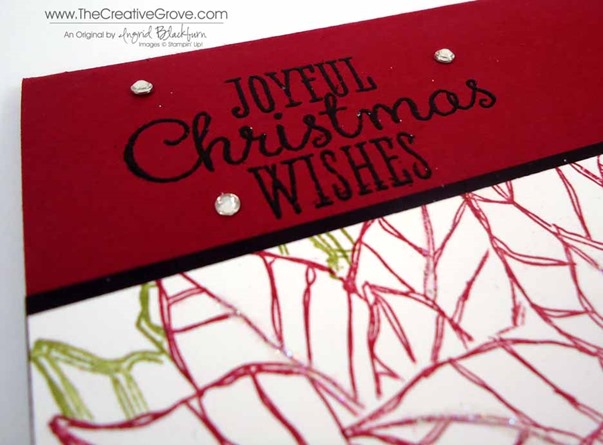
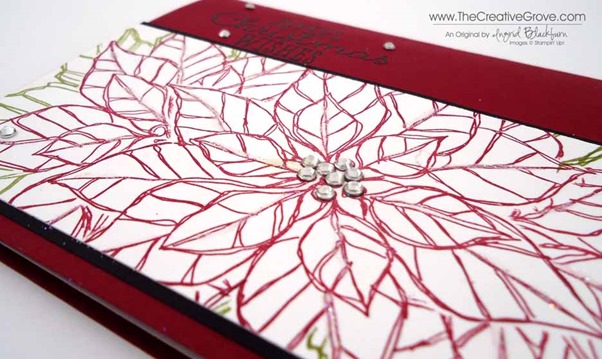
Since the cardstock is so rich, you will want to give your sentiment an opportunity to pop off the color by embossing it in Black. Some glitz and glamour was added using Rhinestone basic Jewels and Dazzling Diamonds Glitter (hard to see on the photos as it’s rather light just on the veins.
To help the white poinsettia banner pop, you may wish to matte it onto a piece of Basic Black card stock. To add depth without taking away from the beautiful Cherry Cobbler color you can use Old Olive for the leaves. It doesn’t take away from the images, rather it compliments it and supports it with a neutral rich color.
- Tip – stamp your flowers on a larger piece of white and then cut it down to the desired length. That way you don’t stress yourself out with getting it perfectly centered. I began with a 4”x 11” piece that I cut down.
- The final strip is 2 1/2” x 5.5” and the Basic Black is 5.5” x 2 5/8”. The Cherry Cobbler is an A2 card – 8 1/2” x 5 1/2”
- Tip – If I was mass producing this card, I would pre-cut my Whisper White Strips. I would also perfect one and keep it above my working strip as a master. This would help you as a guide to get each one just right. You can also draw a box on your grid paper to show where to stamp.
The inside panel is just Whisper White with the same images stamped in the corner. Keep it small, just a touch. 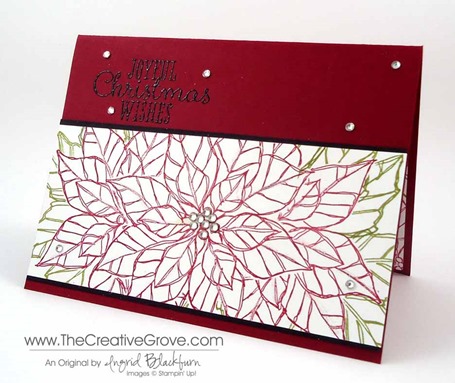
It’s a fun card that pops and is easy not only easy to stamp, but gives you that richness that you are looking for. And added bonus – this is rather easy to prep and cost effective.
Online Stamping Classes
Do you want to learn how to make creative scenery cards or Christmas Cards? Try our Brayer 101 – Introduction to Creative Scenery online class or the Class of the Month – Festive Flurry. You’ll learn how to master this technique using a brayer to create unbelievable scenes that will leave you feeling like an artist or make the coolest cards that will leave your friends and family stunned. Find out more here.
Stamps – Joyful Christmas Ink – Cherry Cobbler, Old Olive, Versamark Paper – Cherry Cobbler, Basic Black, Whisper White Cool Tools – Heat Gun, Black Embossing Powder Finishing Touch – Pearl Basic Jewels, 2 way glue pen, Dazzling Diamonds

Love your card, Ingrid! Thanks for sharing how you did it.
– Nancy
Thanks for stopping by Nancy! 🙂
Ingrid,
I flagged your dahlia card with a note to do the same card with the poinsettia set…….it brings me joy to know I think like you….now if I can just stamp like you! Beautiful card!!!!
I’m so glad you liked it Betty! 🙂 This card has quickly become a favorite of mine. I wish the photos showed the glitter – it’s rather light, only on the main stem of each petal and is so pretty IRL! Enjoy making them – I’m sure your stamping is gorgeous too! 🙂