Today we’re going to focus on a simple Distress Background that really pack a punch. It’s all part of the Distress Mixed Media challenge going on over at Happy Little Stampers this month.

Be sure to stop by all the designer blogs for some cool looks with this challenge. And welcome Autumn from Sew Paper Paint for a very cool look. I love her blog – can seriously get lost in her work!
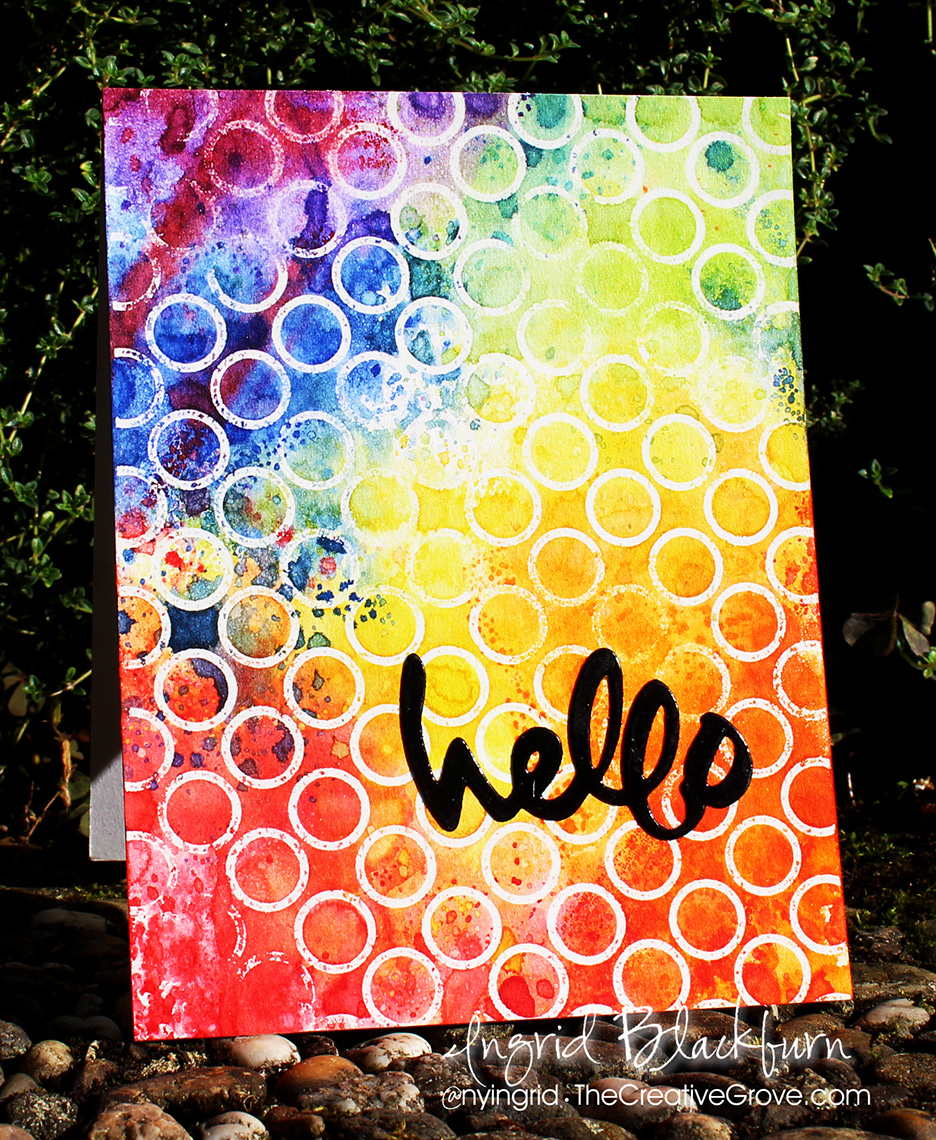
It’s no secret that I love anything distressed – from inks to paper to texture. This project really takes the word distress and not only uses the ink, but gives it a great Mixed Media look with the Winkle Free Distress Technique. The end result is a very cool distress background.
Distress Background Tutorial
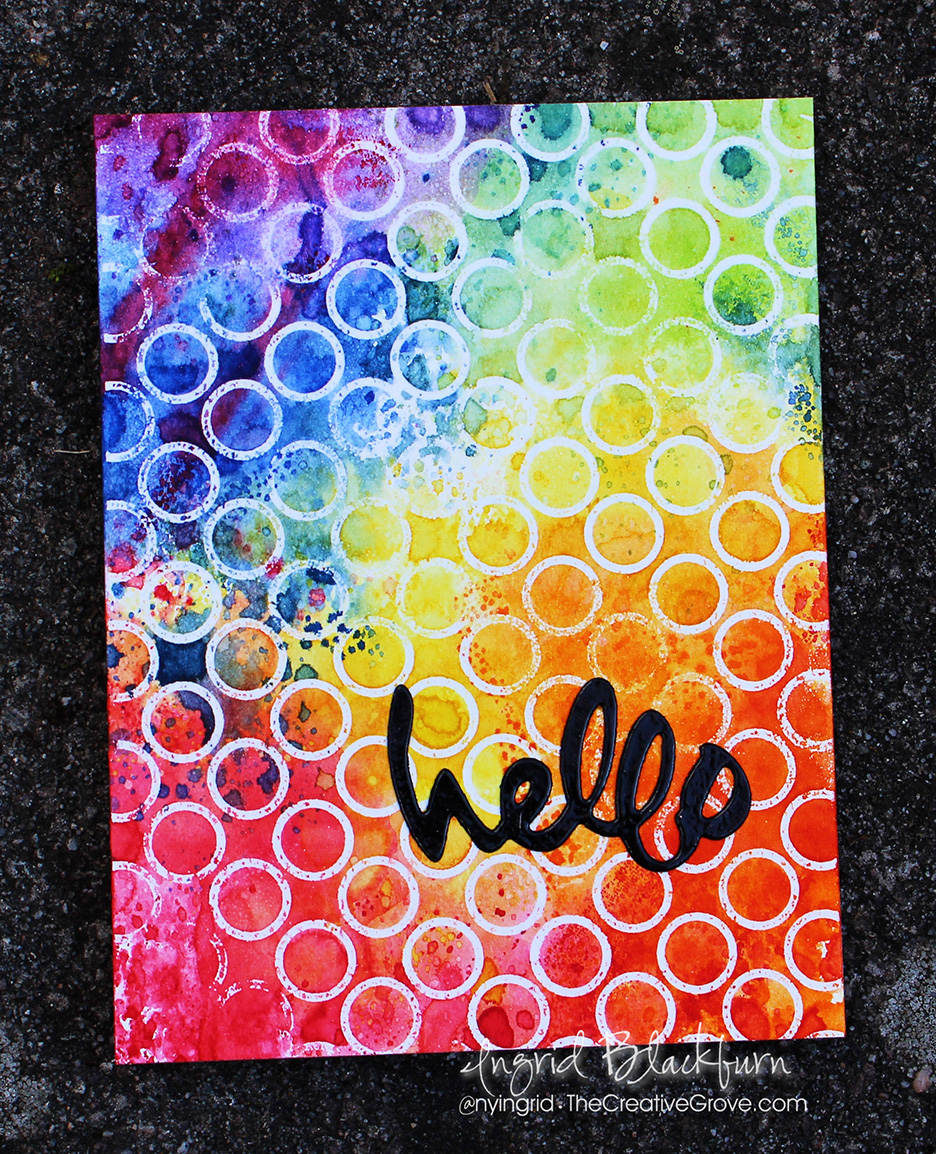
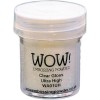
To get a cool look, emboss a background stamp or series of images in clear on 140# Cold Pressed Watercolor Paper. Don’t worry if you don’t get the whole image – I missed a spot and rubbed off some powder in several spots to get a distressed/grunge look. This will resist the Distress watercolor we’re about to add next.
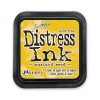
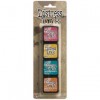
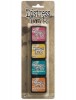
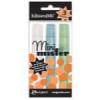
First lay down your lightest color onto your craft mat – Mustard Seed (Yellow) and spritz. You’ll keep it to the center and a little outward. Click here for a video on just how to do this technique. Be sure to mostly dry it inbetween layers to build up the texture and distress look. Then move onto the next color. You’ll do it in this sequence after each color. TIP – keep the color wheel in mind when overlapping colors. You don’t want to overlap complimentary colors – colors that are opposite on the color wheel such as Purple & Yellow. Complimentary colors look awesome together, but when blended turn to mud.

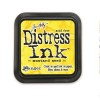
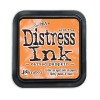
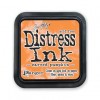
Next add the Carved Pumpkin – overlapping a little with the yellow. Next the Candied Apple overlapping with the Yellow a little and the Orange. The key is to overlap a little, but also preserve some of the original color and keep some pure too.
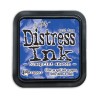
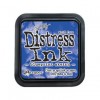
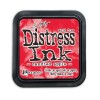
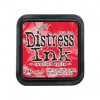
Going counter clockwise, add some Blueprint Sketch in the same manner, skip over the the right and add some Twisted Citron. Fill the remaining spot with Wilted Violet. Add a little Candied Apple to the Wilted Violet to create that cool Blackberry color…and add some spots here and there where you feel you need some texture or an added spot of color.
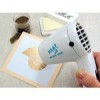
Once completely dry, place your dried watercolor paper in-between some old pages of a phone book and iron it on the hottest setting. This will transfer the embossing powder to the phone book page and give you the added bonus of straightening out your watercolor piece! Iron just a few minutes (30 sec to 2 min). The key is that you don’t want to see any shiny – switch to a clean page in the phone book if needed. To see me do this, check out this HLS video (at 15:30). This technique is called Faux Bleaching.
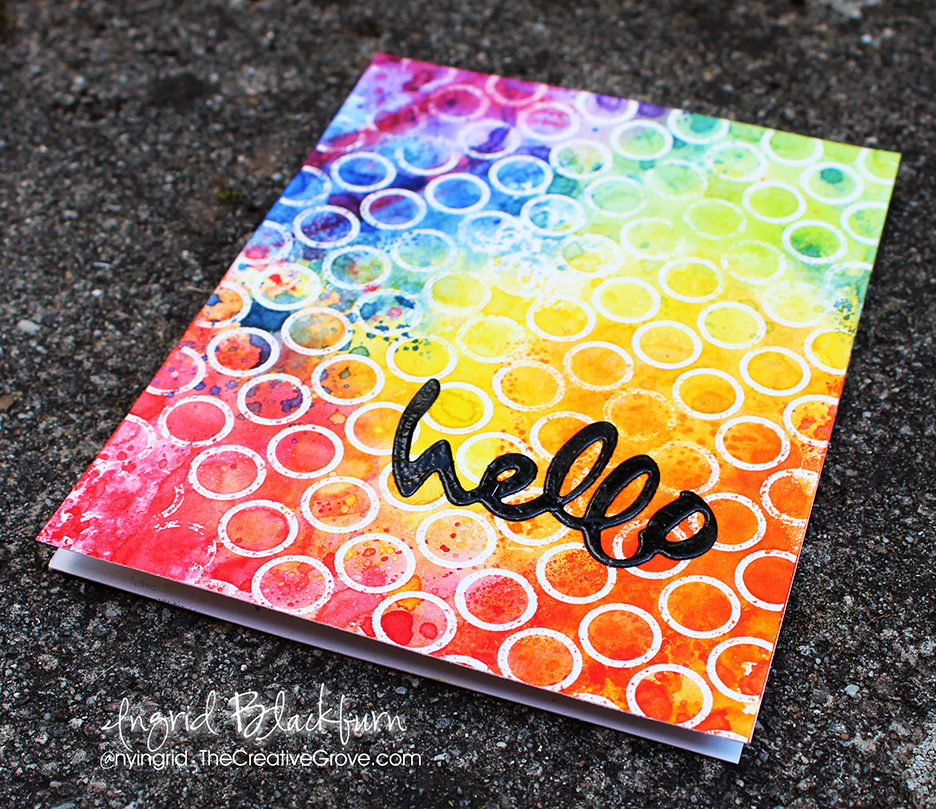
Isn’t it a cool project!!! What’s so awesome about it is that the Mixture of medias used really blend together to create an amazing Distress look. I didn’t want to take away from the cool background, so I kept the greeting simple and didn’t add any sequins (though I was tempted). I embossed the Hello (new die from Stamplorations – isn’t it cute?!!) in clear embossing powder. The shine against the flat distressed background just rocks. I hope you think so too!
SO I’m challenging YOU now. It’s my favorite technique/medium….Distress. Jump on into this challenge – leave me a comment that you did and I can’t WAIT to see what you create!
Until next time –

[optin_box style=”12″ alignment=”center” email_field=”email” email_default=”Enter your email address” integration_type=”aweber” double_optin=”Y” list=”3846012″ name_field=”name” name_default=”Enter your first name” name_required=”Y” opm_packages=””][optin_box_field name=”headline”]Learn more with our exclusive FREE video series:[/optin_box_field][optin_box_field name=”paragraph”]PHA+UGx1cyB5b3XigJlsbCBiZSBhZGRlZCB0byBteSBGUkVFIENyZWF0aXZlIFRpcHMgRS1sZXR0ZXIgd2hlcmUgSSBzaGFyZSBleGNsdXNpdmUgcHJvamVjdHMsIHZpZGVvcyAmYW1wOyB0aGUgMTIgRGF5cyBvZiBDaHJpc3RtYXMgUHJvamVjdCBTZXJpZXM8L3A+Cg==[/optin_box_field][optin_box_field name=”privacy”][/optin_box_field][optin_box_field name=”top_color”]undefined[/optin_box_field][optin_box_button type=”0″ button_below=”Y”]Get Instant Access![/optin_box_button] [/optin_box]
Supplies
I get asked a lot where I get some of my supplies. To make it easier for you, I’ve listed all the supplies below. I myself shop at various places and know you probably have your favorite online stores too! So I included choices where I could or if there is just one – it’s the best price I’ve found. 🙂
The letters below each image are links to stores where you can buy each of the products listed. EH – Ellen Hutson, SSS = Simon Says Stamp, AZ = Amazon, etc. I buy almost all my own supplies. To help support my blog, videos & allow me to keep creating for you, I use compensated affiliate links when possible.

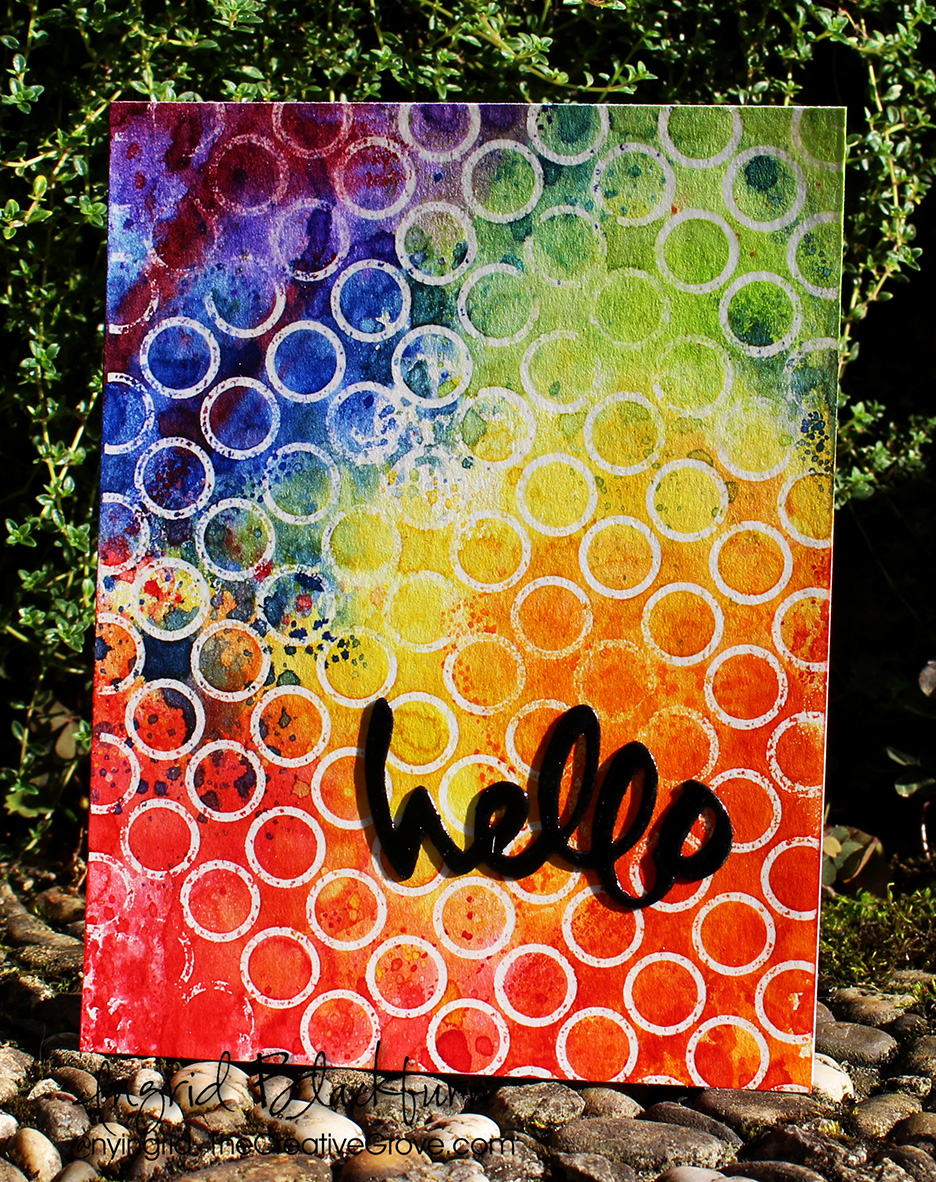
What a vibrant and spectacular background Ingrid! The simple greeting is perfect so we can still see all the beautiful blended colours.
Hugs
Carol x
Hi Ingrid,
although you say the background is simple, are the colors so nice and bright.
I love how you made this card.
Lovely greetings, Michelle (DT-sister)
Thanks Michelle – These colors work SO well together – I’m loving them more and more…. 🙂