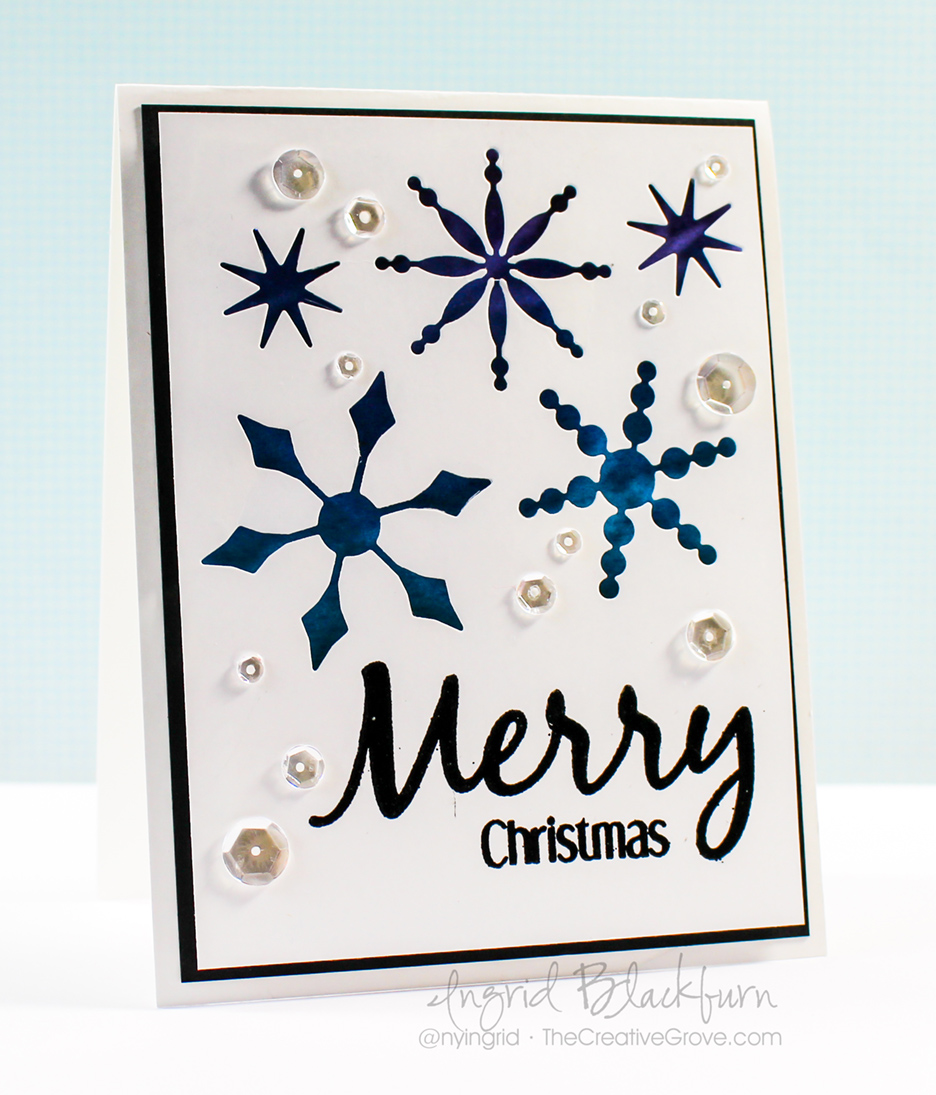
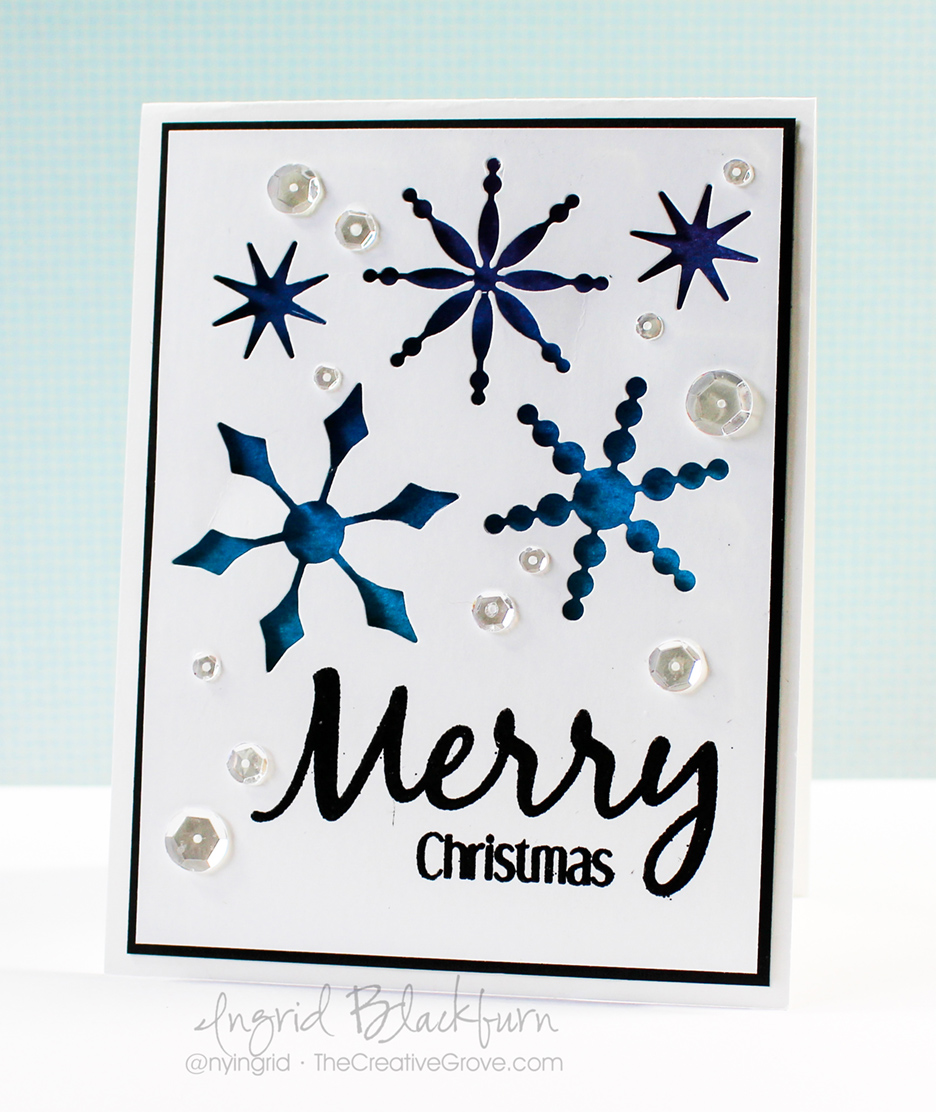
When you think Die Cuts, usually you would think about something laying on top of your project, or a paper piecing. But do you ever think in reverse? Today is all about showcasing what’s left over, once you use your die cuts to cut out your images – the negative die cut images. Over at Happy Little Stampers this month, the theme is Die Cuts. Now, normally I’d whip up something way cool piecing together some cool images that pop off your card. I thought it would be fun instead to pop UP my card and show a shadowed negative of the image. Best part – I still have the positive images cut out by my steel dies! That’s for another project….oh wait – I already created it HERE.
Before I get into the nitty gritty of how easy it is to create this very cool card – be sure to welcome our Guest Designer for this month – Christine.
For this month’s project, I paired up with a rocking HLS sentiment from Everyday Sentiments and a few sparkling clear sequins – I have a great card that’s not only quick – serves double duty – not bad! Here’s how you can create your own:
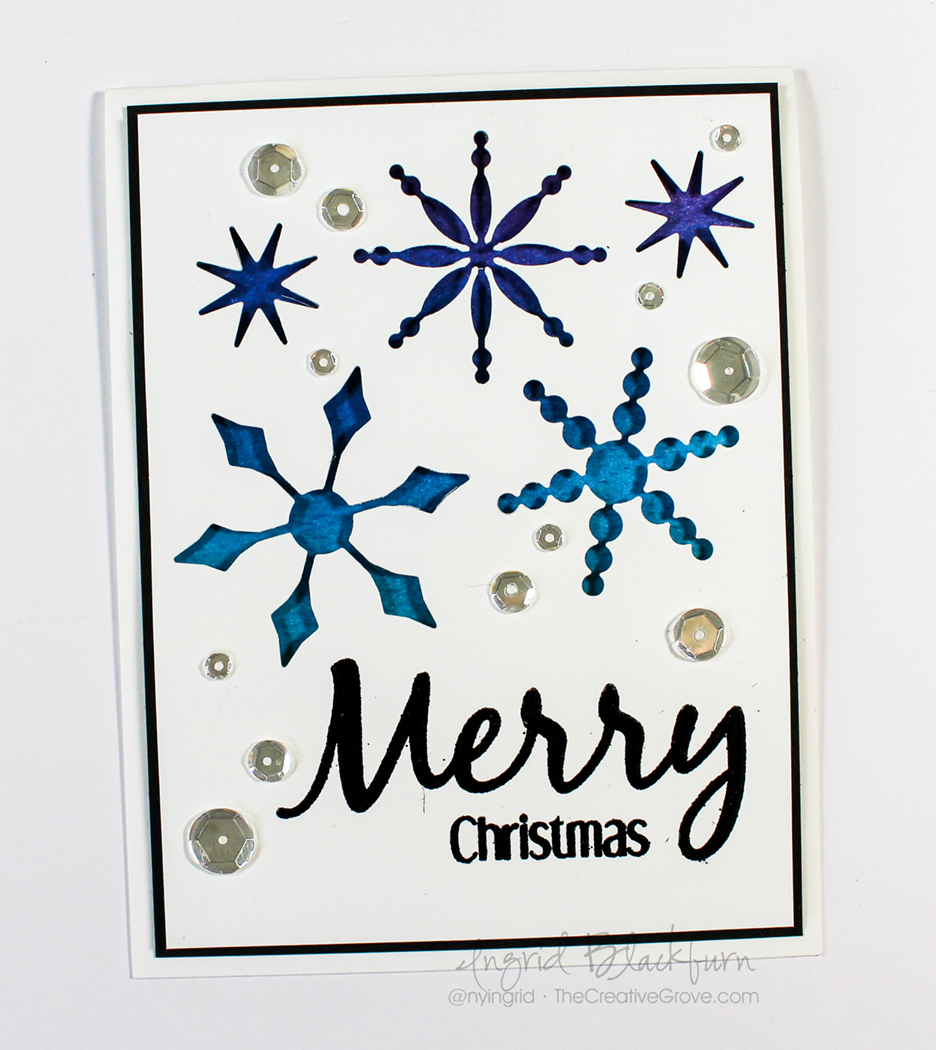
How to Use Negative Die Cuts
- Emboss your greeting in black first in the lower right corner of your card front – 3 13/16 x 5 1/16″. I wanted something big and bold to balance our my snowflake sky, so I chose Everyday Sentiments by HLS.
- Arrange your snowflake dies – I used Bring on the Snowflakes by CAS-ual Fridays – , and cut out with your Die Cutting Machine. I got mine in the Holiday Collection from Stamp of Approval, but they’ll be released individually later this year.
- Remove the dies cuts, leaving only the negative images in your card front
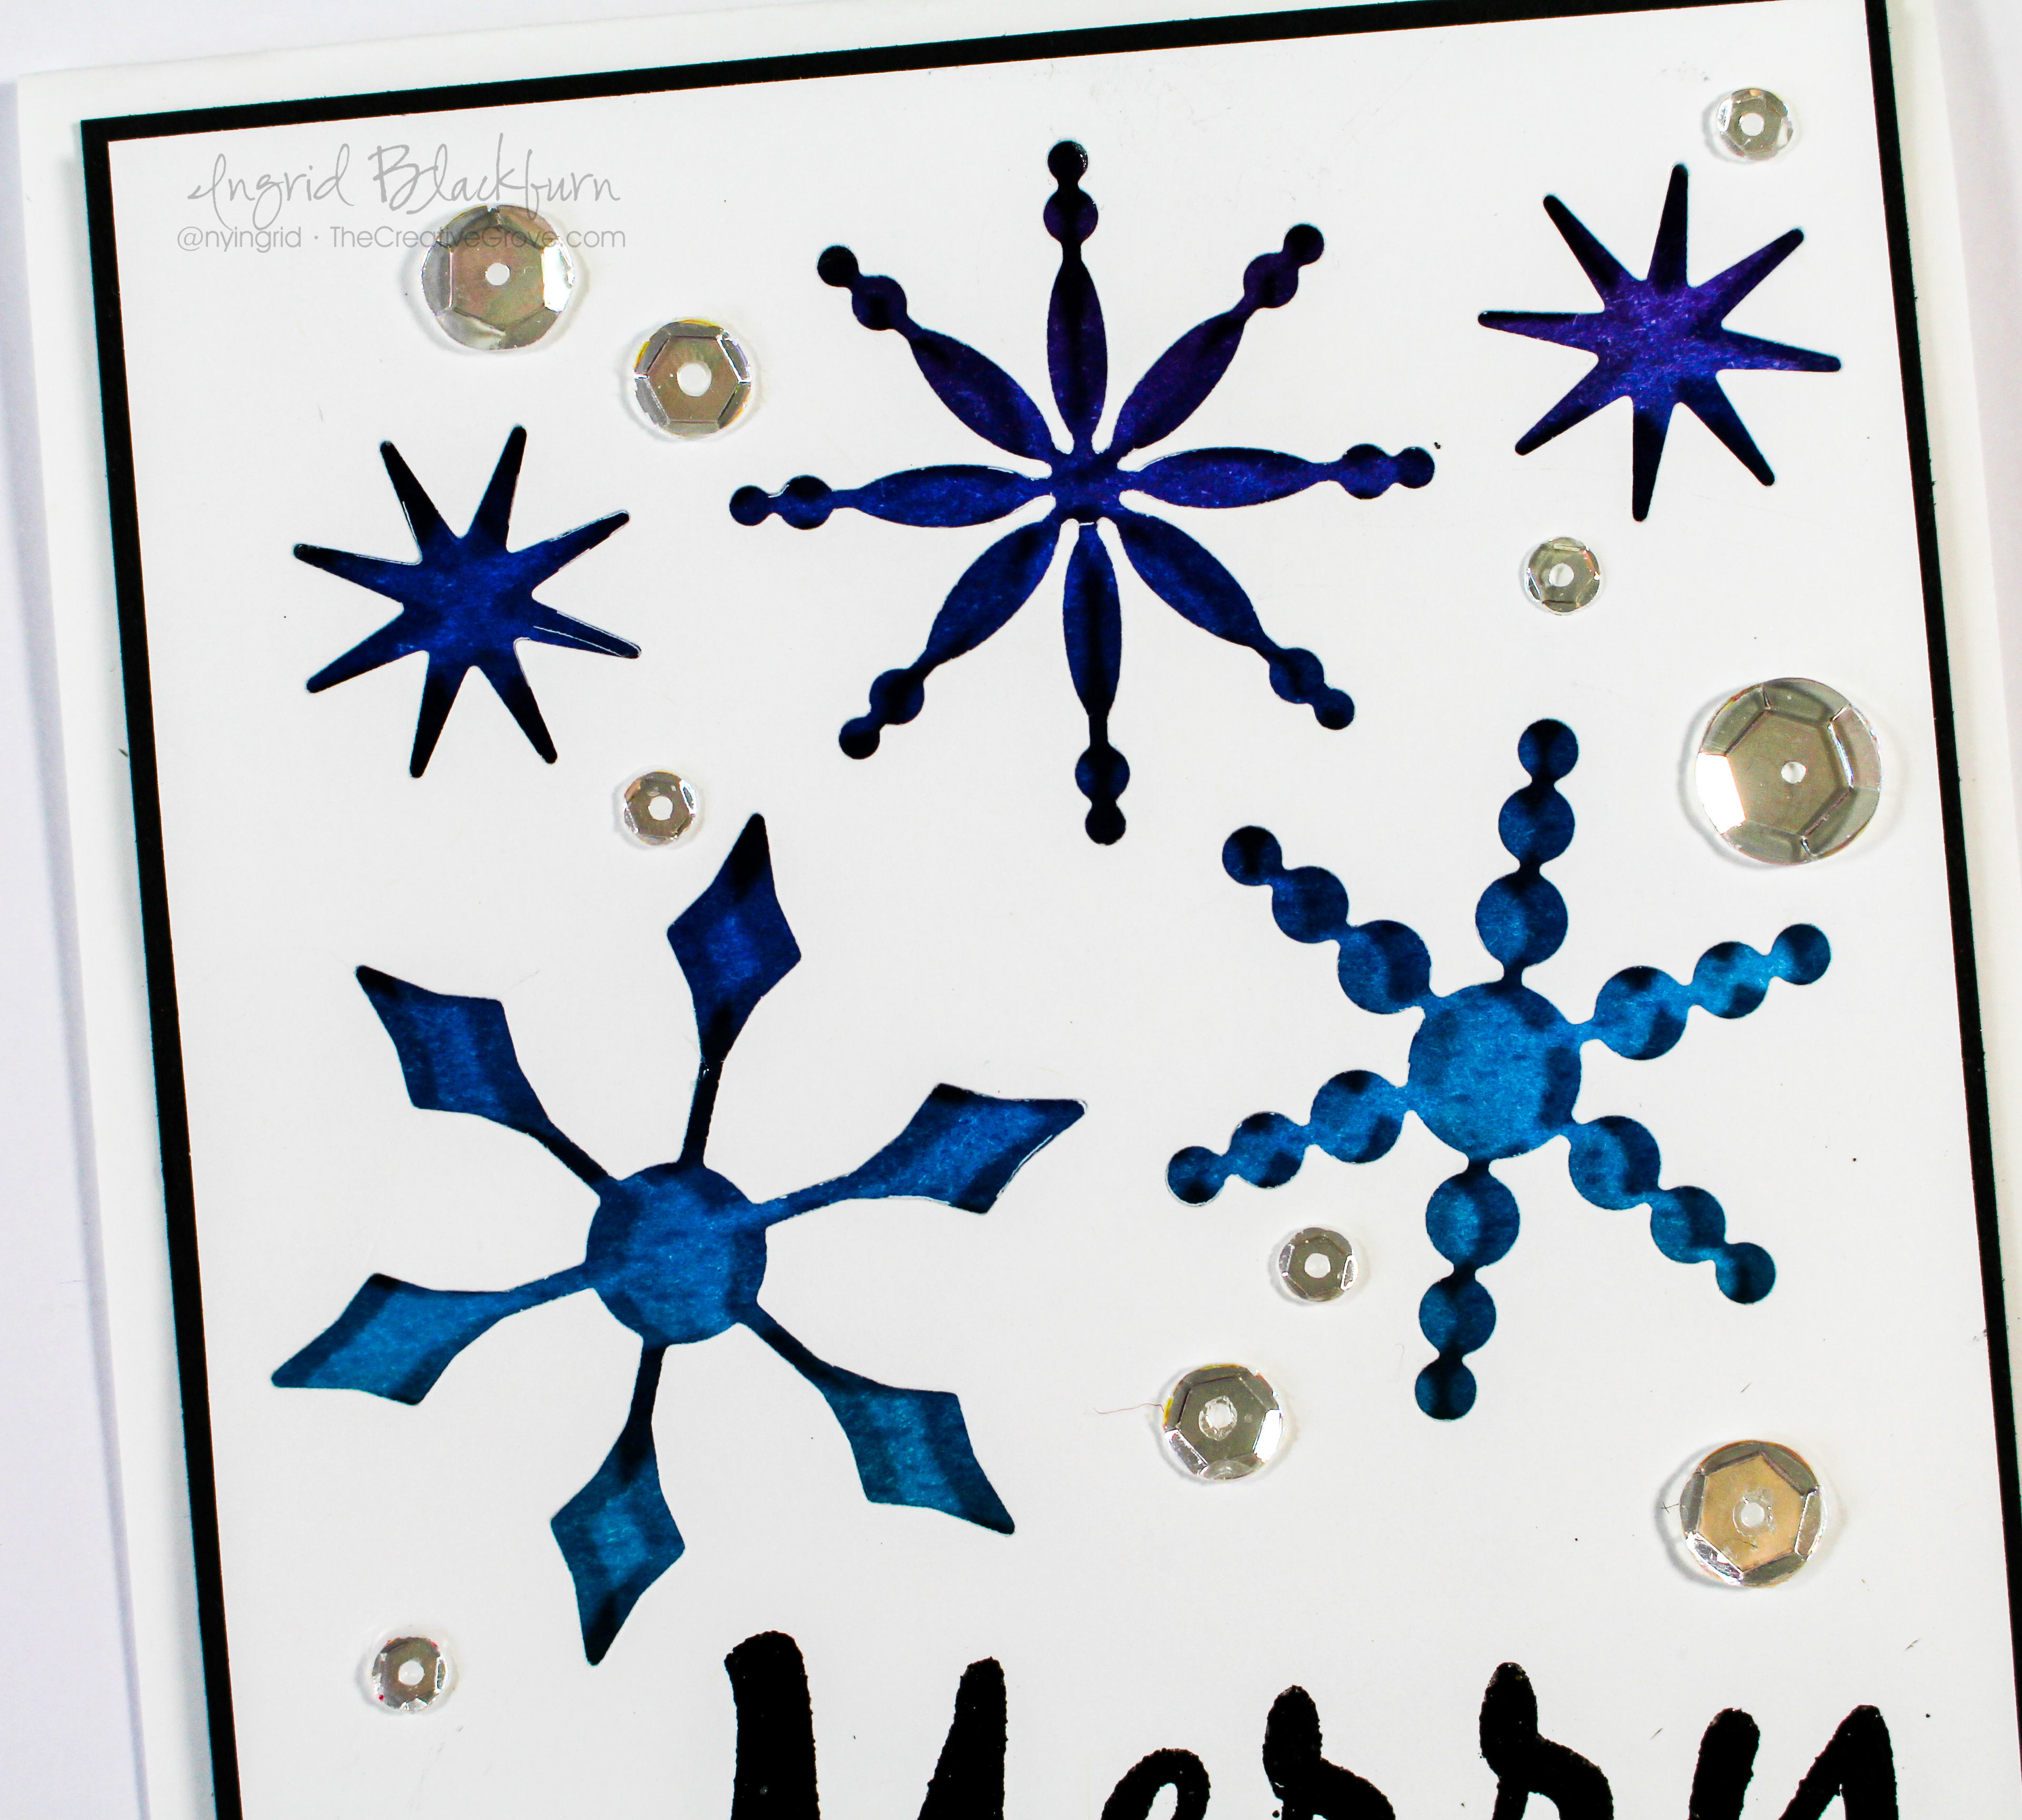
- On a second slightly smaller piece – 3 11/16 x 4 15/16″ , sponge your desired colors or use a fun colored piece of card stock. You can do anything here, washi tape, watercolors, solids, patterned papers – it’s literally endless possibilities. I sponged an Ombre look starting with Broken China-Salty Ocean-Faded Jeans-Seedless Preserves and ending in Dusty Concord.
- Adhere your colored background piece to a black piece of card stock cut slightly larger than your card front – mine is 1/16th larger – 4 x 5 1/4″
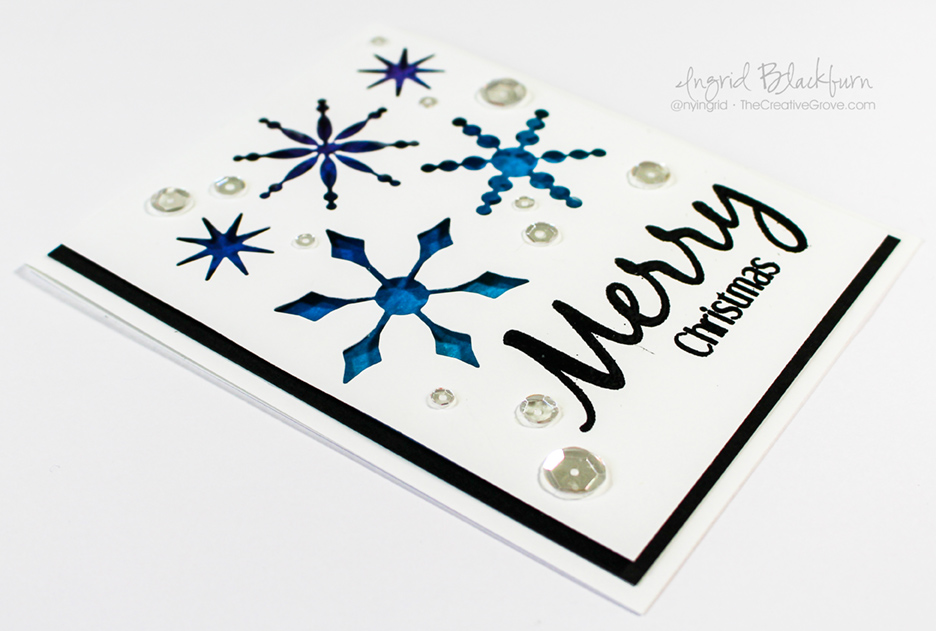
- Now for the fun part – pop up your card front using fun foam, foam tape and dimensionals – I used all three with two sizes of smaller dots. Every nook and cranny was popped up – so nothing droops after shipping. You really want your card to have that full shadow effect.
- Attach your black card stock to a folded A2 sized card (4 1/4 x 5 1/2″)
- Add some sparkling clear sequins by pretty pink posh – and you’re all set!
And if you used colored card stock or sparkly paper, think of how easy and mass producible this card is!! Now it’s your turn – whip out those die cuts and get in on the action. It’s Happy Little Stampers birthday, so don’t miss out on some great prizes! Can’t wait to see what you create!
Now go get those fingers inky –

[optin_box style=”2″ alignment=”center” email_field=”email” email_default=”Enter your email address” email_order=”2″ integration_type=”aweber” double_optin=”Y” list=”3846012″ name_field=”name” name_default=”Enter your first name” name_order=”1″ name_required=”Y” opm_packages=””][optin_box_field name=”headline”]Learn more with our exclusive FREE video series:[/optin_box_field][optin_box_field name=”paragraph”]PHA+UGx1cyB5b3UnbGwgYmUgYWRkZWQgdG8gbXkgRlJFRSBDcmVhdGl2ZSBUaXBzIEUtbGV0dGVyIHdoZXJlIEkgc2hhcmUgZXhjbHVzaXZlIHByb2plY3RzLCB2aWRlb3MgJmFtcDsgdGhlIDEyIERheXMgb2YgQ2hyaXN0bWFzPC9wPgo=[/optin_box_field][optin_box_field name=”privacy”][/optin_box_field][optin_box_field name=”top_color”]undefined[/optin_box_field][optin_box_button type=”0″ button_below=”Y”]Get access now![/optin_box_button] [/optin_box]
Beautiful design Ingrid, loving your card !!
Beautiful snowflakes dance. Your card I like.
hugs,
BozenA
Love your design using the negative die-cuts Ingrid. The blues for your snowflake aperatures are really beautiful. xx
This is gorgeous Ingrid and I love the beautiful background colours peeking though the snowflakes.
Hugs
Carol x
Ingrid, this is so lovely – beautiful shades of blue behind the die cut, perfect placement of sequins – I really like it!
Really sparkles with the ombre blues shining behind these wonderfully sized pretty snowflakes. Loved this idea, and will be trying it. Magnificent card! TFS