
This week I am serving as guest inspiration over at Muse Christmas Visions weekly challenge. I have to say, I was completely honored to be asked by Ardyth to design an inspiration card for you this week. I’m always inspired by her CAS designs. The team she has put together to challenge you on a weekly basis is made up of very inspirational card makers – I encourage you to check out their work!
This Christmas Challenge is always a joy to participate in – I highly encourage you to play along with me this week! The challenge for me was that I am limited with supplies, as I’m on the road! But luckily I have my distress spots with me and this super cool holly stencil from Stamplorations. You all travel with your favorite stamping supplies too, right…lol? Okay – I’m on the road for two months, and did a little teaching along the way – no I don’t always pack my stamping supplies! Here is the result:
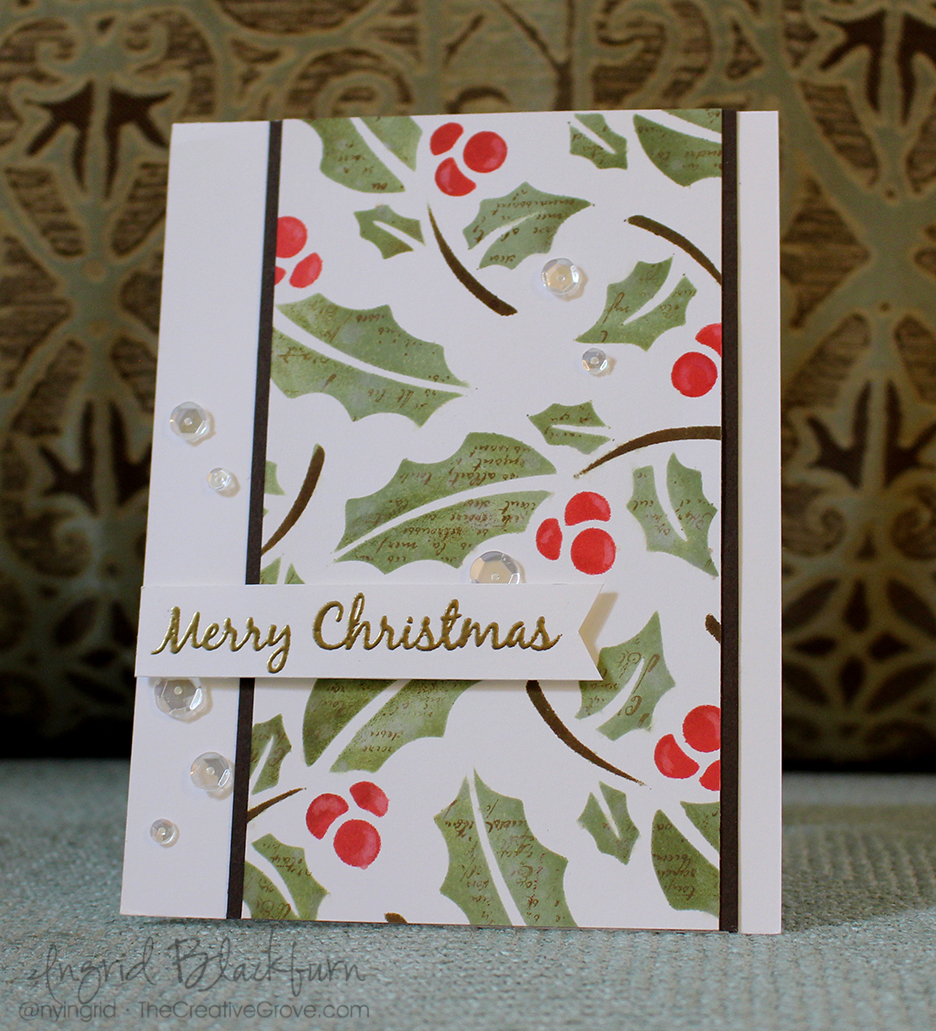
I know, it looks rather simple – but there are little touches that make this fun to look at. Normally I’d have a video for you, but being on the road – I don’t have my tripod – it didn’t make the final packing cut due to weight…argh! So I did the next best thing for you – I took photos along the way!
This card actually evolved over a few days. I made a similar one first, but it fell flat for me. It needed something so here they are side by side. The photo tutorial is for the first one, but it’s the core of them both.
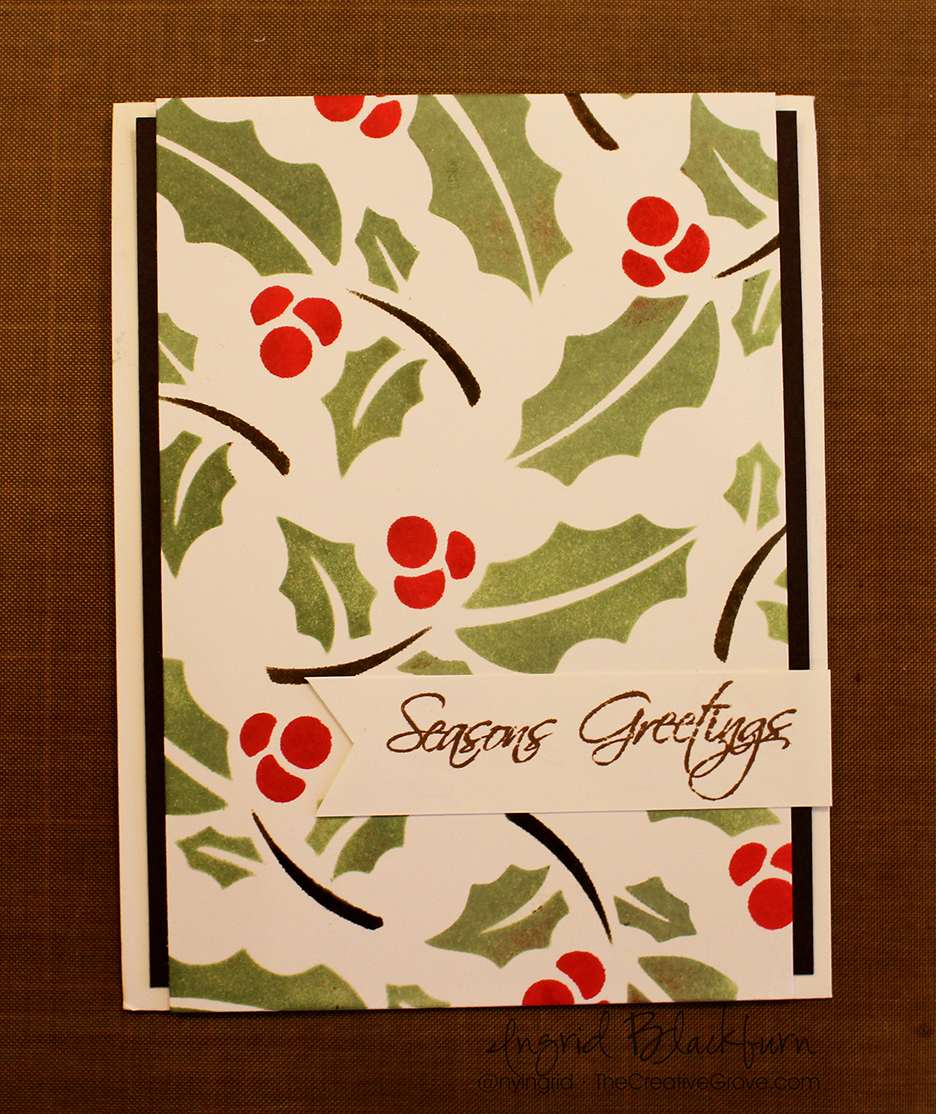
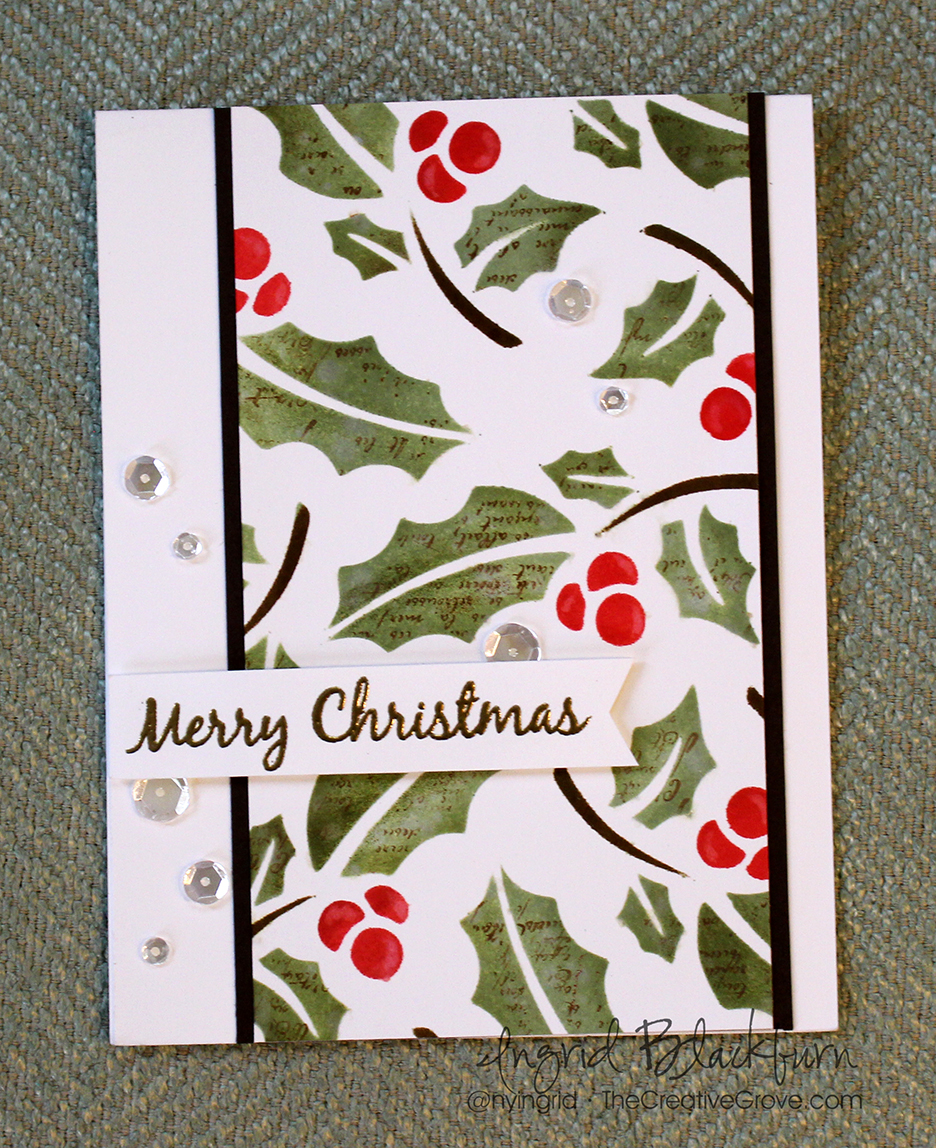
I think you’ll agree with me, that the second has much for character than the first. Not that there’s anything wrong with the first, but for me, it was just a bit plain. So I altered the brown behind my panel, trimmed down the size of the card front (I probably could have even done this a bit more in retrospect), added a lot of little details – read in depth below, and gave the card much more life. I hope you like it!
Creative Tips –
- Most important, secure your card and stencil to your work surface. The #1 mistake is having your stencil move on you.
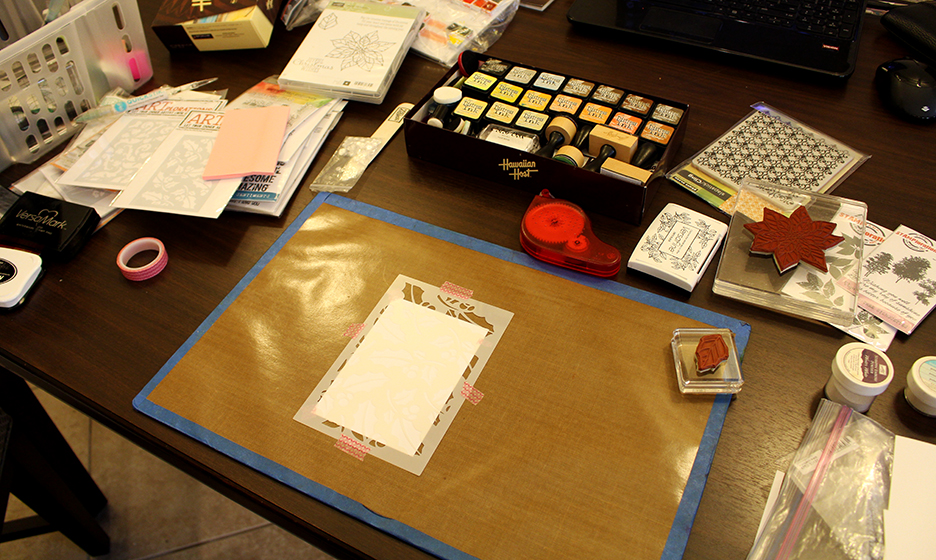
- Next, you’ll want to mask off all the berries first. Since they were odd shapes, I used washi tape to help me here.
- To apply the color, pounce it in using sponge tools. It’s easier to get good coverage through your stencil rather than using a swirling motion.
- To make it easy, color everything first in greens – stems too. I began with Bundled Sage. In my updated panel (not pictured here) I edged the leaves the best I could using my sponge tool with Peeled Paint.
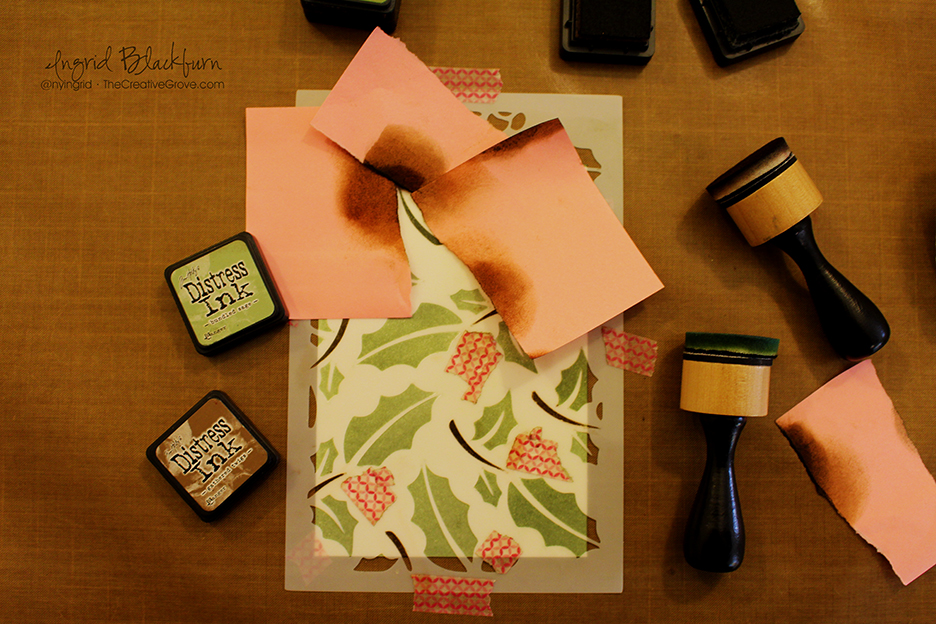
- Once you have the leaves done – go over your stems with Gathered twigs, using some post it notes to mask them off.
- With your berries still covered, spritz water into one of your hands and flick it at your project. The goal is to get droplets on your leaves, lifting up a little of the color and creating water spots. Place a paper towel over them to remove the water and the spots will continue to ‘lift’ the color as they dry. Look closely at this photo to see the spots and how they give your leaves a little character. This is the Flicking Technique Need a video – Check out this video here
- Next, ink up a small script stamp with Vintage Photo and randomly stamp it over your leaves. I didn’t press mine down to hard so that it is only in some spots and not in others.

- Next, remove your washi tape, mask off your leaves and twigs with post its and apply your reds to your berries. I started with Festive Berries & Barn Door and edged them in Fired Brick.
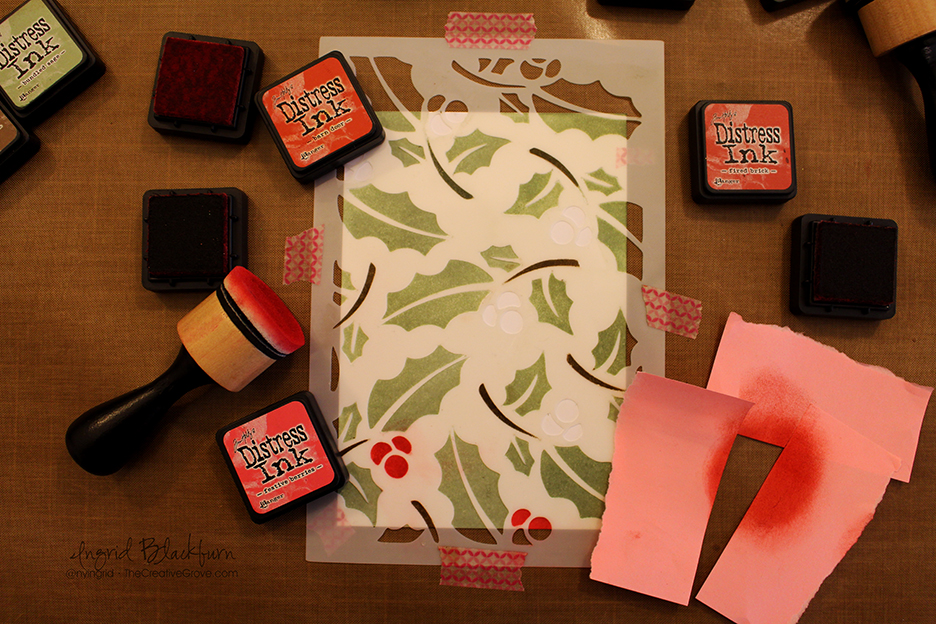
- Once your berries are done, create a semi circle on them using an aqua painter (water filled handle brush). This will lift the color a little giving it a bit of texture.
- Next, trim down your piece – mine measures 3 x 5 1/2″, matte onto an espresso brown piece that is 3 1/4 x 5 1/2″ and then offset onto a white card base – 5 1/2 x 4 1/4.
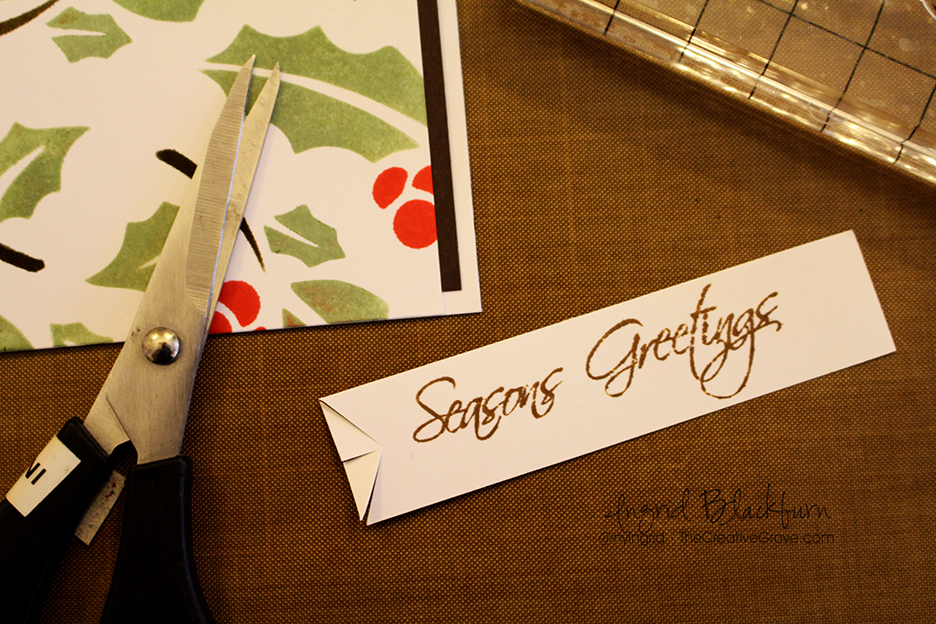
- Stamp your sentiment from Mixed Christmas Sentiments by Happy Little Stampers in Versamark Ink and embossed it in gold. My strip was 3/8 x 4″.
- Trim your edges for how far you need for a banner and edge to your paper.
- Use pointed scissors (paper snips) to create your banner end by cutting up from the middle and then to that inward cut from each point.
- Pop your sentiment up on stamping dimensionals and add clear sequins by Pretty Pink Posh to complete your project. I use a Quick Stik tool and Mono Liquid Glue to adhere mine.
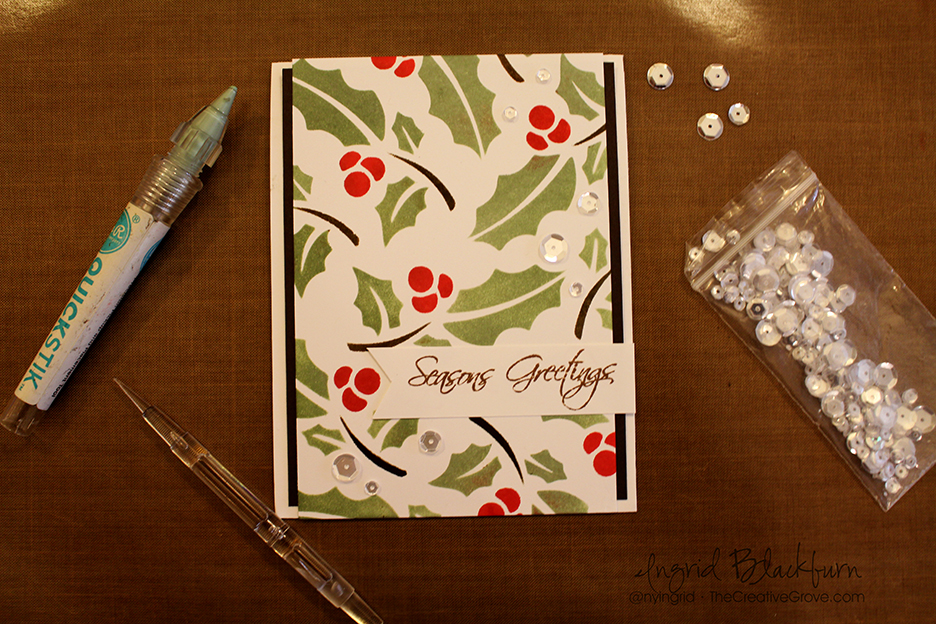
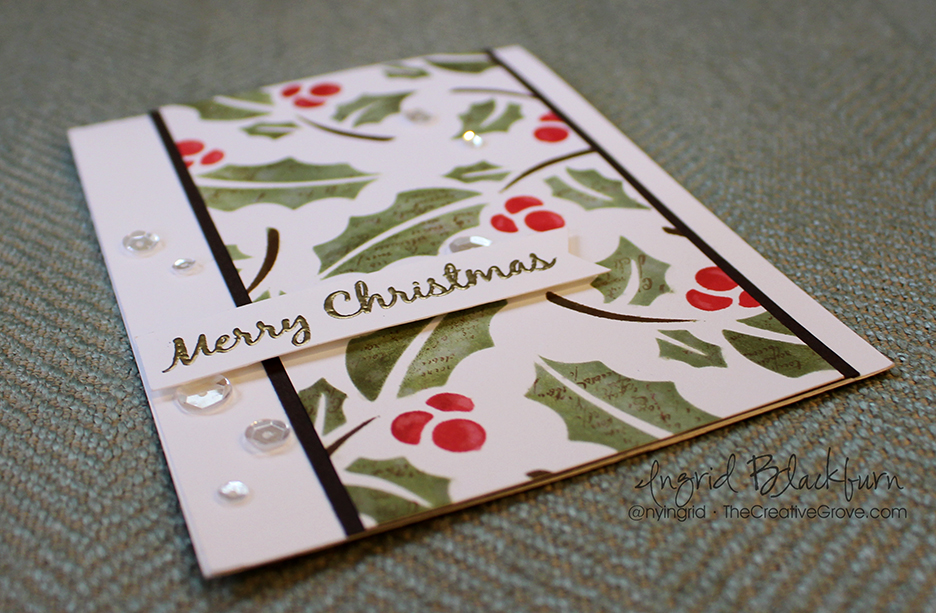
It’s a simple project, but has various layers. The little touches make all the difference. My original card had an interesting matte that was shorter, but ultimately I felt it needed more white space. So I trimmed it down and offset it. Of course, I don’t know if you noticed – I mounted my panel upside down…lol! I didn’t see it at first, but thankfully the script is so small, it’s not too noticeable. Oh well…we all do that from time to time, right?

Be sure to play along at Muse Christmas Visions this week. And I hope this photo tutorial inspired you a bit. I’m curious, what do you prefer – pictorial, or video? Let me know in the comments below! Can’t wait to see your creations! Now run along and create!

I love your card. Thank you for all the tips.
A beautiful card and technique Ingrid. Thanks for joining us at Happy Little Stampers for our September Holly challenge. Carol DT x
This is so pretty, Ingrid, and I love the tutorial! Thanks for sharing the how to.
**stunning cards**!!!! you work shows you love what you do.
This is so nice….clean and crisp….Thank you so much for such a great idea!!
cindy in Florida
Gorgeous Muse inspiration card. Thanks for the step by step instructions.
The use of script on the leaves of holly is an extraordinary idea. Beautifully it looks, adds the expression of the card. Both cards are beautiful.
Thank you for sharing with Happy Little Stampers.
Regards,
BozenA DT HLSCC
Hi Ingrid … LOve your pictorial, and your MCV card! I may not have the supplies needed, but know I will give it my best! You should come guest design at Muse – the first – the team would love having you …
=] M
Thanks Michele…I’d love that – another great challenge. Thanks so much for stopping by…can’t wait to see your creation! 🙂
Love this card, so much detail when you look closely at it that lift the design.
Congrats on being the guest Muse. 🙂
Ingrid, Congratulations! What an amazing card you have created. The step by step instructions are fantastic. The composition of the leaves is brilliant with the script. Love the embossed sentiment 🙂 Sensational card xx
This is a beautiful card – thanks for sharing the technique. Must go and look for a holly stencil!
Loving your card Ingrid, especially love the script on the leaves, really makes this a ‘Wow’ card. Congrats on being a guest designer on the Muse.
Oops … and congrats on being the Guest Designer for Muse Christmas!! xx
Gorgeous card Ingrid. Thanks for all the tips and tricks. Especially love the stamped script over the leaves … adds a lot of interest and depth. xx
Such a fabulous card! Thanks for the tutorial. Congrats on being Guest Muse too!
Great card. The touch of script on the leaves is what appeals to me. Happy travelling.
Thanks Barbara – me too! 🙂
We are so thrilled to have you as our Guest Muse this week, Ingrid – your card is gorgeous and I know that our followers will love to see how you made this! Thanks for all the time and effort you’ve put in – I just can’t wait to see how everyone is inspired by you this week! Wishing you safe travels!
Thanks my friend! I had a ton of fun with it – it’s harder than you think with limited supplies! Can’t wait to see all the creations all week! 🙂
Congratulations on being MUSE this week, Ingrid! I LOVE your card. Hope I have a chance to play along. Leaving tomorrow for a crafty getaway, so here’s hoping! Thanks for the inspiration!
AWE….one MUSE to another! 🙂 🙂 I SO wanted to play along with yours, but have been on the road since Aug 10th! Not much crafting time…argh! I hope you have tons of fun my friend. 🙂 🙂
Beautiful card Ingrid! I love the script on the leaves and the layout.
Thanks Amy!! Even if it is upside down…lol! I always appreciate you stopping by. 🙂
Hi Ingrid,
You asked me to answer you in e mail, if i prefer photos tutorials or videos tutoriels, i prefer videos cause it’s easier to see how to make the projects.
Line
Love all the techniques stunning