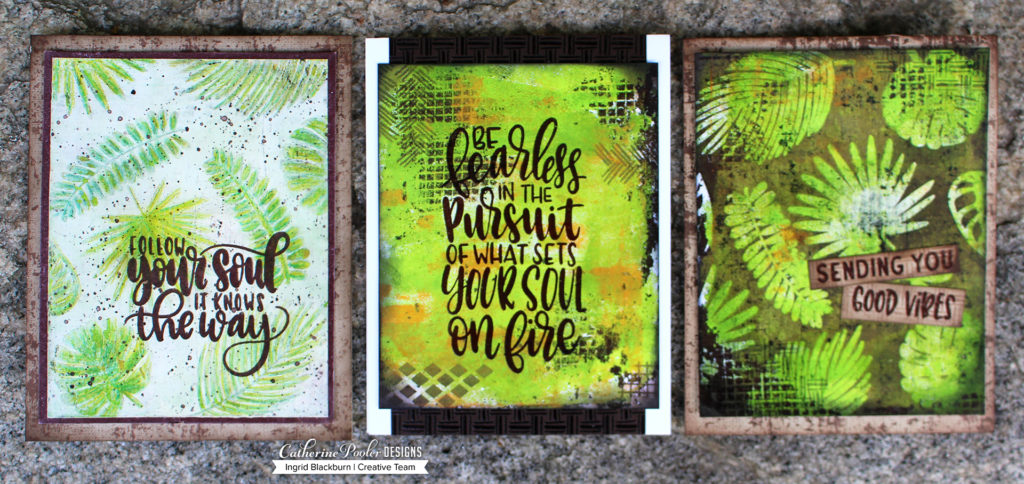
I love the look of Mixed Media Tropical Cards. Today I’m getting a little inky with my Gel Press and have created some incredible textured Tropical inspired masterpieces!
Tutorial: Mixed Media Tropical Cards
To get that fun island weathered feel, I thought a tropical looking monoprint would be a great base to these projects. What exactly is a monoprint? A monoprint is a form of printmaking where the lines and images of the print can only be made once. This makes it a bit unique and special. You can always create multiple prints, but no two will be exactly alike.
When I saw the Leave Me in Paradise and Fearless Pursuit stamp sets in the Tropically Yours SOA, I knew I wanted to create some Mixed Media Tropical cards.
First, you’ll need a base print for these projects. I chose to use an 8×10 Gel Press plate. This gave me a larger print that I could then cut down into 4 card fronts – hey I’m all about getting the most bang for my buck, you know?!!
Creating a Monoprint can be as simple or complex as you want. The one thing to remember, when you start a Gel Printing session, the more you get into it – the more interesting character and texture you build up and leave behind for future prints.
Here is the concept broken down into it’s most simplest form:
- Spread Acrylic Paint onto your gel press with a brayer
- Add texture with stencils or other items, or leave as is
- Start to pull prints. You’ll get 2-3 prints with each pull – a first print, the ghost print, and the final remnants.
That’s pretty much it. What makes them so intriguing are the stories between the lines. Meaning the stuff that gets left behind, or built up. That’s what we have going on in today’s print.
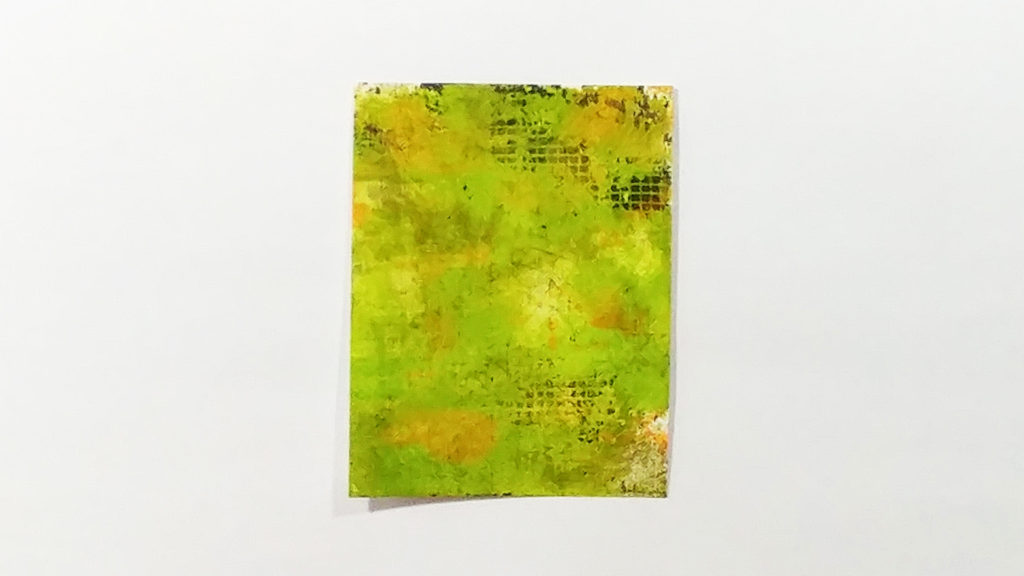
I knew I wanted to use the Leave me in Paradise stamp set, so I wanted to work with Greens as a base. To get the layered weathered look, I created several prints first in various shade – Browns, Orange, Yellows and Greens. Once I had little bits of paint left behind, and the prints were starting to feel a bit more complex, I created an orange print. Have you ever seen tropical leaves? They are deep and vibrant greens, yellows, orange and red.
With some orange bits dried onto the gel press, and some interesting Brown in the corners, layer up some vibrant greens. I used Dirty Martini by Dylusions mixed with some lime by Dina Wakely. Both of these paints are fairly fluid. They helped to reactivate all that dried goodness underneath.
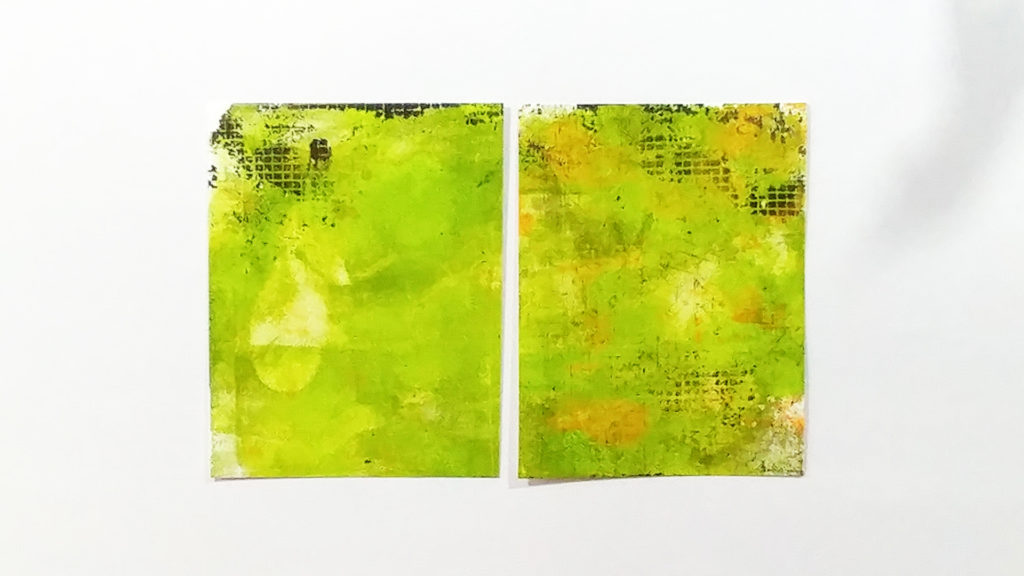
Lay a sheet of cardstock over, and run your hands firmly on the back. We’re trying to pull as much as we can off here. The print had gorgeous depth and interesting character from a piece of Dry Wall Mounting Tape in the corners.
Cut down that piece into four and next create your cards. To see the main card I was looking to create and read a bit more about it’s process, Click Here for my blog post yesterday.
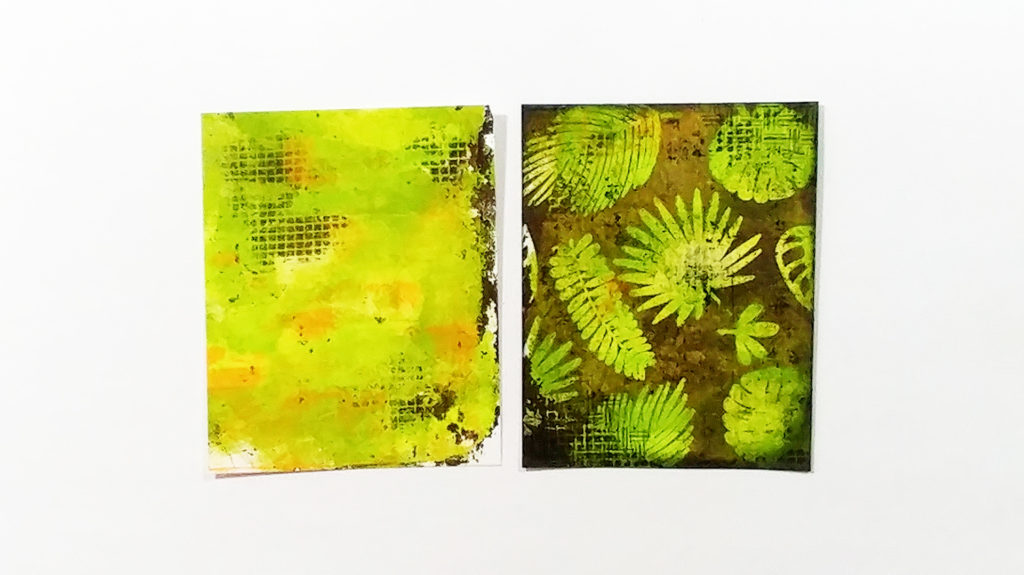
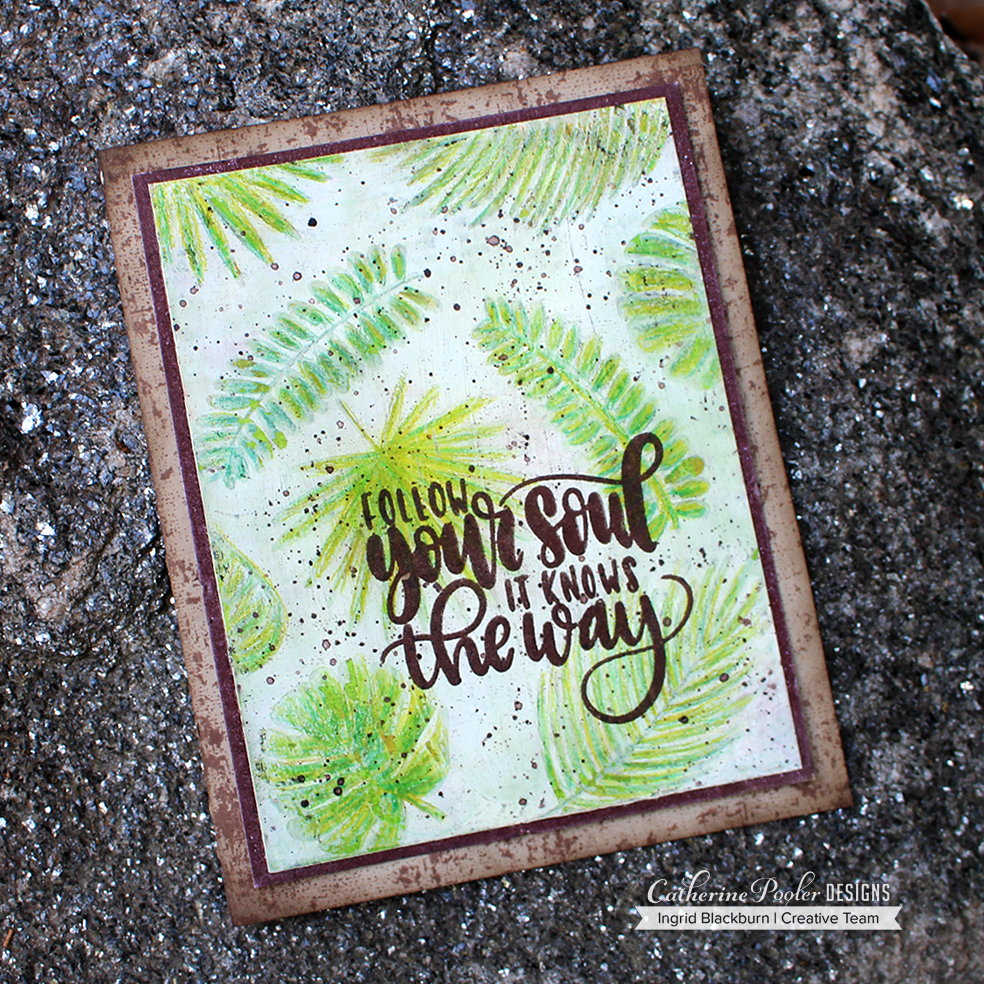
The goal was always to create a batik look to my project. But what happened next, I wasn’t prepared for and nearly threw in the towel! I had stamped the gorgeous leaves from Leave me in Paradise in Versamark ink and heat embossed them in Clear. I wanted to create a Joseph’s Coat/Faux Watercolored look to my project, so rather than coat it in dark ink, I chose to paint over everything with White Gesso.
Next was the Faux Watercolor technique – Place your piece in a phone book (or other scrap paper), fold a few sheets over it and iron off your embossing. No problem, right? Boy was I wrong. That Gesso held tight and the clear embossed leaf images were trapped.
So how do you fix this? I thought it was something for the round file, but I talked myself into just putting it to the side and trying one more time. Next I did a true Joseph’s Coat technique and used Icing on the Cake Dye ink. Here’s what it should have looked like – monoprint base and ironed off/joseph’s coat technique:
And here’s the final piece – a success! That project turned out to be a stunner…Details are on yesterday’s blog post.
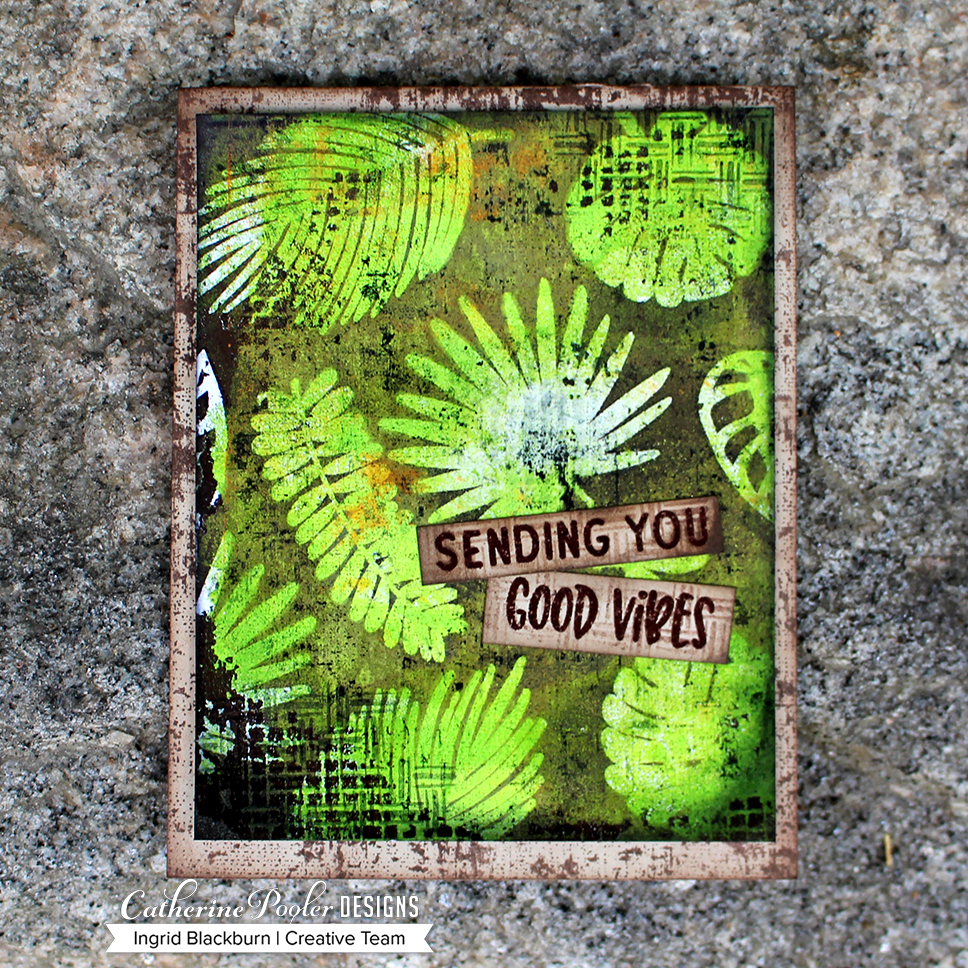
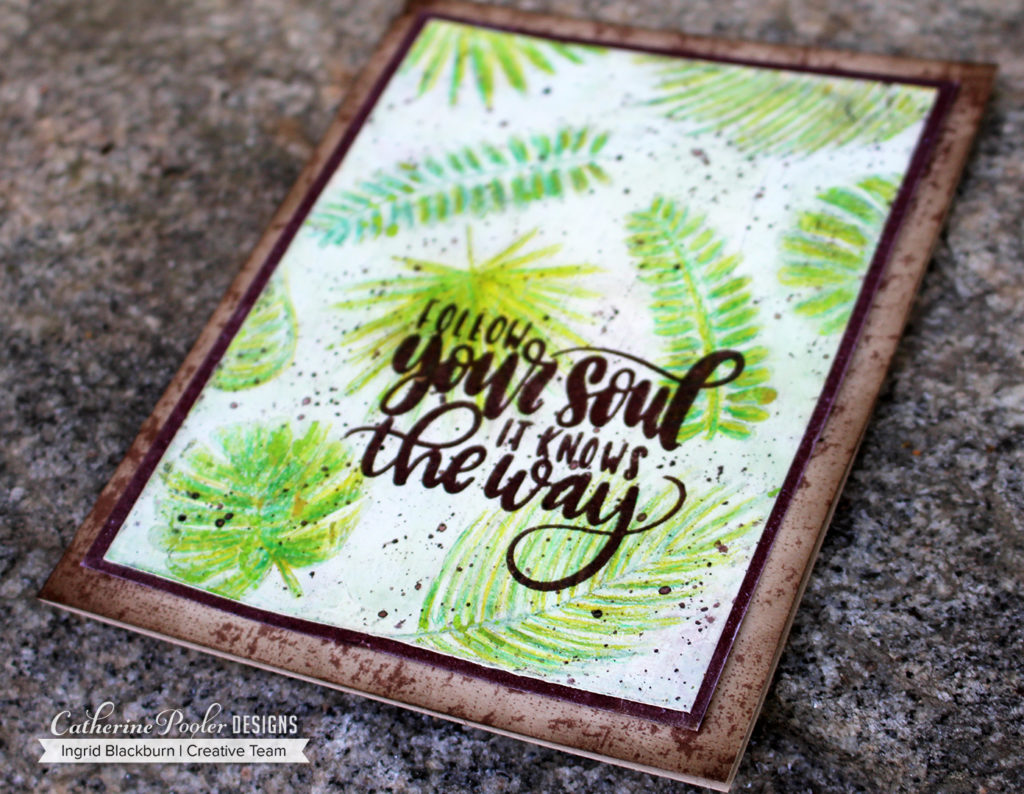
And with one the other two remaining monoprints, just pop the drop dead gorgeous Fearless sentiment onto it and emboss in WOW Bark embossing powder. Add some of the textures from Good Vibes Borders in the corners to accentuate the print in Icing on the Cake ink and Matte it onto a a strip of cardstock that’s been embossed in the textures and bark for added interest. Doesn’t it look like basketweave? This card is simple, fun and definitely easy to duplicate. But in the sense that the monoprints will be different – how cool, right?
Now back to the piece headed to the trash…wait….hold the phone! That’s when genius struck. Okay – I’m bound to have one good idea every now and again…What if we could bring the covered images back to life with colored pencils?!!
Here’s a look at it along the way….
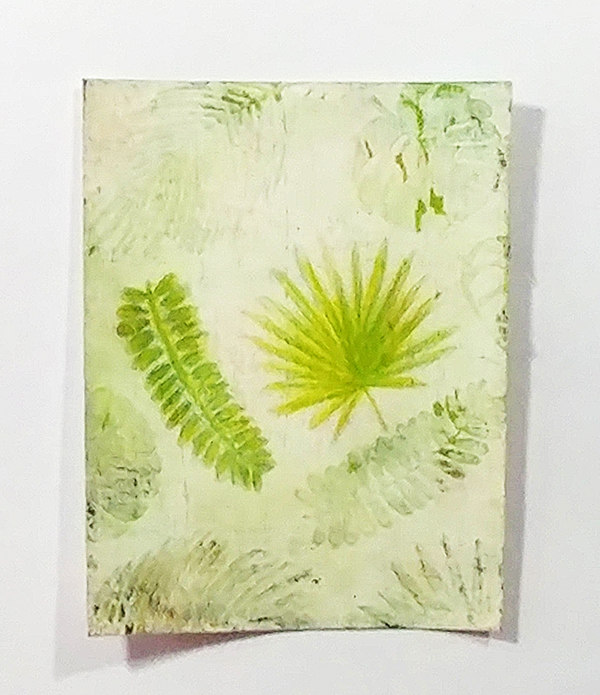
Next up, just color the images with several shades of colored pencils. I used a 72 pencil set I have by Arteza, and about 6 shades of Green. Once the pencil colors were laid on top of the botched images, smooth them out using a blender pencil. I used one by Caran d’Ache to get a smoother look. The end result was a light watercolor almost look to the piece.
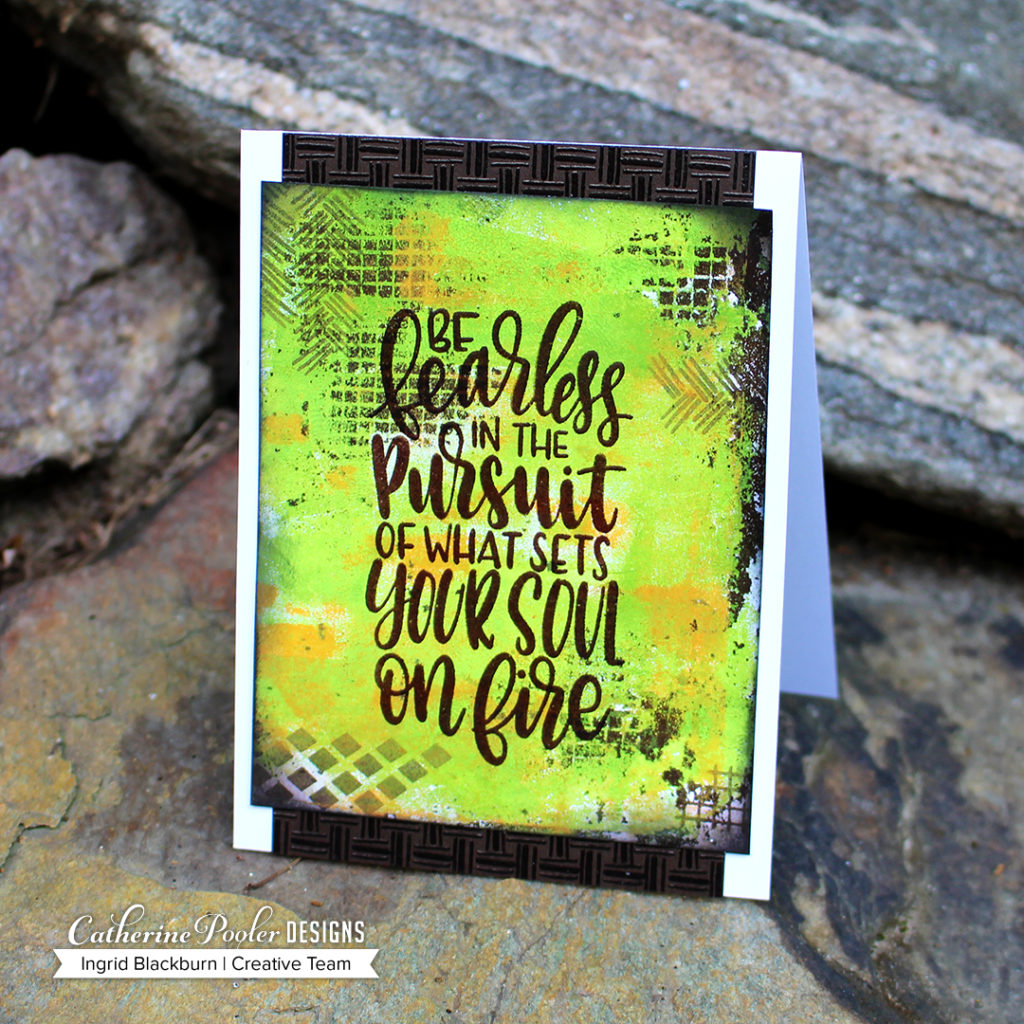
The Gesso in-between is cracked and weathered, which only adds to the project. It needed something, so once you’ve embossed that rockin’ sentiment from the Fearless Pursuit stamp set in Bark by WOW, splatter some Payne’s Grey acrylic paint watered down with a few drops of Icing on the Cake ink refill.
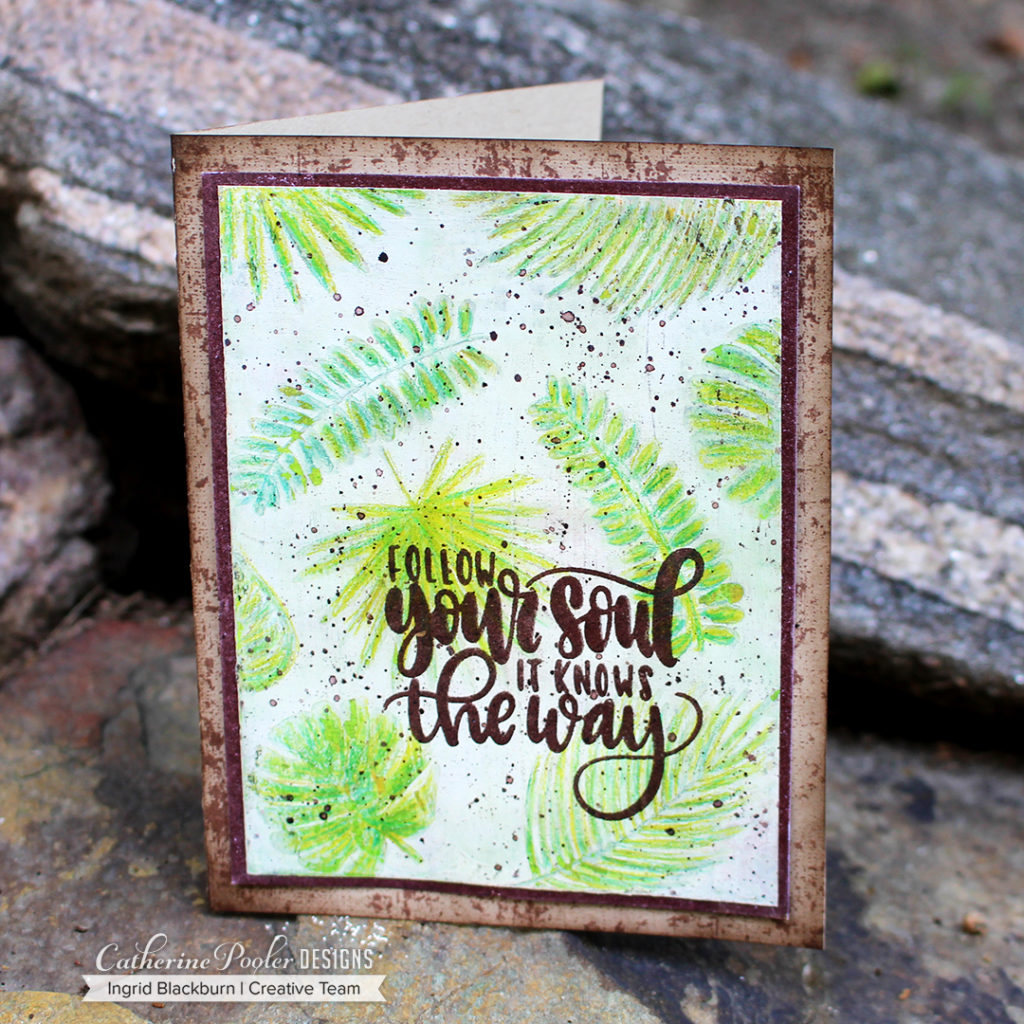
Matte onto an edged embossed piece in Bark – notice how different it looks on white cardstock than Chocolate?!! I LOVE this embossing powder. It’s new to Catherine’s shop too!
Create a little grunge on your card base with Over Coffee Ink on Sand Dunes cardstock and you’re all set.
Overall, the monoprints are super cool true Mixed Media pieces. But what’s really awesome about them, they are one layer. The person you give these cards to will never figure out how you did that?!!
And the moral of this long epic story #2…don’t throw anything in the round file.
I hope you’ve enjoyed these couple of cards. I love the texture and creative way I can use these stamps. There are some FUN products in the box. You’ll love it all. Best part – it truly works with each other.
Thanks for stopping by today! Keep those fingers inky –

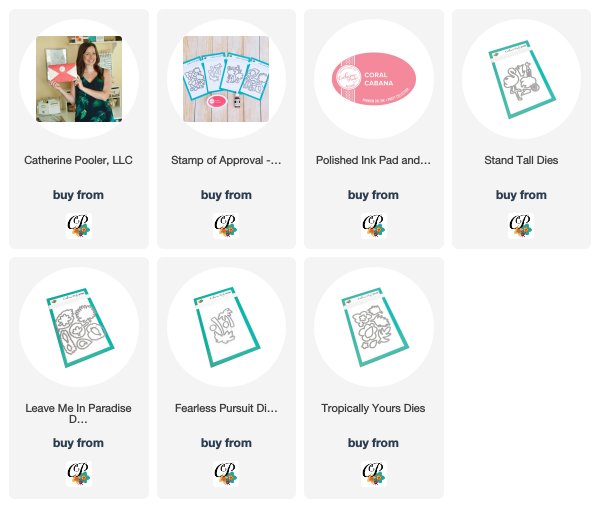
Supplies
To make finding the supplies I used in these projects a bit easier for you, here are a few clickable links. Compensated Affiliate Links are used when possible. Click here for disclosure. Happy Shopping!

So happy you’ve managed to salvaged that one piece. It does look amazing. Of course, I’m also wondering what would have happened if you had applied a watered-down layer of gesso or maybe a thin layer of white pigment ink. Hmm, there’s a thought. I have just started a much needed 3-week break from work, and using my gel print is still on my to do list…
Wow! That turned out awesome. I love the mixed media look but am still working at it.
Seriously amazed by your talent & creativity! I love the colored pencil over the stamped image. Gorgeous! And the “Be Fearless”, Wow! That is crazy cool especially with the embossed strip behind your beautiful technique piece. Such Wonderful creations Ingrid!
Thanks Jodi – I love those cards so much!! 🙂